stop start CHEVROLET OPTRA 5 2005 1.G User Guide
[x] Cancel search | Manufacturer: CHEVROLET, Model Year: 2005, Model line: OPTRA 5, Model: CHEVROLET OPTRA 5 2005 1.GPages: 336, PDF Size: 2.21 MB
Page 145 of 336
If the Light Is Flashing
The following may prevent more serious damage to
your vehicle:
•Reducing vehicle speed
•Avoiding hard accelerations
•Avoiding steep uphill grades
If the light stops flashing and remains on steady, see “If
the Light Is On Steady” following.
If the light continues to flash, when it is safe to do so,
stop the vehicle. Find a safe place to park your vehicle.
Turn the key off, wait at least 10 seconds and restart
the engine. If the light remains on steady, see “If
the Light Is On Steady” following. If the light is still
flashing, follow the previous steps, and see your dealer
for service as soon as possible.
If the Light Is On Steady
You also may be able to correct the emission system
malfunction by considering the following:
Did you recently put fuel into your vehicle?
If so, reinstall the fuel cap, making sure to fully install
the cap. SeeFilling Your Tank on page 5-7. The
diagnostic system can determine if the fuel cap has
been left off or improperly installed. A loose or missingfuel cap will allow fuel to evaporate into the atmosphere.
A few driving trips with the cap properly installed
should turn the light off.
Did you just drive through a deep puddle of water?
If so, your electrical system may be wet. The condition
will usually be corrected when the electrical system
dries out. A few driving trips should turn the light off.
Have you recently changed brands of fuel?
If so, be sure to fuel your vehicle with quality fuel. See
Gasoline Octane on page 5-5. Poor fuel quality will
cause your engine not to run as efficiently as designed.
You may notice this as stalling after start-up, stalling
when you put the vehicle into gear, misfiring, hesitation
on acceleration, or stumbling on acceleration. (These
conditions may go away once the engine is warmed up.)
This will be detected by the system and cause the
light to turn on.
If you experience one or more of these conditions,
change the fuel brand you use. It will require at least
one full tank of the proper fuel to turn the light off.
If none of the above steps have made the light turn off,
your dealer can check the vehicle. Your dealer has
the proper test equipment and diagnostic tools to fix any
mechanical or electrical problems that may have
developed.
3-37
Page 146 of 336
Emissions Inspection and Maintenance
Programs
Some state/provincial and local governments have or
may begin programs to inspect the emission control
equipment on your vehicle. Failure to pass this
inspection could prevent you from getting a vehicle
registration.
Here are some things you need to know to help your
vehicle pass an inspection:
Your vehicle will not pass this inspection if the Check
Engine light is on or not working properly.
Your vehicle will not pass this inspection if the OBD
(on-board diagnostic) system determines that critical
emission control systems have not been completely
diagnosed by the system. The vehicle would be
considered not ready for inspection. This can happen if
you have recently replaced your battery or if your
battery has run down. The diagnostic system is
designed to evaluate critical emission control systems
during normal driving. This may take several days
of routine driving. If you have done this and your vehicle
still does not pass the inspection for lack of OBD
system readiness, your GM dealer can prepare the
vehicle for inspection.
Oil Pressure Light
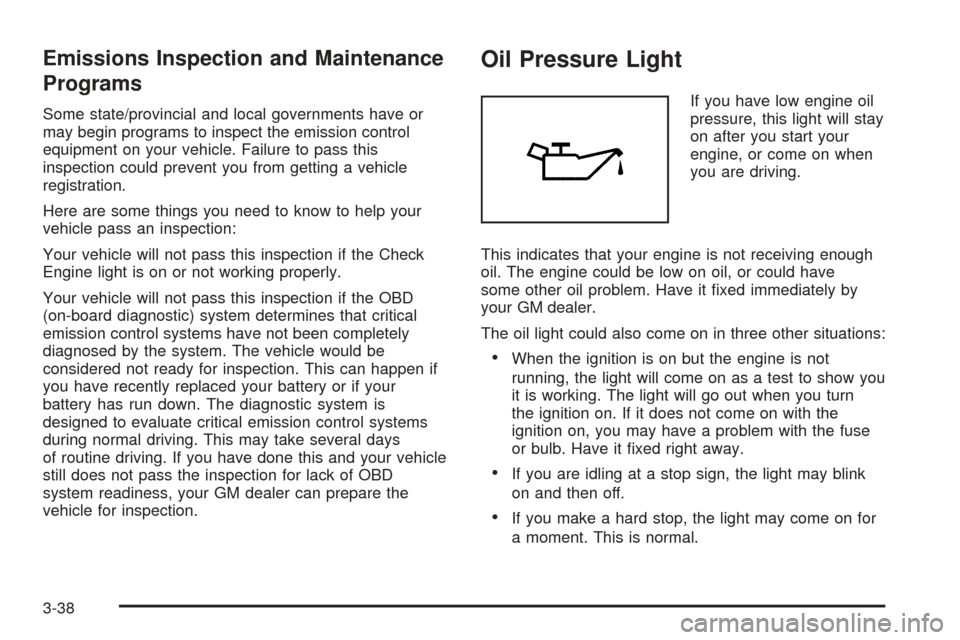
If you have low engine oil
pressure, this light will stay
on after you start your
engine, or come on when
you are driving.
This indicates that your engine is not receiving enough
oil. The engine could be low on oil, or could have
some other oil problem. Have it fixed immediately by
your GM dealer.
The oil light could also come on in three other situations:
•When the ignition is on but the engine is not
running, the light will come on as a test to show you
it is working. The light will go out when you turn
the ignition on. If it does not come on with the
ignition on, you may have a problem with the fuse
or bulb. Have it fixed right away.
•If you are idling at a stop sign, the light may blink
on and then off.
•If you make a hard stop, the light may come on for
a moment. This is normal.
3-38
Page 152 of 336
Adjusting the Speakers (Balance/Fade)
SOUND (Balance/Fade):To adjust the balance
between the right and the left speakers, press this button
until BAL appears on the display. Then turn the
volume knob to increase or to decrease. The display will
show the balance level. When finished making the
selection, press this button to select the balance level.
To adjust the fade between the front and the rear
speakers, press this button until FAD appears on the
display. Turn the volume knob to increase or to
decrease the fade between the front and the rear
speakers. The display will show the fade level. When
finished making the selection, press this button to select
the fade level.
Playing a CD
Insert a CD partway into the slot, label side up. The
player will pull it in and the CD should begin playing.
You can insert a CD with the ignition off.
When the CD is inserted, CDP will appear on the
display. As the CD is loading Filecheck will appear on
the display. As each new track starts to play, Track and
the track number will appear on the display.If the ignition or radio is turned off with a CD in the
player, it will stay in the player. When the ignition
or radio is turned on, the CD will start playing where it
stopped, if it was the last selected audio source.
The CD player can play the smaller 3 inch (8 cm) single
CDs with an adapter ring. Full-size CDs and the
smaller CDs are loaded in the same manner.
If playing a CD-R the sound quality may be reduced
due to CD-R quality, the method of recording, the quality
of the music that has been recorded, and the way the
CD-R has been handled. You may experience an
increase in skipping, difficulty in finding tracks, and/or
difficulty in loading and ejecting. If these problems occur
try a known good CD.
Do not add paper labels to CDs, they could get caught
in the CD player.
If an error appears on the display, see “CD Messages”
later in this section.
2 RPT (Repeat):Press this pushbutton to repeat the
current track. RPT will appear on the display. Press this
pushbutton again to turn off repeat play.
3-44
Page 153 of 336
3 INT (SCAN):Press this button to listen to the first few
seconds of each track on each CD inserted. INTRO
will appear on the display. To stop scanning press this
button again. The current track will begin to play.
4 RDM (Random):Press this pushbutton to hear the
tracks in random, rather than sequential, order. RDM will
appear on the display. Press this pushbutton again to
turn off random play.
TRACK (Previous/Next Track):Turn this knob
one notch to go to the start of the current track or to go
to the next track. The track number will appear on
the display. The player will continue moving backward
or forward through the CD with each turn of the knob.
TUN (Forward/Reverse):Push and hold this knob
to fast forward or to reverse through the current track.
AM/FM:Press this button to listen to the radio
when a CD is playing. The inactive CD will remain
safely inside the radio for future listening.
CD:Press this button to play a CD when listening to
the radio. CDP will appear on the display when the CD
player has been selected.
Press this button while a CD is playing to pause the
CD. Track and the track number will flash on the display.
Press this button again to start playing the CD.
X(Eject):Press this button to eject a CD. Eject may
be activated with either the ignition or radio off.
CD Messages
CHECK CD:If this message appears on the display
and/or the CD comes out, it could be for one of the
following reasons:
•It is very hot. When the temperature returns to
normal, the CD should play.
•You are driving on a very rough road. When the
road becomes smoother, the CD should play.
•The CD is dirty, scratched, wet, or upside down.
•The air is very humid. If so, wait about an hour and
try again.
•There may have been a problem while burning
the CD.
•The label may be caught in the CD player.
If the CD is not playing correctly, for any other reason,
try a known good CD.
If any error occurs repeatedly or if an error cannot be
corrected, contact your dealer. If the radio displays
an error message, write it down and provide it to your
dealer when reporting the problem.
3-45
Page 156 of 336
If the ignition or radio is turned off with a CD in the
player, it will stay in the player. When the ignition
or radio is turned on, the CD will start playing where it
stopped, if it was the last selected audio source.
The CD player can play the smaller 3 inch (8 cm) single
CDs with an adapter ring. Full-size CDs and the
smaller CDs are loaded in the same manner.
If playing a CD-R the sound quality may be reduced
due to CD-R quality, the method of recording, the quality
of the music that has been recorded, and the way the
CD-R has been handled. There may be an increase
in skipping, difficulty in finding tracks, and/or difficulty in
loading and ejecting. If these problems occur try a
known good CD.
Do not add paper labels to CDs, they could get caught
in the CD player.
If an error appears on the display, see “CD Messages”
later in this section.
2 RPT (Repeat):Press this pushbutton to repeat the
current track. RPT will appear on the display. Press this
pushbutton again to turn off repeat play.
3 INT (Scan):Press this button to listen to the first few
seconds of each track on each loaded CD. INTRO
will appear on the display. To stop scanning press this
button again. The current track will begin to play.4 RDM (Random):Press this pushbutton to hear the
tracks in random, rather than sequential, order. RDM will
appear on the display. Press this pushbutton again to
turn off random play.
TRACK (Previous/Next Track):Turn this knob
one notch to go to the start of the current track or to go
to the next track. The track number will appear on
the display. The player will continue moving backward
or forward through the CD with each turn of the knob.
TUN (Forward/Reverse):Push and hold this knob
to fast forward or to reverse through the current track.
AM/FM:Press this button to listen to the radio
when a CD is playing. The inactive CD will remain
safely inside the radio for future listening.
CD:Press this button to play a CD when listening to
the radio. CDP will appear on the display when the CD
player has been selected. The CD symbol will appear
on the display when a CD is loaded.
Press this button while a CD is playing to pause the
CD. Track and the track number will flash on the display.
Press this button again to start playing the CD.
X(Eject):Press this button to eject a CD. Eject may
be activated with either the ignition or radio off.
3-48
Page 158 of 336
Order of Play
Tracks will be played in the following order:
•Play will begin from the first track in the first playlist
and will continue sequentially through all tracks in
each playlist. When the last track of the last playlist
has been played, play will continue from the first
track of the first playlist.
•If the CD does not contain any playlists, then play
will begin from the first track under the root
directory. When all tracks from the root directory
have been played, play will continue from files
according to their numerical listing. After playing the
last track from the last folder, play will begin
again at the first track of the first folder or root
directory.
File System and Naming
The song name that will be displayed will be the song
name that is contained in the ID3 tag. If the song name
is not present in the ID3 tag, then the radio will
display the file name without the extension (such as
.mp3) as the track name.
Track names longer than 32 characters or 4 pages will
be shortened. The display will not show parts of
words on the last page of text and the extension of the
filename will not be displayed.
Preprogrammed Playlists
You can access preprogrammed playlists which were
created by WinAmp™, MusicMatch™, or Real
Jukebox™ software, however, you will not have editing
capability. These playlists will be treated as special
folders containing compressed audio song files.
Playing an MP3
With the ignition on, insert a CD partway into the slot,
label side up. The player will pull it in, Loading, then
Filecheck, then MP3 will appear on the display. The CD
should begin playing. You can insert a CD with the
ignition off.
As each new track starts to play, F001, the track
number, and the song name will appear on the display.
If you turn off the ignition or radio with a CD in the
player, it will stay in the player. When you turn on the
ignition or radio, the CD will start playing where it
stopped, if it was the last selected audio source.
The CD player can play the smaller 3 inch (8 cm) single
CDs with an adapter ring. Full-size CDs and the
smaller CDs are loaded in the same manner.
3-50
Page 168 of 336
Avoid needless heavy braking. Some people drive
in spurts — heavy acceleration followed by heavy
braking — rather than keeping pace with traffic. This is
a mistake. Your brakes may not have time to cool
between hard stops. Your brakes will wear out much
faster if you do a lot of heavy braking. If you keep pace
with the traffic and allow realistic following distances,
you will eliminate a lot of unnecessary braking.
That means better braking and longer brake life.
If your engine ever stops while you are driving, brake
normally but do not pump your brakes. If you do,
the pedal may get harder to push down. If your engine
stops, you will still have some power brake assist.
But you will use it when you brake. Once the power
assist is used up, it may take longer to stop and
the brake pedal will be harder to push.Anti-Lock Brake System (ABS)
Your vehicle may have anti-lock brakes. ABS is an
advanced electronic braking system that will help
prevent a braking skid.
If your vehicle has anti-lock
brakes, this warning light
on the instrument panel will
come on briefly when
you start your vehicle.
4-6
Page 174 of 336
Passing
The driver of a vehicle about to pass another on a
two-lane highway waits for just the right moment,
accelerates, moves around the vehicle ahead, then
goes back into the right lane again. A simple maneuver?
Not necessarily! Passing another vehicle on a two-lane
highway is a potentially dangerous move, since the
passing vehicle occupies the same lane as oncoming
traffic for several seconds. A miscalculation, an error in
judgment, or a brief surrender to frustration or anger
can suddenly put the passing driver face to face with the
worst of all traffic accidents — the head-on collision.
So here are some tips for passing:
•Drive ahead. Look down the road, to the sides
and to crossroads for situations that might affect
your passing patterns. If you have any doubt
whatsoever about making a successful pass, wait
for a better time.
•Watch for traffic signs, pavement markings and
lines. If you can see a sign up ahead that might
indicate a turn or an intersection, delay your pass.
A broken center line usually indicates it is all
right to pass, providing the road ahead is clear.
Never cross a solid line on your side of the lane or
a double solid line, even if the road seems empty
of approaching traffic.
•Do not get too close to the vehicle you want to
pass while you are awaiting an opportunity. For
one thing, following too closely reduces your area
of vision, especially if you are following a larger
vehicle. Also, you will not have adequate space if
the vehicle ahead suddenly slows or stops.
Keep back a reasonable distance.
•When it looks like a chance to pass is coming up,
start to accelerate but stay in the right lane and
do not get too close. Time your move so you will be
increasing speed as the time comes to move into
the other lane. If the way is clear to pass, you
will have a running start that more than makes up
for the distance you would lose by dropping
back. And if something happens to cause you to
cancel your pass, you need only slow down
and drop back again and wait for another
opportunity.
•If other vehicles are lined up to pass a slow vehicle,
wait your turn. But take care that someone is not
trying to pass you as you pull out to pass the slow
vehicle. Remember to glance over your shoulder
and check the blind spot.
4-12
Page 178 of 336
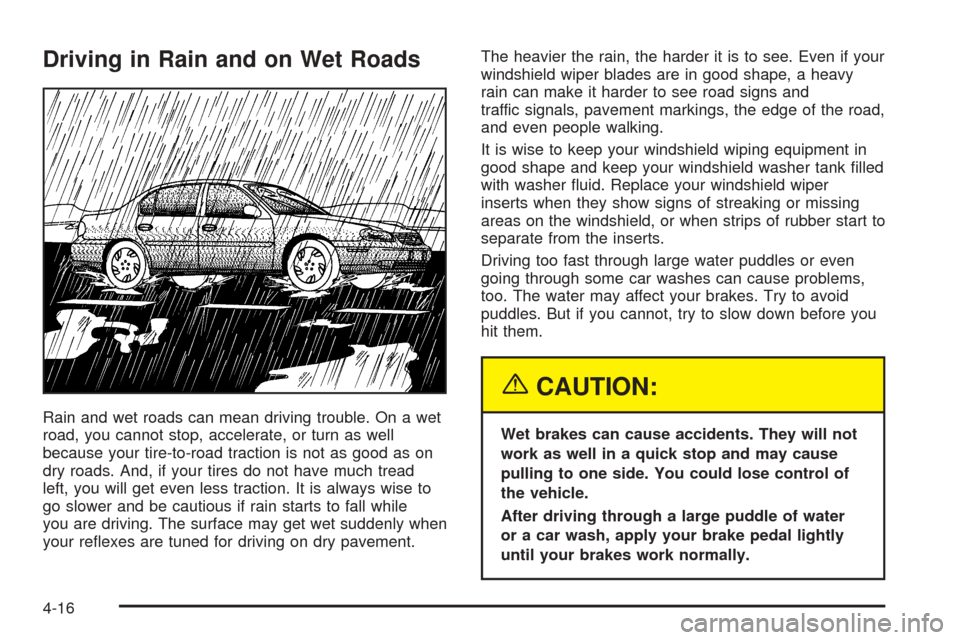
Driving in Rain and on Wet Roads
Rain and wet roads can mean driving trouble. On a wet
road, you cannot stop, accelerate, or turn as well
because your tire-to-road traction is not as good as on
dry roads. And, if your tires do not have much tread
left, you will get even less traction. It is always wise to
go slower and be cautious if rain starts to fall while
you are driving. The surface may get wet suddenly when
your reflexes are tuned for driving on dry pavement.The heavier the rain, the harder it is to see. Even if your
windshield wiper blades are in good shape, a heavy
rain can make it harder to see road signs and
traffic signals, pavement markings, the edge of the road,
and even people walking.
It is wise to keep your windshield wiping equipment in
good shape and keep your windshield washer tank filled
with washer fluid. Replace your windshield wiper
inserts when they show signs of streaking or missing
areas on the windshield, or when strips of rubber start to
separate from the inserts.
Driving too fast through large water puddles or even
going through some car washes can cause problems,
too. The water may affect your brakes. Try to avoid
puddles. But if you cannot, try to slow down before you
hit them.
{CAUTION:
Wet brakes can cause accidents. They will not
work as well in a quick stop and may cause
pulling to one side. You could lose control of
the vehicle.
After driving through a large puddle of water
or a car wash, apply your brake pedal lightly
until your brakes work normally.
4-16
Page 182 of 336
Once you are moving on the freeway, make certain you
allow a reasonable following distance.
Expect to move slightly slower at night.
When you want to leave the freeway, move to the
proper lane well in advance. If you miss your exit, do
not, under any circumstances, stop and back up. Drive
on to the next exit.
The exit ramp can be curved, sometimes quite sharply.
The exit speed is usually posted. Reduce your speed
according to your speedometer, not to your sense
of motion. After driving for any distance at higher
speeds, you may tend to think you are going slower
than you actually are.
Before Leaving on a Long Trip
Make sure you are ready. Try to be well rested. If you
must start when you are not fresh — such as after
a day’s work — do not plan to make too many miles that
first part of the journey. Wear comfortable clothing
and shoes you can easily drive in.Is your vehicle ready for a long trip? If you keep it
serviced and maintained, it is ready to go. If it needs
service, have it done before starting out. Of course,
you will find experienced and able service experts in
GM dealerships all across North America. They will be
ready and willing to help if you need it.
Here are some things you can check before a trip:
•Windshield Washer Fluid:Is the reservoir full? Are
all windows clean inside and outside?
•Wiper Blades:Are they in good shape?
•Fuel, Engine Oil, Other Fluids:Have you checked
all levels?
•Lamps:Are they all working? Are the lenses clean?
•Tires:They are vitally important to a safe,
trouble-free trip. Is the tread good enough for
long-distance driving? Are the tires all inflated to the
recommended pressure?
•Weather Forecasts:What is the weather outlook
along your route? Should you delay your trip a
short time to avoid a major storm system?
•Maps:Do you have up-to-date maps?
4-20