instrument panel CHEVROLET OPTRA 5 2007 1.G Owner's Guide
[x] Cancel search | Manufacturer: CHEVROLET, Model Year: 2007, Model line: OPTRA 5, Model: CHEVROLET OPTRA 5 2007 1.GPages: 422, PDF Size: 2.39 MB
Page 153 of 422

When adding electrical equipment, be sure to
follow the proper installation instructions included
with the equipment.
Notice:Improper use of the power outlet can
cause damage not covered by your warranty.
Do not hang any type of accessory or
accessory bracket from the plug because the
power outlets are designed for accessory
power plugs only.
Ashtray(s) and Cigarette Lighter
The front ashtray is located at the lower part of
the center of the instrument panel. To remove the
bin from the front ashtray for cleaning, open
the ashtray fully, lift up the inner bin and then pull
the bin out.
The rear ashtray is located at the bottom of the
rear center console. Pull the ashtray toward
the rear of the vehicle to open it. To remove the
rear ashtray, press in the retaining spring and pull
the bin out.Notice:If you put papers, pins, or other
�ammable items in the ashtray, hot cigarettes
or other smoking materials could ignite
them and possibly damage your vehicle.
Never put �ammable items in the ashtray.
The cigarette lighter is located to the right of the
front ashtray. To use it, turn the ignition to ACC or
ON, push the cigarette lighter in all the way and
let go. When it is ready, it will pop back out
by itself.
Notice:Holding a cigarette lighter in while it
is heating will not allow the lighter to back
away from the heating element when it is hot.
Damage from overheating may occur to the
lighter or heating element. Do not hold a
cigarette lighter in while it is heating.
153
Page 154 of 422
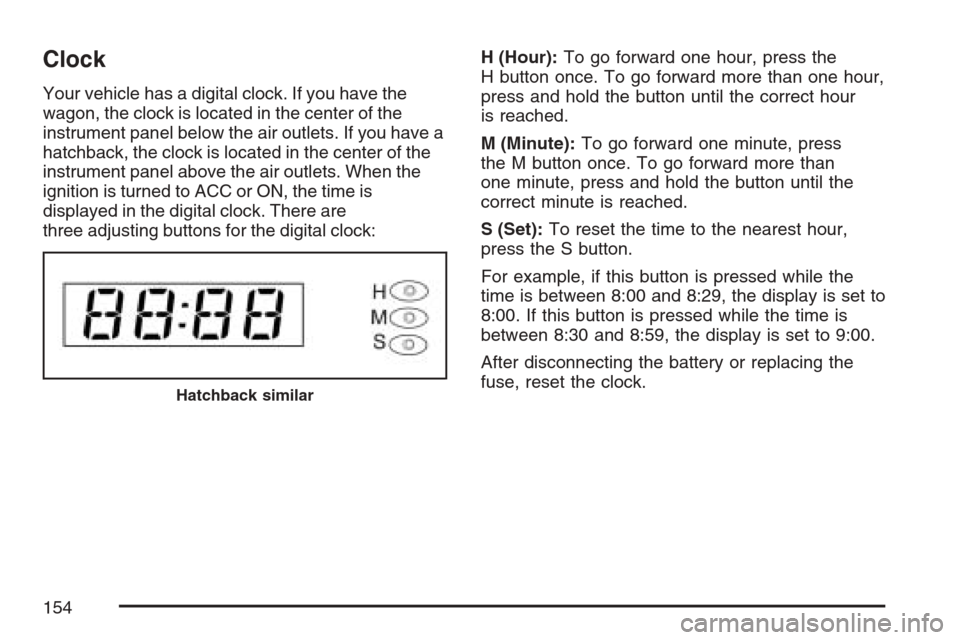
Clock
Your vehicle has a digital clock. If you have the
wagon, the clock is located in the center of the
instrument panel below the air outlets. If you have a
hatchback, the clock is located in the center of the
instrument panel above the air outlets. When the
ignition is turned to ACC or ON, the time is
displayed in the digital clock. There are
three adjusting buttons for the digital clock:H (Hour):To go forward one hour, press the
H button once. To go forward more than one hour,
press and hold the button until the correct hour
is reached.
M (Minute):To go forward one minute, press
the M button once. To go forward more than
one minute, press and hold the button until the
correct minute is reached.
S (Set):To reset the time to the nearest hour,
press the S button.
For example, if this button is pressed while the
time is between 8:00 and 8:29, the display is set to
8:00. If this button is pressed while the time is
between 8:30 and 8:59, the display is set to 9:00.
After disconnecting the battery or replacing the
fuse, reset the clock.
Hatchback similar
154
Page 155 of 422
Climate Controls
Climate Control System
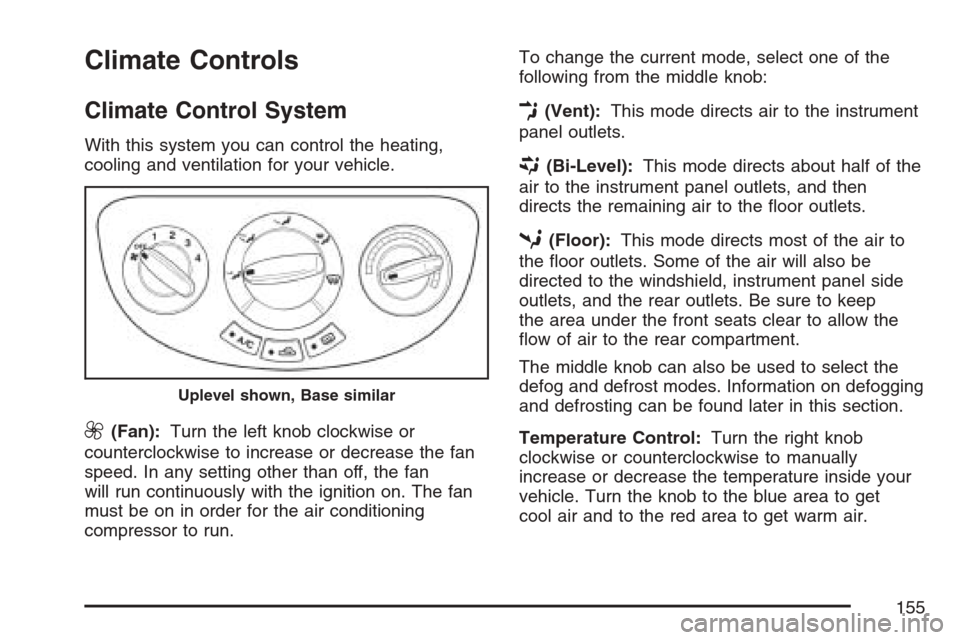
With this system you can control the heating,
cooling and ventilation for your vehicle.
9(Fan):Turn the left knob clockwise or
counterclockwise to increase or decrease the fan
speed. In any setting other than off, the fan
will run continuously with the ignition on. The fan
must be on in order for the air conditioning
compressor to run.To change the current mode, select one of the
following from the middle knob:
E(Vent):This mode directs air to the instrument
panel outlets.
((Bi-Level):This mode directs about half of the
air to the instrument panel outlets, and then
directs the remaining air to the floor outlets.
5(Floor):This mode directs most of the air to
the floor outlets. Some of the air will also be
directed to the windshield, instrument panel side
outlets, and the rear outlets. Be sure to keep
the area under the front seats clear to allow the
flow of air to the rear compartment.
The middle knob can also be used to select the
defog and defrost modes. Information on defogging
and defrosting can be found later in this section.
Temperature Control:Turn the right knob
clockwise or counterclockwise to manually
increase or decrease the temperature inside your
vehicle. Turn the knob to the blue area to get
cool air and to the red area to get warm air.
Uplevel shown, Base similar
155
Page 157 of 422
Defogging and Defrosting
Fog on the inside of windows is a result of high
humidity or moisture condensing on the cool
window glass. This can be minimized if the climate
control system is used properly. There are
two modes to clear fog or frost from your
windshield. Use the defog mode to clear the
windows of fog or moisture and warm the
passengers. Use the defrost mode to remove fog
or frost from the windshield more quickly.
Select one of these available modes from the
right knob.
É(Defog):This mode directs most of the air to
the windshield and the floor outlets. A small
amount of air is also directed to the outboard
outlets for the side windows and to the instrument
panel side outlets.When you select this mode, the system runs the
air-conditioning compressor. To defog the windows
faster, turn the temperature control knob
clockwise to the warmest setting.
0(Defrost):This mode directs most of the air to
the windshield and the outboard outlets for the
side windows. A small amount of air is also
directed to the instrument panel side outlets.
When you select this mode, the system runs the
air-conditioning compressor. To defrost the
windows faster, turn the temperature control knob
clockwise to the warmest setting.
Do not drive the vehicle until all windows are clear.
157
Page 161 of 422
Warning Lights, Gages, and
Indicators
This part describes the warning lights and gages
that may be on your vehicle. The pictures will
help you locate them.
Warning lights and gages can signal that
something is wrong before it becomes serious
enough to cause an expensive repair or
replacement. Paying attention to your warning
lights and gages could also save you or others
from injury.
Warning lights come on when there may be or
is a problem with one of your vehicle’s functions.
As you will see in the details on the next few
pages, some warning lights come on briefly when
you start the engine just to let you know they
are working. If you are familiar with this section,
you should not be alarmed when this happens.Gages can indicate when there may be or is a
problem with one of your vehicle’s functions.
Often gages and warning lights work together to
let you know when there is a problem with
your vehicle.
When one of the warning lights comes on and
stays on as you are driving, or when one of
the gages shows there may be a problem, check
the section that tells you what to do about it.
Please follow this manual’s advice. Waiting to do
repairs can be costly and even dangerous. So
please get to know your warning lights and gages.
They are a big help.
Instrument Panel Cluster
Your instrument panel cluster is designed to let
you know at a glance how your vehicle is running.
You will know how fast you are going, how
much fuel you are using, and many other things
you will need to drive safely and economically.
161
Page 162 of 422
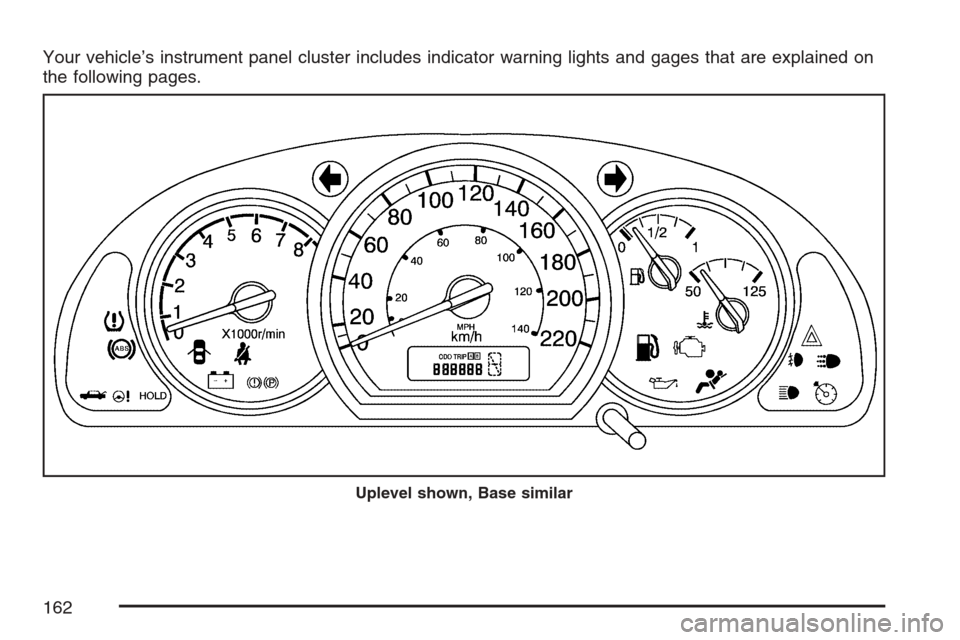
Your vehicle’s instrument panel cluster includes indicator warning lights and gages that are explained on
the following pages.
Uplevel shown, Base similar
162
Page 164 of 422
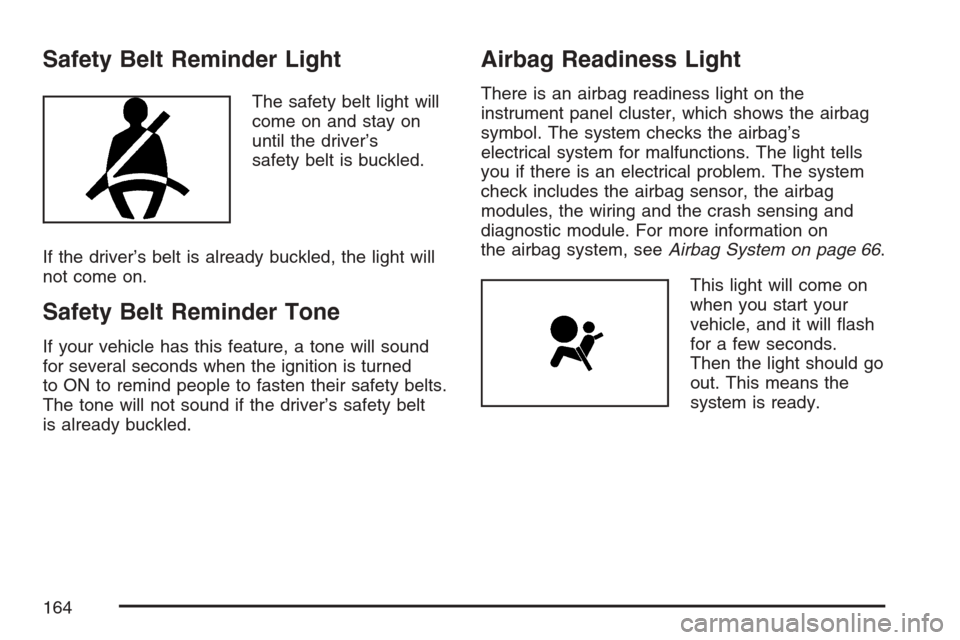
Safety Belt Reminder Light
The safety belt light will
come on and stay on
until the driver’s
safety belt is buckled.
If the driver’s belt is already buckled, the light will
not come on.
Safety Belt Reminder Tone
If your vehicle has this feature, a tone will sound
for several seconds when the ignition is turned
to ON to remind people to fasten their safety belts.
The tone will not sound if the driver’s safety belt
is already buckled.
Airbag Readiness Light
There is an airbag readiness light on the
instrument panel cluster, which shows the airbag
symbol. The system checks the airbag’s
electrical system for malfunctions. The light tells
you if there is an electrical problem. The system
check includes the airbag sensor, the airbag
modules, the wiring and the crash sensing and
diagnostic module. For more information on
the airbag system, seeAirbag System on page 66.
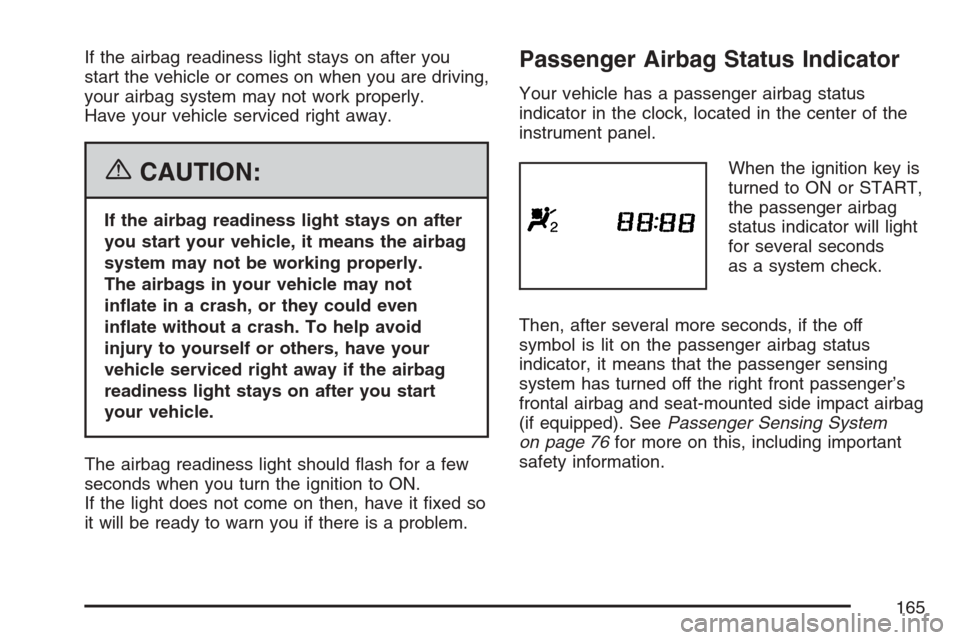
This light will come on
when you start your
vehicle, and it will flash
for a few seconds.
Then the light should go
out. This means the
system is ready.
164
Page 165 of 422
If the airbag readiness light stays on after you
start the vehicle or comes on when you are driving,
your airbag system may not work properly.
Have your vehicle serviced right away.
{CAUTION:
If the airbag readiness light stays on after
you start your vehicle, it means the airbag
system may not be working properly.
The airbags in your vehicle may not
in�ate in a crash, or they could even
in�ate without a crash. To help avoid
injury to yourself or others, have your
vehicle serviced right away if the airbag
readiness light stays on after you start
your vehicle.
The airbag readiness light should flash for a few
seconds when you turn the ignition to ON.
If the light does not come on then, have it fixed so
it will be ready to warn you if there is a problem.
Passenger Airbag Status Indicator
Your vehicle has a passenger airbag status
indicator in the clock, located in the center of the
instrument panel.
When the ignition key is
turned to ON or START,
the passenger airbag
status indicator will light
for several seconds
as a system check.
Then, after several more seconds, if the off
symbol is lit on the passenger airbag status
indicator, it means that the passenger sensing
system has turned off the right front passenger’s
frontal airbag and seat-mounted side impact airbag
(if equipped). SeePassenger Sensing System
on page 76for more on this, including important
safety information.
165
Page 167 of 422
{CAUTION:
If the airbag readiness light in the
instrument panel cluster ever comes on
and stays on, it means that something may
be wrong with the airbag system. If this
ever happens, have the vehicle serviced
promptly, because an adult-size person
sitting in the right front passenger’s seat
may not have the protection of the frontal
airbag and side airbag (if equipped).
SeeAirbag Readiness Light on page 164
for more on this, including important safety
information.
Charging System Light
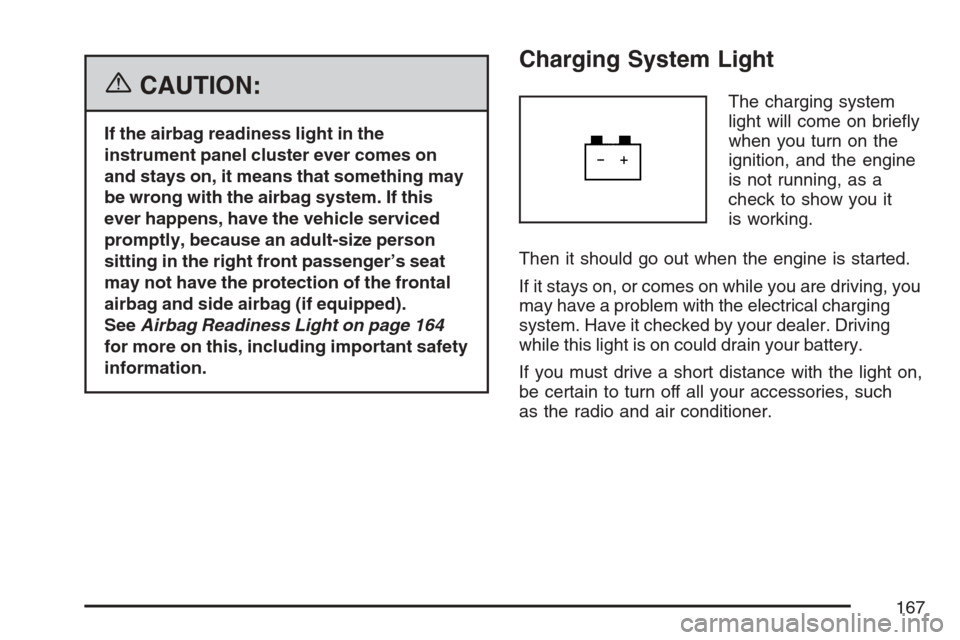
The charging system
light will come on briefly
when you turn on the
ignition, and the engine
is not running, as a
check to show you it
is working.
Then it should go out when the engine is started.
If it stays on, or comes on while you are driving, you
may have a problem with the electrical charging
system. Have it checked by your dealer. Driving
while this light is on could drain your battery.
If you must drive a short distance with the light on,
be certain to turn off all your accessories, such
as the radio and air conditioner.
167
Page 211 of 422
Avoid needless heavy braking. Some people drive
in spurts — heavy acceleration followed by
heavy braking — rather than keeping pace with
traffic. This is a mistake. The brakes may not have
time to cool between hard stops. The brakes
will wear out much faster if you do a lot of heavy
braking. If you keep pace with the traffic and
allow realistic following distances, you will
eliminate a lot of unnecessary braking. That means
better braking and longer brake life.
If your vehicle’s engine ever stops while you are
driving, brake normally but do not pump the
brakes. If you do, the pedal may get harder to
push down. If the engine stops, you will still have
some power brake assist. But you will use it
when you brake. Once the power assist is used
up, it may take longer to stop and the brake pedal
will be harder to push.
Adding non-GM accessories can affect your
vehicle’s performance. SeeAccessories and
Modifications on page 249.Anti-Lock Brake System (ABS)
Your vehicle may have the Anti-Lock Brake
System (ABS), an advanced electronic braking
system that will help prevent a braking skid.
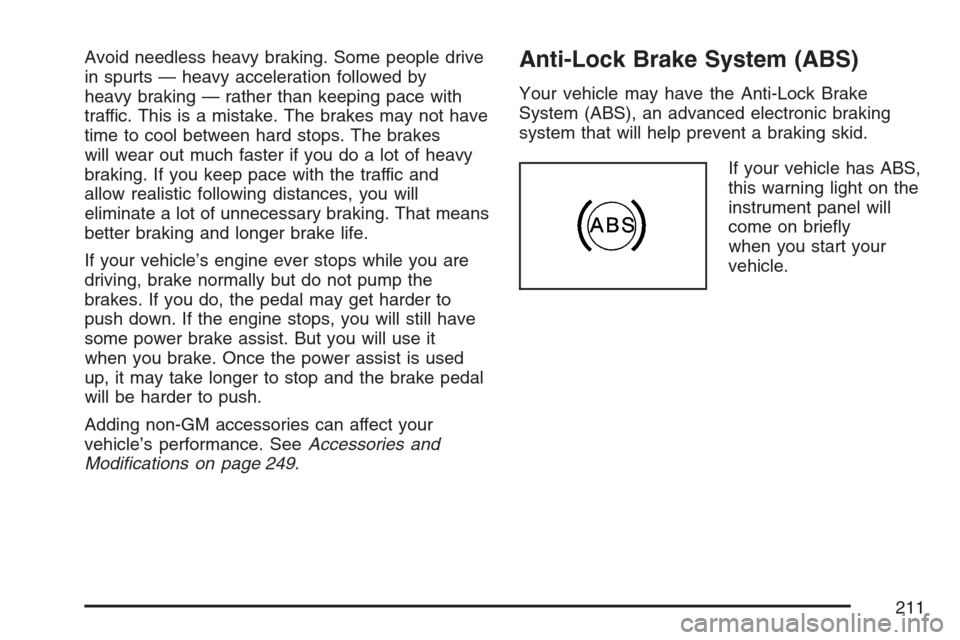
If your vehicle has ABS,
this warning light on the
instrument panel will
come on briefly
when you start your
vehicle.
211