maintenance CHEVROLET ORLANDO 2015 Owners Manual
[x] Cancel search | Manufacturer: CHEVROLET, Model Year: 2015, Model line: ORLANDO, Model: CHEVROLET ORLANDO 2015Pages: 372, PDF Size: 6.71 MB
Page 1 of 372
Black plate (1,1)Chevrolet Orlando Owner Manual - 2013 - CRC - 6/5/12
2013 Chevrolet Orlando Owner ManualM
In Brief. . . . . . . . . . . . . . . . . . . . . . . . 1-1
Instrument Panel . . . . . . . . . . . . . . 1-2
Initial Drive Information . . . . . . . . 1-4
Vehicle Features . . . . . . . . . . . . . 1-14
Performance and Maintenance . . . . . . . . . . . . . . . . 1-18
Keys, Doors, and Windows . . . . . . . . . . . . . . . . . . . . 2-1
Keys and Locks . . . . . . . . . . . . . . . 2-1
Doors . . . . . . . . . . . . . . . . . . . . . . . . . . 2-8
Vehicle Security . . . . . . . . . . . . . . . . 2-9
Exterior Mirrors . . . . . . . . . . . . . . . 2-11
Interior Mirrors . . . . . . . . . . . . . . . . 2-12
Windows . . . . . . . . . . . . . . . . . . . . . 2-14
Roof . . . . . . . . . . . . . . . . . . . . . . . . . . 2-16
Seats and Restraints . . . . . . . . . 3-1
Head Restraints . . . . . . . . . . . . . . . 3-2
Front Seats . . . . . . . . . . . . . . . . . . . . 3-3
Rear Seats . . . . . . . . . . . . . . . . . . . . 3-8
Safety Belts . . . . . . . . . . . . . . . . . . 3-15
Airbag System . . . . . . . . . . . . . . . . 3-24
Child Restraints . . . . . . . . . . . . . . 3-32 Storage
. . . . . . . . . . . . . . . . . . . . . . . 4-1
Storage Compartments . . . . . . . . 4-1
Additional Storage Features . . . 4-2
Roof Rack System . . . . . . . . . . . . . 4-5
Instruments and Controls . . . . 5-1
Controls . . . . . . . . . . . . . . . . . . . . . . . 5-2
Warning Lights, Gauges, and
Indicators . . . . . . . . . . . . . . . . . . . . 5-7
Information Displays . . . . . . . . . . 5-21
Vehicle Messages . . . . . . . . . . . . 5-24
Vehicle Personalization . . . . . . . 5-30
Lighting . . . . . . . . . . . . . . . . . . . . . . . 6-1
Exterior Lighting . . . . . . . . . . . . . . . 6-1
Interior Lighting . . . . . . . . . . . . . . . . 6-6
Lighting Features . . . . . . . . . . . . . . 6-7
Infotainment System . . . . . . . . . 7-1
Introduction . . . . . . . . . . . . . . . . . . . . 7-1
Radio . . . . . . . . . . . . . . . . . . . . . . . . . . 7-7
Audio Players . . . . . . . . . . . . . . . . 7-13
Phone . . . . . . . . . . . . . . . . . . . . . . . . 7-18
Trademarks and License Agreements . . . . . . . . . . . . . . . . . 7-29 Climate Controls
. . . . . . . . . . . . . 8-1
Climate Control Systems . . . . . . 8-1
Air Vents . . . . . . . . . . . . . . . . . . . . . . . 8-6
Driving and Operating . . . . . . . . 9-1
Driving Information . . . . . . . . . . . . . 9-2
Starting and Operating . . . . . . . 9-13
Engine Exhaust . . . . . . . . . . . . . . 9-20
Automatic Transmission . . . . . . 9-21
Manual Transmission . . . . . . . . . 9-24
Brakes . . . . . . . . . . . . . . . . . . . . . . . 9-26
Ride Control Systems . . . . . . . . 9-28
Cruise Control . . . . . . . . . . . . . . . . 9-31
Object Detection Systems . . . . 9-33
Fuel . . . . . . . . . . . . . . . . . . . . . . . . . . 9-38
Towing . . . . . . . . . . . . . . . . . . . . . . . 9-42
Conversions and Add-Ons . . . 9-47
Vehicle Care . . . . . . . . . . . . . . . . . 10-1
General Information . . . . . . . . . . 10-2
Vehicle Checks . . . . . . . . . . . . . . . 10-4
Headlamp Aiming . . . . . . . . . . . 10-25
Bulb Replacement . . . . . . . . . . 10-25
Electrical System . . . . . . . . . . . . 10-30
Wheels and Tires . . . . . . . . . . . 10-37
Page 2 of 372
Black plate (2,1)Chevrolet Orlando Owner Manual - 2013 - CRC - 6/5/12
2013 Chevrolet Orlando Owner ManualM
Jump Starting . . . . . . . . . . . . . . . 10-73
Towing . . . . . . . . . . . . . . . . . . . . . . 10-75
Appearance Care . . . . . . . . . . . 10-78
Service and Maintenance . . . 11-1
General Information . . . . . . . . . . 11-1
Maintenance Schedule . . . . . . . 11-2
Special Application Services . . . . . . . . . . . . . . . . . . . . 11-8
Additional Maintenance and Care . . . . . . . . . . . . . . . . . . . . 11-8
Recommended Fluids, Lubricants, and Parts . . . . . . 11-12
Maintenance Records . . . . . . . 11-14
Technical Data . . . . . . . . . . . . . . . 12-1
Vehicle Identification . . . . . . . . . 12-1
Vehicle Data . . . . . . . . . . . . . . . . . . 12-2
Customer Information . . . . . . . 13-1
Customer Information . . . . . . . . 13-1
Reporting Safety Defects . . . . 13-12
Vehicle Data Recording and Privacy . . . . . . . . . . . . . . . . . . . . 13-14 OnStar
. . . . . . . . . . . . . . . . . . . . . . . 14-1
OnStar Overview . . . . . . . . . . . . . 14-1
OnStar Services . . . . . . . . . . . . . . 14-2
OnStar Additional
Information . . . . . . . . . . . . . . . . . . 14-5
Index . . . . . . . . . . . . . . . . . . . . . i-1
Page 7 of 372
Black plate (1,1)Chevrolet Orlando Owner Manual - 2013 - CRC - 6/5/12
In Brief 1-1
In Brief
Instrument Panel
Instrument Panel . . . . . . . . . . . . . . 1-2
Initial Drive Information
Initial Drive Information . . . . . . . . 1-4
Remote Keyless Entry (RKE)System . . . . . . . . . . . . . . . . . . . . . . 1-4
Remote Vehicle Start . . . . . . . . . 1-4
Door Locks . . . . . . . . . . . . . . . . . . . 1-5
Liftgate . . . . . . . . . . . . . . . . . . . . . . . . 1-6
Windows . . . . . . . . . . . . . . . . . . . . . . 1-6
Seat Adjustment . . . . . . . . . . . . . . 1-6
Second Row Seats . . . . . . . . . . . 1-8
Third Row Seats . . . . . . . . . . . . . . 1-8
Heated Seats . . . . . . . . . . . . . . . . . 1-8
Head Restraint Adjustment . . . . 1-8
Safety Belts . . . . . . . . . . . . . . . . . . . 1-9
Mirror Adjustment . . . . . . . . . . . . . 1-9
Steering Wheel Adjustment . . . . . . . . . . . . . . . . . 1-10
Interior Lighting . . . . . . . . . . . . . . 1-10
Exterior Lighting . . . . . . . . . . . . . 1-11
Windshield Wiper/Washer . . . . 1-12
Climate Controls . . . . . . . . . . . . . 1-13
Transmission . . . . . . . . . . . . . . . . 1-14
Vehicle Features
Radio(s) . . . . . . . . . . . . . . . . . . . . . 1-14
Satellite Radio . . . . . . . . . . . . . . . 1-15
Portable Audio Devices . . . . . . 1-16
Bluetooth
®. . . . . . . . . . . . . . . . . . . 1-16
Steering Wheel Controls . . . . . 1-16
Cruise Control . . . . . . . . . . . . . . . 1-17
Driver Information
Center (DIC) . . . . . . . . . . . . . . . 1-17
Ultrasonic Parking Assist . . . . 1-17
Storage Compartments . . . . . . 1-18
Power Outlets . . . . . . . . . . . . . . . 1-18
Performance and Maintenance
Traction Control System (TCS) . . . . . . . . . . . . . . 1-18
StabiliTrak
®System . . . . . . . . . 1-19
Tire Pressure Monitor . . . . . . . . 1-19
Tire Sealant and
Compressor Kit . . . . . . . . . . . . . 1-19
Engine Oil Life System . . . . . . 1-20
Driving for Better Fuel Economy . . . . . . . . . . . . . . . . . . . 1-20
Roadside Assistance Program . . . . . . . . . . . . . . . . . . . . 1-20
OnStar
®. . . . . . . . . . . . . . . . . . . . . 1-21
Page 24 of 372
Black plate (18,1)Chevrolet Orlando Owner Manual - 2013 - CRC - 6/5/12
1-18 In Brief
Storage Compartments
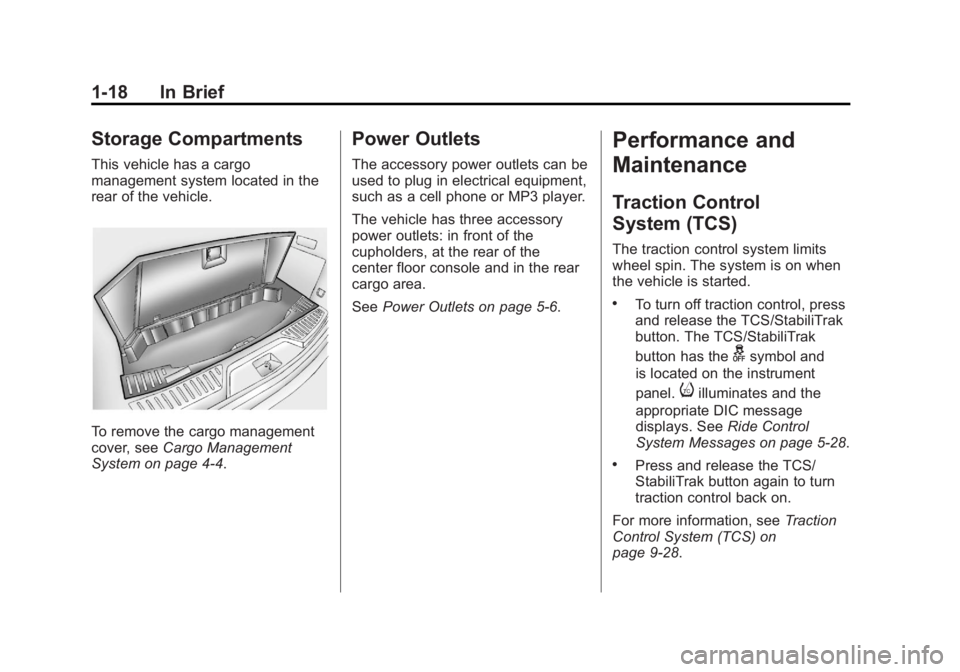
This vehicle has a cargo
management system located in the
rear of the vehicle.
To remove the cargo management
cover, seeCargo Management
System on page 4‑4.
Power Outlets
The accessory power outlets can be
used to plug in electrical equipment,
such as a cell phone or MP3 player.
The vehicle has three accessory
power outlets: in front of the
cupholders, at the rear of the
center floor console and in the rear
cargo area.
See Power Outlets on page 5‑6.
Performance and
Maintenance
Traction Control
System (TCS)
The traction control system limits
wheel spin. The system is on when
the vehicle is started.
.To turn off traction control, press
and release the TCS/StabiliTrak
button. The TCS/StabiliTrak
button has the
gsymbol and
is located on the instrument
panel.
iilluminates and the
appropriate DIC message
displays. See Ride Control
System Messages on page 5‑28.
.Press and release the TCS/
StabiliTrak button again to turn
traction control back on.
For more information, see Traction
Control System (TCS) on
page 9‑28.
Page 25 of 372
Black plate (19,1)Chevrolet Orlando Owner Manual - 2013 - CRC - 6/5/12
In Brief 1-19
StabiliTrak®System
The StabiliTrak system assists with
directional control of the vehicle in
difficult driving conditions. The
system is on when the vehicle is
started.
.To turn off both Traction Control
and StabiliTrak, press and hold
the TCS/StabiliTrak button,
until
iandgilluminate and the
appropriate DIC message
displays. See Ride Control
System Messages on page 5‑28.
The TCS/StabiliTrak button has
the
gsymbol and is located on
the instrument panel,
.Press the TCS/StabiliTrak button
again to turn on both systems.
For more information, see
StabiliTrak
®System on page 9‑29.
Tire Pressure Monitor
This vehicle may have a Tire
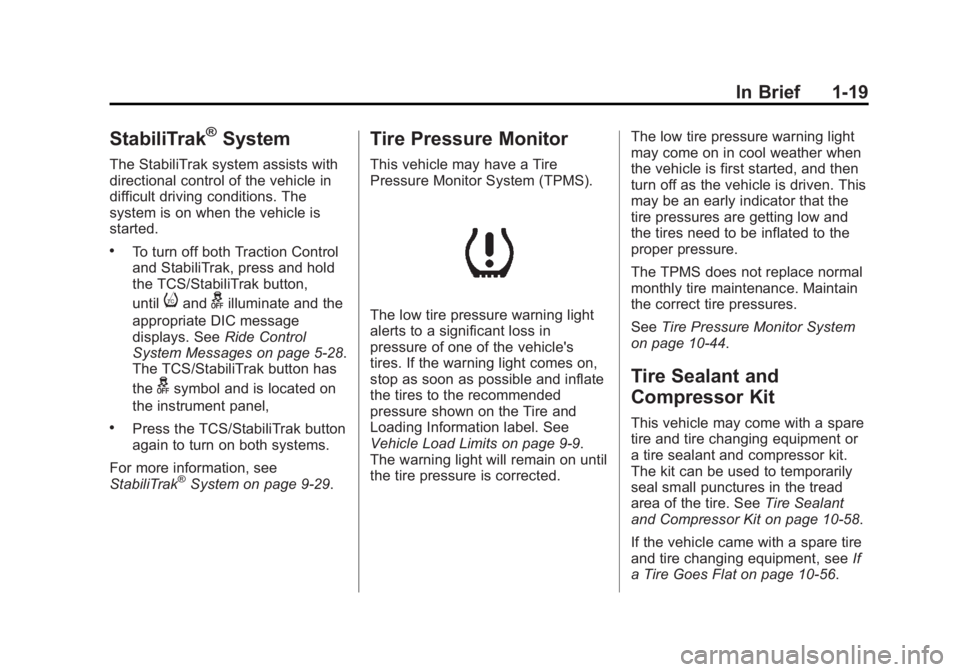
Pressure Monitor System (TPMS).
The low tire pressure warning light
alerts to a significant loss in
pressure of one of the vehicle's
tires. If the warning light comes on,
stop as soon as possible and inflate
the tires to the recommended
pressure shown on the Tire and
Loading Information label. See
Vehicle Load Limits on page 9‑9.
The warning light will remain on until
the tire pressure is corrected. The low tire pressure warning light
may come on in cool weather when
the vehicle is first started, and then
turn off as the vehicle is driven. This
may be an early indicator that the
tire pressures are getting low and
the tires need to be inflated to the
proper pressure.
The TPMS does not replace normal
monthly tire maintenance. Maintain
the correct tire pressures.
See
Tire Pressure Monitor System
on page 10‑44.
Tire Sealant and
Compressor Kit
This vehicle may come with a spare
tire and tire changing equipment or
a tire sealant and compressor kit.
The kit can be used to temporarily
seal small punctures in the tread
area of the tire. See Tire Sealant
and Compressor Kit on page 10‑58.
If the vehicle came with a spare tire
and tire changing equipment, see If
a Tire Goes Flat on page 10‑56.
Page 26 of 372
Black plate (20,1)Chevrolet Orlando Owner Manual - 2013 - CRC - 6/5/12
1-20 In Brief
Engine Oil Life System
The engine oil life system calculates
engine oil life based on vehicle use
and displays the CHANGE ENGINE
OIL SOON DIC message or Code
82 DIC message when it is time to
change the engine oil and filter. The
oil life system should be reset to
100% only following an oil change.
Resetting the Oil Life System
1. Turn the ignition to ON/RUN withthe engine off.
2. Press the DIC MENU button on the turn signal lever to enter the
Vehicle Information Menu. Use
the thumbwheel to scroll through
the menu items until you reach
REMAINING OIL LIFE.
3. Press the SET/CLR button to reset the oil life at 100%.
4. Turn the ignition to LOCK/OFF.
See Engine Oil Life System on
page 10‑9.
Driving for Better Fuel
Economy
Driving habits can affect fuel
mileage. Here are some driving tips
to get the best fuel economy
possible.
.Avoid fast starts and accelerate
smoothly.
.Brake gradually and avoid
abrupt stops.
.Avoid idling the engine for long
periods of time.
.When road and weather
conditions are appropriate, use
cruise control.
.Always follow posted speed
limits or drive more slowly when
conditions require.
.Keep vehicle tires properly
inflated.
.Combine several trips into a
single trip.
.Replace the vehicle's tires with
the same TPC Spec number
molded into the tire's sidewall
near the size.
.Follow recommended scheduled
maintenance.
Roadside Assistance
Program
U.S.: 1-800-243-8872
TTY Users (U.S. Only):
1-888-889-2438
Canada: 1-800-268-6800
As the owner of a new Chevrolet,
you are automatically enrolled in the
Roadside Assistance program.
See Roadside Assistance Program
on page 13‑5.
Page 77 of 372
Black plate (31,1)Chevrolet Orlando Owner Manual - 2013 - CRC - 6/5/12
Seats and Restraints 3-31
Your dealer and the service manual
have information about the location
of the airbag sensors, sensing and
diagnostic module, and airbag
wiring.
If the vehicle has rollover roof‐rail
airbags, seeDifferent Size Tires
and Wheels on page 10‑53 for
important information.
If you have to modify your vehicle
because you have a disability and
have questions about whether the
modifications will affect the vehicle's
airbag system, or if you have
questions about whether the airbag
system will be affected if the vehicle
is modified for any other reason, call
Customer Assistance. See
Customer Assistance Offices on
page 13‑3.
Airbag System Check
The airbag system does not need
regularly scheduled maintenance or
replacement. Make sure the airbag readiness light is working. See
Airbag Readiness Light on
page 5‑11.
Notice:
If an airbag covering is
damaged, opened, or broken, the
airbag may not work properly. Do
not open or break the airbag
coverings. If there are any
opened or broken airbag covers,
have the airbag covering and/or
airbag module replaced. For the
location of the airbags, see
Where Are the Airbags? on
page 3‑26. See your dealer for
service.
Replacing Airbag System
Parts after a Crash
{WARNING
A crash can damage the airbag
systems in the vehicle.
A damaged airbag system may
not work properly and may not
protect you and your
(Continued)
WARNING (Continued)
passenger(s) in a crash, resulting
in serious injury or even death. To
help make sure the airbag
systems are working properly
after a crash, have them
inspected and any necessary
replacements made as soon as
possible.
If an airbag inflates, you will need to
replace airbag system parts. See
your dealer for service.
If the airbag readiness light stays on
after the vehicle is started or comes
on when you are driving, the airbag
system may not work properly. Have
the vehicle serviced right away. See
Airbag Readiness Light on
page 5‑11.
Page 112 of 372
Black plate (12,1)Chevrolet Orlando Owner Manual - 2013 - CRC - 6/5/12
5-12 Instruments and Controls
If a short distance must be driven
with the light on, be sure to turn off
all accessories, such as the radio
and air conditioner.
Malfunction
Indicator Lamp
A computer system called OBD II
(On-Board Diagnostics-Second
Generation) monitors the operation
of the vehicle to ensure emissions
are at acceptable levels, helping to
maintain a clean environment.
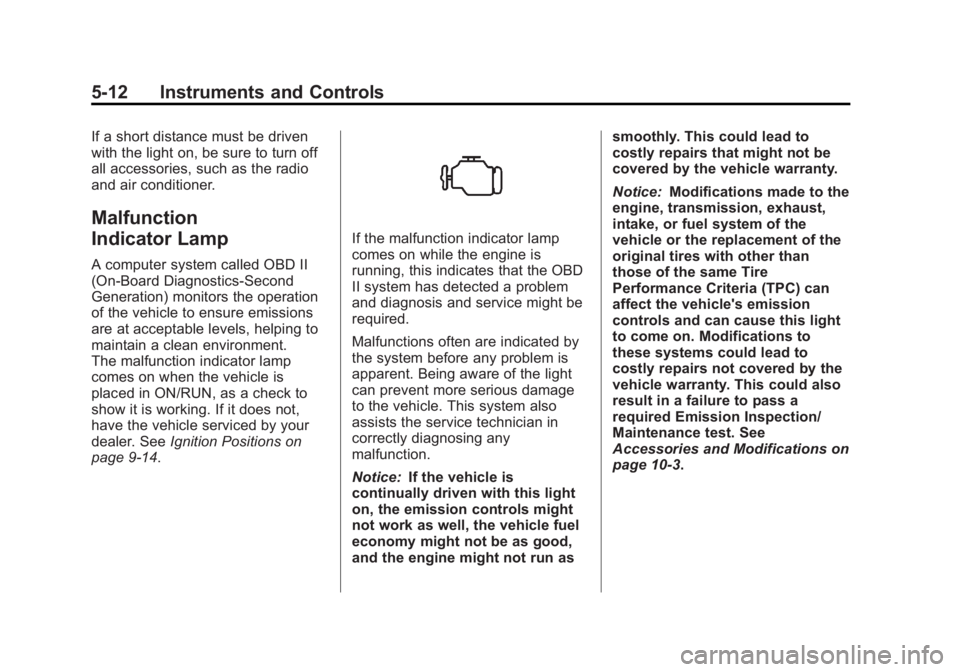
The malfunction indicator lamp
comes on when the vehicle is
placed in ON/RUN, as a check to
show it is working. If it does not,
have the vehicle serviced by your
dealer. SeeIgnition Positions on
page 9‑14.
If the malfunction indicator lamp
comes on while the engine is
running, this indicates that the OBD
II system has detected a problem
and diagnosis and service might be
required.
Malfunctions often are indicated by
the system before any problem is
apparent. Being aware of the light
can prevent more serious damage
to the vehicle. This system also
assists the service technician in
correctly diagnosing any
malfunction.
Notice: If the vehicle is
continually driven with this light
on, the emission controls might
not work as well, the vehicle fuel
economy might not be as good,
and the engine might not run as smoothly. This could lead to
costly repairs that might not be
covered by the vehicle warranty.
Notice:
Modifications made to the
engine, transmission, exhaust,
intake, or fuel system of the
vehicle or the replacement of the
original tires with other than
those of the same Tire
Performance Criteria (TPC) can
affect the vehicle's emission
controls and can cause this light
to come on. Modifications to
these systems could lead to
costly repairs not covered by the
vehicle warranty. This could also
result in a failure to pass a
required Emission Inspection/
Maintenance test. See
Accessories and Modifications on
page 10‑3.
Page 113 of 372
Black plate (13,1)Chevrolet Orlando Owner Manual - 2013 - CRC - 6/5/12
Instruments and Controls 5-13
This light comes on during a
malfunction in one of two ways:
Light Flashing:A misfire condition
has been detected. A misfire
increases vehicle emissions and
could damage the emission control
system on the vehicle. Diagnosis
and service might be required.
To prevent more serious damage to
the vehicle:
.Reduce vehicle speed.
.Avoid hard accelerations.
.Avoid steep uphill grades.
.If towing a trailer, reduce the
amount of cargo being hauled as
soon as it is possible.
If the light continues to flash, find a
safe place to stop and park the
vehicle. Turn the vehicle off, wait at
least 10 seconds, and restart the
engine. If the light is still flashing,
follow the previous steps and see
your dealer for service as soon as
possible. Light On Steady:
An emission
control system malfunction has
been detected on the vehicle.
Diagnosis and service might be
required.
The following may correct an
emission control system
malfunction:
.Check that the fuel cap is fully
installed. See Filling the Tank on
page 9‑40. The diagnostic
system can determine if the fuel
cap has been left off or
improperly installed. A loose or
missing fuel cap allows fuel to
evaporate into the atmosphere.
A few driving trips with the cap
properly installed should turn the
light off.
.Check that good quality fuel is
used. Poor fuel quality causes
the engine not to run as
efficiently as designed and may
cause stalling after start-up,
stalling when the vehicle is
changed into gear, misfiring,
hesitation on acceleration, or stumbling on acceleration.
These conditions might go away
once the engine is warmed up.
If one or more of these conditions
occurs, change the fuel brand used.
It may require at least one full tank
of the proper fuel to turn the light off.
See Recommended Fuel on
page 9‑38.
If none of the above have made the
light turn off, your dealer can check
the vehicle. The dealer has the
proper test equipment and
diagnostic tools to fix any
mechanical or electrical problems
that might have developed.
Emissions Inspection and
Maintenance Programs
Depending on where you live, your
vehicle may be required to
participate in an emission control
system inspection and maintenance
program. For the inspection, the
emission system test equipment will
likely connect to the vehicle's Data
Link Connector (DLC).
Page 118 of 372
Black plate (18,1)Chevrolet Orlando Owner Manual - 2013 - CRC - 6/5/12
5-18 Instruments and Controls
When the Light Is On Steady
This indicates that one or more of
the tires are significantly
underinflated.
A Driver Information Center (DIC)
tire pressure message may also
display. SeeTire Messages on
page 5‑29. Stop as soon as
possible, and inflate the tires to the
pressure value shown on the Tire
and Loading Information label. See
Tire Pressure on page 10‑43.
When the Light Flashes First and
Then Is On Steady
If the light flashes for about a minute
and then stays on, there may be a
problem with the TPMS. If the
problem is not corrected, the light
will come on at every ignition cycle.
See Tire Pressure Monitor
Operation on page 10‑45.
Engine Oil Pressure Light
Notice: Lack of proper engine oil
maintenance can damage the
engine. Driving with the engine oil low can also damage the
engine. The repairs would not be
covered by the vehicle warranty.
Check the oil level as soon as
possible. Add oil if required, but
if the oil level is within the
operating range and the oil
pressure is still low, have the
vehicle serviced. Always follow
the maintenance schedule for
changing engine oil.
The oil pressure light should come
on briefly as the engine is started.
If it does not come on, have the
vehicle serviced by your dealer.
If the light comes on and stays on, it
means that oil is not flowing through
the engine properly. The vehicle
could be low on oil and might have
some other system problem. See
your dealer.
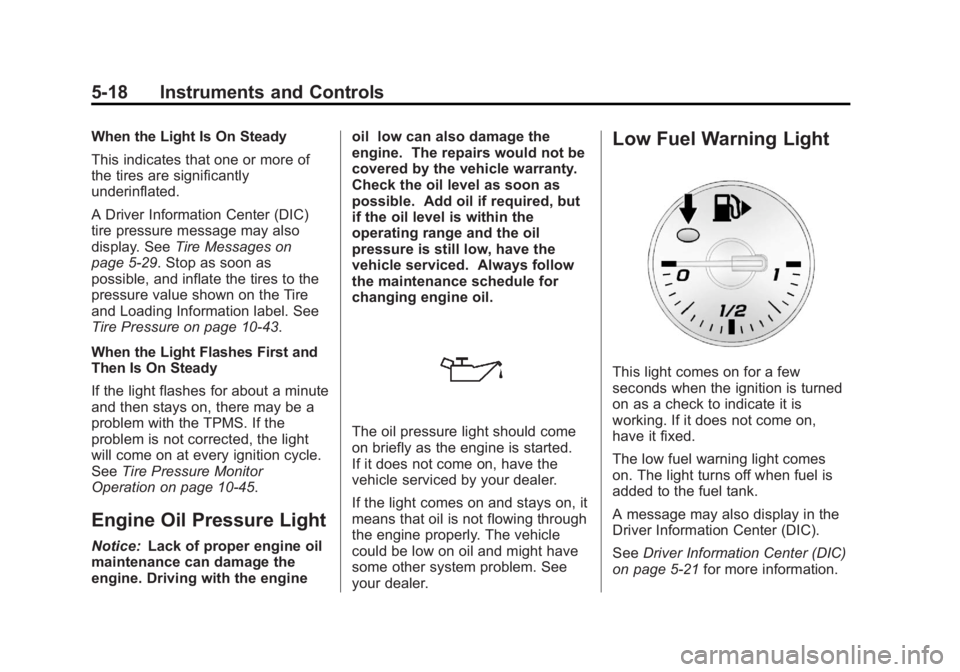
Low Fuel Warning Light
This light comes on for a few
seconds when the ignition is turned
on as a check to indicate it is
working. If it does not come on,
have it fixed.
The low fuel warning light comes
on. The light turns off when fuel is
added to the fuel tank.
A message may also display in the
Driver Information Center (DIC).
See
Driver Information Center (DIC)
on page 5‑21 for more information.