tow CHEVROLET PRIZM 1998 3.G User Guide
[x] Cancel search | Manufacturer: CHEVROLET, Model Year: 1998, Model line: PRIZM, Model: CHEVROLET PRIZM 1998 3.GPages: 364, PDF Size: 18.79 MB
Page 101 of 364
Downloaded from www.Manualslib.com manuals search engine If you cannot shift out of PARK (P), ease pressure on
the shift lever
-- push the shift lever all the way into
PARK (P) and release the shift lever button as you
maintain brake application. Then press the shift lever
button and move the shift lever into the gear you wish.
If you ever hold the brake pedal down but still can’t
shift out of PARK (P), try this:
1. Carefully pry the shift lock override cover from the
floor shift console using a fiat-bladed tool.
2. Insert the end of the flat-bladed tool into the
rectangular slot and press down firmly.
3. While maintaining brake application, move the shift lever into the drive gear you want.
4. Have the vehicle fixed as soon as possible.
Parking Your Vehicle (Manual Transaxle)
Before you get out of your vehicle, put your manual
transaxle in
REVERSE (R) (if your vehicle is parked on
a level surface or facing downhill), or put your manual
transaxle in FIRST
(1) (if your vehicle is parked facing
uphill) and firmly apply the parking brake.
If you are towing
a trailer, see “Towing a Trailer” in
the Index.
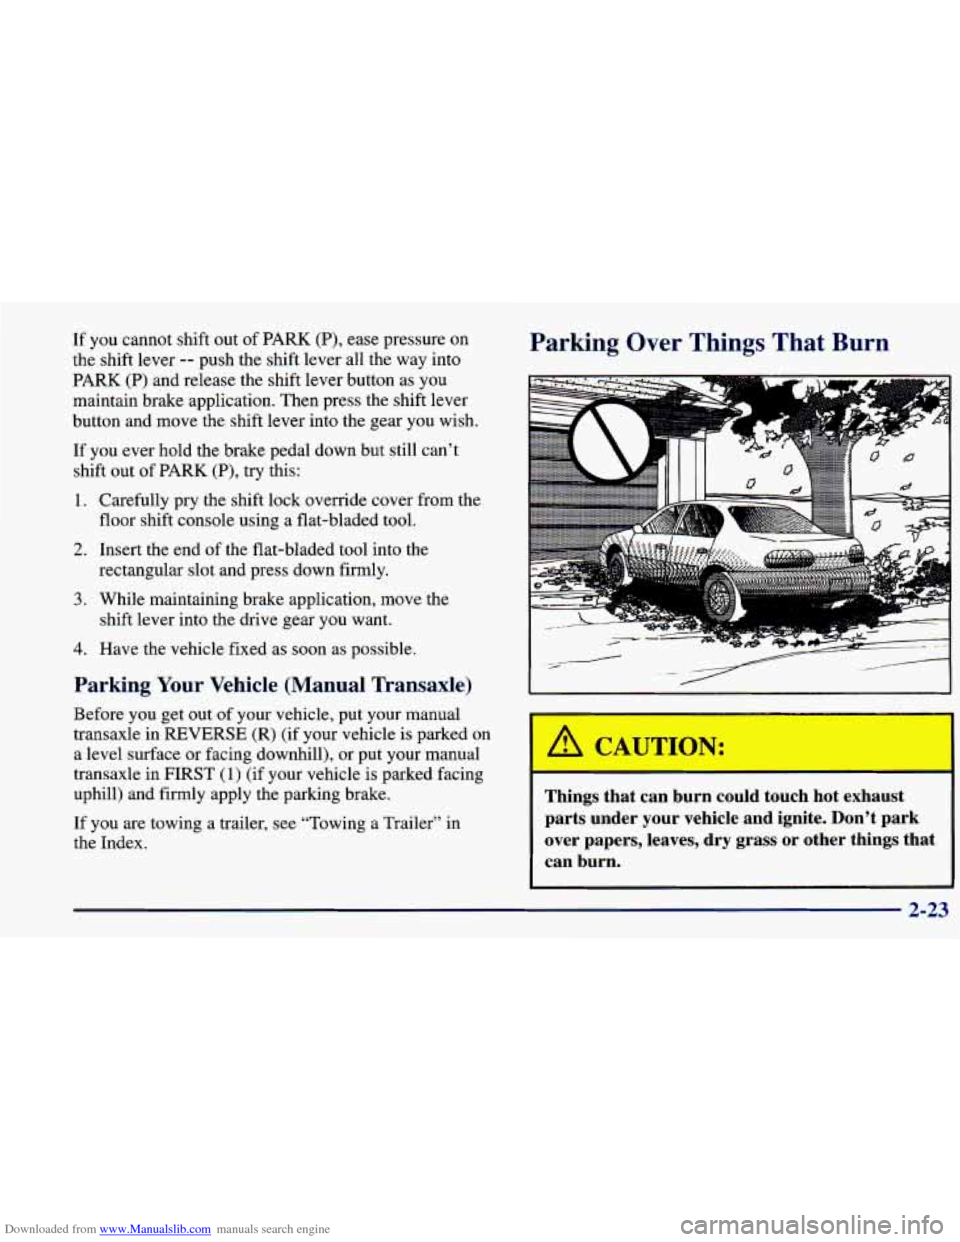
Parking Over Things That Burn
Things that can burn cudd touw hot exhaust
parts under your vehicle and ignite. Don’t park
over papers, leaves, dry grass or other things that
can burn.
2-23
Page 103 of 364
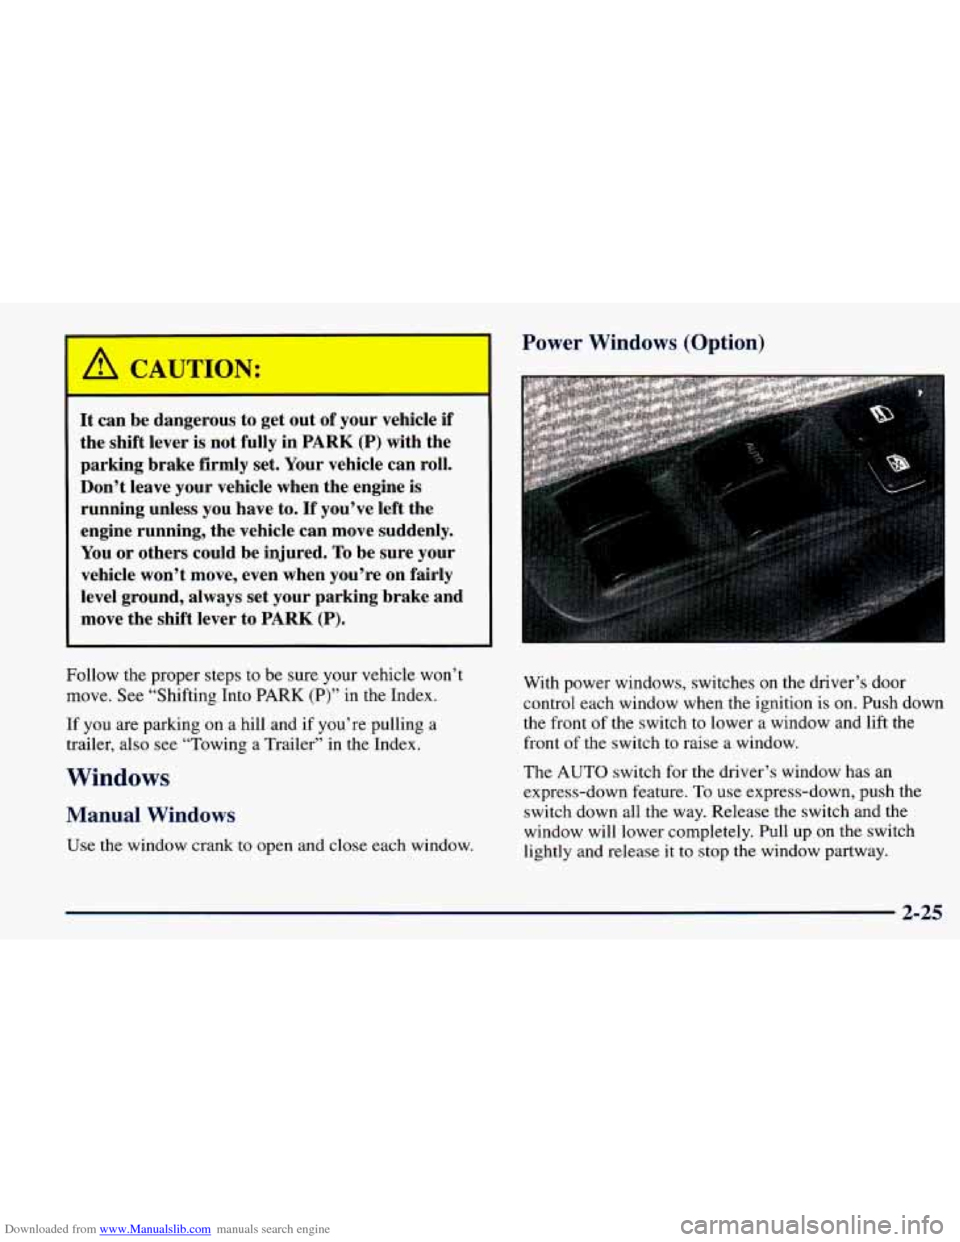
Downloaded from www.Manualslib.com manuals search engine Power Windows (Option)
It can be dangerous to get out of your vehicle if
the shift lever is not fully in PARK (P) with the
parking brake firmly
set. Your vehicle can roll.
Don’t leave your vehicle when the engine is
running unless you have to.
If you’ve left the
engine running, the vehicle can move suddenly.
You or others could be injured.
To be sure your
vehicle won’t move, even when you’re on fairly
level ground, always set your parking brake and
move the shift lever to
PARK (P).
Follow the proper steps to be sure your vehicle won’t
move. See “Shifting Into
PARK (P)” in the Index.
If you are parking on a hill and
if you’re pulling a
trailer, also see “Towing a Trailer” in the Index.
Windows
Manual Windows
Use the window crank to open and close each window. With power
windows, switches on the driver’s door
control each window when the ignition is on.
Push down
the front of the switch to lower a window and lift the
front of the switch to raise
a window.
The AUTO switch for the driver’s window has an
express-down feature. To use express-down, push the
switch down all the way. Release the switch and the
window will lower completely. Pull
up on the switch
lightly and release it to stop
the window partway.
2-25
Page 106 of 364
Downloaded from www.Manualslib.com manuals search engine Headlamp HighlLow Beam Changer
First, you must have the
headlamps on. For high
beams, push the turn signal
lever away from
you. When
the high beams are on, this
light on the instrument
panel also will be
on.
It will go off when you switch to the low beams. To
switch back to low beams, pull the lever toward you.
Flash-to-Pass
With the lever in the low beam position, pull the lever
toward you to momentarily switch to high beams (to
signal that you are going to pass). If you have the
headlamps on when you release the lever, they will
return
to the low beams.
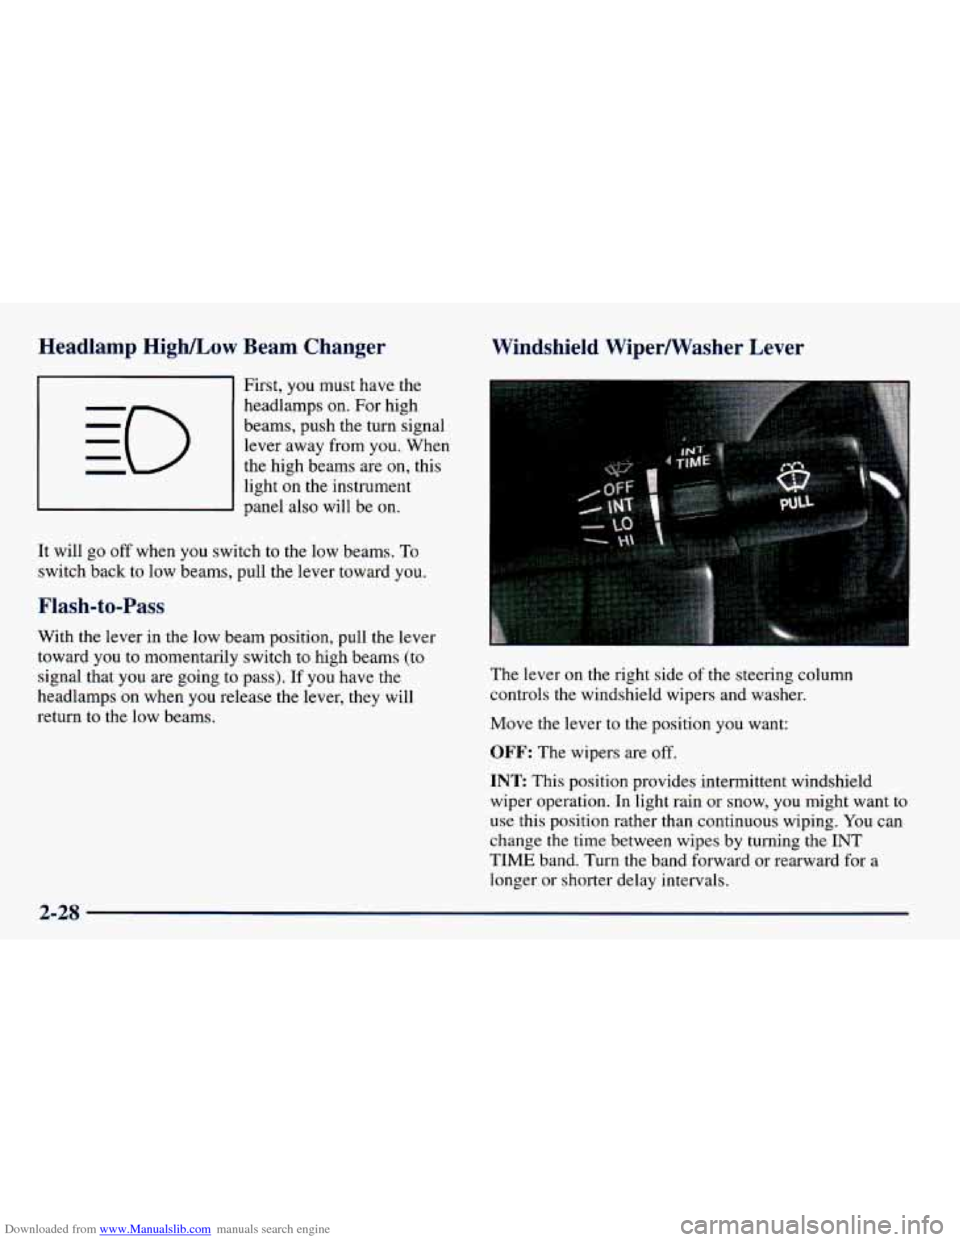
Windshield Wipermasher Lever
The lever on the right side of the steering column
controls the windshield wipers and washer.
Move the lever to the position you want:
OFF: The wipers are off.
INT
This position provides intermittent windshield
wiper operation. In light rain or snow, you might want
to
use this position rather than continuous wiping. You can
change
the time between wipes by turning the INT
TIME band. Turn the band forward or rearward for a
longer or shorter delay intervals.
2-28
Page 107 of 364
Downloaded from www.Manualslib.com manuals search engine LO: The wipers will run continuously at low speed.
HI: The wipers will run continuously at high speed.
Be sure to clear
ice and snow from the wiper blades
before using them. If they’re frozen to the windshield,
carefully loosen or thaw them. If your blades do become
damaged, get new blades or blade inserts.
Heavy snow
or ice can overload your wipers. A circuit
breaker will stop them until the motor cools. Clear
away snow or ice to prevent an overload.
Windshield Washer
Pull the end of the lever toward you to spray washer
fluid
on the windshield. The spray will continue until
you release the lever. The wipers will run a few times.
See “Windshield Washer Fluid” in the Index.
I-
A CAU ION:
In freezing weather, don’t use your washer until
the windshield is warmed. Otherwise the washer
fluid can form ice on the windshield, blocking
your vision.
2-29
Page 110 of 364
Downloaded from www.Manualslib.com manuals search engine Using Cruise Control on Hills
How well your cruise control will work on hills depends
upon
your speed, load and the steepness of the hills.
When going up steep hills, you may have
to step on the
accelerator pedal to maintain your speed. When going
downhill, you may have to brake
or shift to a lower gear
to keep your speed down.
Of course, applying the brake
or downshifting to SECOND
(2) or LOW (L) takes you
out of cruise control. Many drivers find this to be too
much trouble and don’t use cruise control on steep hills.
Ending Out of Cruise Control
There are several ways to turn off the cruise control:
Step lightly on the brake pedal or push the clutch
pedal, if you have a manual transaxle.
lever toward you to cancel.
Press the CRUISE ON-OFF button again or pull the
Erasing Speed Memory
When you turn off the cruise control or the ignition,
your cruise control set speed memory is erased.
Exterior Lamps
Headlamps
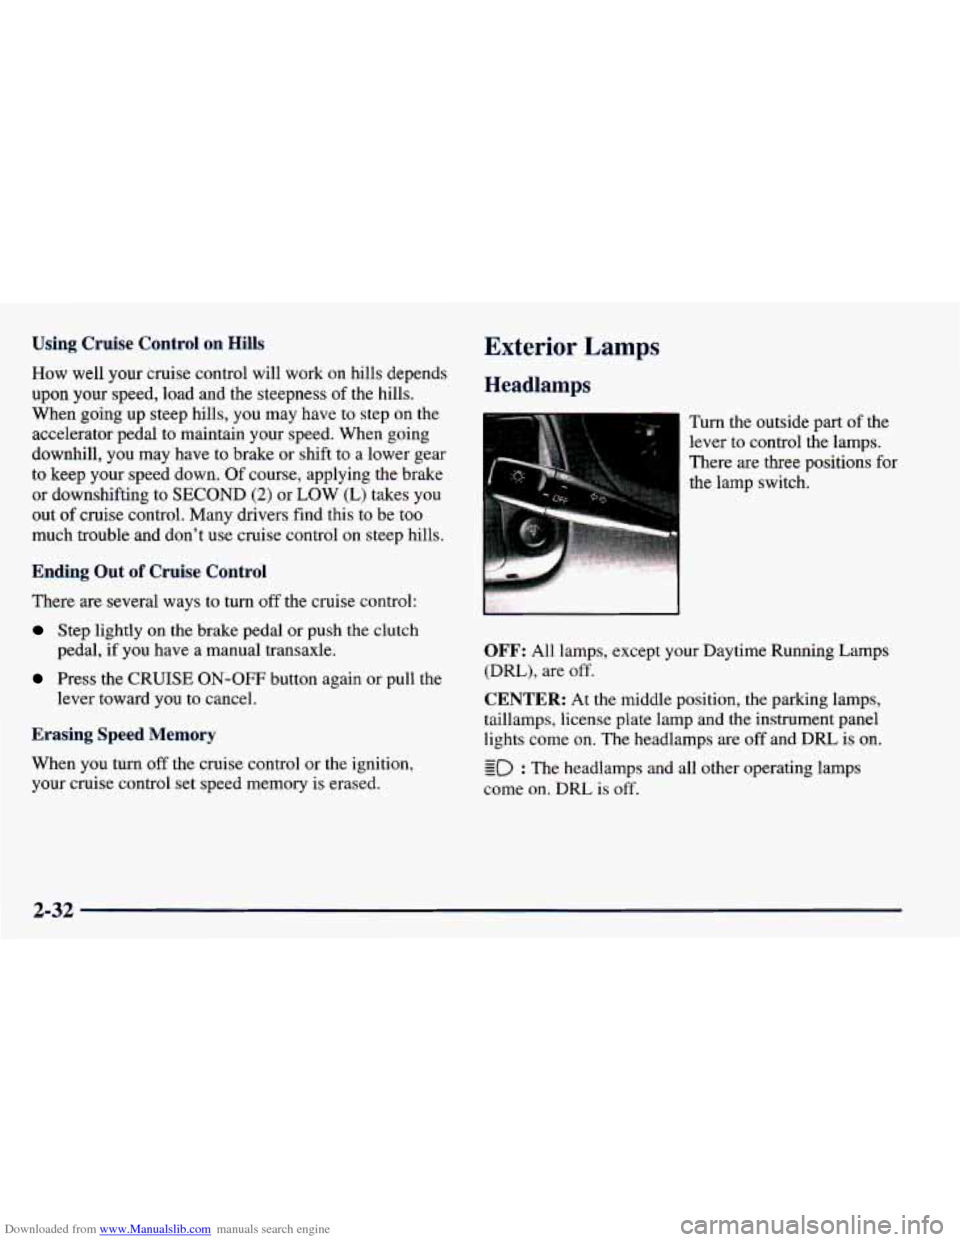
Turn the outside part of the
lever to control the lamps.
There are three positions for
the lamp switch.
OFF: All lamps, except your Daytime Running Lamps
(DRL), are
off.
CENTER: At the middle position, the parking lamps,
taillamps, license plate lamp and the instrument panel
lights come
on. The headlamps are off and DRL is on.
- Eo - : The headlamps and all other operating lamps
come
on. DRL is off.
2-32
Page 115 of 364
Downloaded from www.Manualslib.com manuals search engine Storage Compartments
Glove Box
To open the glove box door, lift the latch. Always keep
the glove
box door closed while driving.
Door Storage Compartments
The driver’s door has a maphtorage compartment.
You will also have a storage compartment on the front
passenger’s door.
Instrument Panel Storage Compartment
There is also a storage compartment located on the
instrument panel below the instrument panel brightness
control. Pull the top
of the door toward you to open it.
Cupholders
To open the cupholder, push and release the bar which
is located below the audio system, then pull the
cupholder out. With the cups removed, push
it back in.
The cupholder cannot be used while using the ashtray.
The rear cupholder is located at the rear
of the console
storage area.
To open the cupholder, pull on the top of
the door.
Console Storage Area
A small storage area is in the console between the
seats. Sunglasses can be stored
in the tray under the
console lid.
2-37
Page 125 of 364
Downloaded from www.Manualslib.com manuals search engine BRAKE
Brake System Warning Light
Your vehicle’s hydraulic brake system is divided into
two parts.
If one part isn’t working, the other part can
still work and stop you. For good braking, though, you
need both parts working well.
If the warning light comes on, there is a brake problem.
Have your brake system inspected right away.
This light should come
on
when you turn the key to
START.
If it doesn’t come
on then, have it fixed
so it
will be ready to warn you
if there’s a problem.
If the light comes on while you are driving, pull off the
road and stop carefully.
You may notice that the pedal is
harder to push. Or, the pedal may go closer to the floor.
It may take longer to stop. If the light is still on, or if the
anti-lock brake system warning light is flashing, have
the vehicle towed for service, (See “Anti-Lock Brake
System Warning Light” and “Towing Your Vehicle” in
the Index.)
Your brake system may not be working properly
if the brake system warning light is
on. Driving
with the brake system warning light on can lead
to an accident. If the light is still on or if the
anti-lock brake system warning light is flashing
after you’ve pulled
off the road and stopped
carefully, have the vehicle towed for service.
When the ignition is on, the brake system warning light
will also come on when you set your parking brake. The
light will stay on if your parking brake doesn’t release
fully. If it stays on after your parking brake
is fully
released, it means you have a brake problem.
2-47
Page 126 of 364
Downloaded from www.Manualslib.com manuals search engine Anti-Lock Brake System Warning
Light (Option)
ABS
With the anti-lock brake
system, this light will
come
on when you start
your engine and it will
stay on for three seconds.
That’s normal.
If the light flashes when you’re driving, you don’t have
anti-lock brakes and there could be a problem w ‘th your
regular brakes. Pull
off the road and stop carefully. You
may notice that the pedal is harder to push. Or, the pedal
may go closer to the floor. It may take longer to stop.
Have the vehicle towed for service. (See “Towing Your
Vehicle” in the Index.)
Your regular brake system may not be working
properly if the anti-lock brake system warning
light is flashing. Driving with the anti-lock
brake system warning light flashing can lead
to an accident. After you’ve pulled
off the road
and stopped carefully, have the vehicle towed
for service.
If the anti-lock brake system warning light stays on
longer than normal after you’ve started your engine, turn
the ignition
off. Or, if the light comes on and stays on
when you’re driving, stop as soon as possible and turn
the ignition
off. Then start the engine again to reset the
system. If the light still stays
on, or comes on again
while you’re driving, your vehicle needs service. If the
light is
on but not flashing and the regular brake system
warning light isn’t
on, you still have brakes, but you
don’t have anti-lock brakes.
The anti-lock brake system warning light should come
on briefly when you turn the ignition key to ON. If the
light doesn’t come
on then, have it fixed so it will be
ready to warn
you if there is a problem.
Page 128 of 364
Downloaded from www.Manualslib.com manuals search engine NOTICE:
If you keep driving your vehicle with this light
on, after
a while, your emission controls may not
~ work as well, your fuel economy may not be as
good and your engine may not run as smoothly.
This could lead to costly repairs that may not be
covered
by your warranty.
This light should come on, as a check to show you it is
working, when the ignition is on and the engine
is not
running. If the light doesn’t come on, have it repaired.
This light will also come on during a malfunction in
one of two ways:
Light Flashing -- A misfire condition has been
detected.
A misfire increases vehicle emissions and
may damage the emission control system on your
vehicle. Dealer or qualified service center diagnosis
and service may be required.
@ Light On Steady -- An emission control system
malfunction has been detected on your vehicle.
Dealer or qualified service center diagnosis and
service may be required.
If the Light Is Flashing
The following may prevent more serious damage to
your vehicle:
0 Reducing vehicle speed.
Avoiding hard accelerations.
0 Avoiding steep uphill grades.
0 If you are towing a trailer, reduce the amount of
cargo being hauled as soon as it is possible.
If the light stops flashing and remains on steady, see “If
the Light Is
On Steady” following.
If the light continues to flash, when it is
safe to do so,
stop the vehicle. Find a safe place to park your vehicle.
Turn the key off, wait at least
10 seconds and restart the
engine. If the light remains on steady, see “If the Light
Is On Steady” following. If the light is still flashing,
follow the previous steps, and drive the vehicle to your
dealer or qualified service center for service.
2-50
Page 136 of 364
Downloaded from www.Manualslib.com manuals search engine Comfort Controls
With this system, you can control the heating and
ventilation in your vehicle.
If you have the air
conditioning option, you can also control cooling.
Your vehicle also has the flow-through ventilation
system described later in this section.
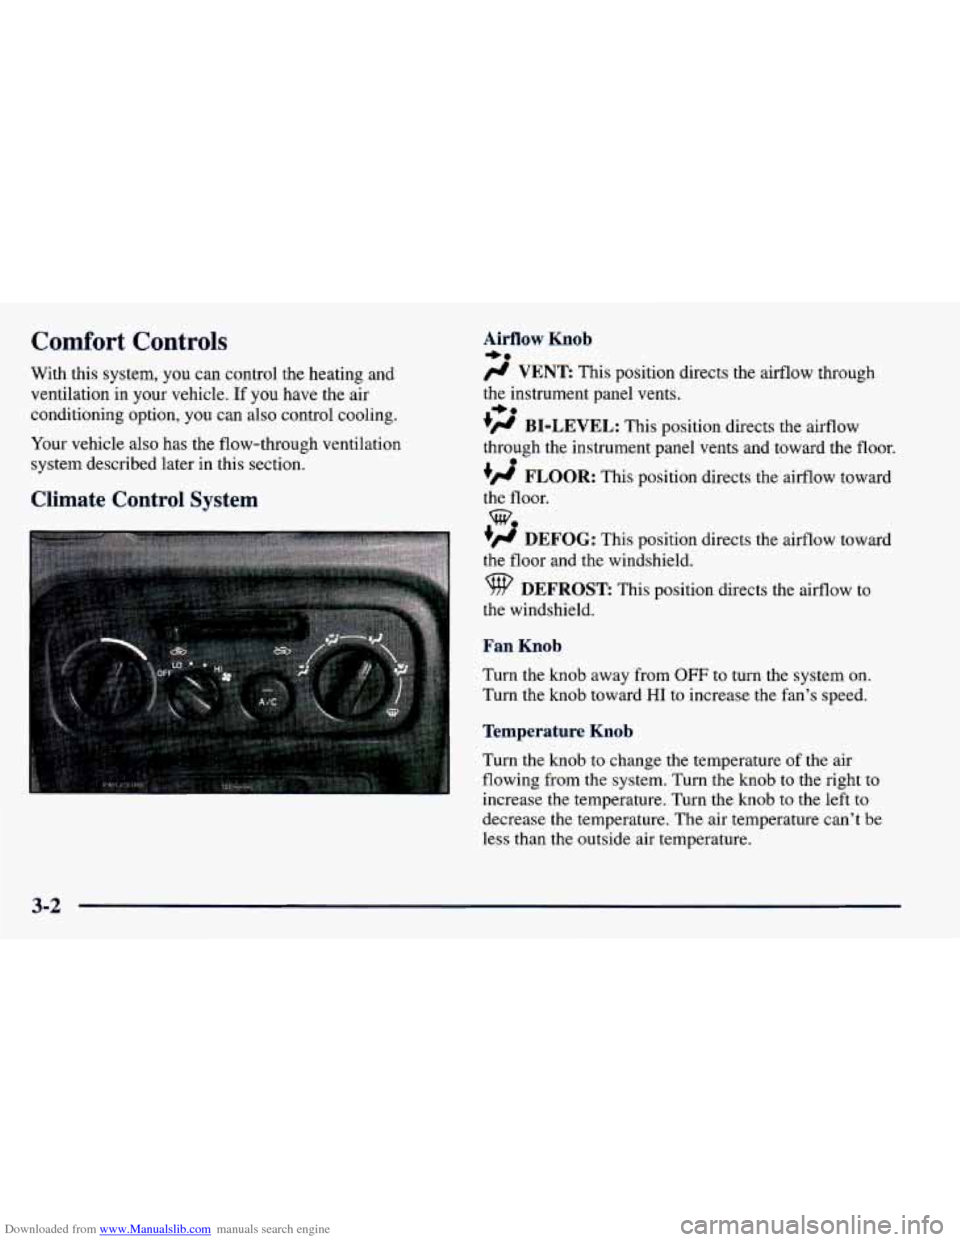
Climate Control System
Airflow Knob
/J VENT This position directs the airflow through
the instrument panel vents.
+’ BI-LEVEL: This position directs the airflow
through the instrument panel vents and toward the floor.
#’ FLOOR: This position directs the airflow toward
the floor.
+# DEFOG: This position directs the airflow toward
the floor and the windshield.
9 DEFROST: This position directs the airflow to
the windshield.
Fan Knob
Turn the knob away from OFF to turn the system on.
Turn the knob toward
HI to increase the fan’s speed.
Temperature Knob
Turn the knob to change the temperature of the air
flowing from the system. Turn the knob to the right to
increase the temperature. Turn the knob to the left
to
decrease the temperature. The air temperature can’t be
less than the outside
air temperature.
+e
+e
e
we
3-2