remove seats CHEVROLET PRIZM 1998 3.G Owners Manual
[x] Cancel search | Manufacturer: CHEVROLET, Model Year: 1998, Model line: PRIZM, Model: CHEVROLET PRIZM 1998 3.GPages: 364, PDF Size: 18.79 MB
Page 70 of 364

Downloaded from www.Manualslib.com manuals search engine To remove the child restraint, just unbuckle the vehicle’s
safety belt and let it
go back all the way. The safety belt
will move freely again and be ready to work for an adult
or larger child passenger.
Securing a Child Restraint in the Right
Front
Seat Position
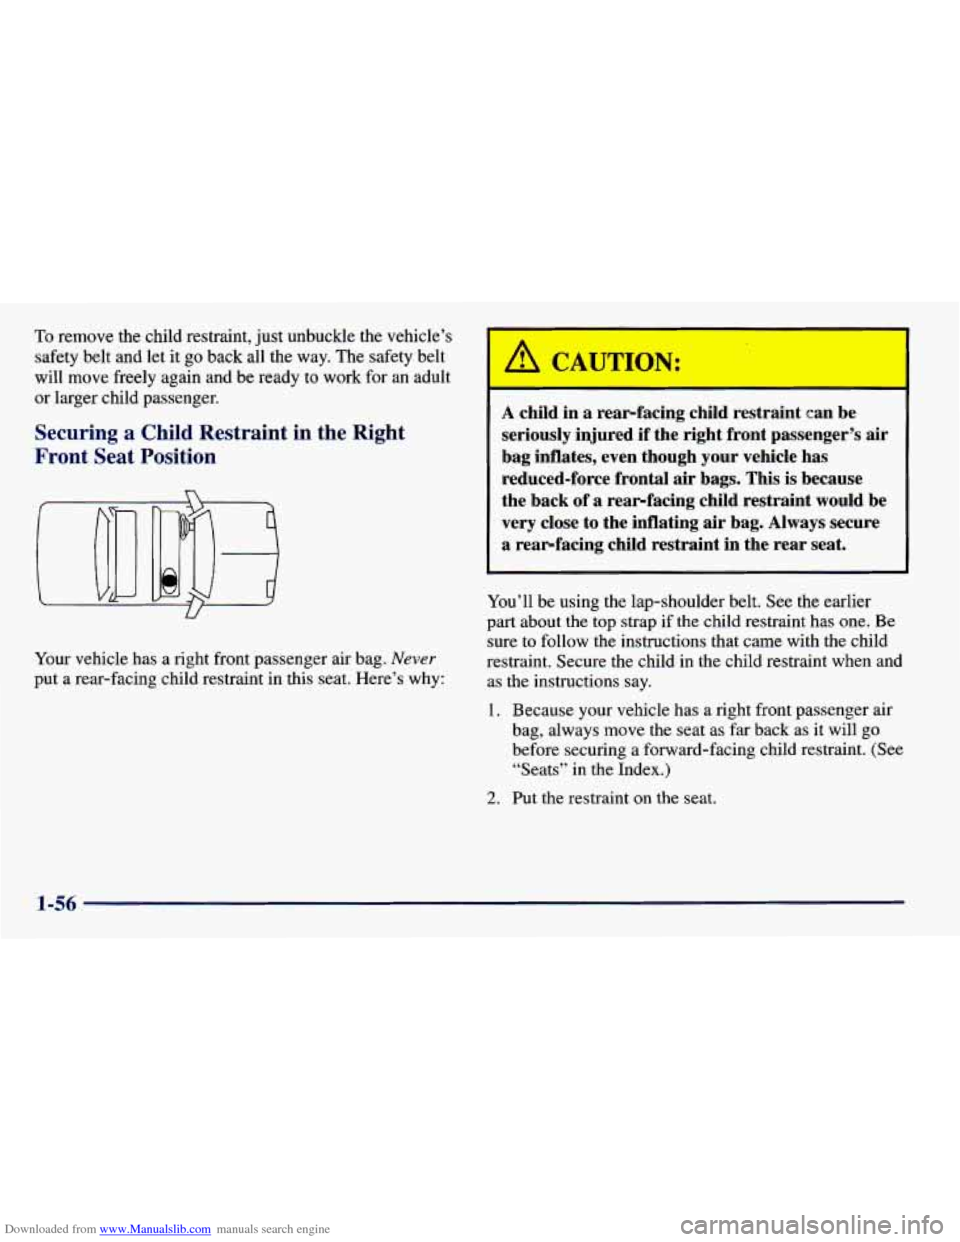
Your vehicle has a right front passenger air bag. Never
put a rear-facing child restraint in this seat. Here’s why:
A child in a rearfacing child restraint can be
seriously injured if the right front passenger’s air
bag inflates, even though your vehicle has
reduced-force frontal
air bags. This is because
the back of
a rearfacing child restraint would be
very close to the inflating
air bag. Always secure
a rearfacing child restraint in the rear seat.
You’ll be using the lap-shoulder belt. See the earlier
part about
the top strap if the child restraint has one. Be
sure to follow the instructions that came with the child
restraint. Secure the child in the child restraint when and
as the instructions say.
1. Because your vehicle has a right front passenger air
bag, always move
the seat as far back as it will go
before securing a forward-facing child restraint. (See
“Seats” in the Index.)
2. Put the restraint on the seat.
1-56
Page 115 of 364

Downloaded from www.Manualslib.com manuals search engine Storage Compartments
Glove Box
To open the glove box door, lift the latch. Always keep
the glove
box door closed while driving.
Door Storage Compartments
The driver’s door has a maphtorage compartment.
You will also have a storage compartment on the front
passenger’s door.
Instrument Panel Storage Compartment
There is also a storage compartment located on the
instrument panel below the instrument panel brightness
control. Pull the top
of the door toward you to open it.
Cupholders
To open the cupholder, push and release the bar which
is located below the audio system, then pull the
cupholder out. With the cups removed, push
it back in.
The cupholder cannot be used while using the ashtray.
The rear cupholder is located at the rear
of the console
storage area.
To open the cupholder, pull on the top of
the door.
Console Storage Area
A small storage area is in the console between the
seats. Sunglasses can be stored
in the tray under the
console lid.
2-37
Page 139 of 364

Downloaded from www.Manualslib.com manuals search engine 0
0
0
When you enter a vehicle in cold weather, move the
fan lever toward
HI for a few moments before
driving
off. This helps clear the intake ducts of snow
and moisture, and reduces the chance
of fogging the
inside of your windows.
Keep the air path under the front seats clear
of
objects. This helps air to circulate throughout
your vehicle.
Shut
off outboard dash vents to keep cold air from
blowing in.
Defogging and Defrosting
Move the air intake lever to CIRCULATE and turn
the airflow knob to DEFROST to direct air to the
windshield vents. The air conditioner is automatically
turned
on. Turn the temperature knob to the
right and the fan knob toward
HI.
When the windshield is clear, turn down the fan speed.
To defog the windshield and side windows, turn
the aifflow knob to DEFROST.
Rear Window Defogger (Option)
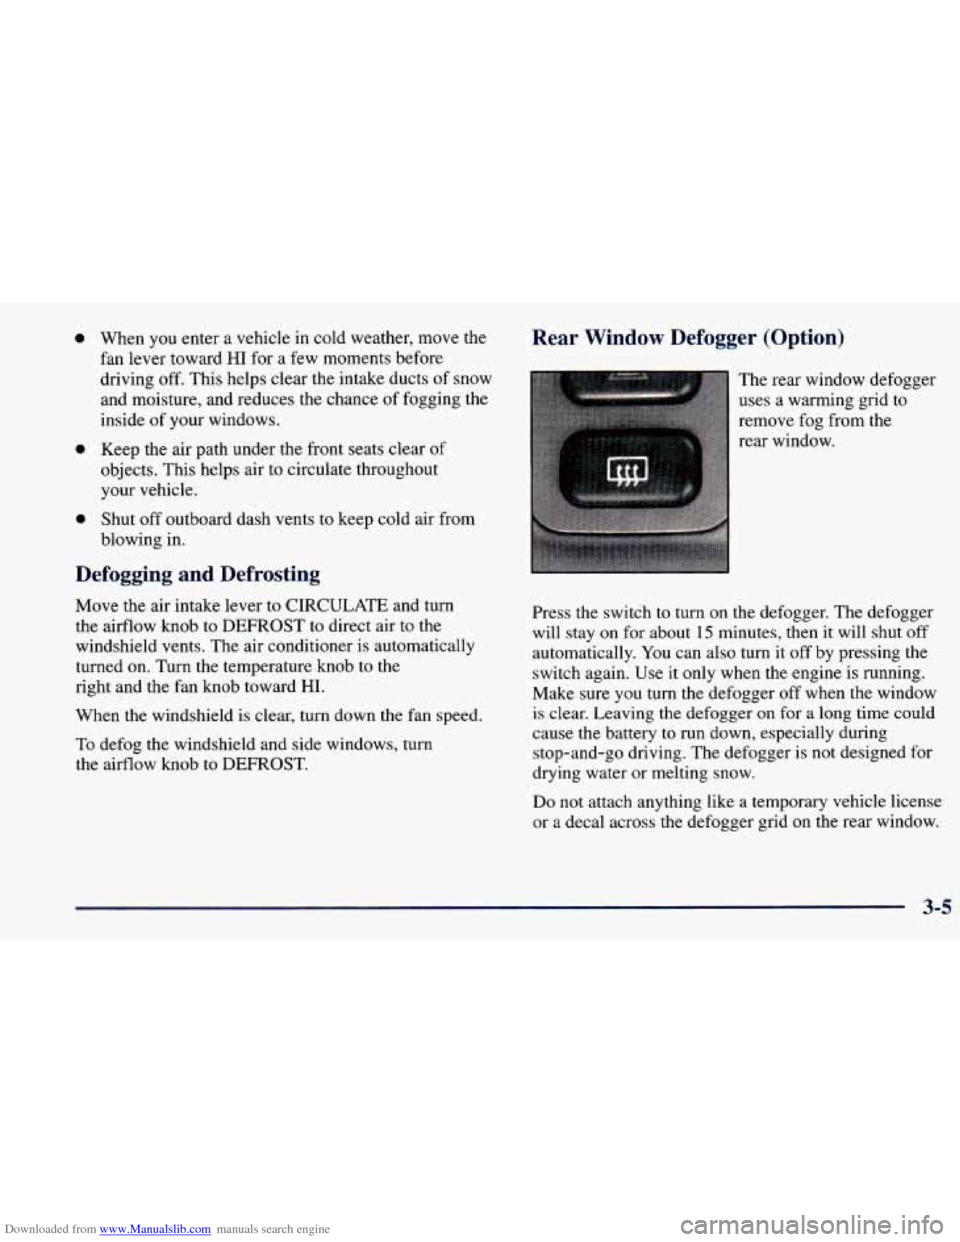
The rear window defogger
uses a warming grid to
remove fog from the
rear window.
Press the switch
to turn on the defogger. The defogger
will stay on for about 15 minutes, then it will shut off
automatically. You can also turn it
off by pressing the
switch again. Use it only when the engine is running.
Make sure you turn the defogger off when the window
is clear. Leaving the defogger on for a long time could
cause the battery to run down, especially during
stop-and-go driving. The defogger is
not designed for
drying water or melting snow.
Do not attach anything like a temporary vehicle license
or a decal across the defogger grid on the rear window.
3-5
Page 278 of 364

Downloaded from www.Manualslib.com manuals search engine Appearance
I 1052918””
I 1052925
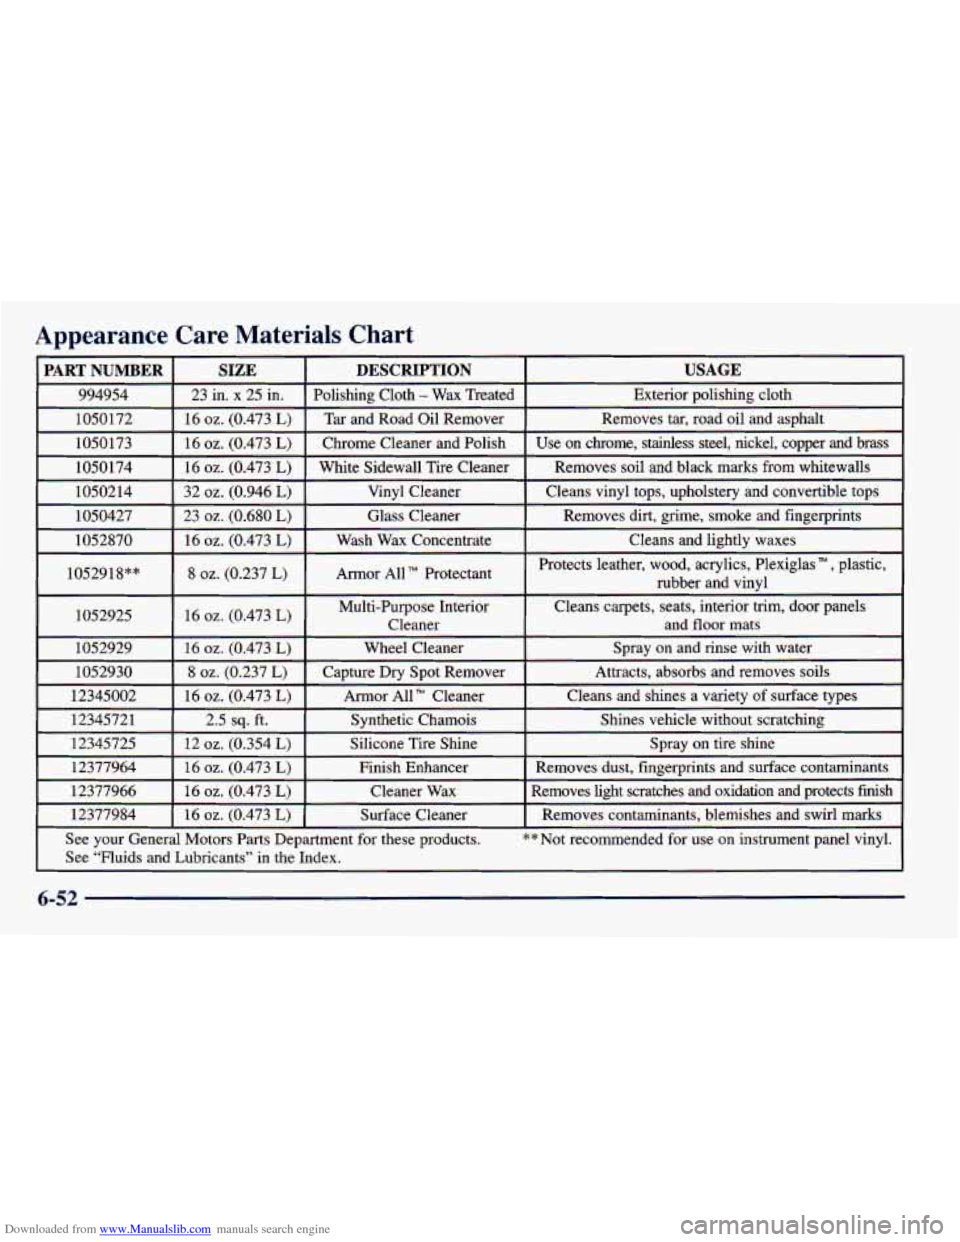
Care Materials Chart
SIZE USAGE DESCRIPTION
23 in. x 25 in.
Exterior polishing cloth
Polishing Cloth - Wax
Treated
16
oz. (0.473 L)
Chrome Cleaner and Polish
16 oz. (0.473 L)
Removes tar, road oil and asphalt
Tar and Road Oil Remover
Cleans and lightly waxes
Wash Wax Concentrate
16
oz. (0.473 L)
Removes dirt, grime, smoke and fingerprints
Glass Cleaner
23 oz. (0.680 L)
Cleans vinyl tops, upholstery and convertible tops
Vinyl Cleaner
32 oz. (0.946 L)
Removes soil and black marks from whitewalls
White Sidewall Tire Cleaner 16 oz. (0.473 L)
Use on chrome, stainless steel, nickel, copper and brass
8
02. (0.237 L) Armor All TM Protectant
16
oz. (0.473 L)
Protects leather, wood, acrylics, Plexiglas , plastic,
rubber and vinyl
Multi-Purpose Interior Cleans carpets, seats, interior trim, door panels
Cleaner and
floor mats
1052929
See your General Motors Parts Department
for these products. ** Not recommended for use on instrument panel vinyl.
Removes
contaminants, blemishes and swirl marks
Surface Cleaner
16
oz. (0.473 L) 12377984 Removes light scratches and oxidation and protects finish
Cleaner Wax
16
oz. (0.473 L) 12377966 Removes
dust, fingerprints and surface contaminants
Finish Enhancer
16
oz. (0.473 L) 12377964 Spray
on tire shine
Silicone Tire Shine
12 oz. (0.354 L) 12345725 Shines
vehicle without scratching
Synthetic Chamois
2.5 sq. ft. 1234572
1 Cleans
and shines a variety of surface types
Armor All
TM Cleaner
16 oz. (0.473 L) 12345002 Attracts,
absorbs and removes soils
Capture
Dry Spot Remover 8 oz. (0.237 L) 1052930 Spray on
and rinse with water
Wheel Cleaner
16
oz. (0.473 L)
See “Fluids and Lubricants” in the Index.
6-52