oil level CHEVROLET S10 1993 2.G Owners Manual
[x] Cancel search | Manufacturer: CHEVROLET, Model Year: 1993, Model line: S10, Model: CHEVROLET S10 1993 2.GPages: 356, PDF Size: 20.85 MB
Page 121 of 356
Downloaded from www.Manualslib.com manuals search engine Oil Pressure Gage
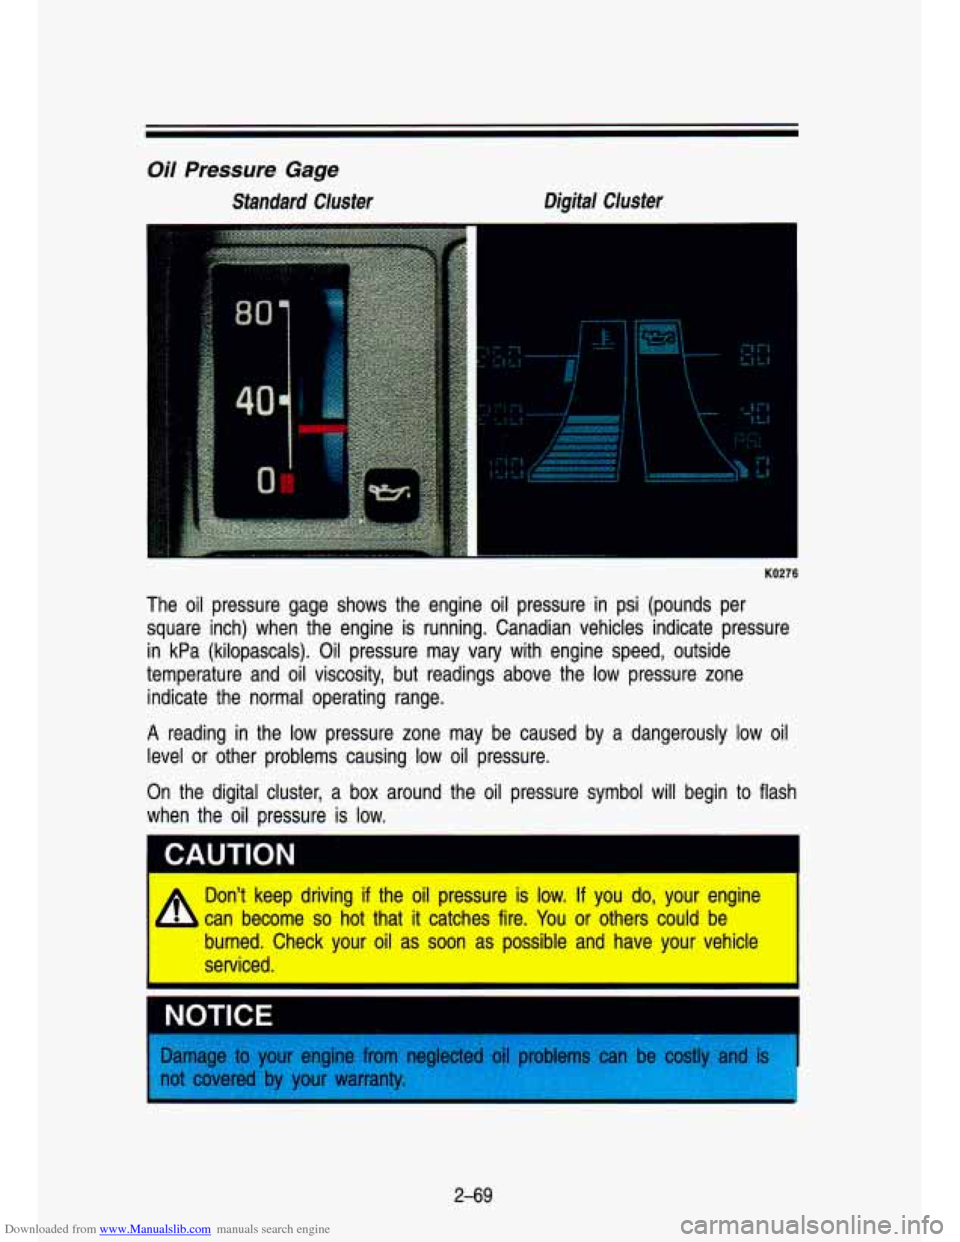
Standard Cluster DigM Cluster
I
-
KO276
The oil pressure gage shows the engine oil pressure in psi (pounds per
square inch) when the engine is running. Canadian vehicles ind\
icate pressure in kPa (kilopascals).
Oil pressure may vary with engine speed, outside
temperature and oil viscosity, but readings above the
low pressure zone
indicate the normal operating range.
A reading in the low pressure zone may be caused by a dangerously low oil
level or other problems causing low oil pressure.
On the digital cluster, a box around the oil pressure symbol will begin to flash
when the oil pressure is low.
I
Dsln't ke'ep drivinlg if the oil pressure is l'ow. If you do, your engine
can become
so hot that it catches fire. YQU or others could be
burned. Clheck your oil as soon as possiblle and have yo'u~r vehicle
serviced.
2-69
Page 198 of 356
Downloaded from www.Manualslib.com manuals search engine Your Driving and the Road
..
C. .-, - ._ .
may tend to think you are going slower than you actually are.\
For example,
40 mph (65 km/h) might seem like only 20 mph (30 km/h). Obviously, this
could lead to serious trouble on a ramp designed for
20 mph (30 km/h)!
Driving a Long Distance
Although most long trips today are made on freeways, there are\
still many
made on regular highways.
Long-distance driving on freeways and regular highways is the s\
ame in some
ways. The trip has to be planned and the vehicle prepared, yo\
u drive at
higher-than-city speeds, and there are longer turns behind the \
wheel. You’ll
enjoy your trip more if you and your vehicle are in good shape. Here are
some tips for a successful long trip.
Before Leaving on a Long Trip
Make sure you’re ready. Try to be well rested. If you must start when you’re
not fresh-such as after a day’s work-don’t plan to make too many miles
that first part of the journey. Wear comfortable clothing and shoes you can
easily drive in.
Is your vehicle ready for a long trip? If you keep it serviced and maintained,
it’s ready to go.
If it needs service, have it done before starting out. Of
course, you’ll find experienced and able service experts in \
your vehicle’s
dealerships all across North America. They’ll be ready and w\
illing to help
if
YOU
Her1
0
need it.
ire
Some things you can check before a trip:
Windshield Washer Fluid:
Is the reservoir full? Are all windows clean
inside and outside?
Wiper Blades: Are they in good shape?
Fuel, Engine Oil, Other Fluids: Have you checked all levels?
Lights: Are they all working? Are the lenses clean?
Tires: They are vitally important to a safe, trouble-free trip.\
Is the tread
good enough for long-distance driving? Are the tires all inflat\
ed to the
recommended pressure?
Weather Forecasts: What’s the weather outlook along your rout\
e? Should you delay your trip
a short time to avoid a major storm system?
Maps:
Do you have up-to-date maps?
4-44
Page 227 of 356
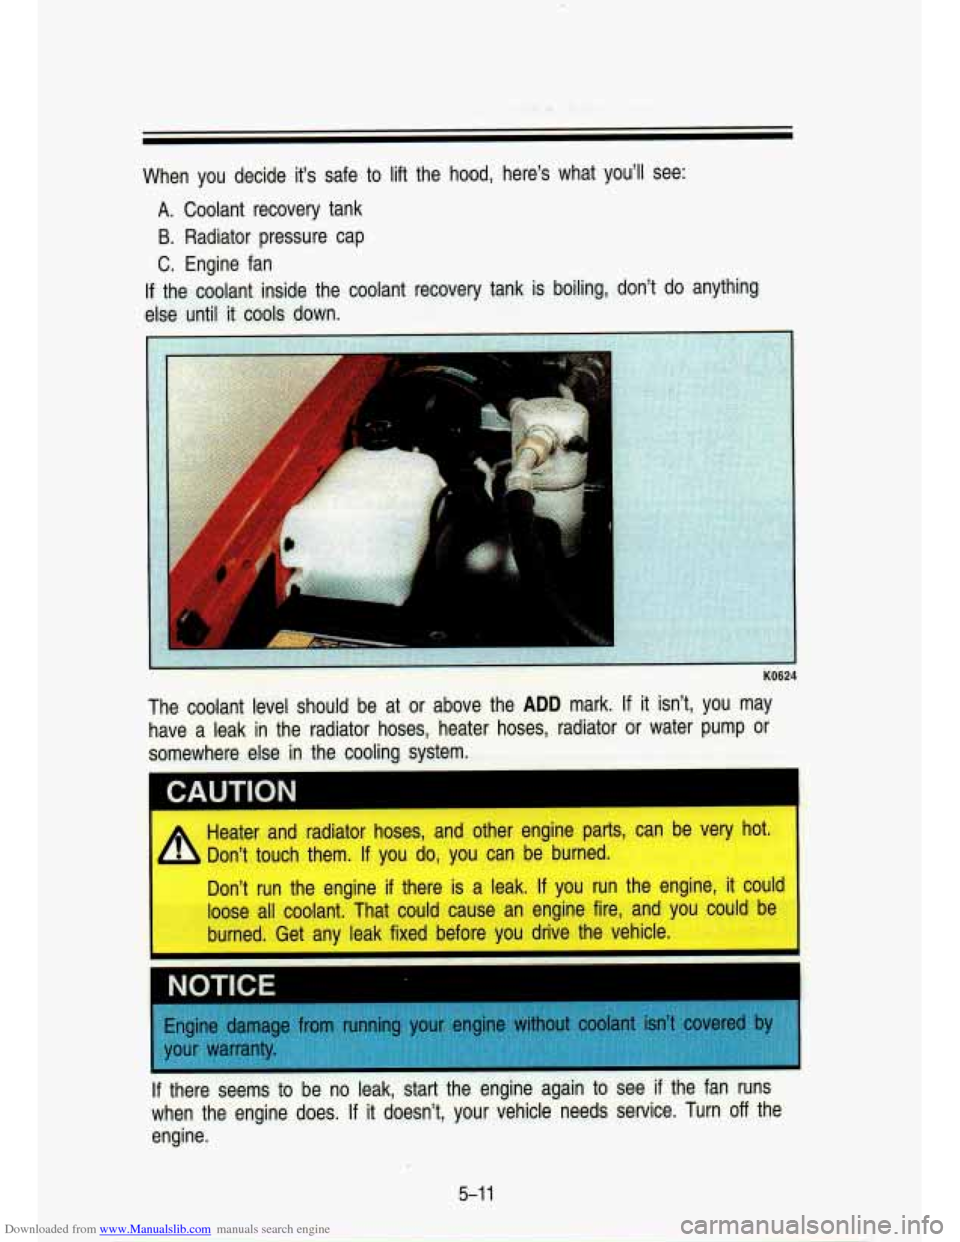
Downloaded from www.Manualslib.com manuals search engine When you decide it's safe to lift the hood, here's what you'll see:
A. Coolant recovery tank
B. Radiator pressure cap
C. Engine fan
If the coolant inside the coolant recovery tank is boiling, don't do anything
else until it cools down.
The coolant level should be at or above the
ADD mark. If it isn't, you may
have a leak in the radiator hoses, heater hoses, radiator or water pump or
somewhere else in the cooling system.
CAUTION I
Heater and radiator hoses, and other engine parts, can be very\
hot.
Don't touch them.
If you do, you can be burned.
loose all coolant. That could cause an engine fire, and you could be
burned. Get any leak fixed before you drive the vehicle. run the engine
if there is a leak. If you run the engine, it could
NOTICF
If there seems
to be no leak, start the engine again to see if the fan runs
when the engine does.
If it doesn't, your vehicle needs service. Turn off the
engine.
5-1 1
Page 228 of 356
Downloaded from www.Manualslib.com manuals search engine How to Add Coolant to the Coolant Recovery Tank
If you haven’t found a problem yet, but the coolant level isn’t at or above the
ADD mark, add a 50/50 mixture of clean water (preferably distilled) and the
proper antifreeze at the coolant recovery tank. (See “Engine\
Coolant” in the Index for more information about the proper coolant mix.)
I CAUTION
4
Adding only plain water to your cooling system can be dangerous.
Rain water,
or some other liquid, like alcohill, can boil before the
proper coolant mix
will. Your vehicle’s coolant warning system is set
for the proper coolant mix. With plain water, or the wrong mix, your
engine could get
too hot but you wouldn’t get the overheat warning.
Your engine could catch fire and you or others could be burned. Use
‘a 5Q/M mix of clean wafer and a proper antifreeze.
NOTICE
In cold weather, water can freeze and crack the en1
core and other
parts. Use the recommended coolan
*
I CAUTION
I I
You can be burned if you spill coolant on hot engine parts. Coolant
b contains ethylene glycol and it wil’l burn if the engine parts are hot
I’ enough. Don’t spill coolant on a hot engine.
When the coolant in the coolant recovery tank is at or above \
the
ADD mark,
start your vehicle.
If the overheat warning continues, there’s one more thing you c\
an try. You
can add the proper coolant mix directly to the radiator, but \
be sure the
cooling system
is cool before you do it.
A
Steam and scalding liquids from a hot cooling system can blow out
and burn you badly. They are under pressure, and if you turn the
radiator pressure cap-even a little-they can come out at high
speed. Never turn the pressure cap when the cooling system, including the radiator pressure cap, is hot. Wait for the cooling
system and radiator pressure cap
to cool if you ever have to turn
the pressure cap.
5-1 2
Page 249 of 356
Downloaded from www.Manualslib.com manuals search engine Service & Appearance Care
-
Section
Here you will find information about the care of your vehicle. This part begins
with service and fuel information, and then it shows how to check important
fluid and lubricant levels. There
is also technical information about your
vehicle, and a section devoted to its appearance care.
Service
.. . . .. . . . . , . , . . r.l. .. . . .. ,. . . . . . . . . , , . . . . . . .. , . . .. , . . . . . . . . . . . . . . . . . . . . ..,. . . . . . . . . . . . . . . .=. . . . . . . . . . . . .. . .=. . . . . 6-3
Fuel
...... . .. .. . . . . ....... , .. . .. . . . . . . ... . .. ... .. ... .... .. . . . . . . ... . . .. . .. . ... ,..,, ,. .. . .. .. . .. . . .... . *. . . ., . . . .. .. .. 6-4
Checking Things Under the
Hood .................................................................,..... \
6-7
Engine Oil
I.....................1............11..........,.......,.,..I...........\
........r............. .......,. .... 6-9
Air Cleaner
..................,................................................. ...... .... ...- ......... - ..... ...... 6-14
Automatic Transmission Fluid
....... . .. . . .. . . . . .. ....-. . ... . . . . . .. .. . . . . . . . . . ... .. . . . . .. . ... . . ...... .. 6-16
Manual Transmission Fluid
....,. , . . . . ....... ... . . . .. .. . . . .. .. . .. .. . . ... . .. . . . . .. . ... . ... . . ... . . ... . . . .. 6-1 9
Hydraulic Clutch
,..........,......,....,..........I...I....I...................... ...................... ..... 6-20
Rear Axle
............ ..................... = .............I...............I..I........................ -.. ..... . .... ..... 6-21
Transfer Case
................................................,.~.....................\
..........................6-21
Front Axle .......I.............I......I.....................r..........I...r......\
............I......I.II...I...... 6-22
Engine Coolant
........................... ~ ................................. r..l ................................ 6-23
Power Steering Fluid
.....,. 3.,Iri.1111r ..................................................................... 6-27
Windshield Washer Fluid
...................................................... .................... 6-28
Brake Master Cylinder
........ . . . . .. . .... . .. .. . . . . ... . . . . .. . . . .. ..... .... . . . . . . . .. .. . . . . . .6-29
Replacing Brake System Parts
............................................................,..........,\
.. 6-30
6-1
Page 257 of 356
Downloaded from www.Manualslib.com manuals search engine I
Engine Oil
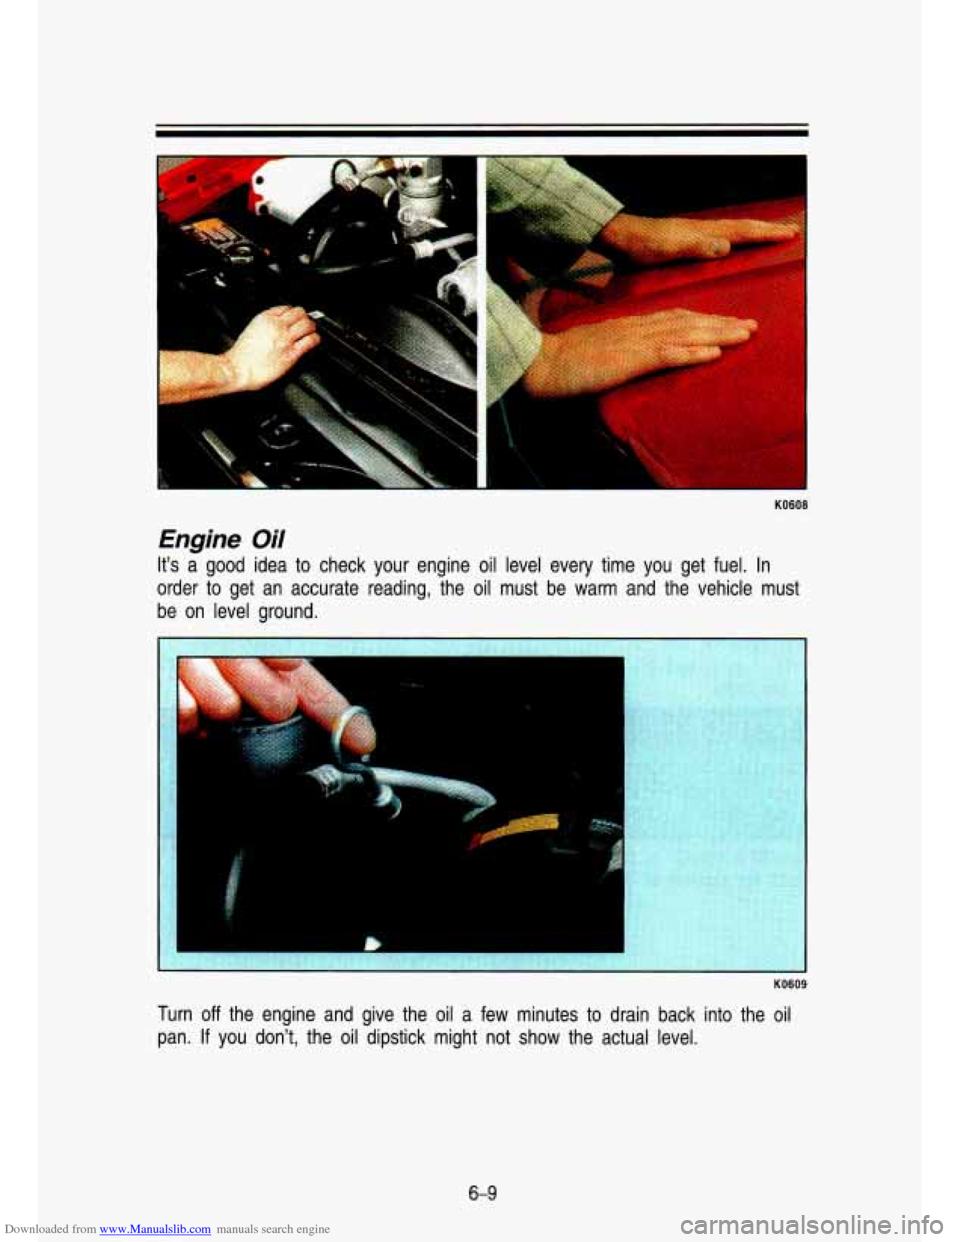
It's a good idea to check your engine oil level every time you get fuel. In
order to get an accurate reading, the oil must be warm and the vehicle\
must
be on level around.
a
KO609
Turn off the engine and give the oil a few minutes to drain back into\
the oil
pan.
If you don't, the oil dipstick might not show the actual level.
6-9
Page 258 of 356
Downloaded from www.Manualslib.com manuals search engine Service & Appearance Care
--
*I
KO61 0
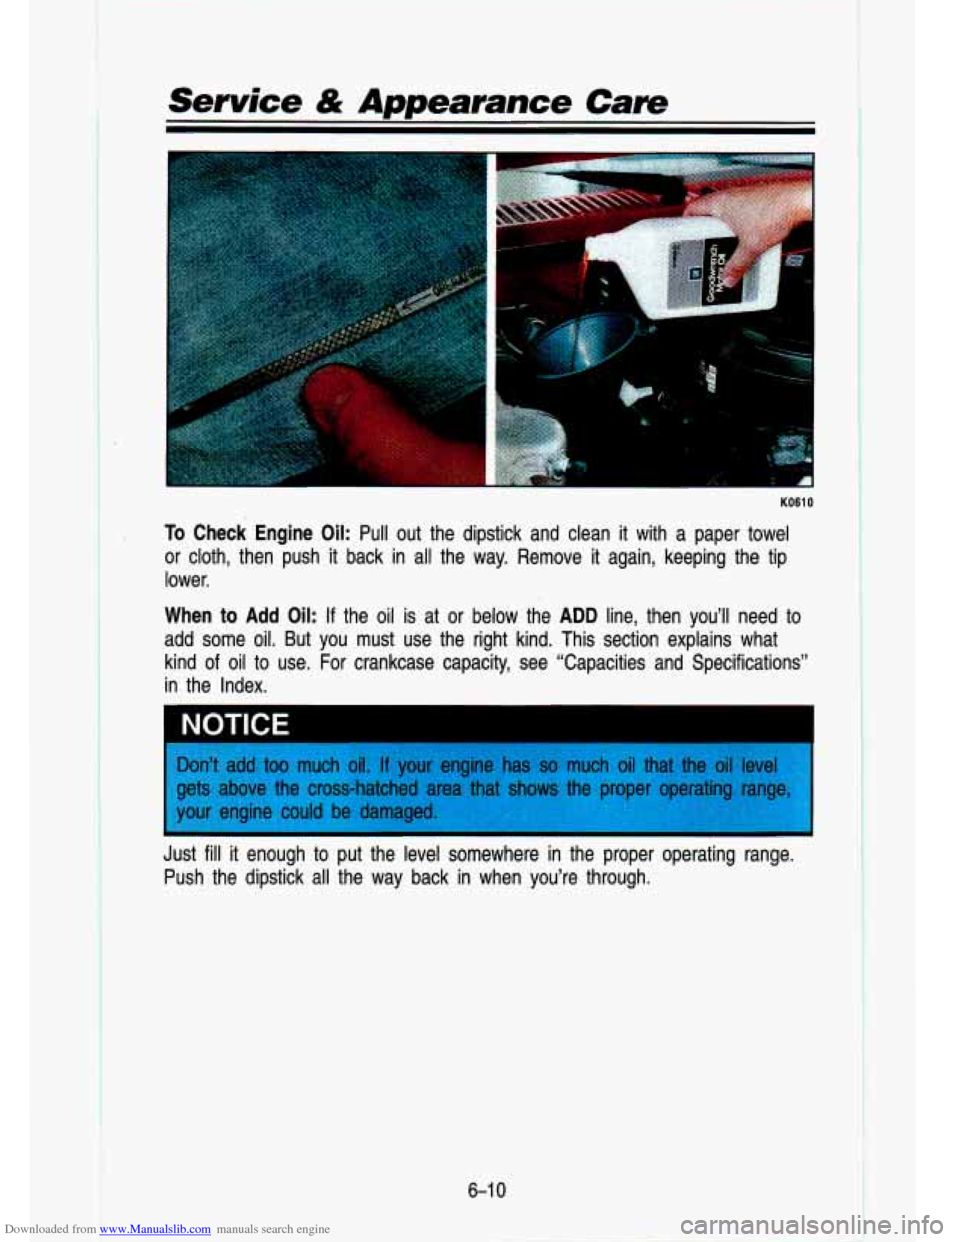
. To Check Engine Oil: Pull out the dipstick and clean it with a paper towel
or cloth, then push it back in all the way. Remove it again, keeping the tip
lower.
When to Add Oil: If the oil is at or below the ADD line, then you’ll need to
add some oil. But you must use the right kind. This section \
explains what
kind
of oil to use. For crankcase capacity, see “Capacities and Specification\
s”
in the Index.
NOTICE I
I
Just till it enough to put the level somewhere in the proper operating range.
Push the dipstick
all the way back in when you’re through.
6-1 0
Page 264 of 356
Downloaded from www.Manualslib.com manuals search engine Service & Appearance Care
Automatic Transmission Fluid
When to Check and Change:
A good time to check your automatic transmission fluid level is when the
engine oil is changed. Refer to the Maintenance Schedule to de\
termine when
to change your fluid. See “Scheduled Maintenance Services” \
in the Index.
How to Check:
Because this operation can be a little difficult, you may choo\
se to have this
done at a dealership Service Department.
If you
do it yourself, be sure to follow all the instructions here, or \
you could
get a false reading on the dipstick.
I NOTICE
Wait at least 30 minutes before checking the transmission fluid level if you
have been driving:
When outside temperatures are above 90°F (32°C).
At high speed for quite a while.
In heavy traffic-especially in hot weather.
While pulling a trailer.
To get the right reading, the fluid must be at normal operating \
temperature,
which is 180°F to 200°F (82°C to 93°C).
To check transmission fluid hot: Get the vehicle warmed up by driving
about
15 miles (24 km) when outside temperatures are above 50°F (10°C). If
it’s colder then 50°F (IO’C), drive the vehicle in D (3rd gear) until the
temperature gage moves and then remains steady for ten minutes.\
Then
follow the hot check procedures.
To check transmission fluid cold: A cold check is made after the vehicle
has been sitting for eight hours or more with the engine off and is used
only
as a reference. Let the engine run at idle for five minutes if outside
temperatures are
50°F (10°C) or more. If it’s colder than 50°F (lO°C), you
may have to idle the engine longer. A hot check must follow when fluid is
added during a cold check.
6-1 6
I
Page 267 of 356
Downloaded from www.Manualslib.com manuals search engine Manual Transmission Fluid
When to Check:
A good time to have it checked is when the engine oil is chang\
ed. However,
the fluid in your manual transmission doesn’t require changin\
g.
How to Check:
Because this operation can be a little difficult, you may choose to have this
done at a
GM dealership Service Department.
If you do it yourself, be sure to follow all the instructions here, or \
you could
get a false reading.
Check the fluid level only when your engine is off, the vehic\
le
is parked on
level place and the transmission is cool enough for you to re\
st your fingers
on the transmission case.
Then,
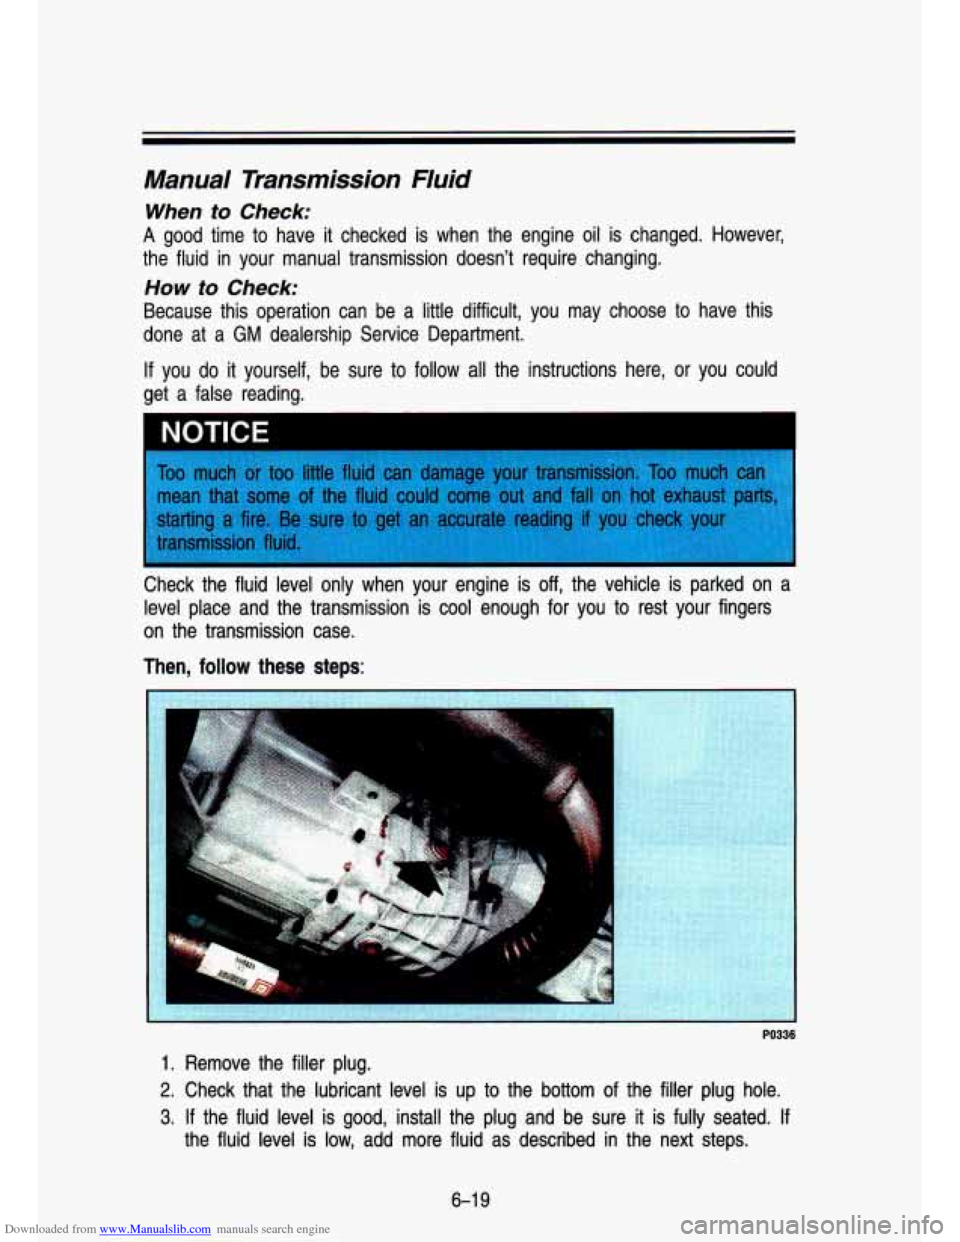
follow these steps: a
PO336
1. Remove the filler plug.
2. Check that the lubricant level
is up to the bottom of the filler plug hole.
3. If the fluid level is good, install the plug and be sure it is fully seated. If
the fluid level is low, add more fluid as described in the next steps.
6-1 9
Page 271 of 356
Downloaded from www.Manualslib.com manuals search engine How to Check Lubricant:
i I
KO998
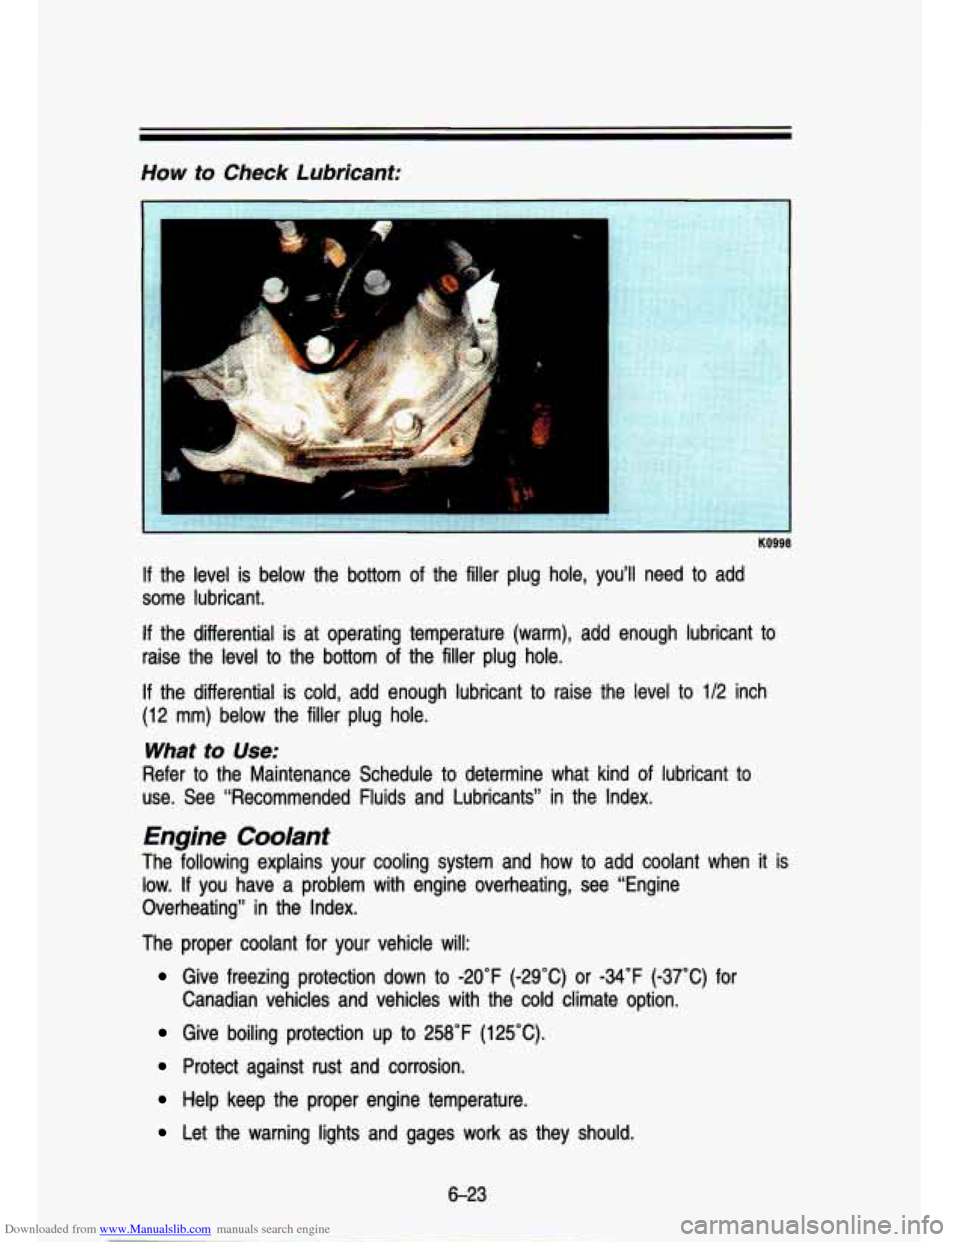
If the level is below the bottom of the filler plug hole, you’ll need to add
some lubricant.
If the differential is at operating temperature (warm), add enough lubricant to
raise the level
to the bottom of the filler plug hole.
If the differential is cold, add enough lubricant to raise the level to 1/2 inch
(12 mm) below the filler plug hole.
What to Use:
Refer to the Maintenance Schedule to determine what kind of lubricant to
use. See “Recommended Fluids and Lubricants” in the Index.\
Engine Coolant
The following explains your cooling system and how to add coolant when it is
low.
If you have a problem with engine overheating, see “Engine
Overheating’’ in the Index.
The proper coolant
for your vehicle will:
Give freezing protection down to -20°F (-29°C) or -34°F (-37°C) for
Give boiling protection up to 258°F (125°C).
Canadian vehicles and vehicles with the cold climate option.
Protect against rust and corrosion.
Help keep
the proper engine temperature.
Let the warning lights and gages work as they should.
6-23