CHEVROLET S10 1994 2.G Owners Manual
Manufacturer: CHEVROLET, Model Year: 1994, Model line: S10, Model: CHEVROLET S10 1994 2.GPages: 340, PDF Size: 18.45 MB
Page 111 of 340
Downloaded from www.Manualslib.com manuals search engine Headlight High Beam Indicator Light
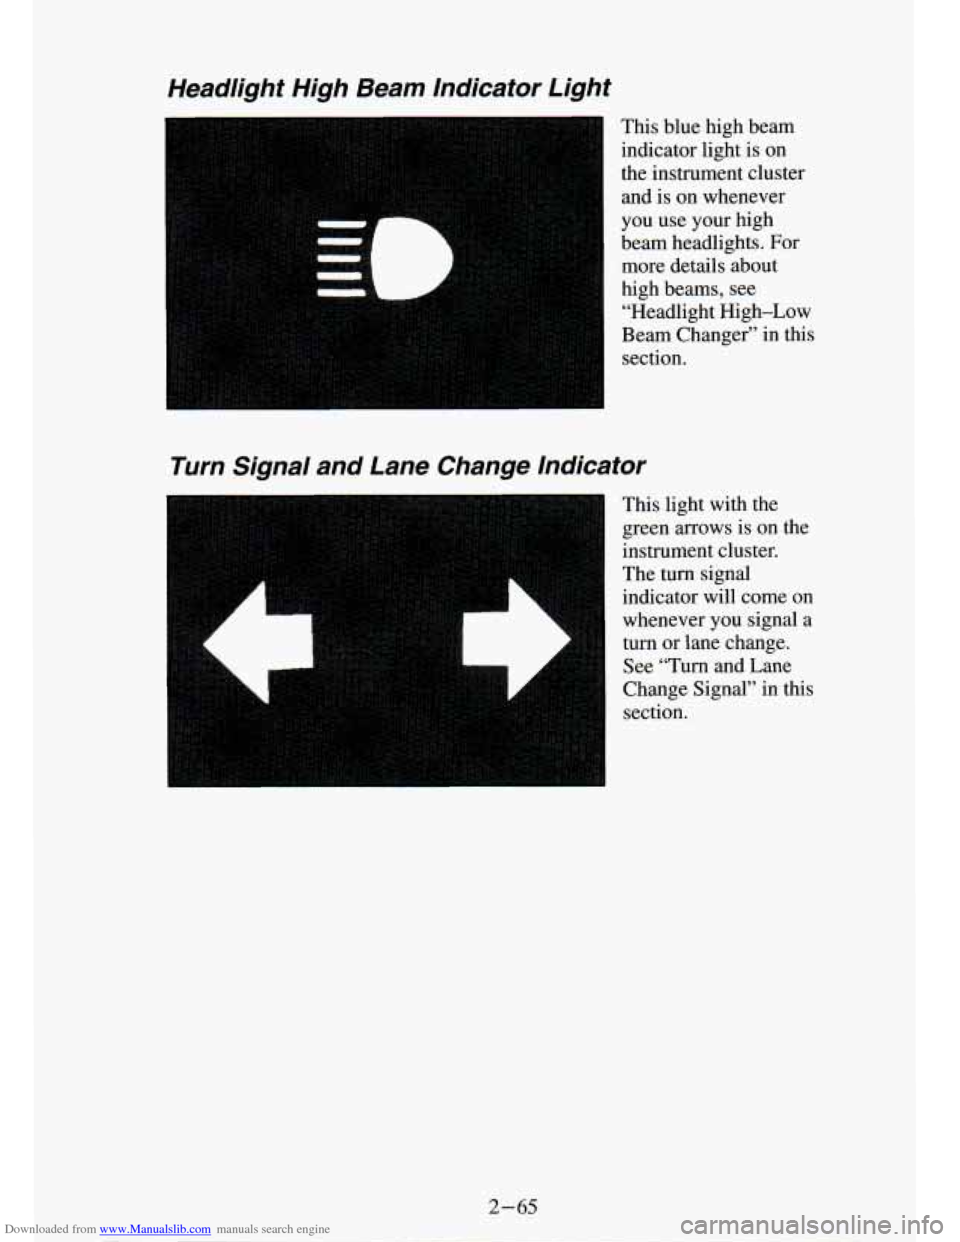
This blue high beam
indicator light
is on
the instrument cluster and is on whenever
you use your high
beam headlights. For
more details about
high beams, see
“Headlight High-Low
Beam Changer” in this
section.
Turn Signal and Lane Change Indicator
instrument cluster.
The turn signal indicator will come on
whenever you signal a
turn or lane change.
See “Turn and Lane
Change Signal” in this
section.
2-65
Page 112 of 340
Downloaded from www.Manualslib.com manuals search engine Gages
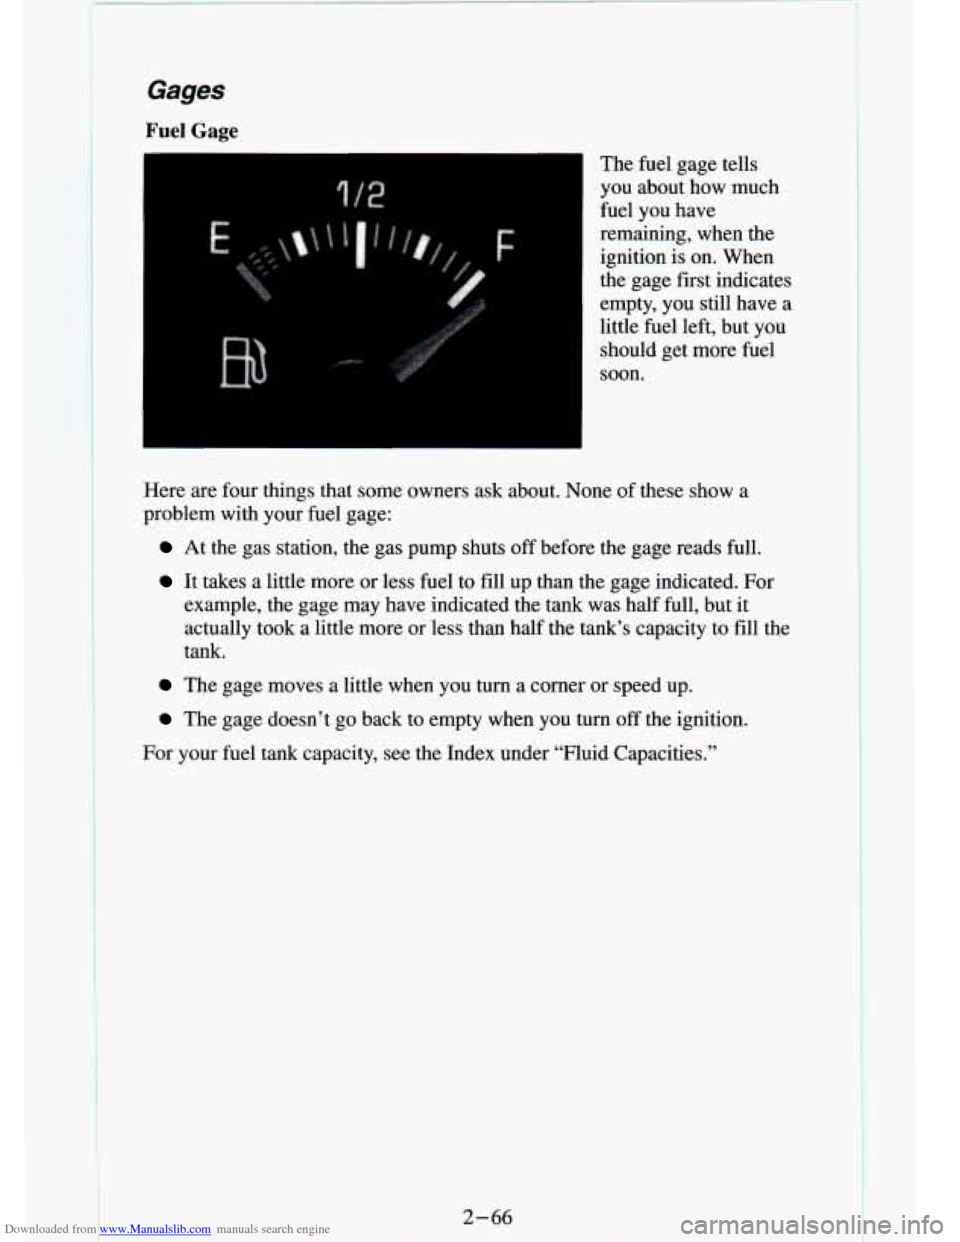
Fuel Gage The fuel gage tells
you about how much
fuel you have
remaining, when the
ignition is on. When
the gage first indicates
empty, you still have a
little fuel left, but you should get more fuel
soon.
Here are four things that some owners ask about. None of these show a
problem with your fuel gage:
At the gas station, the gas pump shuts off before the gage reads full.
It takes a little more or less fuel to fill up than the gage indicated. For
example, the gage may have indicated the tank was half full, but
it
actually took a little more or less than half the tank’s c\
apacity to fill the
tank.
The gage moves a little when you turn a corner or speed up.
The gage doesn’t go back to empty when you turn off the ignition.
For your fuel tank capacity, see the Index under “Fluid Capacities.”
2-66
Page 113 of 340
Downloaded from www.Manualslib.com manuals search engine Voltmeter
I
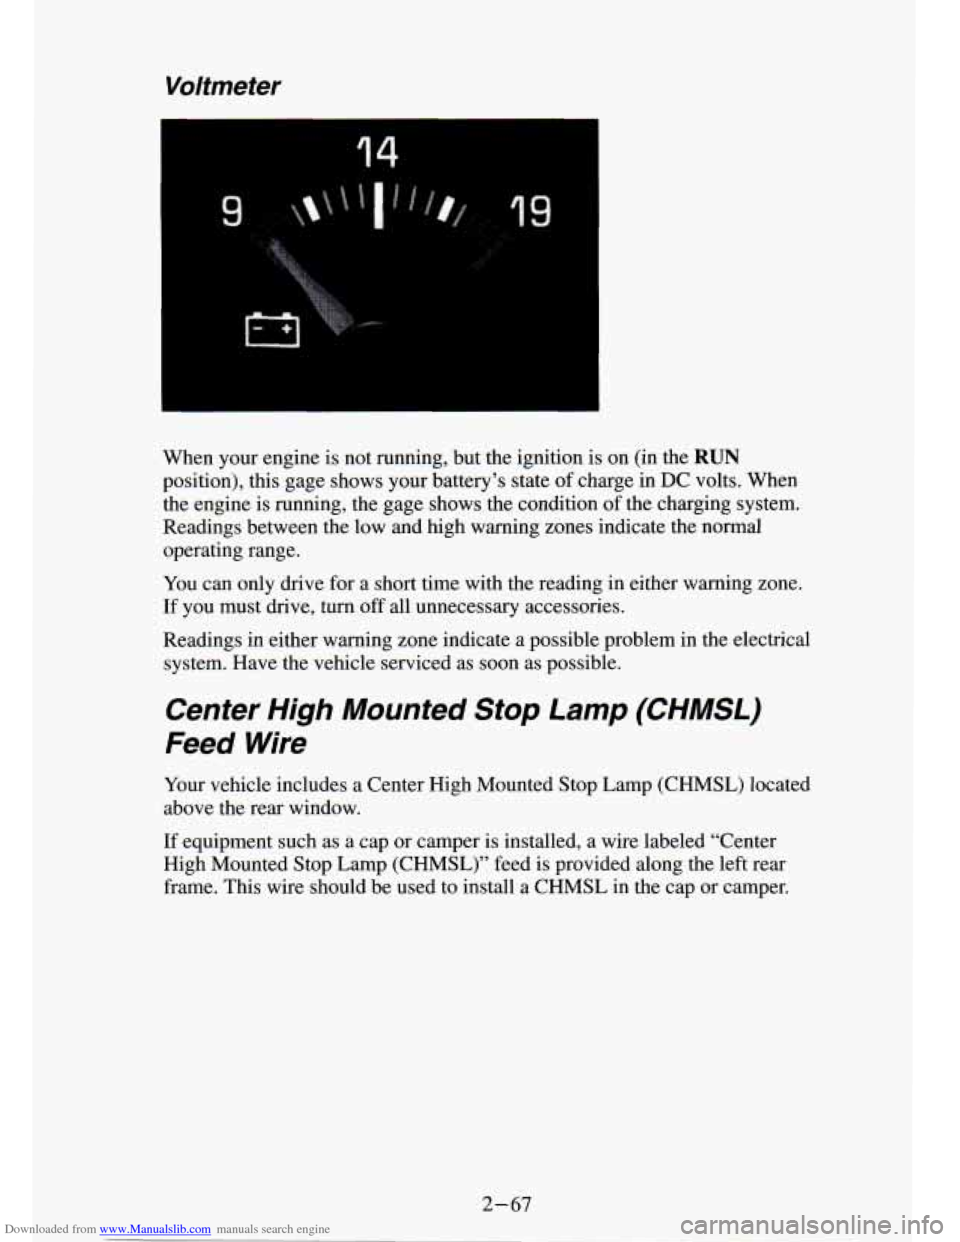
When your engine is not running, but the ignition is on (in \
the RUN
position), this gage shows your battery’s state of charge in DC volts. When
the engine is running, the gage shows the condition of the charging system.
Readings between the low and high warning zones indicate the normal
operating range.
You can only drive for a short time with
the reading in either warning zone.
If you must drive,
turn off all unnecessary accessories.
Readings in either warning zone indicate a possible problem in the electrical
system. Have
the vehicle serviced as soon as possible.
Center High Mounted Stop Lamp (CHMSL)
Feed Wire
Your vehicle includes a Center High Mounted Stop Lamp (CHMSL) located
above the rear window.
If equipment such as a cap or camper is installed, a wire labeled “Center
High Mounted Stop Lamp (CHMSL)” feed is provided along the left rear
frame. This wire should be used to install a CHMSL in the cap or camper.
2-67
Page 114 of 340
Downloaded from www.Manualslib.com manuals search engine Trailer Wiring Harness
Your vehicle may have either a 5-wire or 7-wire harness.
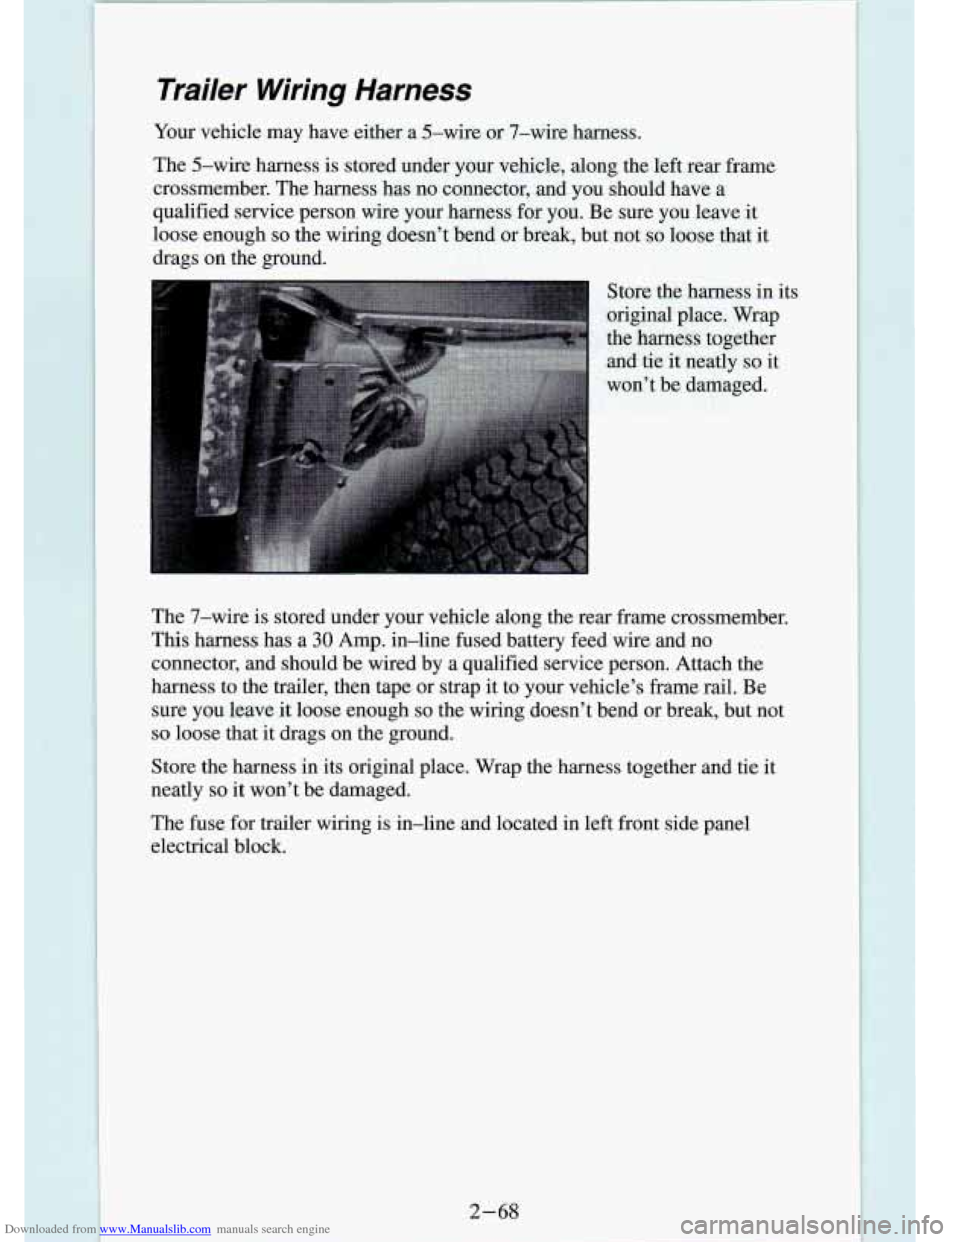
The 5-wire harness is stored under your vehicle, along the left rear frame
crossmember. The harness has no connector, and you should have \
a
qualified service person wire your harness for you. Be sure you leave
it
loose enough so the wiring doesn’t bend or break, but not so loose that it
drags
on the ground.
Store the harness in its
original place. Wrap
the h>arness together
and tie it neatly so it
wm’t be damaged.
The 7-wire is stored under your vehicle along the rear frame erossmember.
This harness has a
30 Amp. in-line fused battery feed wire and no
connector, and should be wired by
a qualified service person. Attach the
harness to the trailer, then tape or strap it to your vehicle’s frame rail. Be
sure you leave it loose enough
so the wiring doesn’t bend or break, but not
so loose that it drags on the ground.
Store the harness in its original place. Wrap the harness together a\
nd tie it
neatly
so it won’t be damaged.
The fuse for trailer wiring is in-line and located in left front side panel
electrical block.
2-68
Page 115 of 340
Downloaded from www.Manualslib.com manuals search engine Comfort Controls & Audio Systems
Section
I .
In this part you’ll find out how to operate the comfort co\
ntrol systems and audio systems offered with your vehicle
. Be sure to read about the particular
system supplied with your vehicle
.
For explanation of vehicle symbols. refer to “Vehicle Symbols” in the
Introduction
.
Comfort Controls
Flow-Through Ventilation System
........................... 3-2
Heater Controls
.......................................... 3-3
Heater/Air Conditioning Controls
........................... 3-4
Engine Coolant Heater (Engine Block Heater)
.................... 3-5
Audiosystems
............................................. 3-5
FMStereo
.............................................. 3-6
AM
................................................... 3-6
AM Stereo
.................. ... -* ........ I ............ 3-6
How to Operate Your
E I R@ AM Radio ....................... 3-7
How to Operate Your ETR@ AM-FM Stereo Audio System
...... 3-8
How to Operate Your ETR@ AM-FM Stereo Audio Cassette
System
............................................. 3-10
How to Operate Your ETR@ AM-FM Stereo Audio Cassette System
With Equalizer
....................................... 3-13
Care
of Your Cassette Tape Player .......................... 3-16
How to Operate Your
ETR@ AM-FM Stereo Audio Compact Disc
(CD)Systern
........................................ 3-17
Care of Compact Disc
.................................... 3-22
Fixed Mast Antenna
..................................... 3-22
3-1
Page 116 of 340
Downloaded from www.Manualslib.com manuals search engine Comfort Controls
Flow-Through Ventilation System
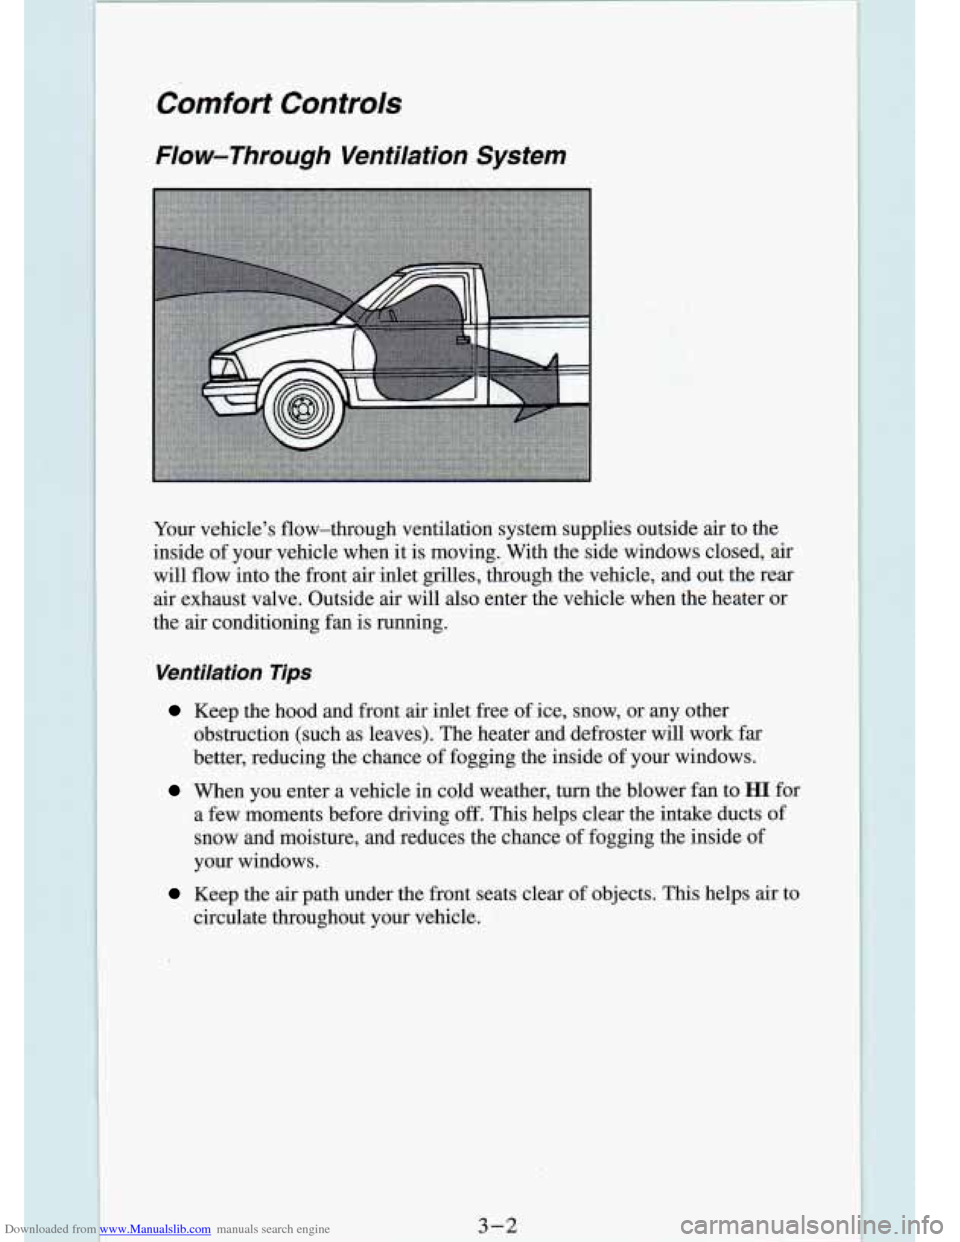
Your vehicle's flow-through ventilation system supplies outside a\
ir to the
inside of your vehicle when it is moving. With the side windows closed, air
will flow into the front air inlet grilles, through the vehicle, and out the rear
air exhaust valve. Outside air will also enter the vehicle whe\
n the heater
or
the air conditioning fan is running.
Ventilation Tips
Keep the hood and front air inlet free of ice, snow, or any other
obstruction (such as leaves). The heater and defroster will w\
ork far
better, reducing the chance
of fogging the inside of your windows.
When you enter a vehicle in cold weather, turn the blower fan to HI for
a few moments before driving off. This helps clear the intake ducts of
snow and moisture, and reduces the chance of fogging the insid\
e of
your windows.
Keep the air path under the front seats clear of objects. This helps air to
circulate throughout your vehicle.
Page 117 of 340
Downloaded from www.Manualslib.com manuals search engine Air Vents
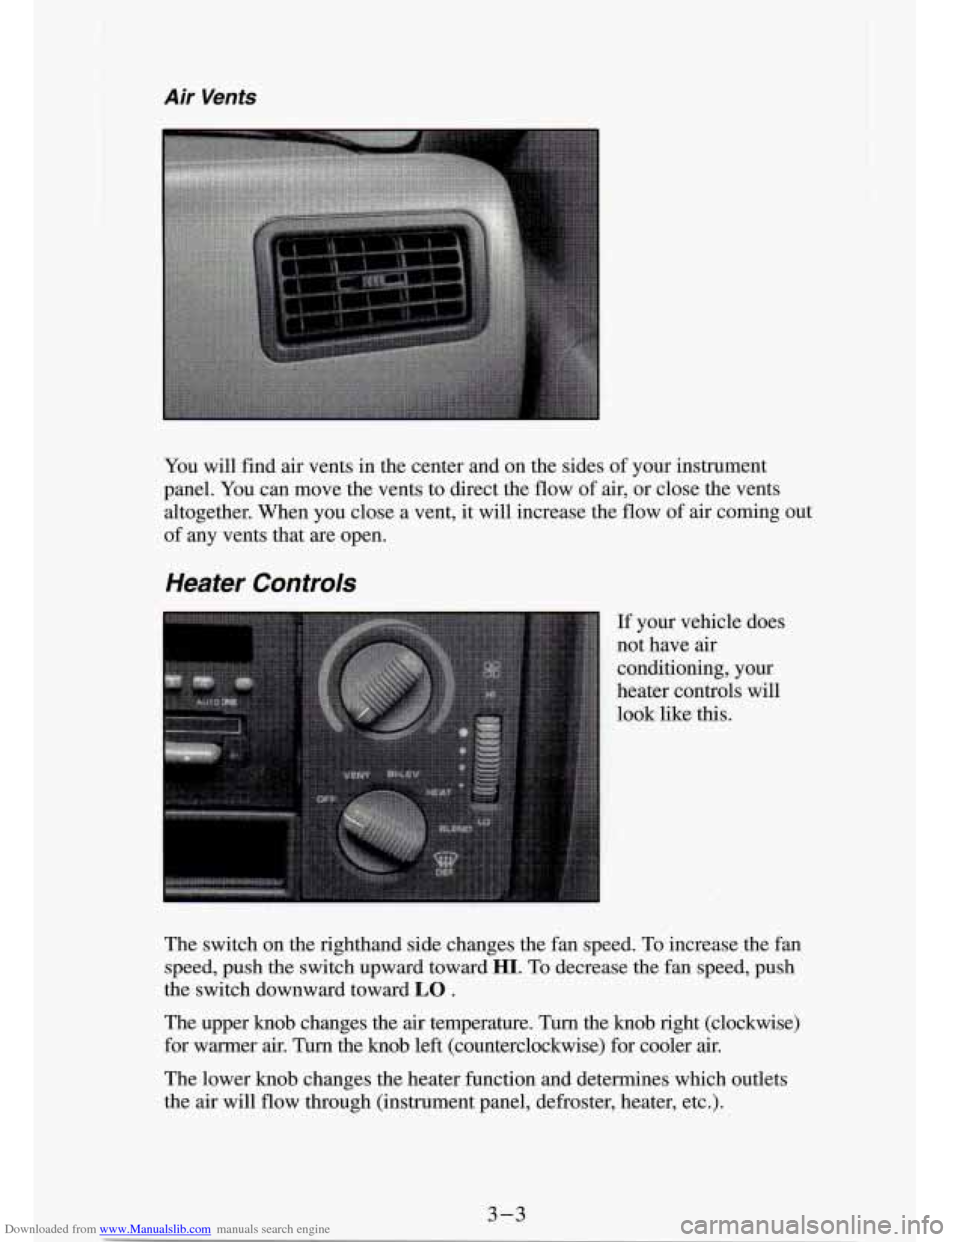
You will find air vents in the center and on the sides of your instrument
panel. You can move the vents to direct the flow
of air, or close the vents
altogether. When you close a vent,
it will increase the flow of air coming out
of any vents that are open.
Heater Controls
If your vehicle does
not have
air
conditioning, your
heater controls will
look like this.
The switch on the righthand side changes the fan speed. To increase the
fan
speed, push the switch upward toward HI. To decrease the fan speed, push
the switch downward toward
LO .
The upper knob changes the air temperature. Turn the knob right (clockwise)
for warmer
air. Turn the knob left (counterclockwise) for cooler air.
The lower knob changes the heater function and determines which\
outlets
the
air will flow through (instrument panel, defroster, heater, etc.).
3-3
Page 118 of 340
Downloaded from www.Manualslib.com manuals search engine OFF: This setting turns off all heating functions. Some outside air will still
come out of the heater outlet whenever the vehicle is moving forward.
VENT Airflow is through the instrument panel vents. Set the upper knob to
the temperature desired. This setting is useful for mild outside temperatures,
when little heating
or cooling is desired.
BI-LEV: Outside air comes in through the heater floor vents and the
instrument panel vents. This setting is useful in cool weather \
with bright sunlight.
HEAT Heated air comes out through the heater floor vents and windsh\
ield
defroster vents. This setting is useful for cold weather.
BLEND: Airflow is divided equally between the heater floor vent and t\
he
windshield defroster vents. This setting is useful in cool weather when you
have fog or ice on the windshield or side windows.
DEF: This setting directs most air through the windshield defroster \
vents
and some through the heater vents. This setting is useful when\
you have fog
or ice on the windshield.
Heater/Air Conditioning Controls
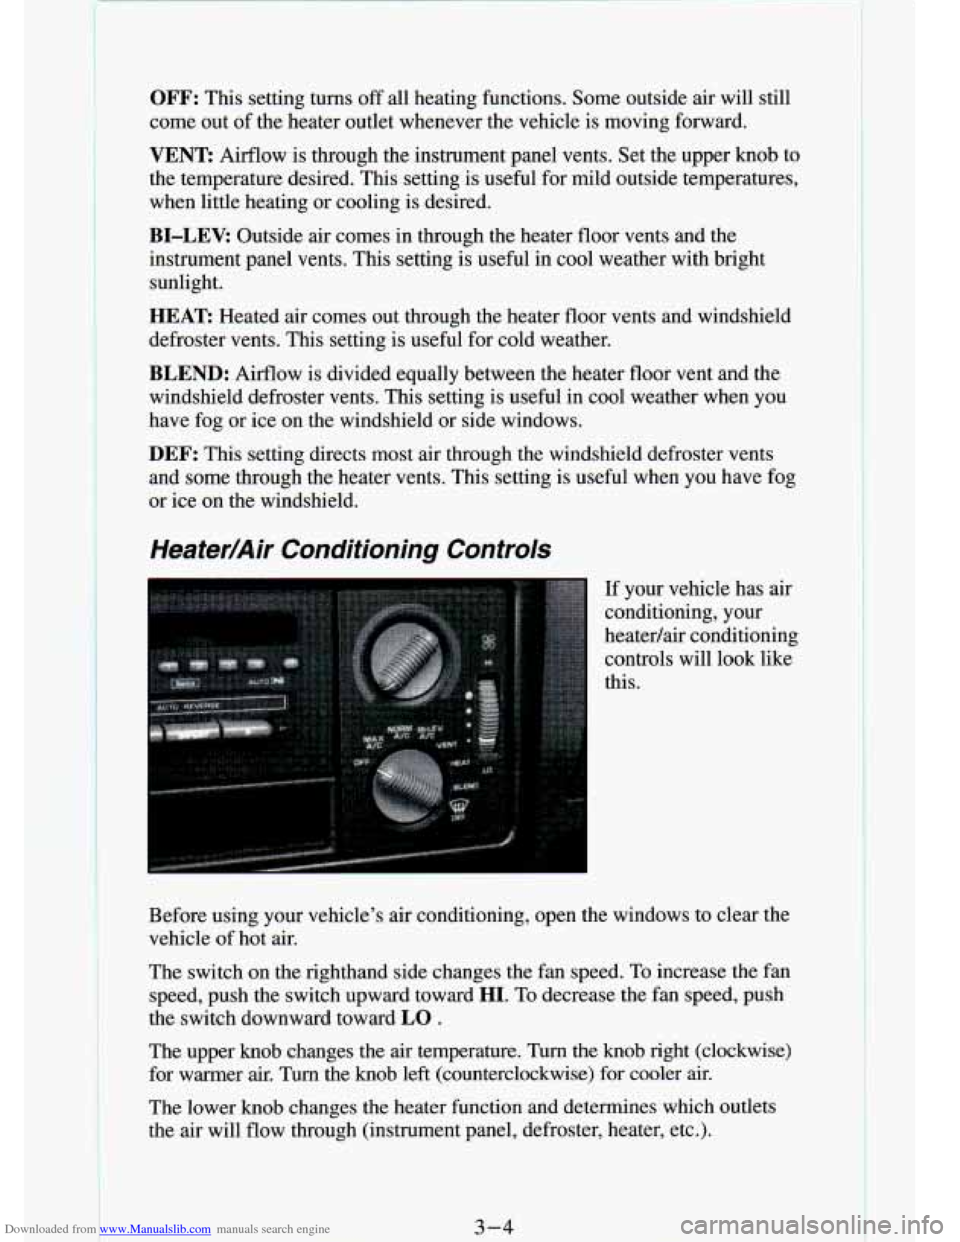
If your vehicle has air
conditioning, your
heatedair conditioning
controls will look like
this.
Before using your vehicle's air conditioning, open the windows \
to clear the vehicle
of hot air.
The switch on the righthand side changes the fan speed. To increase the fan
speed, push the switch upward toward
HI. To decrease the fan speed, push
the switch downward toward
LO .
The upper knob changes the air temperature. Turn the knob righ\
t (clockwise)
for warmer air. Turn the knob left (counterclockwise) for coo\
ler air.
The lower knob changes the heater function and determines which out\
lets
the air will flow through (instrument panel, defroster, heater, etc\
.).
3-4
Page 119 of 340
Downloaded from www.Manualslib.com manuals search engine Engine Coolant Heater (Engine Block Heater)
If you use the optional engine coolant heater before starting your engine,
your heating system will produce warmer air faster, to heat th\
e passenger
compartment in cold weather. See “Engine Coolant Heater” in the Index.
Audio Systems
Your Delco@ audio system has been designed to operate easily and give
years of listening pleasure. But you will get the most enjoyment out of it if
you acquaint yourself with
it first. Find out what your Delco’ system can
do and how to operate
all its controls, to be sure you’re getting the most out
of the advanced engineering that went into it.
Be aware that hearing damage from loud noise is almost undetectable until
it is too late. Your hearing can adapt to higher volumes of sound. Sound that
seems normal can be loud and harmful to your hearing. Take precautions by
adjusting the volume control on your radio to a safe sound le\
vel before your
hearing adapts to it.
3-5
Page 120 of 340
Downloaded from www.Manualslib.com manuals search engine To help avoid hemng loss or aamL_,z
Adjust the volume control to the lowest setting.
0 Increase volume slowly until you hear comfortably and clearly.
FM Stereo
FM stereo will give you the best sound. But FM signals will reach only
about
10 to 40 miles (16 to 65 km). And, tall buildings or hills can interfere
with FM signals, causing the sound to come and go.
AM
The range for most AM stations is greater than for FM, especially at night.
The longer range, however, can cause stations to interfere with eac\
h other.
AM can pick up noise from things like storms and power lines. Tr\
y reducing
the treble to reduce this noise if you ever get
it.
AM Stereo
This means the Delco’ system can receive C-QUAM’ stereo broadcasts.
Many AM stations around the country use C-QUAM@ to produce ste\
reo, though some
do not. (C-QUAM@ is a registered trademark of Motorola,
kc.) If your DelcoB system can get C-QUAM@, your “STEREO’ light will
come on when you’re receiving it.
NOTICE:
Before you add any sound equipment to your ~ehicle - like a
tape player,
CB radio, mobile telephone or two-way radio - be
sure you can add
what you want. If you can, it’s very important
to do
it properly. Added sound equipment may interfere with the
operation of your vehicle’s engine, Delco@ radio or other
systems, and even damage them. And, your vehicle’s systems
may interfere with the operation of sound equipment that has
been added improperly.
So, before adding sound equipment, check with your dealer and
be sure to check Federal rules covering mobile radio and
telephone units.
3-6
1