battery CHEVROLET S10 1995 2.G User Guide
[x] Cancel search | Manufacturer: CHEVROLET, Model Year: 1995, Model line: S10, Model: CHEVROLET S10 1995 2.GPages: 354, PDF Size: 18.92 MB
Page 94 of 354
Downloaded from www.Manualslib.com manuals search engine Accessory Power Outlets (Option)
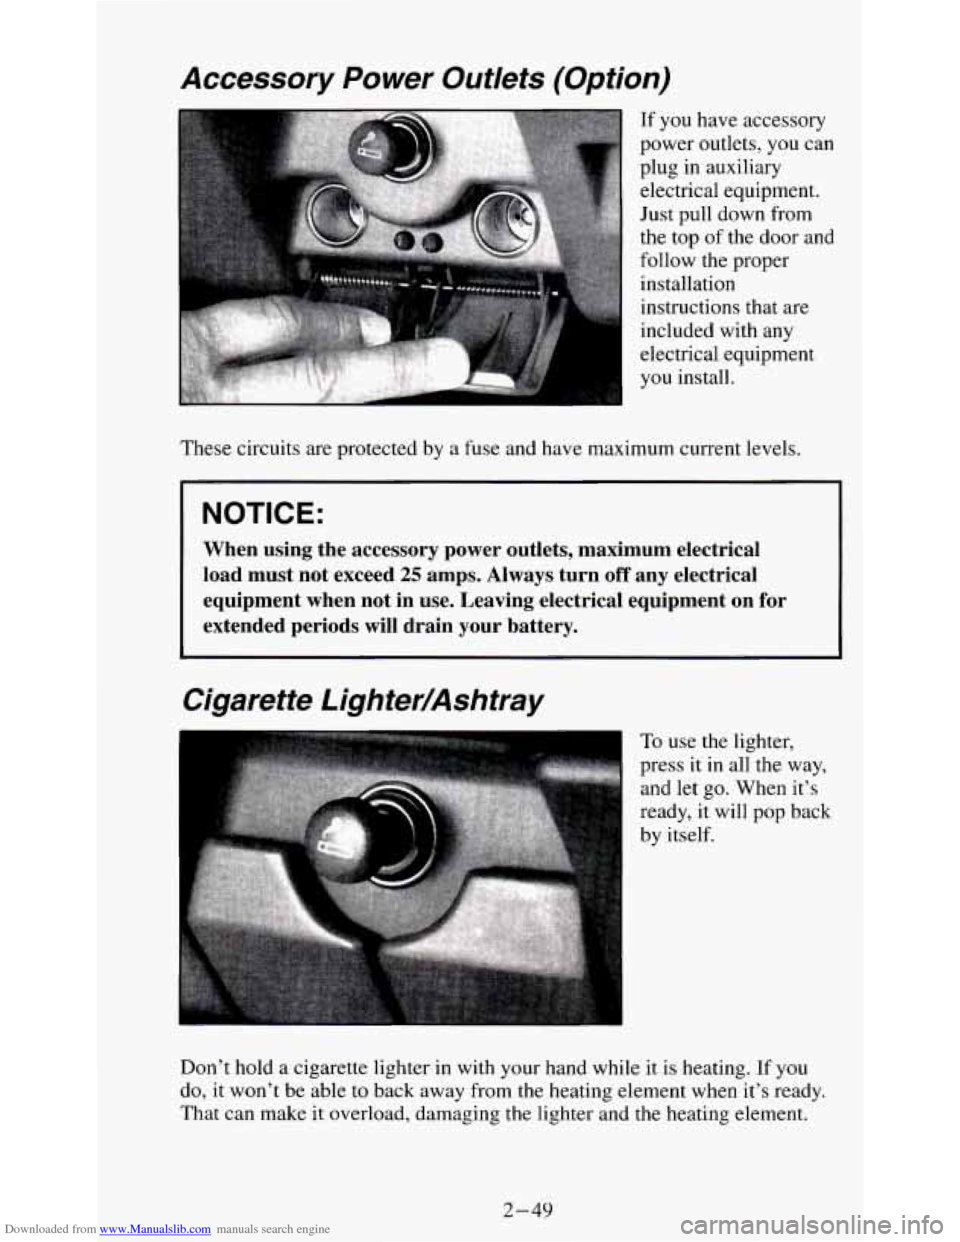
If you have accessory
power outlets, you can
plug in auxiliary
electrical equipment.
Just pull down from
the top
of the door and
follow
the proper
installation
instructions that are
included with any
electrical equipment
you install.
These circuits are protected by a fuse and have maximum current levels.
I NOTICE:
When using the accessory power outlets, maximum electrical
load must not exceed
25 amps. Always turn off any electrical
equipment when not in use. Leaving electrical equipment on for \
extended periods
will drain your battery.
Cigarette Lighter/Ashtray
To use the lighter,
press it in all the way,
and let go. When it’s
ready, it will
pop back
by itself.
Don’t hold
a cigarette lighter in with your hand while it is heating. If you
do, it won’t be able
to back away from the heating element when it’s ready.
That can make it overload, damaging
the lighter and the heating element.
2-49
Page 107 of 354
Downloaded from www.Manualslib.com manuals search engine Charging System lndicator Light
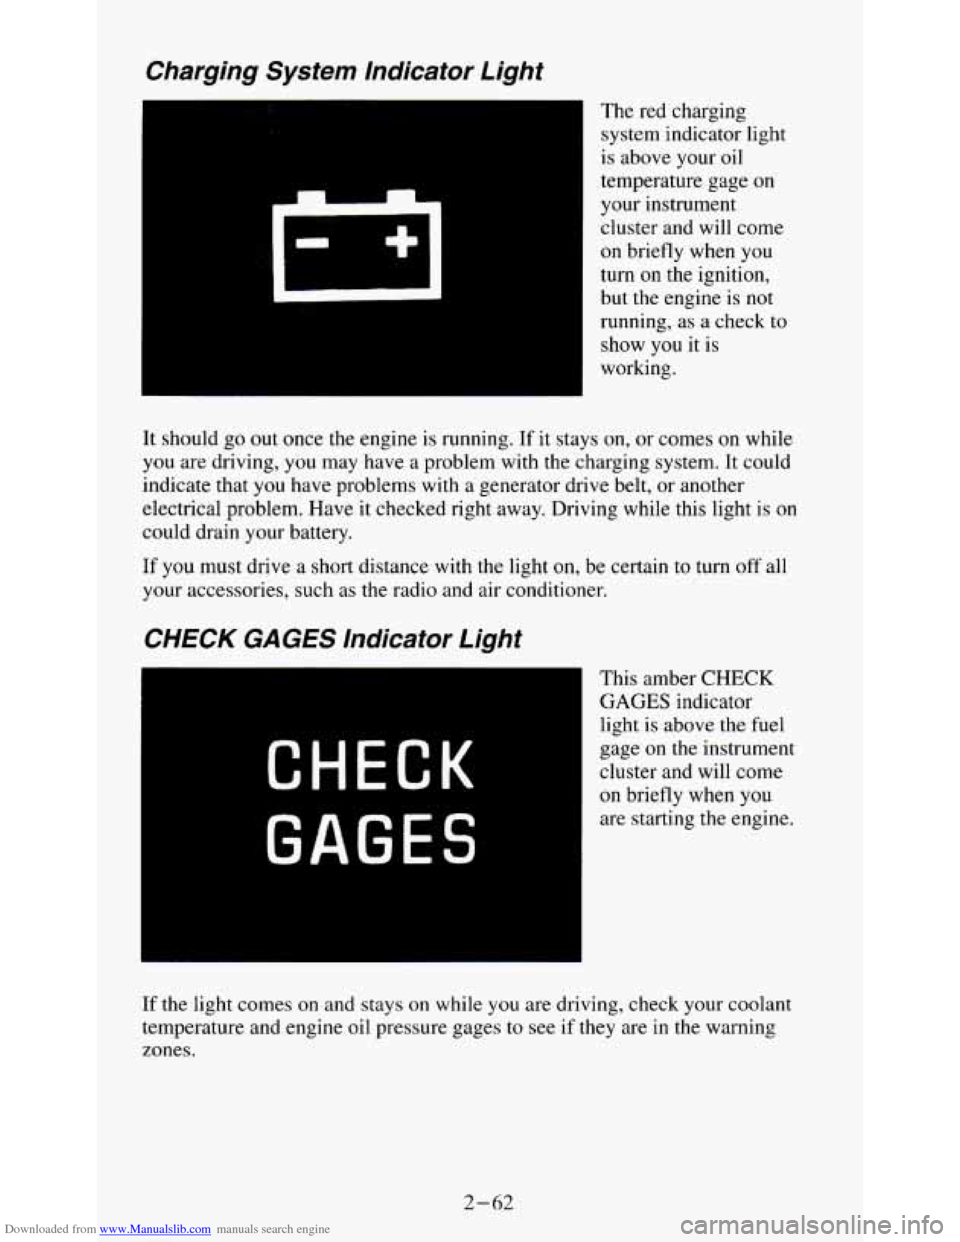
The red charging
system indicator light
is above your oil
temperature gage on
your instrument
cluster and will come
on briefly when you
turn
on the ignition,
but the engine is
not
running, as a check to
show you it is
working.
It should go
out once the engine is running. If it stays on, or comes on while
you are driving, you may have a problem with the charging system. It could
indicate that
you have problems with a generator drive belt, or another
electrical problem. Have it checked right away. Driving while this light is
on
could drain your battery.
If you must drive a short distance with the light on, be certain to turn off all
your accessories, such as the radio and air conditioner.
CHECK GAGES lndicator Light
CHECK
GAGES
This amber CHECK
GAGES indicator
light
is above the fuel
gage
on the instrument
cluster and will come
on briefly when you
are starting the engine.
If the light comes on and stays on while you are driving, check your coolant
temperature and engine oil pressure gages
to see if they are in the warning
zones.
2-62
Page 112 of 354
Downloaded from www.Manualslib.com manuals search engine Voltmeter Gage
14
9
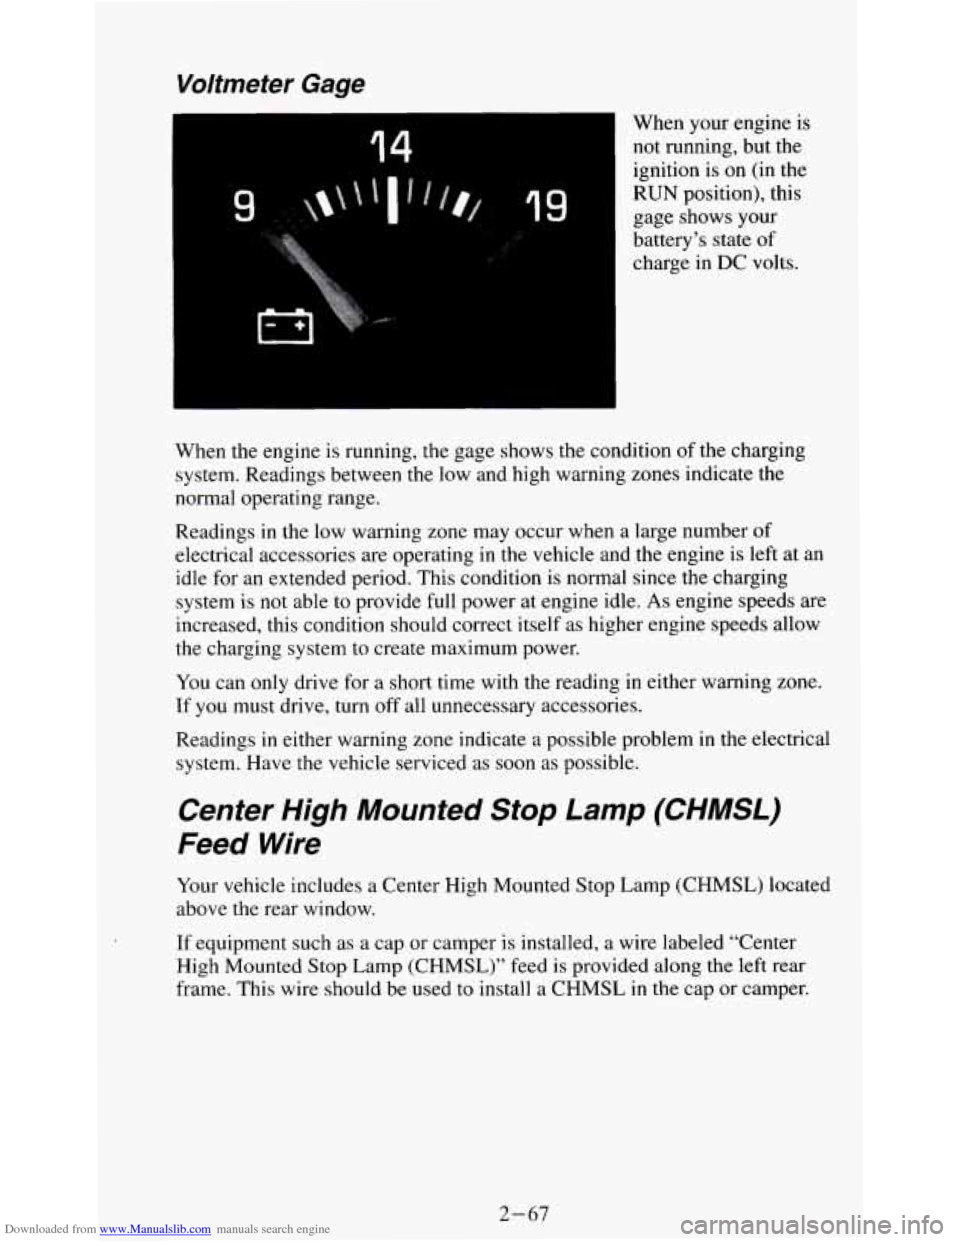
When your engine is
not running, but the
ignition is
on (in the
RUN position), this
gage shows your
battery’s state
of
charge in DC volts.
When the engine is running, the gage shows
the condition of the charging
system. Readings between the low and high warning zones indicate the
normal operating range.
Readings in the low warning zone may occur when a large number
of
electrical accessories are operating in the vehicle and the engine is left at an
idle
for an extended period. This condition is normal since the charging
system is not able
to provide full power at engine idle. As engine speeds are
increased, this condition should correct itself as higher engine speeds allow
the charging system to create maximum power.
You can only drive for a short time with the reading
in either warning zone.
If you must drive, turn off all unnecessary accessories.
Readings
in either warning zone indicate a possible problem in the electrical
system. Have the vehicle serviced as soon
as possible.
Center High Mounted Stop Lamp (CHMSL)
Feed Wire
Your vehicle includes a Center High Mounted Stop Lamp (CHMSL) located
above the rear window.
If equipment such as a cap or camper is installed, a wire labeled “Center
High Mounted
Stop Lamp (CHMSL)” feed is provided along the left rear
frame.
This wire should be used to install a CHMSL in the cap or camper.
2-67
Page 113 of 354
Downloaded from www.Manualslib.com manuals search engine Trailer Wiring Harness
Your vehicle may have either a 5-wire or 7-wire harness.
The 5-wire harness is stored under your vehicle, along the left rear frame
crossmember. The harness has no connector, and you should have a
qualified service person wire your harness for you. Be sure you leave it
loose enough
so the wiring doesn’t bend or break, but not so loose that it
drags on the ground.
Store the harness in its original place. Wrap the harness together and tie it
neatly
so it won’t be damaged.
The 7-wire is stored under your vehicle along the rear frame crossmember.
This harness has a
30 Amp. in-line fused battery feed wire and no
connector, and should be wired by
a qualified service person. Attach the
harness to the trailer, then tape or strap
it to your vehicle’s frame rail. Be
sure you leave it loose enough
so the wiring doesn’t bend or break, but not
so loose that it drags on the ground.
Store the harness in its original place. Wrap the harness together and tie it
neatly
so it won’t be damaged.
The fuse for trailer wiring is in-line and located in left front side panel
electrical block.
2-68
Page 128 of 354
Downloaded from www.Manualslib.com manuals search engine RCL - Press RCL to see what track is playing. Press it again within 5
seconds to see how long it has been playing. The track number also appears
when
you change the volume or when a new track starts to play.
COMP
- Press the COMP button to make soft and loud passages more
nearly equal in volume. “COMP’ will appear in the display while using this
control.
RDM
- The RDM button means random and when it is pressed, it causes
the CD mechanism to play the tracks
in a random order rather than in the
sequential 1,2,
3 order. “RDM” will appear in the display while using this
control.
To return to normal sequence, press RDM again.
REV
- Press and hold the REV button to quickly return to a favorite
passage. Release it
to display the passage. The counter reading will be
displayed while using this control.
FWD
- Press and hold the FWD button to advance quickly within a track.
Release it to resume playing. Watch the display to stop at
a specific passage.
SCAN
- Press SCAN to sample each track for approximately 10 seconds.
Scanning will continue until the RDM, SCAN or any other motion button is
pressed again.
PREV
- Hold the PREV (4 SEEK) button, or press it more than once, and
the disc will return to previous tracks.
NEXT
- Press NEXT (SEEK ,) to hear the next track now instead of
waiting until the present track is finished. If you hold this button or press it
more than once, the disc will advance further.
ST-PL
- Press ST-PL (Stop-Play) to make the disc stop and the radio
play. Press ST-PL again to restart the disc at the point where it stopped.
Press PWR or turn the ignition key
off to stop the disc player. The disc stays
in the player and will resume playing at the point where it stopped.
Press EJCT to eject the disc and make the radio play. The disc will start at
track
I when you reinsert it.
Anti-Theft Feature
Delco LOC II@ is an Anti-Theft feature for the compact disc player. It can
be used or ignored. If ignored, the system plays normally. If it is used, your
player won’t be usable if it is ever stolen, because it won’t turn
on.
The instructions below tell you how to enter a secret code into the system. If
your car loses battery power for any reason,
you must unlock the system
with the secret code before the radio will turn on.
3-15
Page 129 of 354
Downloaded from www.Manualslib.com manuals search engine To Lock The System:
1. Write down any 6 digit number and keep it in a safe place.
2. Turn the ignition to the ACC (Accessory) or RUN position.
3. Press the PWR knob to turn the radio off.
4. Press the 1 and 4 buttons together. Hold them down until “- - -” shows
on the display.
You are now ready to enter your secret code. Don’t wait more than
15
seconds between steps.
5. Press SET and “000” will appear on the display.
6. Press the SEEK or 4 button to make the first number appear.
7. Press SCAN to make the next two numbers agree with your code.
8. Press BAND and “000” will appear again. Now you are ready to enter
the last three digits
of your code.
9. Repeat steps 6 and 7 for the last three digits of your code.
10. Press BAND and “rEP’ will appear for 5 seconds and then “OOO” will
11. Repeat steps 6 through 10. This time “SEC” will appear - indicating
appear.
that the radio
is secure.
To Unlock The System After A Power Loss
When battery power is reapplied to a secured radio, the radio won’t turn on
and
“LOC” will appear on the display.
Enter your secret code as follows. Pause
no more than 15 seconds between
steps.
1. Turn the ignition on. (Radio off.)
2. Press the SET button. The display will show “000”.
3. Enter the six digits of the code following steps 6-9 above. The display
4. Press the BAND knob and the time appears - indicating that the
will
show the numbers as entered.
disabling sequence was successful. If the display indicates
“SEC”, the
numbers did
not match and the unit is still secured.
3-16
Page 167 of 354
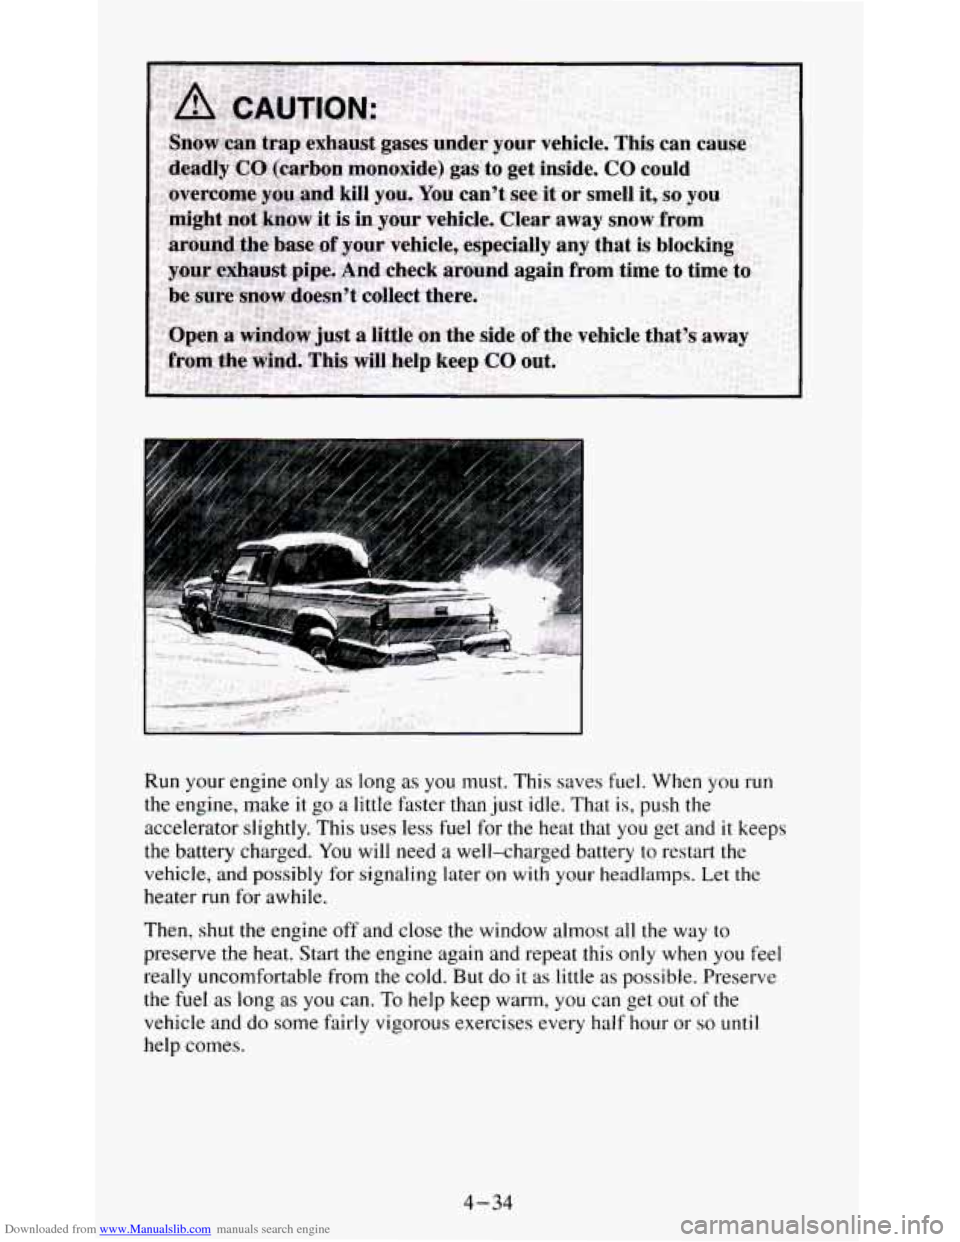
Downloaded from www.Manualslib.com manuals search engine Run your engine only as long as you must. This saves fuel. When you run
the engine, make it go
a little faster than just idle. That is, push the
accelerator slightly. This uses less fuel for the heat that you get and
it keeps
the battery charged. You will need
a well-charged battery to restart the
vehicle, and possibly
for signaling later on with your headlamps. Let the
heater run
for awhile.
Then, shut the engine off and close the window almost all the way to
preserve the heat. Start the engine again and repeat this only when you feel
really uncomfortable from the cold. But do
it as little as possible. Preserve
the fuel
as long as you can. To help keep warm, you can get out of the
vehicle and
do some fairly vigorous exercises every half hour or so until
help comes.
4-34
Page 169 of 354
Downloaded from www.Manualslib.com manuals search engine 5. Release the parking brake only after the vehicle being towed is firmly
attached to the tow vehicle.
6. Insert the ignition key into the ignition switch and turn it one notch
forward of the
LOCK position. This places the key into the OFF
position, which unlocks the steering column while preventing battery
drain. Unlocking the steering column will allow for proper movement
of the front wheelshires during towing.
NOTICE:
You should exercise extra care whenever towing another vehicle.
Loading Your Vehicle
PAYLOAD =I-1
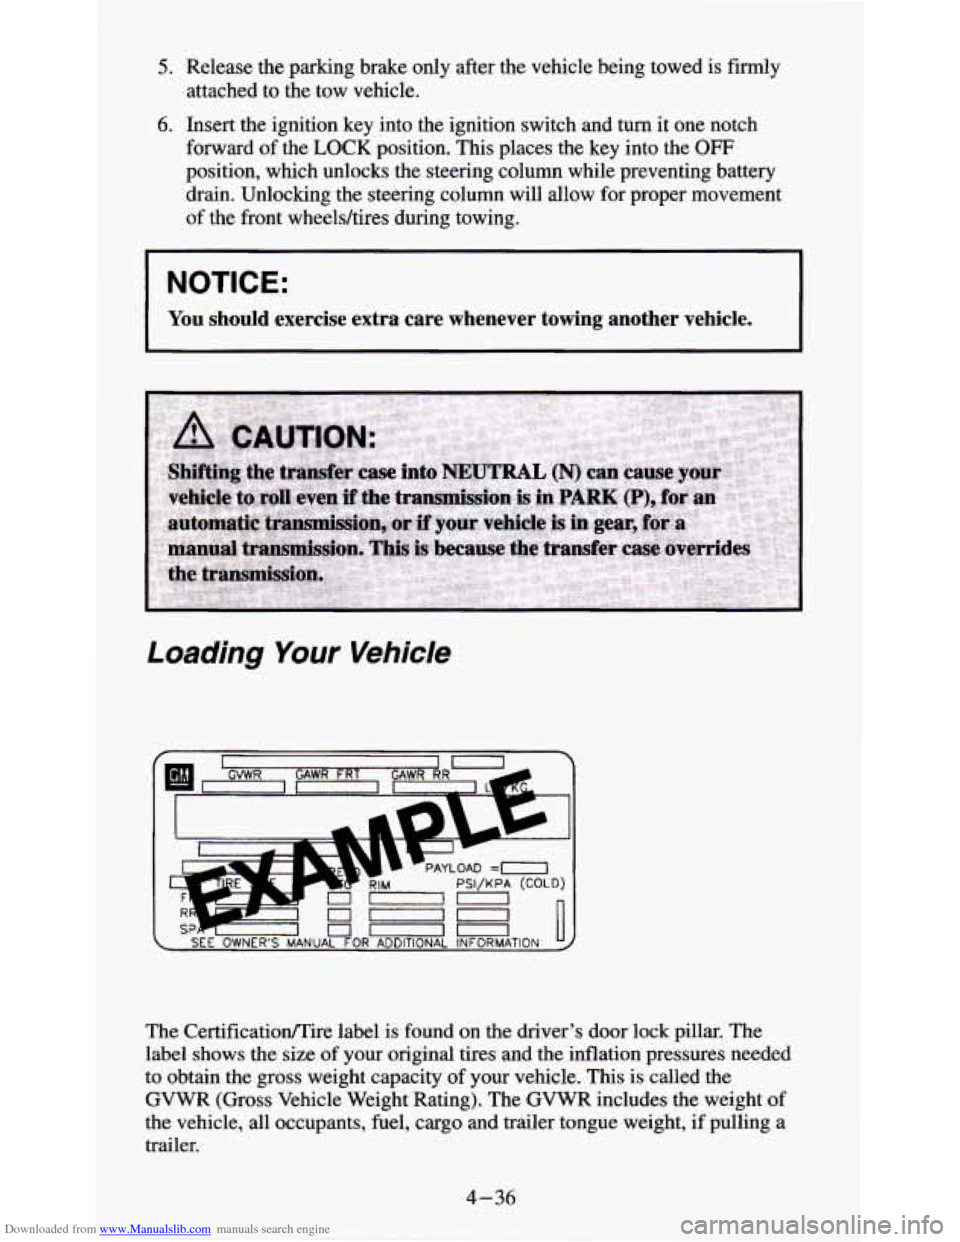
The Certificatioflire label is found on the driver’s door lock pillar. The
label shows the size of your original tires and the inflation pressures needed
to obtain the gross weight capacity of your vehicle. This is called the
GVWR (Gross Vehicle Weight Rating). The GVWR includes the weight of
the vehicle, all occupants, fuel, cargo and trailer tongue weight, if pulling a
trailer.
4-36
Page 185 of 354
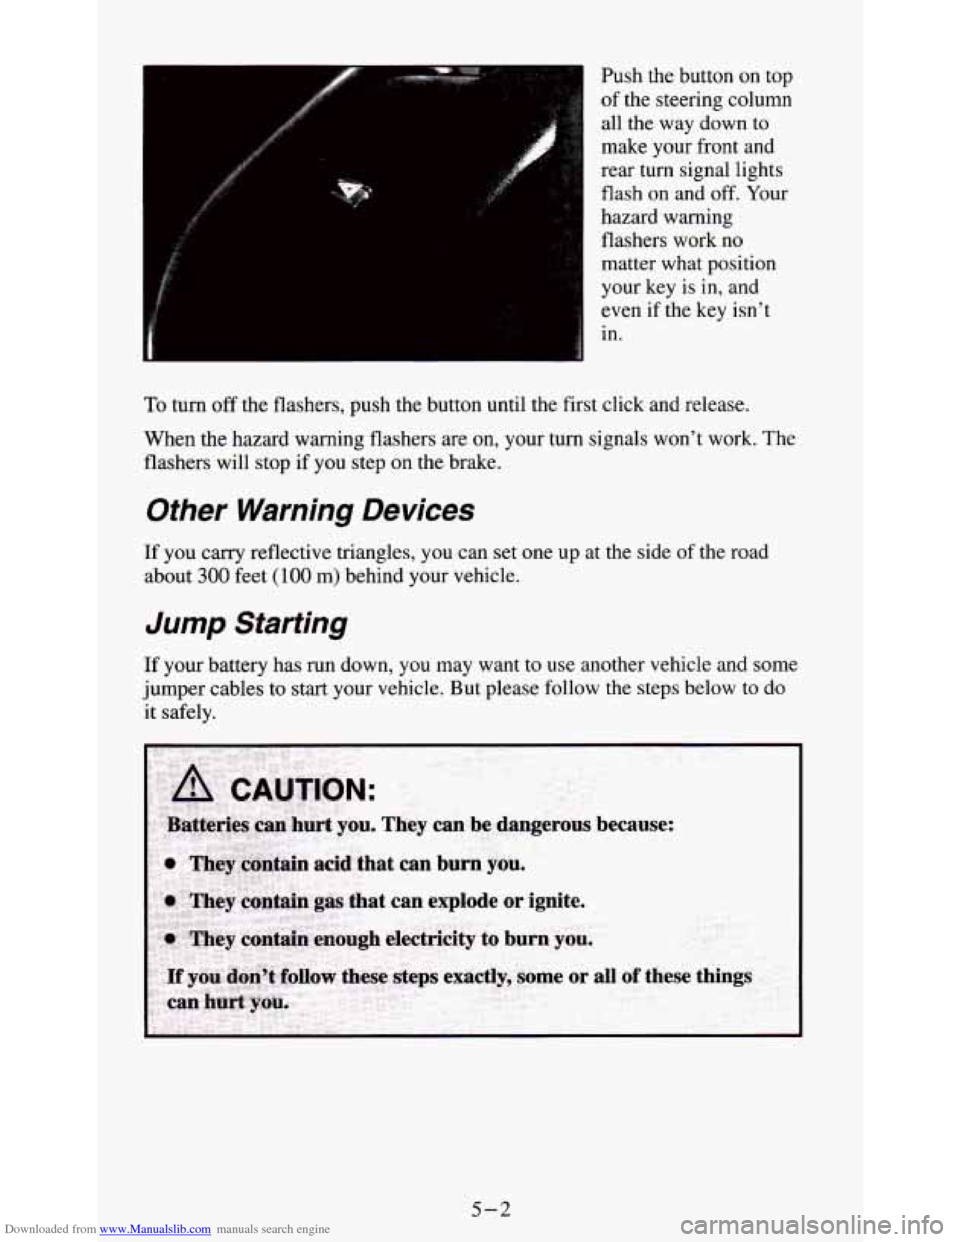
Downloaded from www.Manualslib.com manuals search engine Push the button on top
of the steering column
all the way down
to
make your front and
rear turn signal lights
flash on and
off. Your
hazard warning
flashers work
no
matter what position
your key is
in, and
even if the key isn’t
in.
To turn off the flashers, push the button until the first click and release.
When the hazard warning flashers are on, your turn signals won’t work. The
flashers will stop if you step on the brake.
Other Warning Devices
If you carry reflective triangles, you can set one up at the side of the road
about
300 feet (100 m) behind your vehicle.
Jump Starting
If your battery has run down, you may want to use another vehicle and some
jumper cables to start your vehicle. But please follow the steps below to do
it safely.
5-2
Page 186 of 354
Downloaded from www.Manualslib.com manuals search engine NOTICE:
Ignoring these steps could result in costly damage to your
vehicle that wouldn’t be covered by your warranty.
Trying to start your vehicle by pushing or pulling
it could
damage your vehicle, even if you have a manual transmission.
And if you have an automatic transmission, it won’t
start that
way.
To Jump Start Your Vehicle;
1. Check the other vehicle. It must have a 12-volt battery with a negative
ground system.
NOTICE:
If the other system isn’t a 12-volt system with a negative
ground, both vehicles can be damaged.
2. Get the vehicles close enough so the jumper cables can reach, but be
sure the vehicles aren’t touching each other. If they are, it could cause
a
ground connection you don’t want. You wouldn’t be able to start your
vehicle, and the bad grounding could damage the electrical systems.
You could be injured if the vehicles roll. Set the parking brake firmly
on each vehicle. Put an automatic transmission in
PARK (P) or a
manual transmission in NEUTRAL (N). If you have
a
four-wheel-drive vehicle with a manual transfer case shift lever, be
sure the transfer case is not in NEUTRAL
(N).
3. Turn off the ignition on both vehicles. Turn off all lights that aren’t
needed, and radios. This will avoid sparks and help save both batteries.
And it could save your radio!
NOTICE:
If you leave your radio on, it could be badly damaged. The
repair wouldn’t be covered by your warranty.
4. Open the hoods and locate the batteries. Find the positive (+) and
negative
(-) terminals on each battery.
5-3