heating CHEVROLET S10 1995 2.G Owners Manual
[x] Cancel search | Manufacturer: CHEVROLET, Model Year: 1995, Model line: S10, Model: CHEVROLET S10 1995 2.GPages: 354, PDF Size: 18.92 MB
Page 2 of 354
Downloaded from www.Manualslib.com manuals search engine Table of Contents
Introduction - How to Use this Manual
This section tells you how to use your manual and includes safety
and vehicle damage warnings and symbols.
Section 1 - Seats and Restraint Systems
This section tells you how to use your seats and safety belts
properly. It also explains the air bag system.
Section 2 - Features & Controls
This section explains how to start and operate your vehicle.
Section 3 - Comfort Controls & Audio Systems
This section tells you how to adjust the ventilation and comfort
controls and how to operate your audio system.
Section 4 - Your Driving and the Road
Here you’ll find helpful information and tips about the road and
how to drive under different conditions.
Section 5 - Problems on the Road
This section tells you what to do if you have a problem while
driving, such as a flat tire or engine overheating, etc.
Section 6- Service & Appearance Care
Here the manual tells you how to keep your vehicle running
properly and looking good.
Section 7 - Maintenance Schedule
This section tells you when to perform vehicle maintenance and
what fluids and lubricants to use.
Section 8 - Customer Assistance Information
This section tells you how to contact GM for assistance and how to
get service publications. It also gives you information on
“Reporting Safety Defects” on page
8-4.
Index
Here’s an alphabetical listing of almost every subject in this
manual. You can use it to quickly find something you want to read.
1
Page 94 of 354
Downloaded from www.Manualslib.com manuals search engine Accessory Power Outlets (Option)
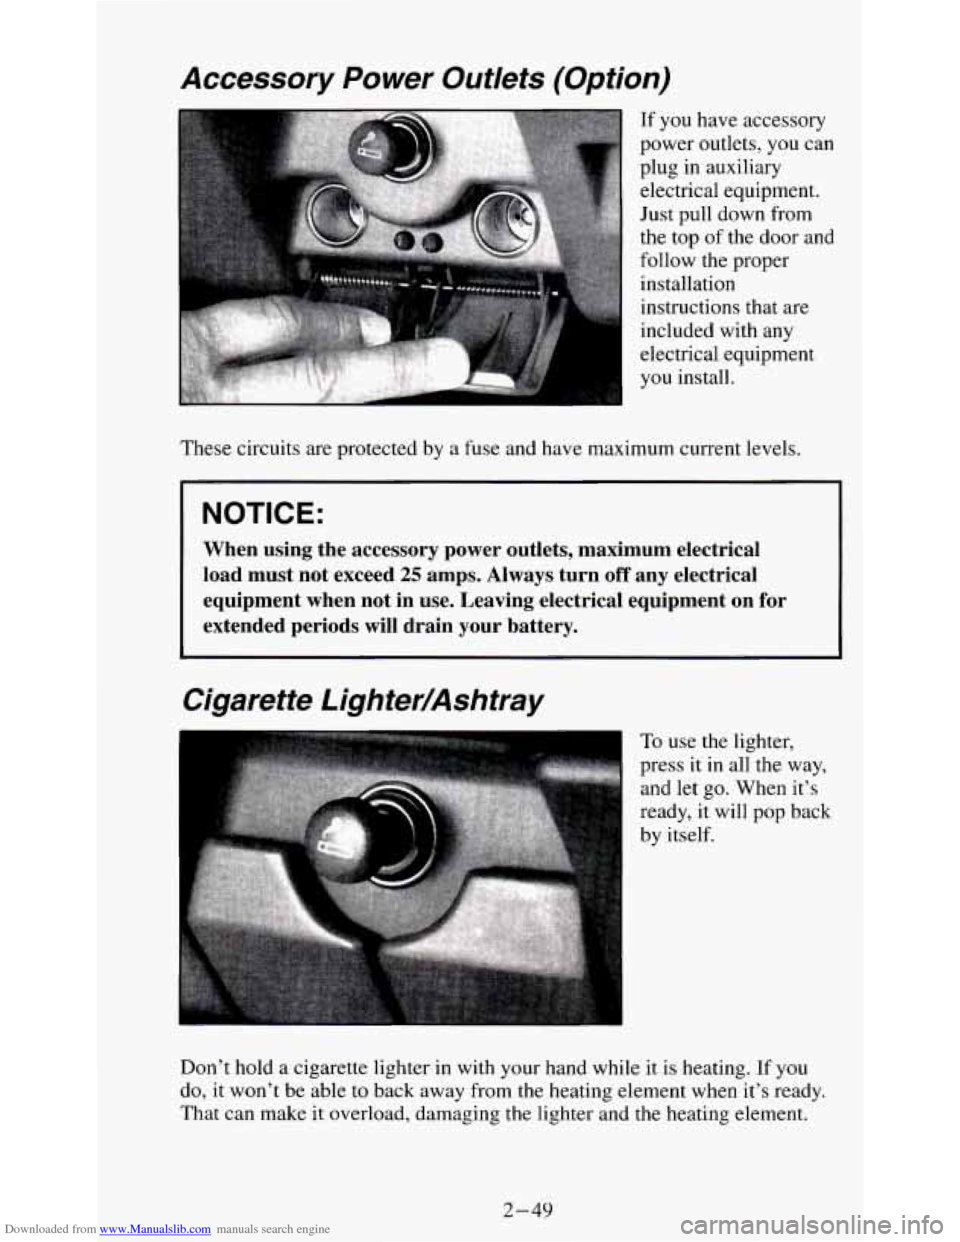
If you have accessory
power outlets, you can
plug in auxiliary
electrical equipment.
Just pull down from
the top
of the door and
follow
the proper
installation
instructions that are
included with any
electrical equipment
you install.
These circuits are protected by a fuse and have maximum current levels.
I NOTICE:
When using the accessory power outlets, maximum electrical
load must not exceed
25 amps. Always turn off any electrical
equipment when not in use. Leaving electrical equipment on for \
extended periods
will drain your battery.
Cigarette Lighter/Ashtray
To use the lighter,
press it in all the way,
and let go. When it’s
ready, it will
pop back
by itself.
Don’t hold
a cigarette lighter in with your hand while it is heating. If you
do, it won’t be able
to back away from the heating element when it’s ready.
That can make it overload, damaging
the lighter and the heating element.
2-49
Page 110 of 354
Downloaded from www.Manualslib.com manuals search engine Gages
Engine Coolant Temperature Gage
210
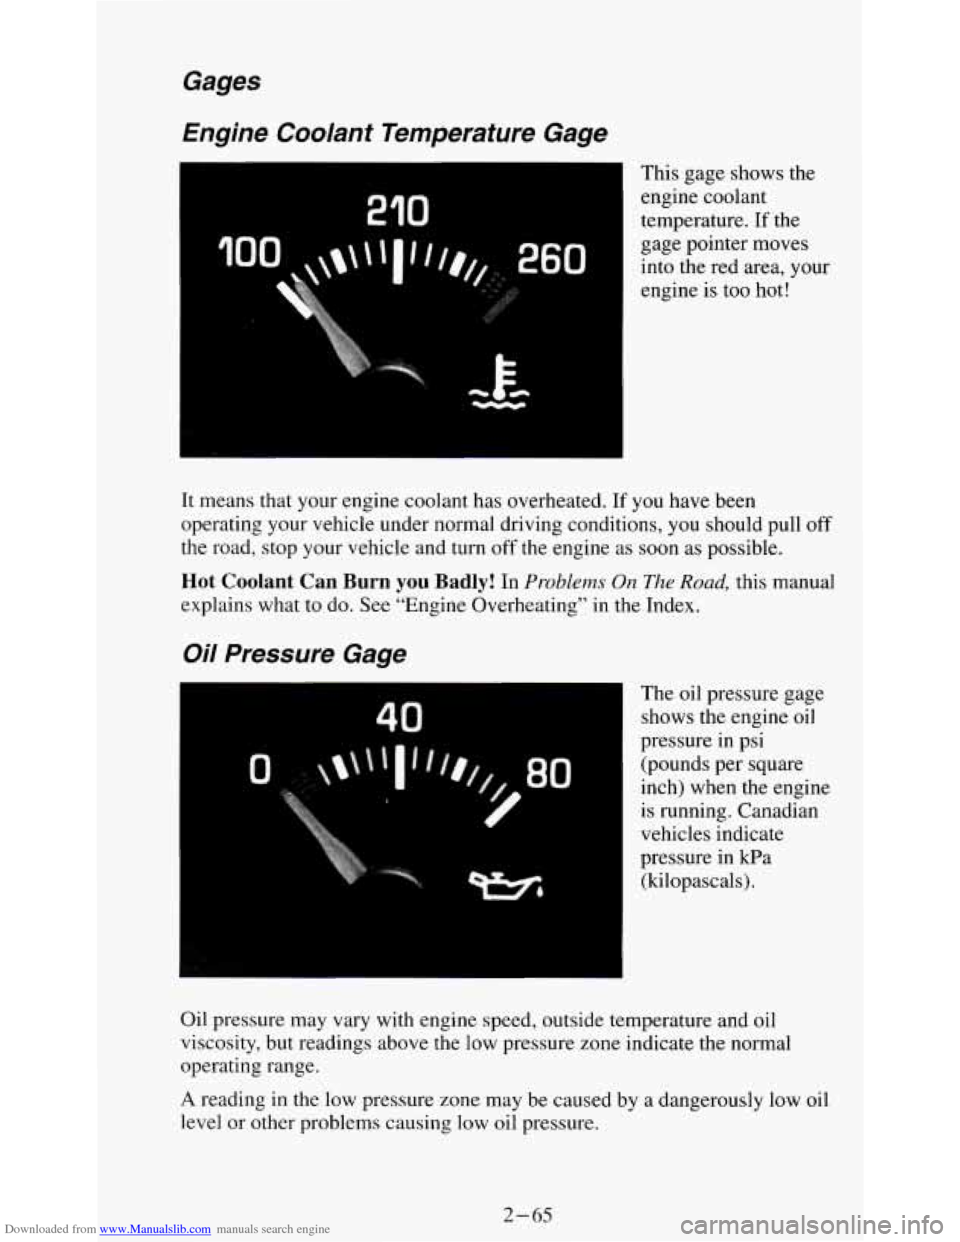
This gage shows the
engine coolant
temperature.
If the
gage pointer moves
into the red area, your
engine is too hot!
It means that your engine coolant has overheated.
If you have been
operating your vehicle under normal driving conditions,
you should pull off
the road, stop your vehicle and turn off the engine as soon as possible.
Hot Coolant Can Burn you Badly! In Problems On The Road, this manual
explains what to do. See “Engine Overheating” in the Index.
Oil Pressure Gage
The oil pressure gage
shows the engine oil
pressure in psi
(pounds per square
inch) when the engine
is running. Canadian
vehicles indicate
pressure
in kPa
(kilopascals).
Oil pressure may vary with engine speed, outside temperature and oil
viscosity, but readings above
the low pressure zone indicate the normal
operating range.
A reading in the low pressure zone may be caused by a aangerously low oil
level or other problems causing low oil pressure.
2-65
Page 115 of 354
Downloaded from www.Manualslib.com manuals search engine The lower knob changes the heater function and determines which outlets
the air will flow through (instrument panel, defroster, heater, etc.).
OFF - This setting turns off all heating functions. Some outside air will
still come out of the heater outlet whenever the vehicle is moving forward.
VENT - Airflow is through the instrument panel vents. Set the upper knob
to the temperature desired. This setting is useful for mild outside
temperatures, when little heating or cooling is desired.
BI-LEV - Outside air comes in through the heater floor vents and the
instrument panel vents. This setting is useful
in cool weather with bright
sunlight.
HEAT
- Heated air comes out through the heater floor vents and
windshield defroster vents. This setting is useful for cold weather.
BLEND - Airflow is divided equally between the heater floor vent and the
windshield defroster vents. This setting is useful
in cool weather when you
have fog
or ice on the windshield or side windows.
DEF - This setting directs most air through the windshield defroster vents
and some through the heater vents. This setting
is useful when you have fog
or ice on the windshield.
Heater/Air Conditioning Controls
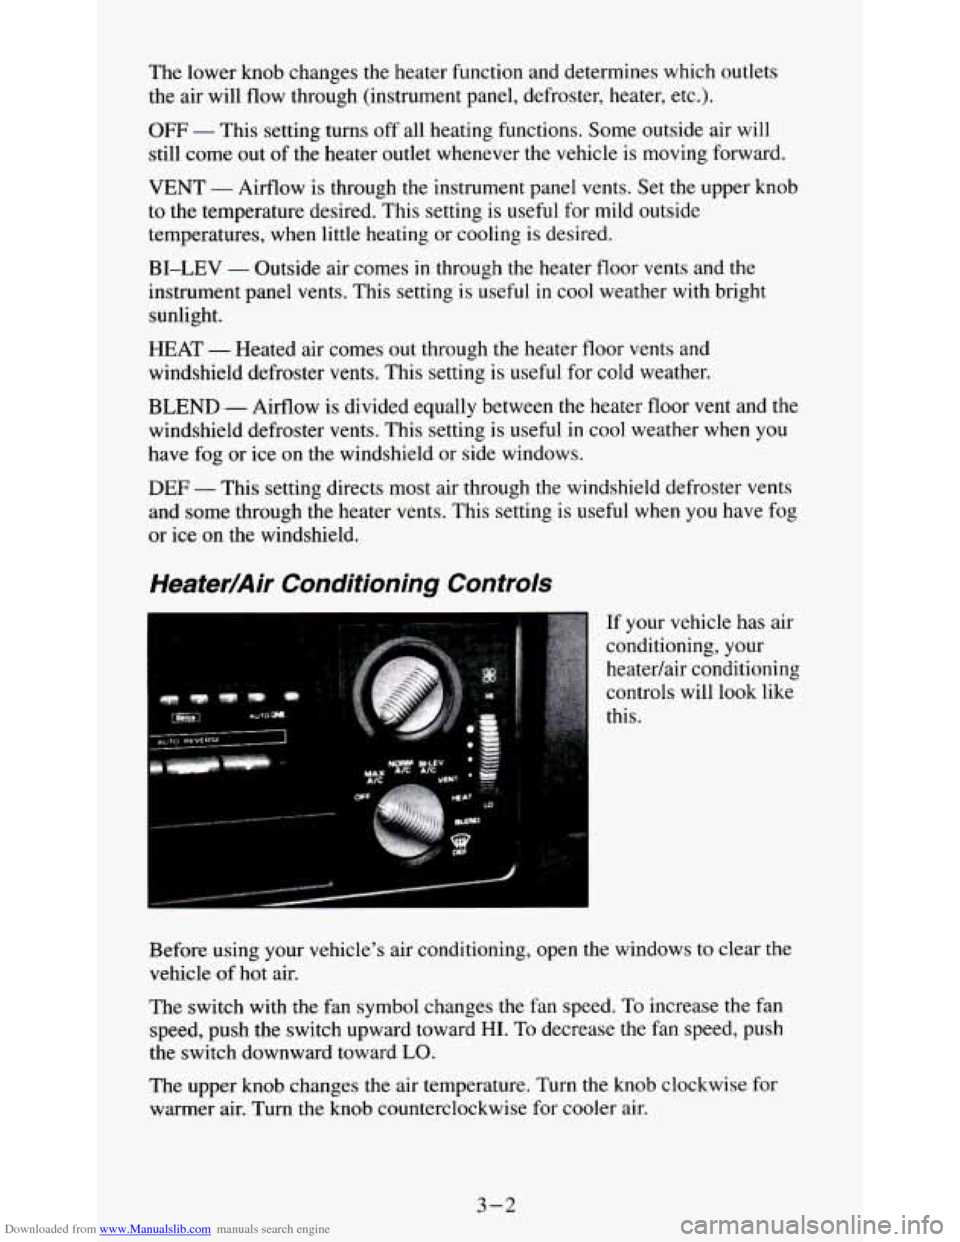
If your vehicle has air
conditioning, your
heatedair conditioning
controls will look like
this.
Before using your vehicle's air conditioning, open the windows to clear the
vehicle of
hot air.
The switch with the fan symbol changes the fan speed. To increase the fan
speed, push the switch upward toward
HI. To decrease the fan speed, push
the switch downward toward
LO.
The upper knob changes the air temperature. Turn the knob clockwise for
warmer air. Turn the knob counterclockwise for cooler air.
3-2
Page 116 of 354
Downloaded from www.Manualslib.com manuals search engine The lower knob selects the heater or air conditioning function and
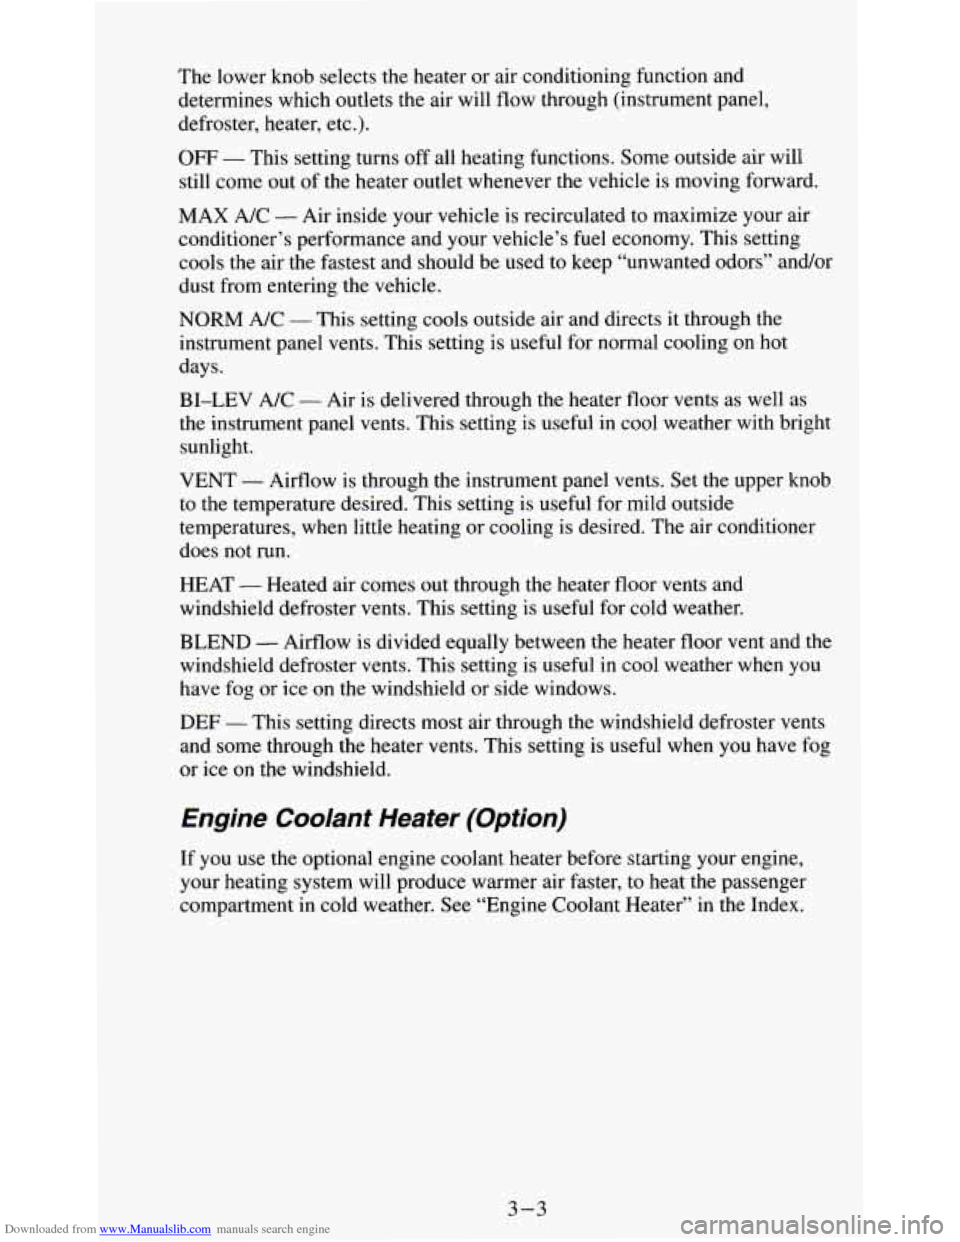
determines which outlets the air will flow through (instrument panel,
defroster, heater, etc.).
OFF - This setting turns off all heating functions. Some outside air will
still come out of the heater outlet whenever the vehicle is moving forward.
MAX A/C
- Air inside your vehicle is recirculated to maximize your air
conditioner’s performance and your vehicle’s fuel economy. This setting
cools the air the fastest and should be used to keep “unwanted odors” and/or
dust from entering the vehicle.
NORM A/C - This setting cools outside air and directs it through the
instrument panel vents. This setting is useful for normal cooling on hot
days.
BI-LEV A/C
- Air is delivered through the heater floor vents as well as
the instrument panel vents. This setting is useful in cool weather with bright
sunlight.
VENT - Airflow is through the instrument panel vents. Set the upper knob
to the temperature desired. This setting is useful for mild outside
temperatures, when little heating or cooling is desired. The air conditioner
does not run.
HEAT
- Heated air comes out through the heater floor vents and
windshield defroster vents. This setting is useful for cold weather.
BLEND
- Airflow is divided equally between the heater floor vent and the
windshield defroster vents. This setting
is useful in cool weather when you
have fog or ice on the windshield
or side windows.
DEF - This setting directs most air through the windshield defroster vents
and some through the heater vents. This setting is useful when you have fog
or ice on the windshield.
Engine Coolant Heater (Option)
If you use the optional engine coolant heater before starting your engine,
your heating system
will produce warmer air faster, to heat the passenger
compartment
in cold weather. See “Engine Coolant Heater” in the Index.
3-3
Page 181 of 354
Downloaded from www.Manualslib.com manuals search engine Driving On Grades
Reduce speed and shift to a lower gear before you start down a long or steep
downgrade. If you don’t shift down, you might have to use your brakes
so
much that they would get hot and no longer work well.
On a long uphill grade,
shift down and reduce your speed to around 45 mph
(70 km/h) to reduce the possibility of engine and transmission overheating.
When towing at high altitude on steep uphill grades, consider the following:
Engine coolant will boil at a lower temperature than at normal altitudes. If
you
turn your engine off immediately after towing at high altitude on steep
uphill grades, your vehicle may show signs similar to engine overheating.
To avoid this, let the engine run while parked (preferably on level ground)
with the automatic transmission in PARK
(P) (or the manual transmission
out of gear and the parking brake applied) for
a few minutes before turning
the engine
off. If you do get the overheat warning, see “Engine
Overheating” in the Index.
Parking on Hi//s
You really should not park your vehicle, with a trailer attached, on a hill. If
something goes wrong, your rig could start to move. People can be injured,
and both your vehicle and the trailer can be damaged.
But if you ever have to park your rig on a hill, here’s how to do it:
1. Apply your regular brakes, but don’t shift into PARK (P) yet, or into
gear for a manual transmission. When parking uphill,
turn your wheels
away from the curb. When parking downhill,
turn your wheels into the
curb.
2. Have someone place chocks under the trailer wheels.
3. When the wheel chocks are in place, release the regular brakes until the
chocks absorb the load.
4. Reapply the regular brakes. Then apply your parking brake, and then
shift into PARK
(P), or REVERSE (R) for a manual transmission.
5. If you have a four-wheeldrive vehicle with a manual transfer case
shift lever, be sure the transfer case is
in a drive gear - not in
NEUTRAL (N).
6. Release the parking brake.
4-48
Page 193 of 354
Downloaded from www.Manualslib.com manuals search engine I
NOTICE:
Do not tow with sling-type equipment or the rear bumper
system will be damaged.
Use wheel lift or car-carrier equipment.
Additional ramping may be required for car-carrier equipment.
Use safety chains and wheel straps.
If your vehicle has the four-wheel drive option, a dolly MUST
be used under the front wheels when towing from the rear.
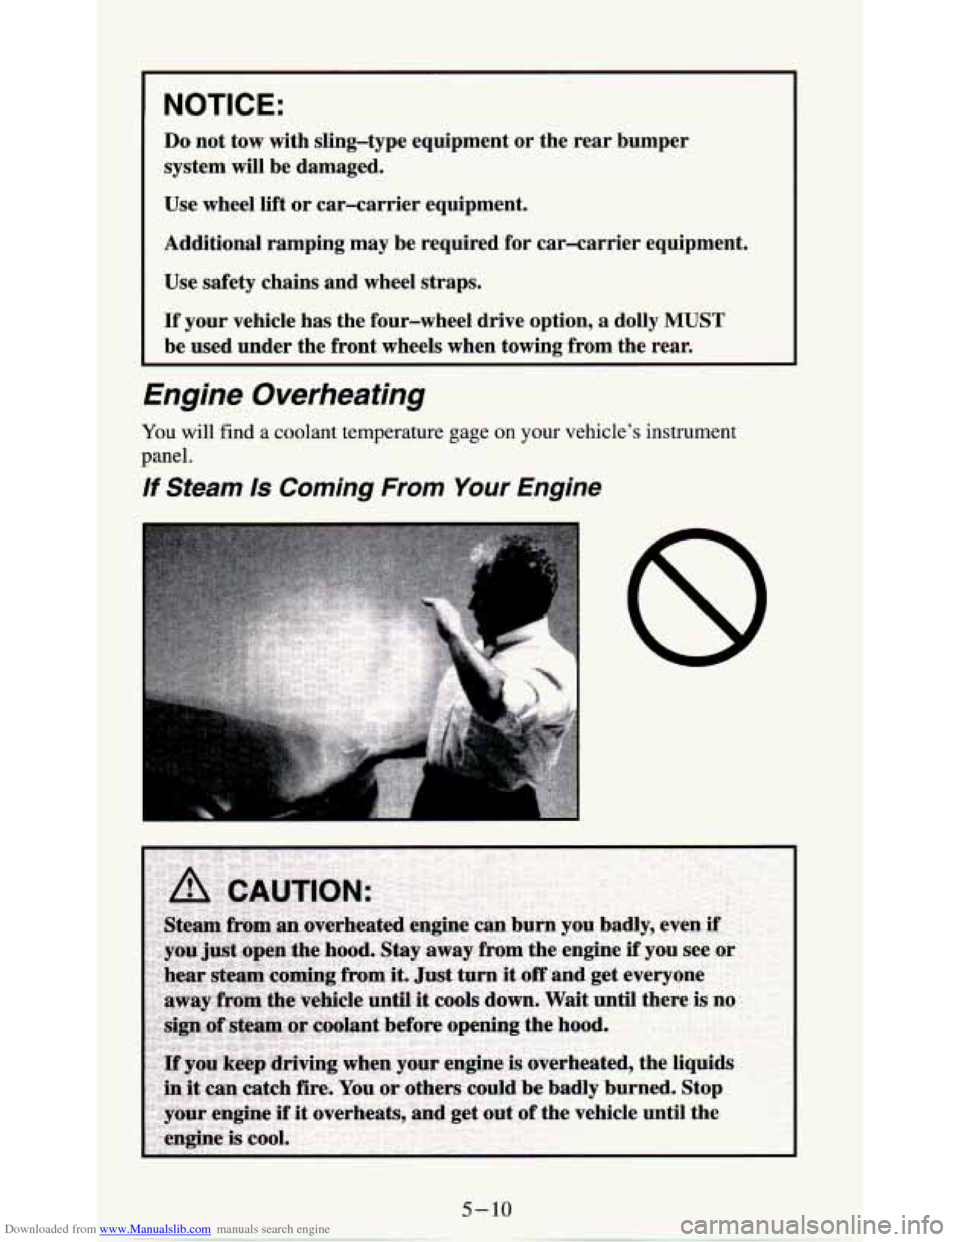
Engine Overheating
You will find a coolant temperature gage on your vehicle's instrument
panel.
If Steam Is Coming From Your Engine
Page 238 of 354
Downloaded from www.Manualslib.com manuals search engine What to Use
Refer to the Maintenance Schedule to determine what kind of lubricant to
use. See “Recommended Fluids and Lubricants” in the Index.
Engine Coolant
The following explains your cooling system and how to add coolant when it
is low. If you have a problem with engine overheating, see “Engine
Overheating” in the Index.
The proper coolant for your vehicle will:
Give freezing protection down to -34°F (-37 “C).
Give boiling protection up to 262°F (128 “C).
Protect against rust and corrosion.
Help keep the proper engine temperature.
Let the warning lights and gages work as they should.
What to Use
Use a mixture of one-half clean water (preferably distilled) and one-half
antifreeze that meets “GM Specification 6038-M,” or “GM Specification
6043-M’ with the 2.2L (LN2) Code 4 engine, which won’t damage
aluminum parts.
You can also use a recycled coolant conforming to “GM
Specification 603%”’ or “GM Specification 6043-M” with the 2.2L
(LN2) Code 4 engine. Use GM Coolant Supplement (Sealer) with a
complete coolant flush and refill. If you use this mixture, you don’t need to
add anything else.
6-21
Page 240 of 354
Downloaded from www.Manualslib.com manuals search engine To Check Coolant
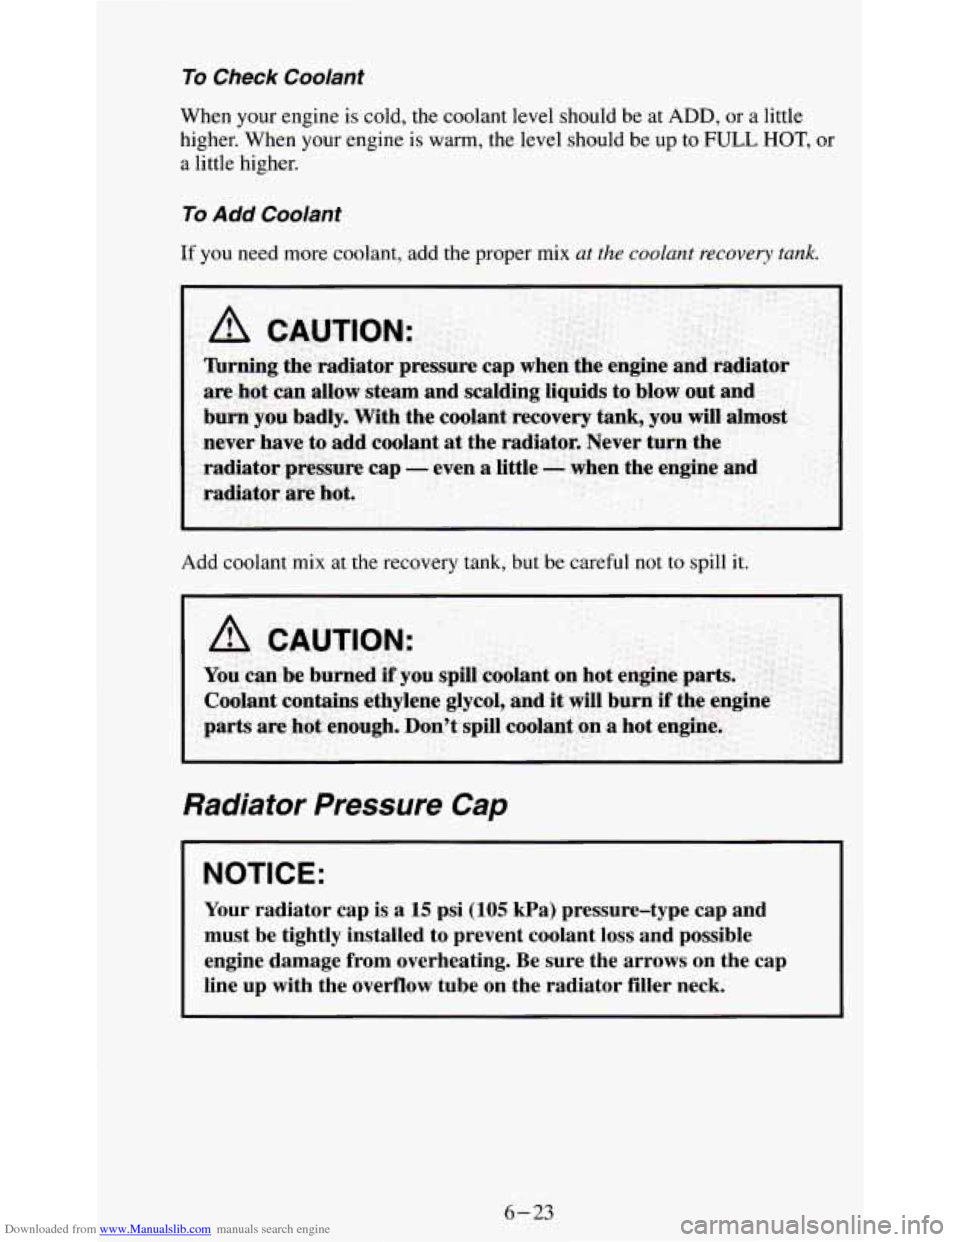
When your engine is cold, the coolant level should be at ADD, or a little
higher. When
your engine is warm, the level should be up to FULL HOT, or
a little higher.
To Add Coolant
If you need more coolant, add the proper mix at the coolant recovery tank.
Add coolant mix at the recovery tank, but be careful not to spill it.
Radiator Pressure Cap
NOTICE:
Your radiator cap is a 15 psi (105 kPa) pressure-type cap and
must be tightly installed to prevent coolant loss and possible \
engine damage from overheating. Be sure the arrows on the cap \
line up with the overflow tube on the radiator filler neck.
6-23
Page 346 of 354
Downloaded from www.Manualslib.com manuals search engine Cupholder ...................................................... 2-51
Customer Assistance Information
.................................... 8-1
Customer Satisfaction Procedure
..................................... 8-1
Customer Assistance for
the Hearing or Speech Impaired
................. 8-3
Daytime Running Lamps
.......................................... 2-54
Daytime Running Lamps Indicator Light (See “Lights”)
Differential (See “Axle”)
Doors
.......................................................... 2-3
Locks
........................................................ 2-4
PowerDoorLocks
............................................. 2-5
SideDoors
.................................................. 2-3
Drive Axle (See “Axle”)
Driver Position (See “Safety Belts-Driver Position”)
Driving AtNight
.................................................... 4-23
City
........................................................ 4-27
Defensive
.................................................... 4-1
Freeway
..................................................... 4-28
Guidelines
................................................... 4-12
Hill and Mountain Roads
....................................... 4-30
Highway Hypnosis
............................................ 4-29
If You’re Caught in a Blizzard
................................... 4-33
In Mud, Sand, Snow, Or Ice
................................ 4-22, 5-32
IntheRain
................................................... 4-25
LossofControl
............................................... 4-11
Off-Road Driving with Your Four-wheel Drive Vehicle
.............. 4-12
Before
You Go Off-Roading .................................. 4-12
After Off-Road Driving
...................................... 4-23
Passing
..................................................... 4-10
Through Deep Standing Water ................................... 2-15
Winter
...................................................... 4-31
DrunkenDriving
................................................. 4-2
Nightvision
................................................. 4-24
Electrical System
Engine Add-on
Equipment
................. ..................... 6-59
Adding Coolant
........................................ 5.10. 6.22
Air Cleaner
.................................................. 6-12
Coolant Heater
........................................... 2-1 5. 3-3
Coolant
..................................................... 6-21
Coolant Temperature Gage
(See “Gages”)
Exhaust
..................................................... 2-26
FanNoise
................................................... 5-18
Identification .......................................... 6.57, 6.6 1
Oil (See “Oil”)
Overheating
.................................................. 5-10
RunningWhileParked
......................................... 2-27
Starting
..................................................... 2-12
Exhaustsystem
................................................. 6-39
3