radiator cap CHEVROLET S10 1995 2.G Owners Manual
[x] Cancel search | Manufacturer: CHEVROLET, Model Year: 1995, Model line: S10, Model: CHEVROLET S10 1995 2.GPages: 354, PDF Size: 18.92 MB
Page 195 of 354
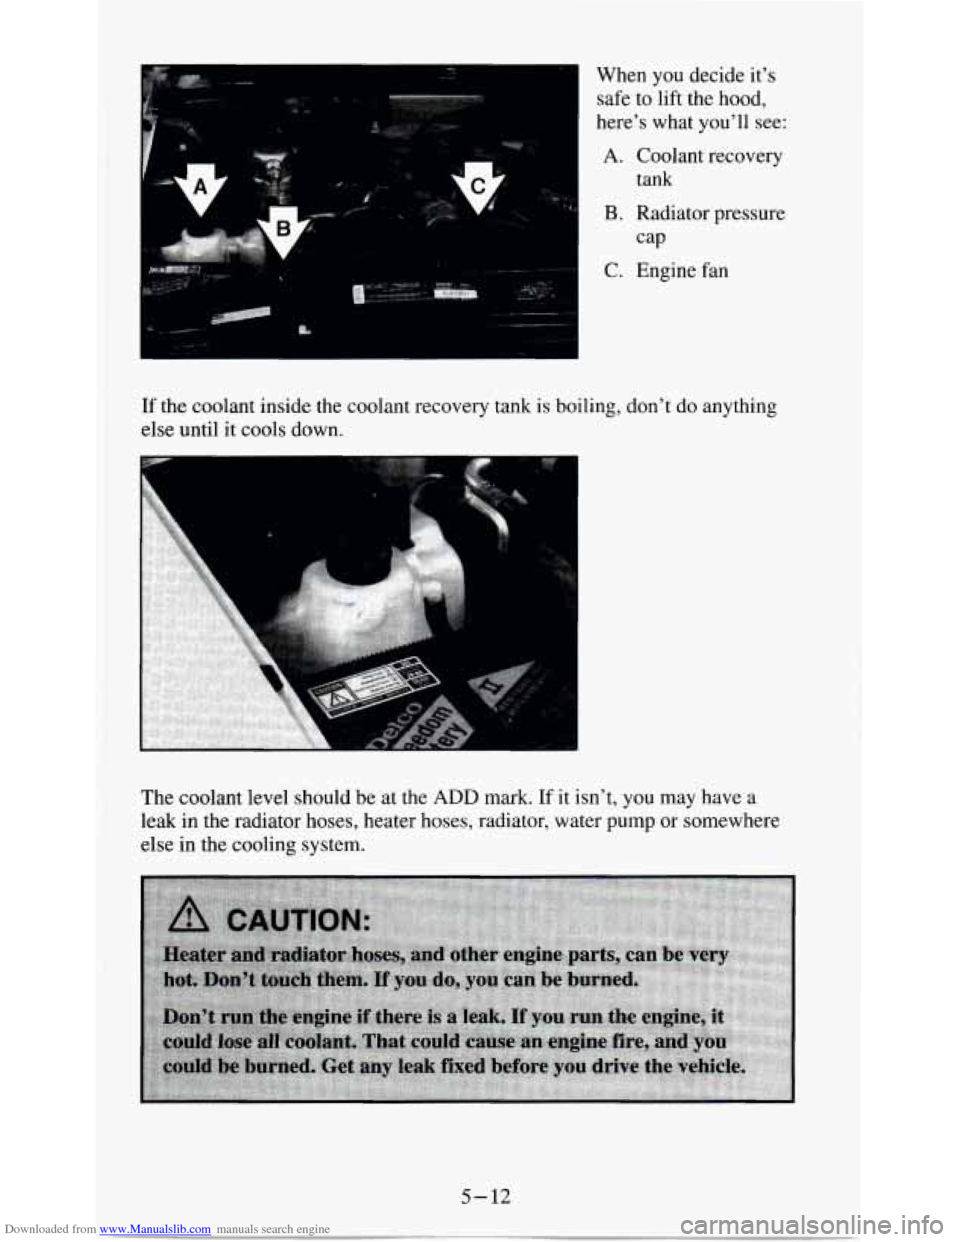
Downloaded from www.Manualslib.com manuals search engine When you decide it's
safe to lift the hood,
here's what you'll see:
A. Coolant recovery
tank
B. Radiator pressure
cap
C. Engine fan
If the coolant inside the coolant recovery tank is boiling, don't do anything
else until it cools down.
The coolant level should be at the
ADD mark. If it isn't, you may have a
leak in the radiator
hoses, heater hoses, radiator, water pump or somewhere
else in the cooling system.
5-12
Page 198 of 354
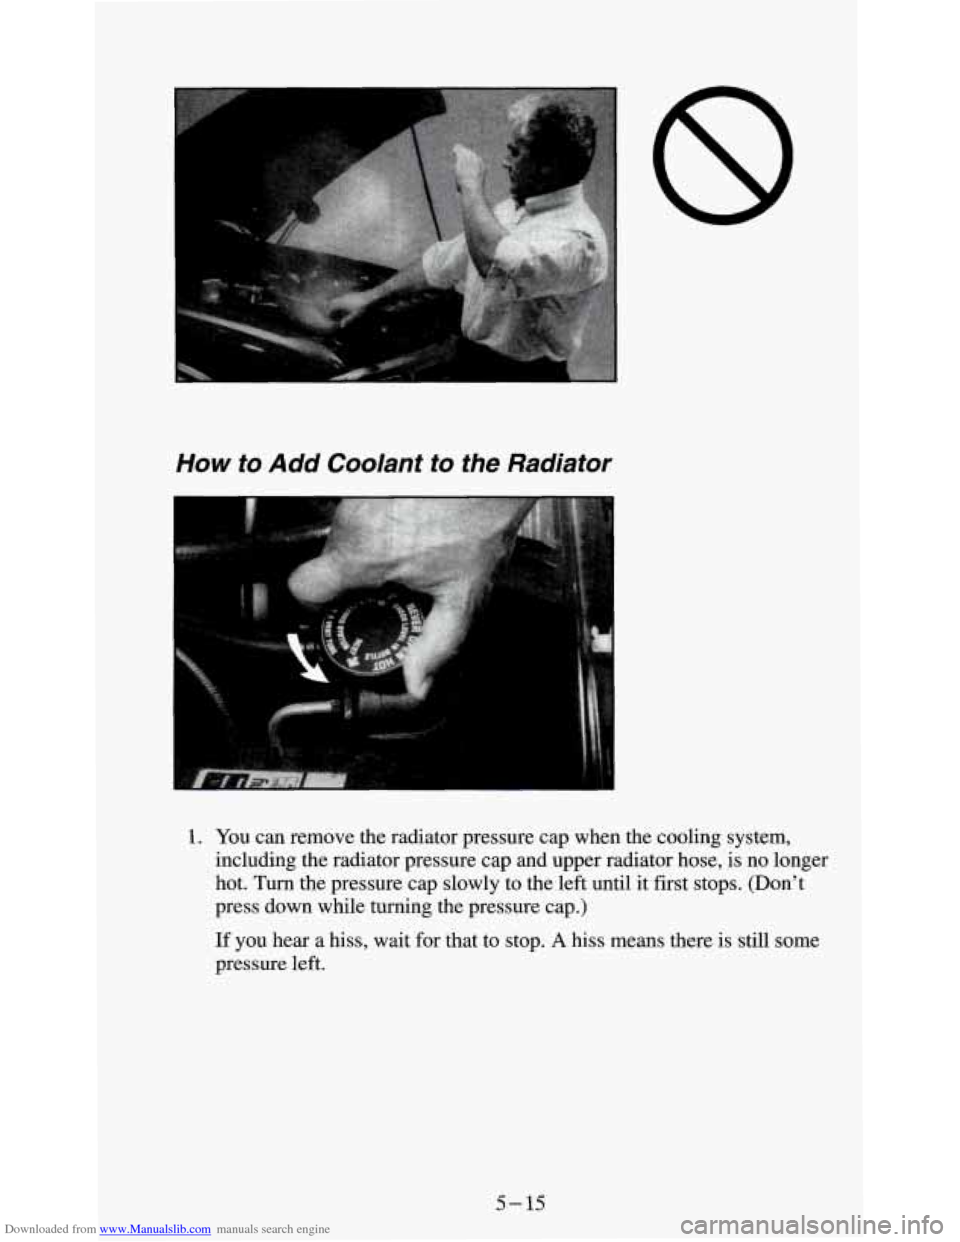
Downloaded from www.Manualslib.com manuals search engine How to Add Coolant to the Radiator
1 . You can remove the radiator pressure cap when the cooling system,
including the radiator pressure cap and upper radiator hose,
is no longer
hot. Turn the pressure cap slowly to the left until it first stops. (Don’t
press down while turning the pressure cap.)
If you hear a hiss, wait for that to stop. A hiss means there is still some
pressure left.
5- 15
Page 199 of 354
Downloaded from www.Manualslib.com manuals search engine I I
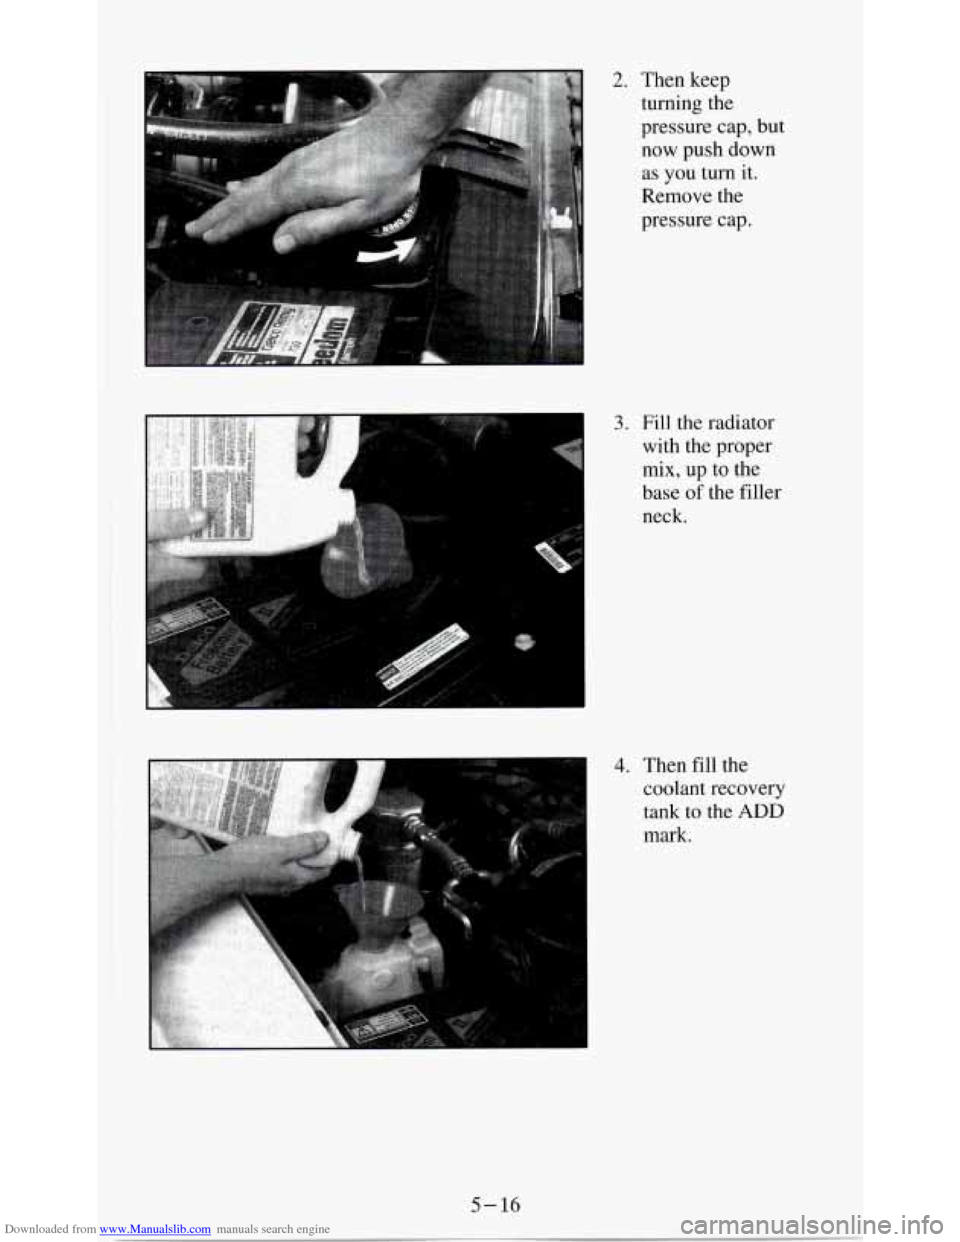
2. Then keep
turning the
pressure cap, but
now push down
as you turn it.
Remove the
pres sure cap.
3. Fill the radiator
with the proper
mix, up to the
base
of the filler
neck.
4. Then fill the
coolant recovery
tank to
the ADD
mark.
5-16
Page 200 of 354
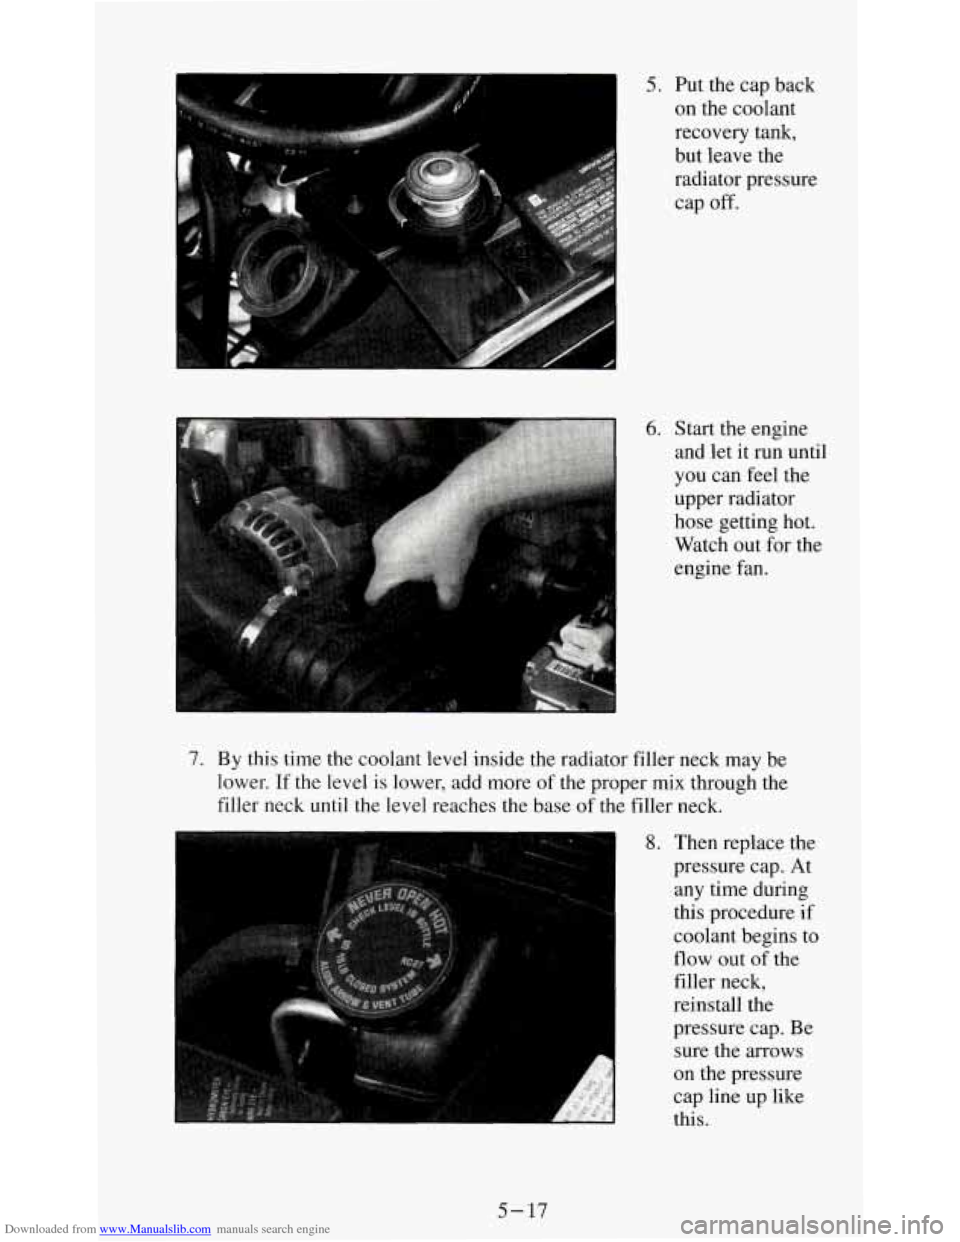
Downloaded from www.Manualslib.com manuals search engine 5. Put the cap back
on the coolant
recovery tank,
but leave the
radiator pressure
cap
off.
6. Start the engine
and let it run until
you can feel the
upper radiator
hose getting hot.
Watch out for the
engine fan.
7. By this time the coolant level inside the radiator filler neck may be
lower. If the
level is lower, add more of the proper mix through the
filler neck until the level reaches the base of the filler neck.
8. Then replace the
pressure cap. At any time during
this procedure if
coolant begins to
flow out of the
filler neck,
reinstall the pressure cap. Be
sure the arrows
on the pressure
cap line up like
this.
5-17
Page 240 of 354
Downloaded from www.Manualslib.com manuals search engine To Check Coolant
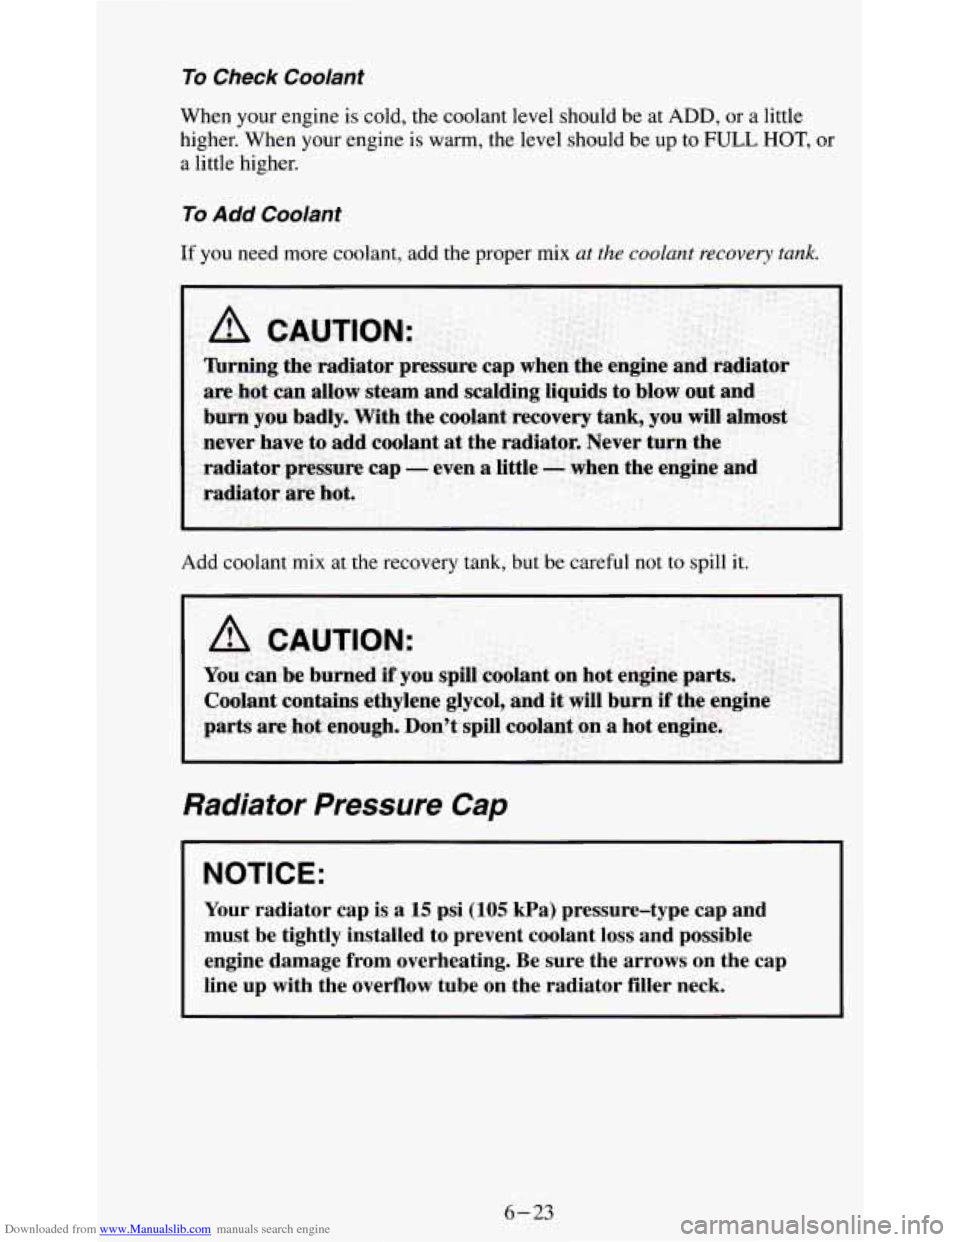
When your engine is cold, the coolant level should be at ADD, or a little
higher. When
your engine is warm, the level should be up to FULL HOT, or
a little higher.
To Add Coolant
If you need more coolant, add the proper mix at the coolant recovery tank.
Add coolant mix at the recovery tank, but be careful not to spill it.
Radiator Pressure Cap
NOTICE:
Your radiator cap is a 15 psi (105 kPa) pressure-type cap and
must be tightly installed to prevent coolant loss and possible \
engine damage from overheating. Be sure the arrows on the cap \
line up with the overflow tube on the radiator filler neck.
6-23
Page 241 of 354
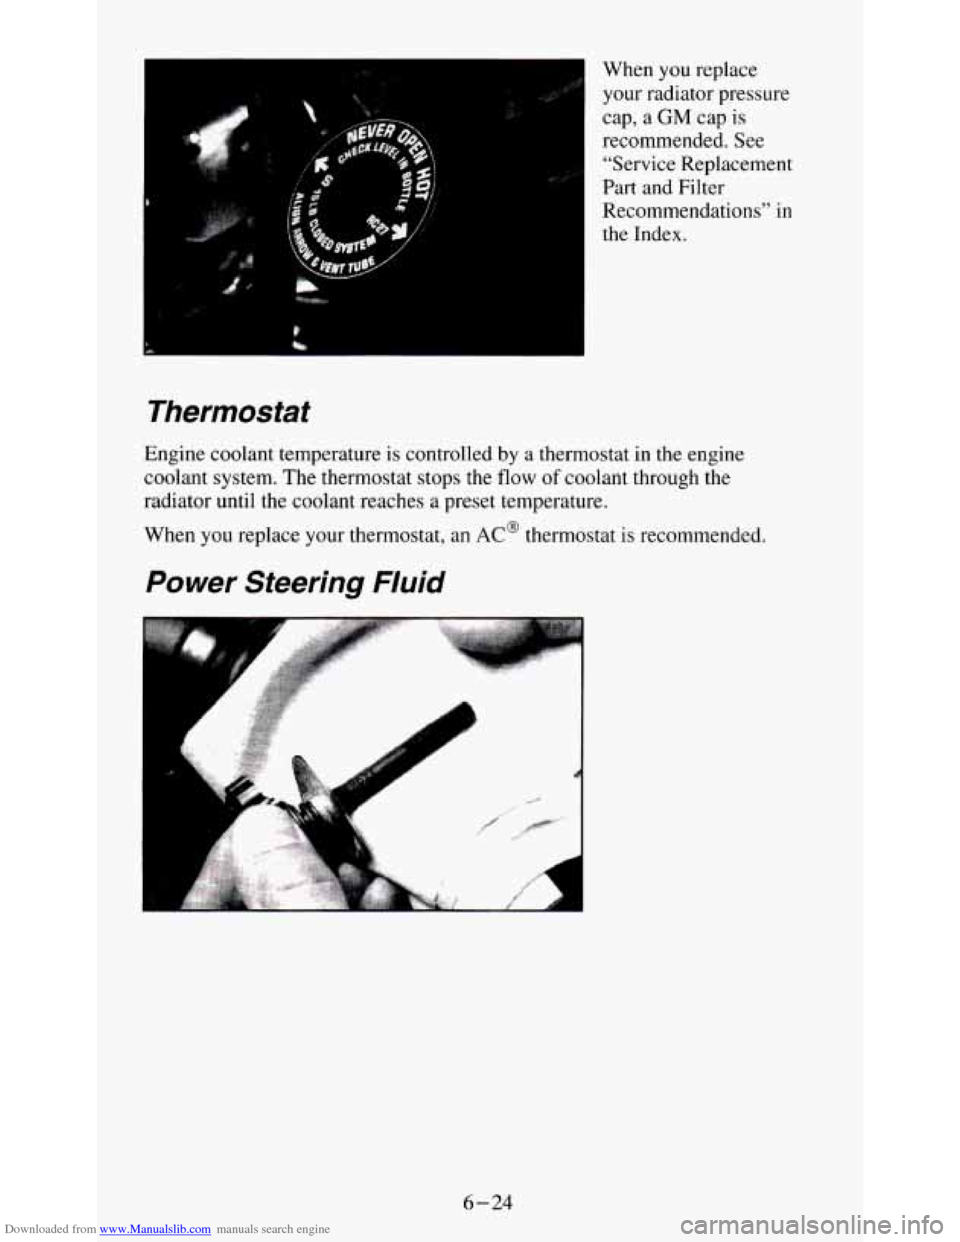
Downloaded from www.Manualslib.com manuals search engine When you replace
your radiator pressure
cap, a
GM cap is
recommended. See
"Service Replacement
Part and Filter
Recommendations"
in
the Index.
Thermostat
Engine coolant temperature is controlled by a thermostat in the engine
coolant system. The thermostat stops the
flow of coolant through the
radiator until the coolant reaches
a preset temperature.
When
you replace your thermostat, an AC@ thermostat is recommended.
Power Steering Fluid
il
A
6-24
Page 249 of 354
Downloaded from www.Manualslib.com manuals search engine Composite Headlamps
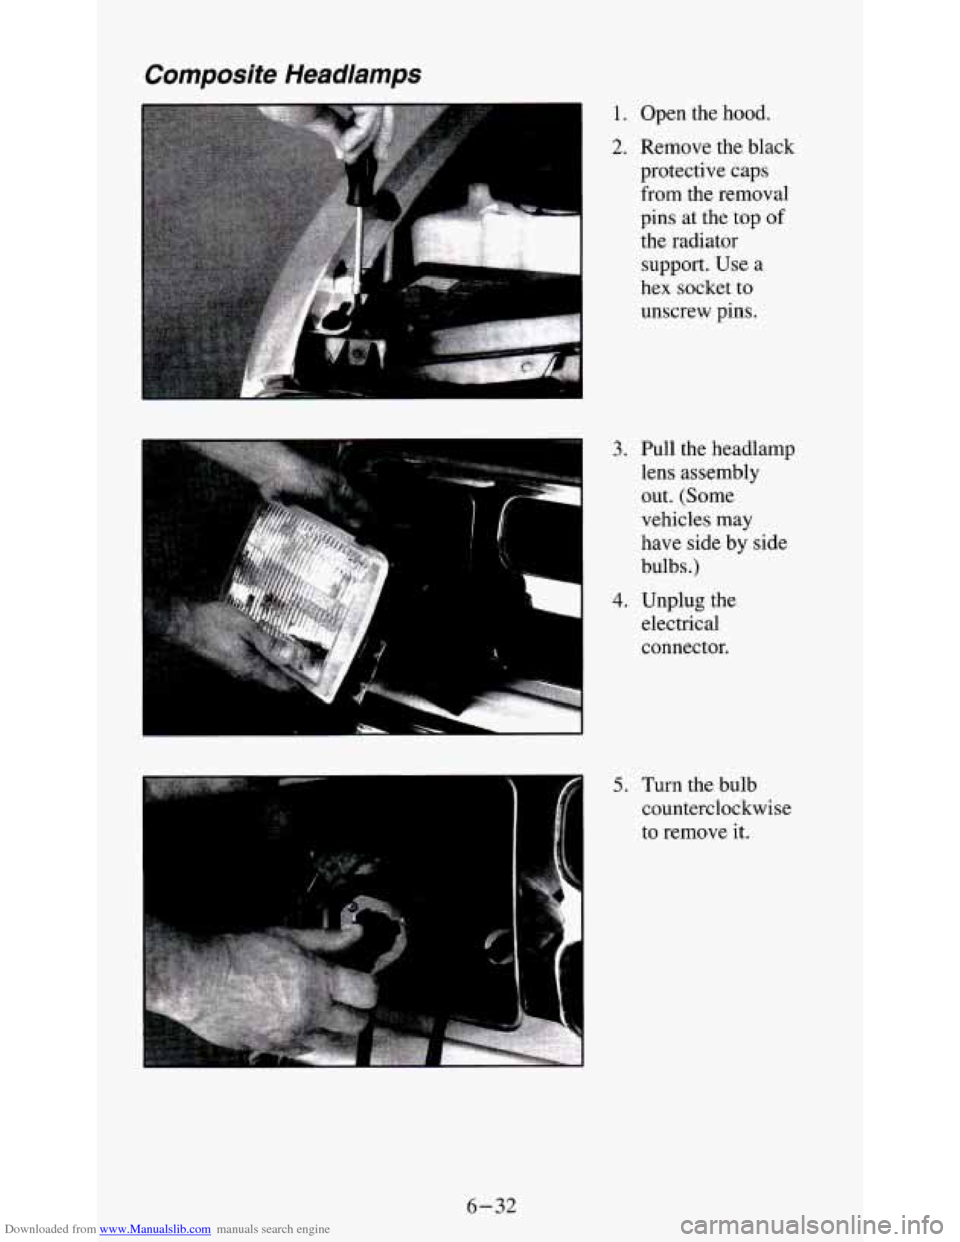
1. Open the hood.
2. Remove the black
protective caps
from the removal
pins at the
top of
the radiator
support. Use a
hex socket
to
unscrew pins.
3. Pull the headlamp
lens assembly
out. (Some
vehicles may
have side by side
bulbs.)
4. Unplug the
electrical
connector.
5. Turn the bulb
counterclockwise
to remove it.
6-32
Page 286 of 354
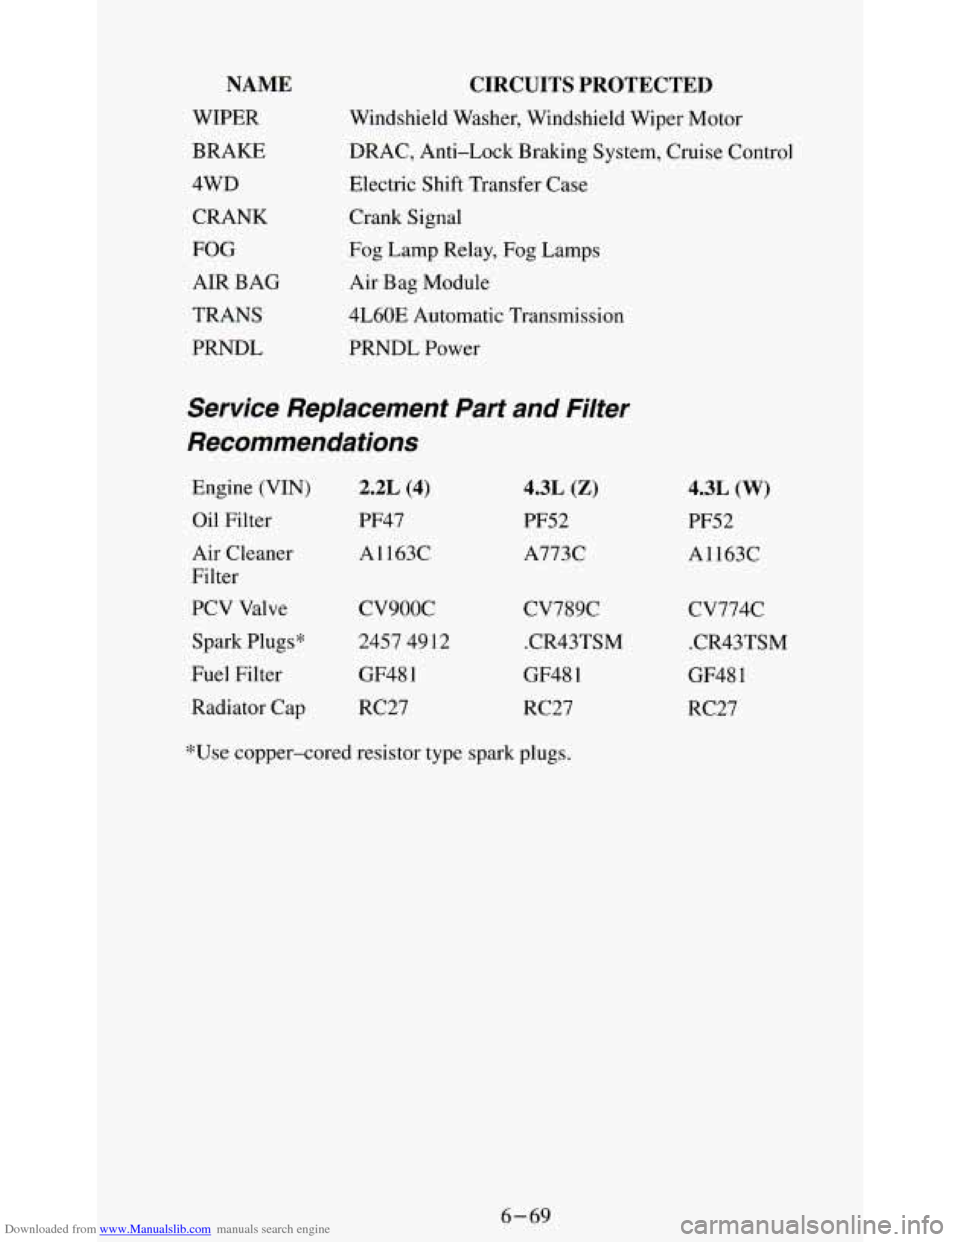
Downloaded from www.Manualslib.com manuals search engine NAME
WIPER
BRAKE
4WD CRANK
FOG
AIR BAG
TRANS
PRNDL
CIRCUITS PROTECTED
Windshield Washer, Windshield Wiper Motor
DRAC, Anti-Lock Braking System, Cruise Control
Electric Shift Transfer Case
Crank Signal
Fog Lamp Relay, Fog Lamps
Air Bag Module
4L60E Automatic Transmission
PRNDL Power
Service Replacement Part and Filter
Recommendations
Engine (VIN)
Oil Filter
Air Cleaner
Filter
PCV Valve
Spark Plugs*
Fuel Filter
Radiator Cap
2.2L (4)
PF47 A1163C
cv9ooc
2457 49 12
GF48
1
RC27
4.3L (Z)
PF52
A773C
CV789C .CR43TSM
GF48
1
RC27
4.3L (W)
PF52
A1163C
cv774c .CR43TSM
GF48
1
RC27
*Use copper-cored resistor type spark
plugs.
6-69
Page 298 of 354
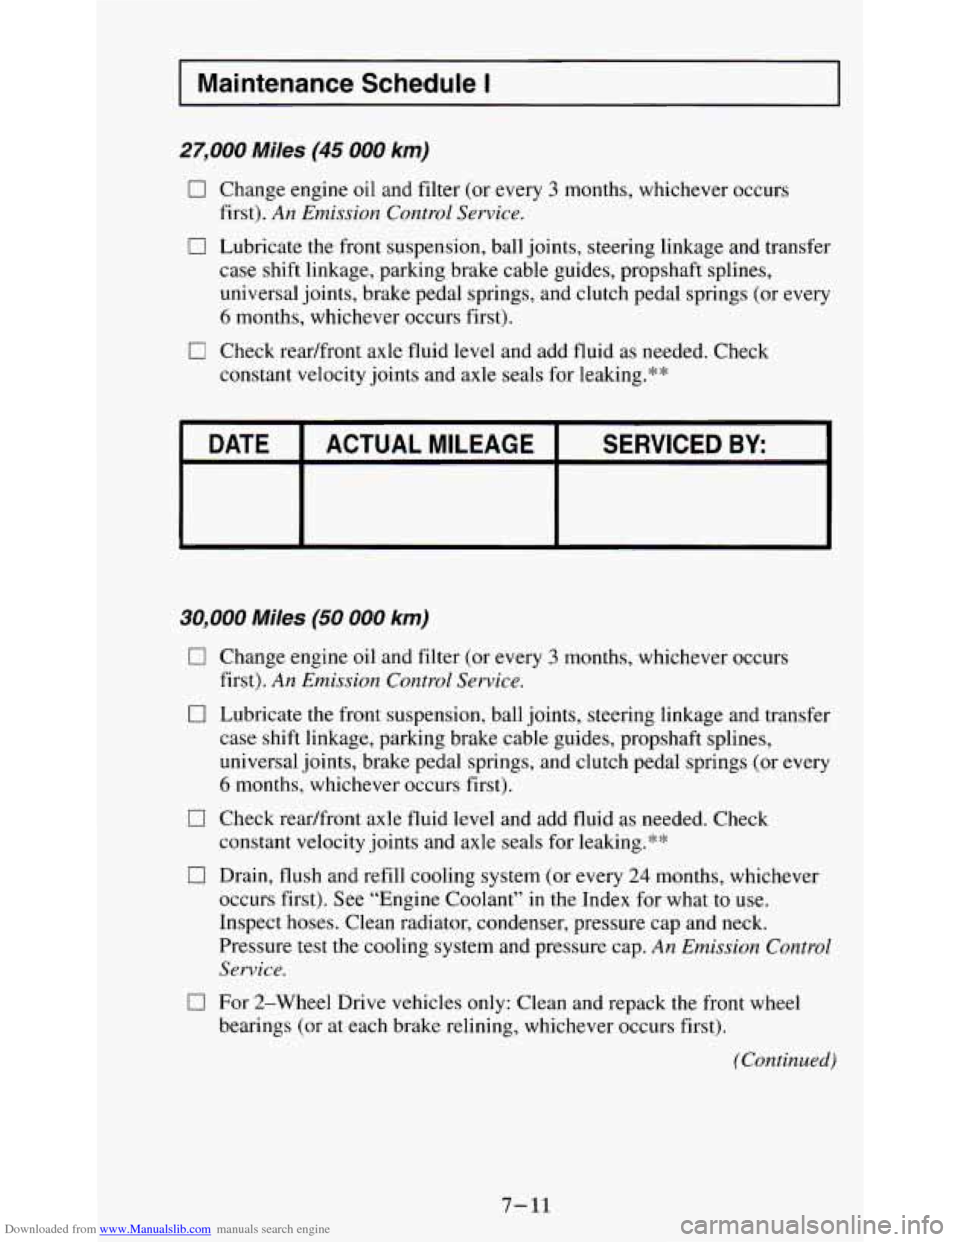
Downloaded from www.Manualslib.com manuals search engine I Maintenance Schedule I
27,000 Miles (45 000 km)
0 Change engine oil and filter (or every 3 months, whichever occurs
0 Lubricate the front suspension, ball joints, steering linkage and transfer
case shift linkage, parking brake cable guides, propshaft splines,
universal joints, brake pedal springs, and clutch pedal springs (or every
6 months, whichever occurs first).
first).
An Emission Control Service.
0 Check
readfront axle fluid level and add fluid as needed. Check
constant velocity joints and axle seals for leaking.**
c
DATE SERVICED BY: ACTUAL MILEAGE
30,000 Miles (50 000 km)
0
0
0
0
0
Change engine oil and filter (or every 3 months, whichever OCCuri
first).
An Emission Control Service.
Lubricate the front suspension, ball joints, steering linkage and transfer
case shift linkage, parking brake cable guides, propshaft splines,
universal joints, brake pedal springs, and clutch pedal springs (or every
6 months, whichever occurs first).
Check readfront axle fluid level and add fluid as needed. Check
constant velocity joints and axle seals for leaking.**
Drain,
flush and refill cooling system (or every 24 months, whichever
occurs first). See “Engine Coolant” in the Index for what to use.
Inspect hoses. Clean radiator, condenser, pressure cap and neck.
Pressure test the cooling system and pressure cap.
An Emission Control
Sewice.
For 2-Wheel Drive vehicles only: Clean and repack the front wheel
bearings (or at each brake relining, whichever occurs first).
(Continued)
7-11
Page 304 of 354
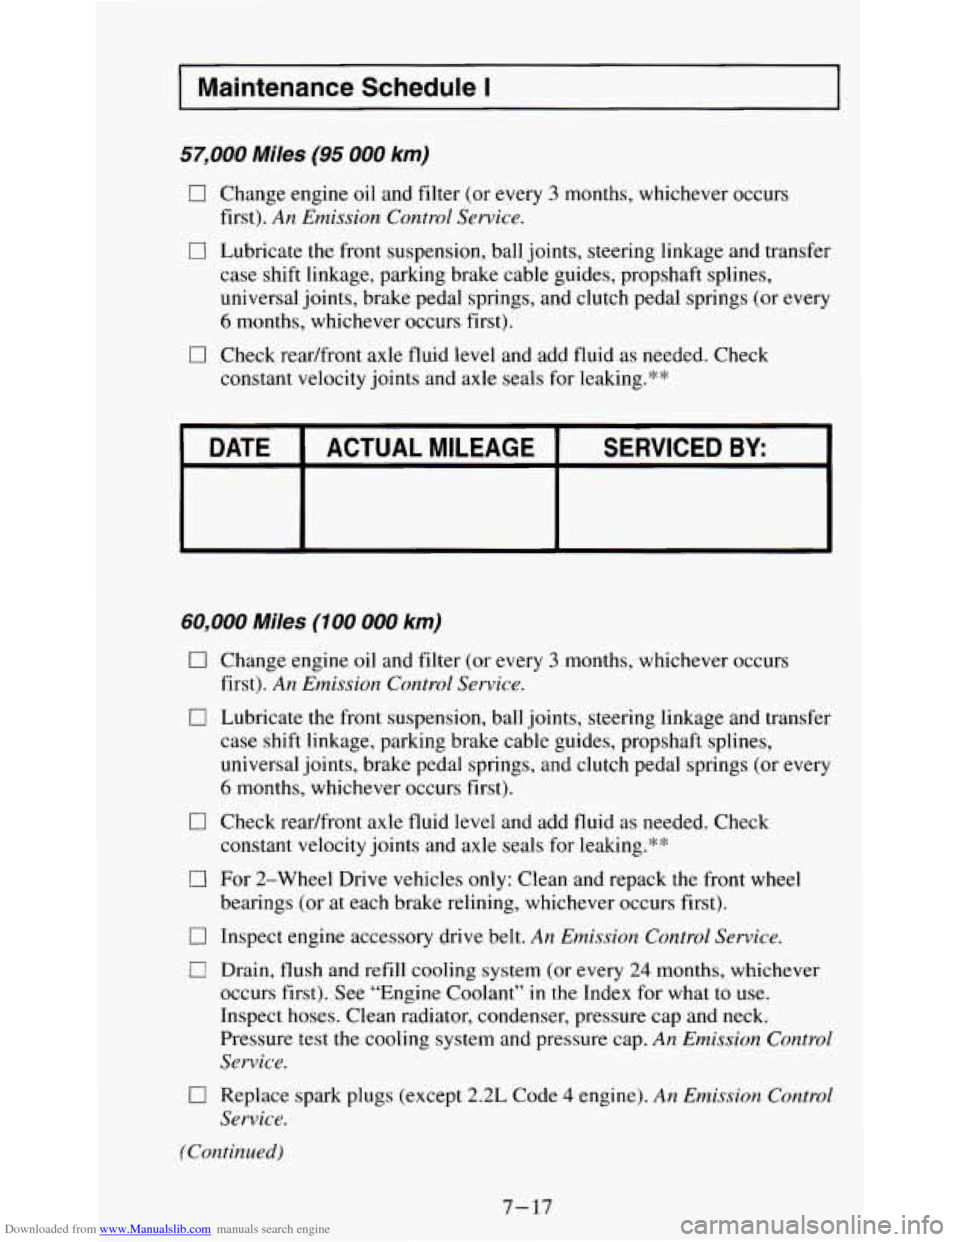
Downloaded from www.Manualslib.com manuals search engine Maintenance Schedule I
57,000 Miles (95 000 km)
0 Change engine oil and filter (or every 3 months, whichever occurs
first).
An Emission Control Service.
0 Lubricate the front suspension, ball joints, steering linkage and transfer
case shift linkage, parking brake cable guides, propshaft splines,
universal joints, brake pedal springs, and clutch pedal springs (or every
6 months, whichever occurs first).
0 Check readfront axle fluid level and add fluid as needed. Check
constant velocity joints and axle seals for leaking.q:*
-
DATE SERVICED BY: ACTUAL MILEAGE I
60,000 Miles (100 000 km)
0 Change engine oil and filter (or every 3 months, whichever occurs
first).
An Emission Control Service.
0 Lubricate the front suspension, ball joints, steering linkage and transfer
case shift linkage, parking brake cable guides, propshaft splines,
universal joints, brake pedal springs, and clutch pedal springs (or every
6 months, whichever occurs first).
constant velocity joints and axle seals for leaking?
0 Check readfront axle fluid level and add fluid as needed. Check
0 For 2-Wheel Drive vehicles only: Clean and repack the front wheel
0 Inspect engine accessory drive belt. An Emission Control Service.
0 Drain, flush and refill cooling system (or every 24 months, whichever
bearings
(or at each brake relining, whichever occurs first).
occurs first). See “Engine Coolant” in the Index for what
to use.
Inspect hoses. Clean radiator, condenser, pressure cap and neck.
Pressure test the cooling system and pressure cap.
An Emission Control
Service.
0 Replace spark plugs (except 2.2L Code 4 engine). An Emission Control
Service.
(Continued)
7- 17