wiring CHEVROLET S10 1995 2.G Owners Manual
[x] Cancel search | Manufacturer: CHEVROLET, Model Year: 1995, Model line: S10, Model: CHEVROLET S10 1995 2.GPages: 354, PDF Size: 18.92 MB
Page 80 of 354
Downloaded from www.Manualslib.com manuals search engine Turn Signal and Lane Change Indicator
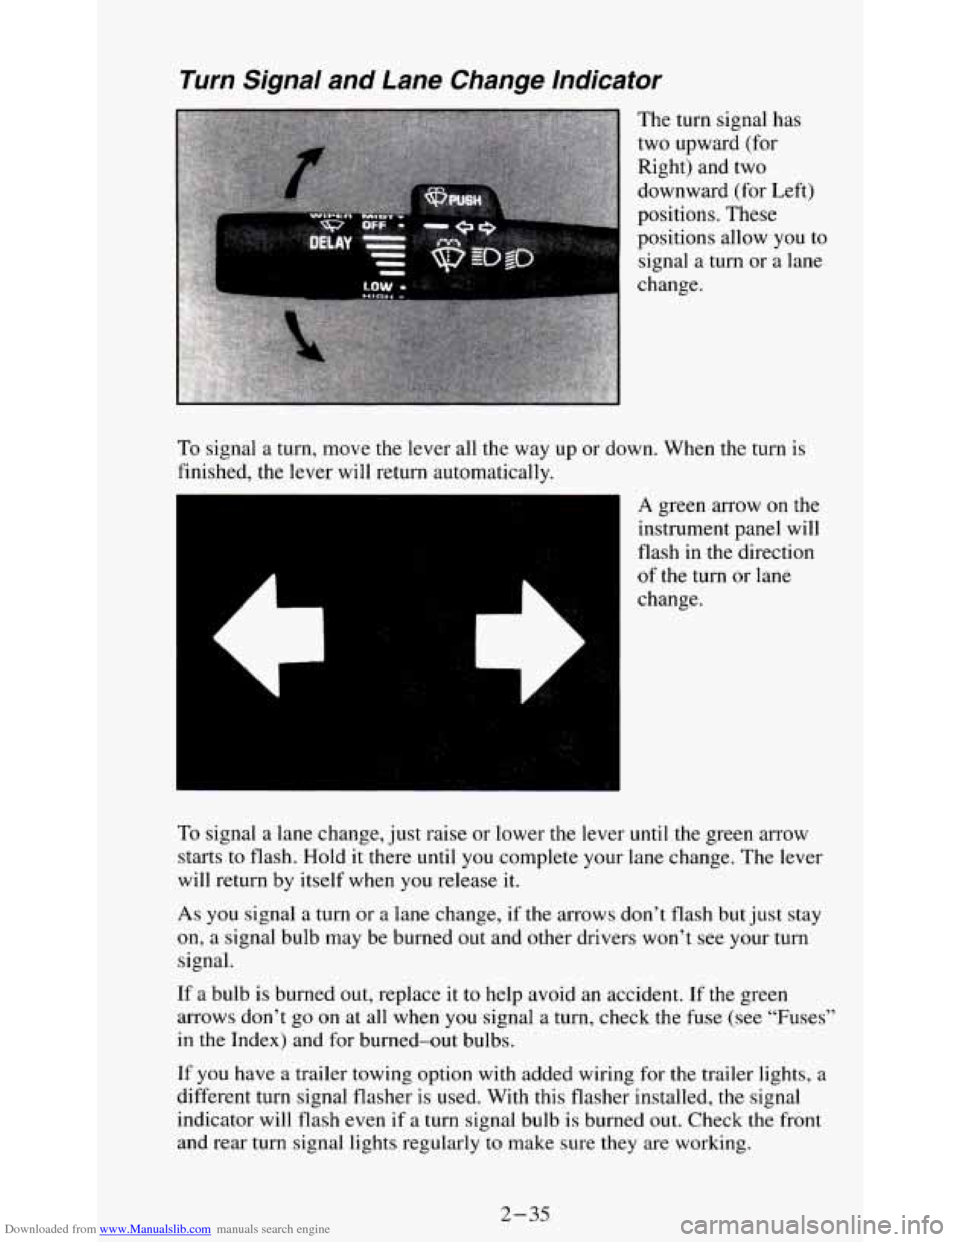
The turn signal has
two upward (for
Right) and two
downward (for Left)
positions. These
positions allow you
to
signal a turn or a lane
change.
To signal a turn, move the lever all the way up or down. When the turn is
finished, the lever will return automatically.
es
A green arrow on the
instrument panel will
flash in the direction
of the turn or lane
change.
To signal a lane change, just raise or lower the lever
until the green arrow
starts
to flash. Hold it there until you complete your lane change. The lever
will return by itself when
you release it.
As you signal a turn or a lane change, if the arrows don’t flash but just stay
on, a signal bulb may be burned out and other drivers won’t see your turn
signal.
If a bulb is burned out, replace it to help avoid an accident. If the green
arrows don’t go on at all when
you signal a turn, check the fuse (see “Fuses”
in the Index) and for burned-out bulbs.
If you have a trailer towing option with added wiring for the trailer lights, a
different turn signal flasher is used. With this flasher installed, the signal
indicator will flash even
if a turn signal bulb is burned out. Check the front
and rear turn signal lights regularly
to make sure they are working.
2-35
Page 88 of 354
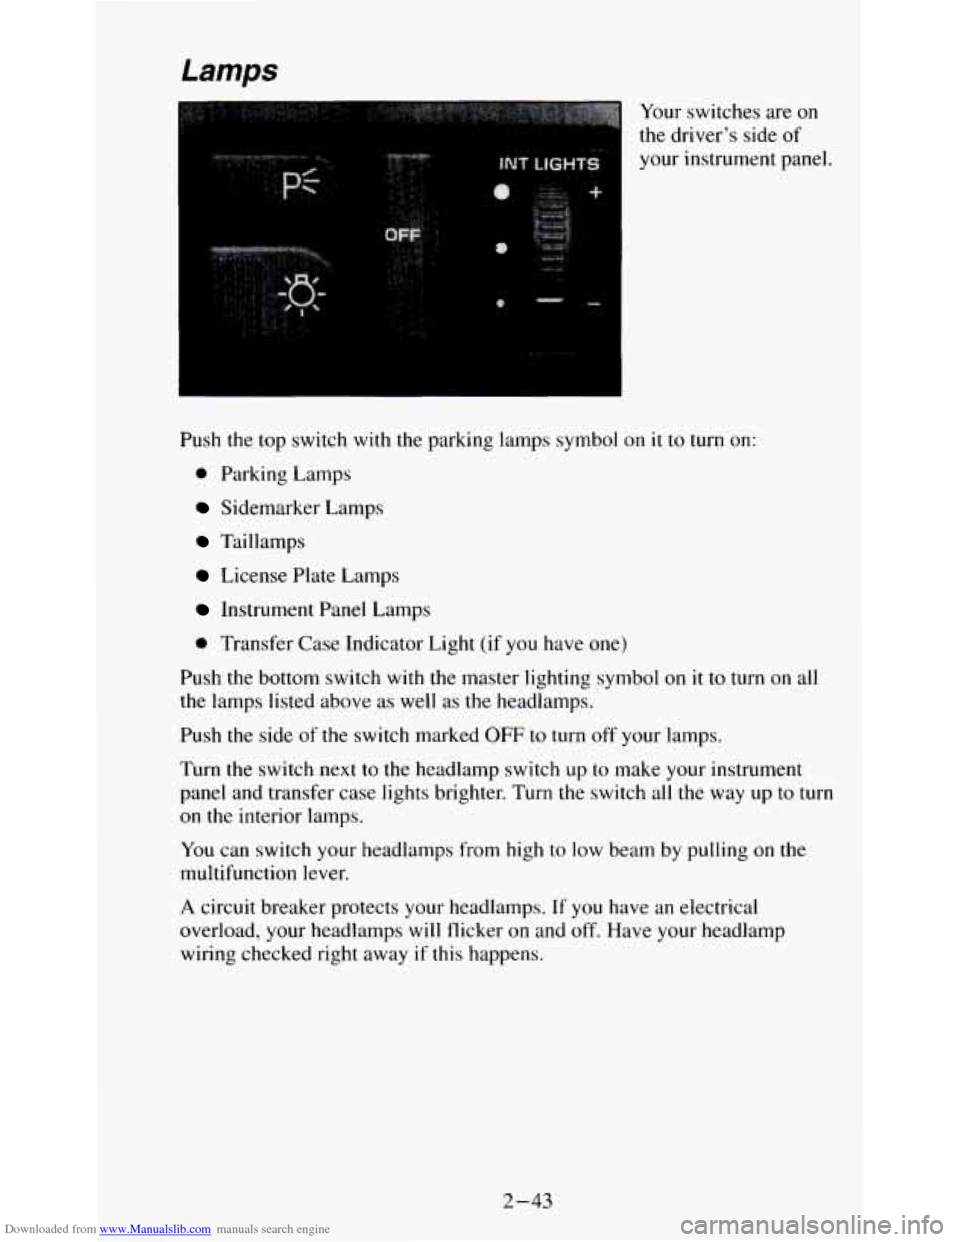
Downloaded from www.Manualslib.com manuals search engine Your switches are on
the driver’s side of
your instrument panel.
Push the top switch with the parking lamps symbol on
it to turn on:
0 Parking Lamps
Sidemarker Lamps
Taillamps
License Plate Lamps
Instrument Panel Lamps
0 Transfer Case Indicator Light (if you have one)
Push the bottom switch with the master lighting symbol on it to turn on all
the lamps listed above as well as the headlamps.
Push
the side of the switch marked OFF to turn off your lamps.
Turn the switch next to the headlamp switch up to make your instrument
panel and transfer case lights brighter. Turn the switch all the way up
to turn
on the interior lamps.
You can switch your headlamps from high to low beam by pulling on the
multifunction lever.
A circuit breaker protects your headlamps. If you have an electrical
overload, your headlamps
will flicker on and off. Have your headlamp
wiring checked right away
if this happens.
2-43
Page 102 of 354
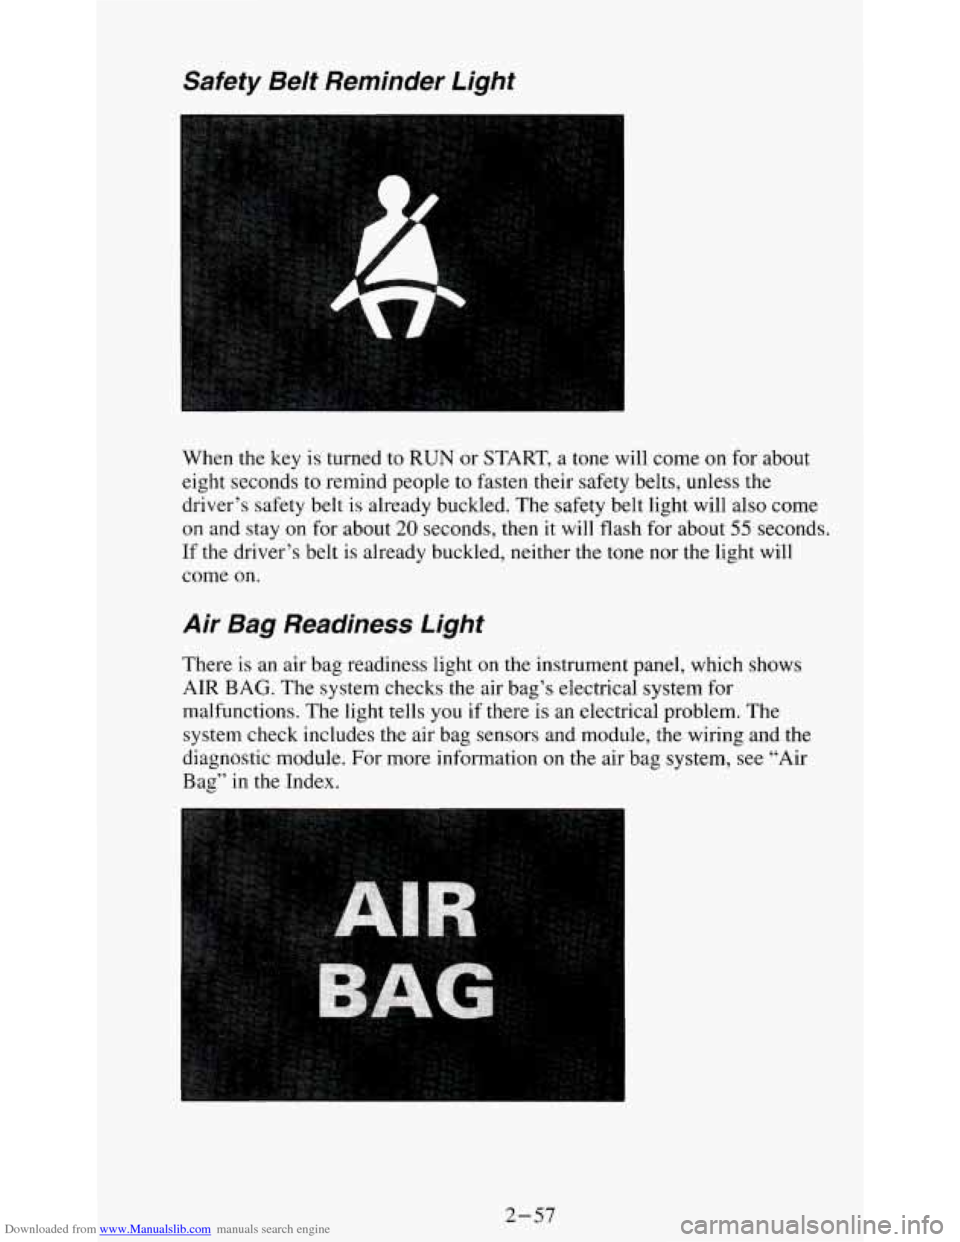
Downloaded from www.Manualslib.com manuals search engine Safety Belt Reminder Light
When the key is turned to RUN or START, a tone will come on for about
eight seconds
to remind people to fasten their safety belts, unless the
driver’s safety belt
is already buckled. The safety belt light will also come
on and stay on for about 20 seconds, then it will flash for about 55 seconds.
If the driver’s belt is already buckled, neither the tone nor the light will
come on.
Air Bag Readiness Light
There is an air bag readiness light on the instrument panel, which shows
AIR
BAG. The system checks the air bag’s electrical system for
malfunctions. The light tells you if there is an electrical problem.
The
system check includes the air bag sensors and module, the wiring and the
diagnostic module. For more information on the air bag system, see “Air
Bag” in the Index.
2-57
Page 113 of 354
Downloaded from www.Manualslib.com manuals search engine Trailer Wiring Harness
Your vehicle may have either a 5-wire or 7-wire harness.
The 5-wire harness is stored under your vehicle, along the left rear frame
crossmember. The harness has no connector, and you should have a
qualified service person wire your harness for you. Be sure you leave it
loose enough
so the wiring doesn’t bend or break, but not so loose that it
drags on the ground.
Store the harness in its original place. Wrap the harness together and tie it
neatly
so it won’t be damaged.
The 7-wire is stored under your vehicle along the rear frame crossmember.
This harness has a
30 Amp. in-line fused battery feed wire and no
connector, and should be wired by
a qualified service person. Attach the
harness to the trailer, then tape or strap
it to your vehicle’s frame rail. Be
sure you leave it loose enough
so the wiring doesn’t bend or break, but not
so loose that it drags on the ground.
Store the harness in its original place. Wrap the harness together and tie it
neatly
so it won’t be damaged.
The fuse for trailer wiring is in-line and located in left front side panel
electrical block.
2-68
Page 180 of 354
Downloaded from www.Manualslib.com manuals search engine Following Distance
Stay at least twice as far behind the vehicle ahead as you would when
driving your vehicle without a trailer. This can help
you avoid situations that
require heavy braking and sudden turns.
Passing
You’ll need more passing distance up ahead when you’re towing a trailer.
And, because you’re
a good deal longer, you’ll need to go much farther
beyond the passed vehicle before
you can return to your lane.
Backing Up
Hold the bottom of the steering wheel with one hand. Then, to move the
trailer to the left, just move that hand
to the left. To move the trailer to the
right, move your hand to the right. Always back up slowly and, if possible,
have someone guide you.
Making Turns
I NOTICE:
Making very sharp turns while trailering could cause the traile\
r
to come in contact with the vehicle. Your vehicle could be
damaged. Avoid making very sharp turns while trailering.
When you’re turning with a trailer, make wider turns than normal. Do this
so your trailer won’t strike soft shoulders, curbs, road signs, trees, or other
objects. Avoid jerky or sudden maneuvers. Signal well in advance.
Turn Signals When Towing a Trailer
When you tow a trailer, your vehicle has to have extra wiring and a
heavy-duty turn signal flasher (included in the optional trailering package).
The green arrows on your instrument panel will flash whenever you signal a
turn or lane change. Properly hooked up, the trailer lamps will also flash,
telling other drivers you’re about
to turn, change lanes or stop.
When towing a trailer, the green arrows on your instrument panel will flash
for turns even if the bulbs on the trailer are burned out. Thus, you may think
drivers behind you are seeing your signal when they are
not. It’s important
to check occasionally to be sure the trailer bulbs are still working.
4-47
Page 182 of 354
Downloaded from www.Manualslib.com manuals search engine When You Are Ready to Leave After Parking on a Hill
1. Apply your regular brakes and hold the pedal down while you:
Start your engine;
Shift into a gear; and
Release the parking brake.
2. Let up on the brake pedal.
3. Drive slowly until the trailer is clear of the chocks.
4. Stop and have someone pick up and store the chocks.
Maintenance When Trailer Towing
Your vehicle will need service more often when you’re pulling a trailer. See
the Maintenance Schedule for more on this. Things that are especially
important in trailer operation are automatic transmission fluid (don’t
overfill), engine oil, axle lubricant, belt, cooling system, and brake
adjustment. Each of these is covered in this manual, and the Index will help
you find them quickly. If you’re trailering, it’s a
good idea to review these
sections before you start your trip.
Check periodically to
see that all hitch nuts and bolts are tight.
Trailer Lighting Systems Wiring
See “Trailer Wiring Harness” in the Index.
4-49
Page 276 of 354
Downloaded from www.Manualslib.com manuals search engine Service Parts Identification Label
You’ll find this label on the inside of the glove box.
It’s very helpful
if you ever need to order parts. On this label is:
your VIN,
0 the model designation,
0 paint information, and
0 a list of all production options and special equipment.
Be sure that this label is not removed from the vehicle.
Add-on Electrical Equipment
NOTICE:
Don’t add anything electrical to your vehicle unless you check
with your dealer first. Some electrical equipment can damage
your vehicle and the damage wouldn’t be covered by your
warranty. Some add-on electrical equipment can keep other components from working as they should.
Your vehicle has
electrical to
your
in the Index. an
air bag system. Before attempting to add anything
* vehicle, see “Servicing Your Air Bag-Equipped Vehicle”
Fuses and Circuit Breakers
The wiring circuits in your vehicle are protected from short circuits by a
combination of fuses, circuit breakers, and fusible thermal links in the
wiring itself. This greatly reduces the chance of fires caused by electrical
problems.
6-59
Page 277 of 354
Downloaded from www.Manualslib.com manuals search engine Headlamps
The headlamp wiring is protected by a circuit breaker in the light switch. An
electrical overload will cause the lights to go on and
off, or in some cases to
remain off. If this happens, have your headlamp wiring checked right away.
Windshield Wipers
The windshield wiper motor is protected by a circuit breaker and a fuse. If
the motor overheats due to heavy snow, etc., the wiper will stop until the
motor cools. If the overload is caused by some electrical problem and not
snow, etc., be sure to get it fixed.
Power Windows and Other Power Options
Circuit breakers in the fuse panel protect the power windows and other
power accessories. When the current load is too heavy, the circuit breaker
opens and closes, protecting the circuit until the problem is fixed.
Trailer Wiring Harness
The optional seven-wire trailer wiring harness is protected by an in-line
fuse in the battery feed wire. This fuse is near the junction block in the
front, driver’s side fender. See “Trailer Wiring Harness”
in the Features &
Controls section.
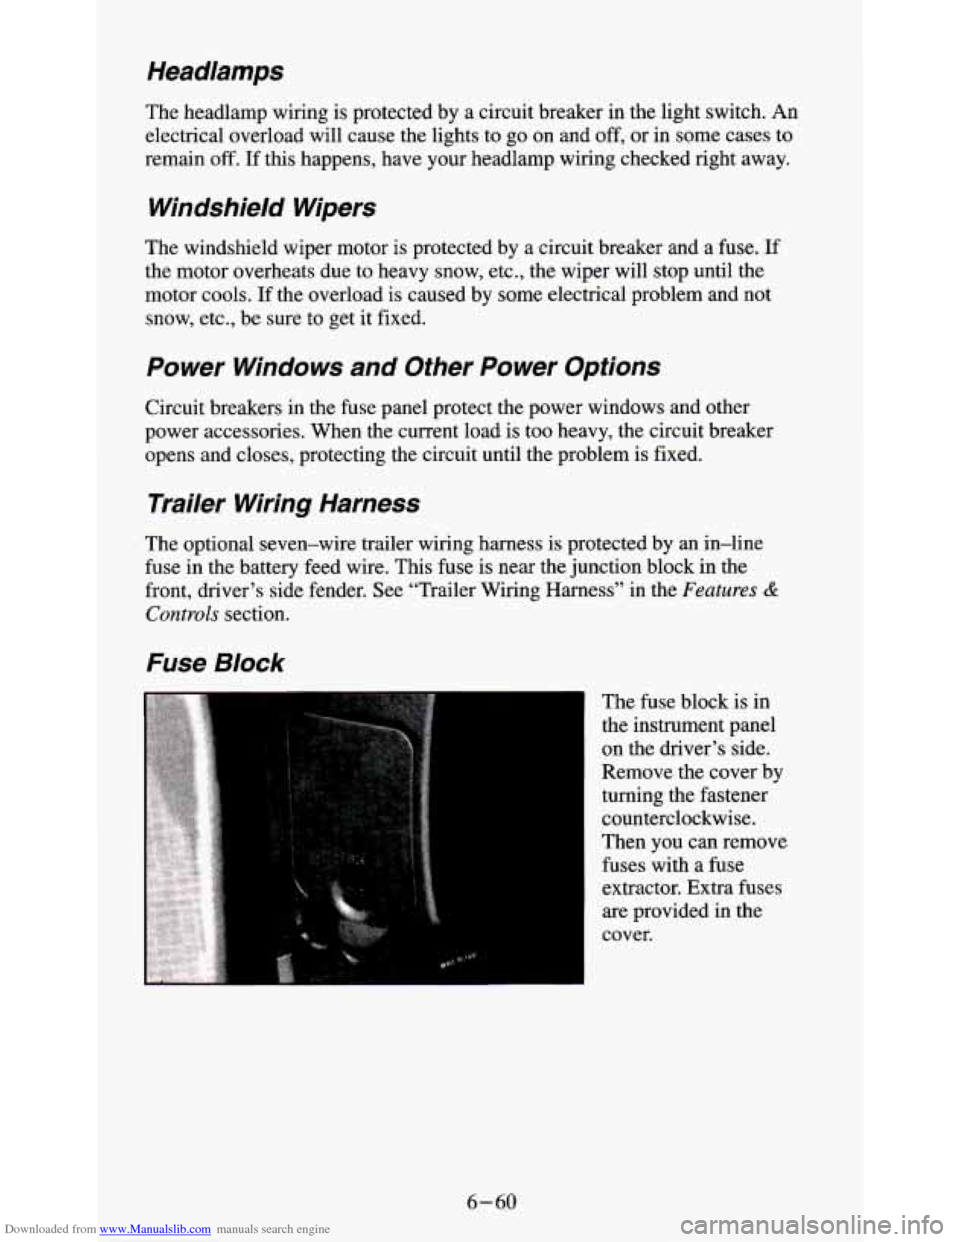
Fuse Block
. .. . .,
The fuse block is in
the instrument panel
on the driver’s side.
Remove the cover by
turning the fastener
counterclockwise.
Then you can remove
fuses with a fuse
extractor. Extra fuses
are provided in the
cover.
6-60
Page 352 of 354
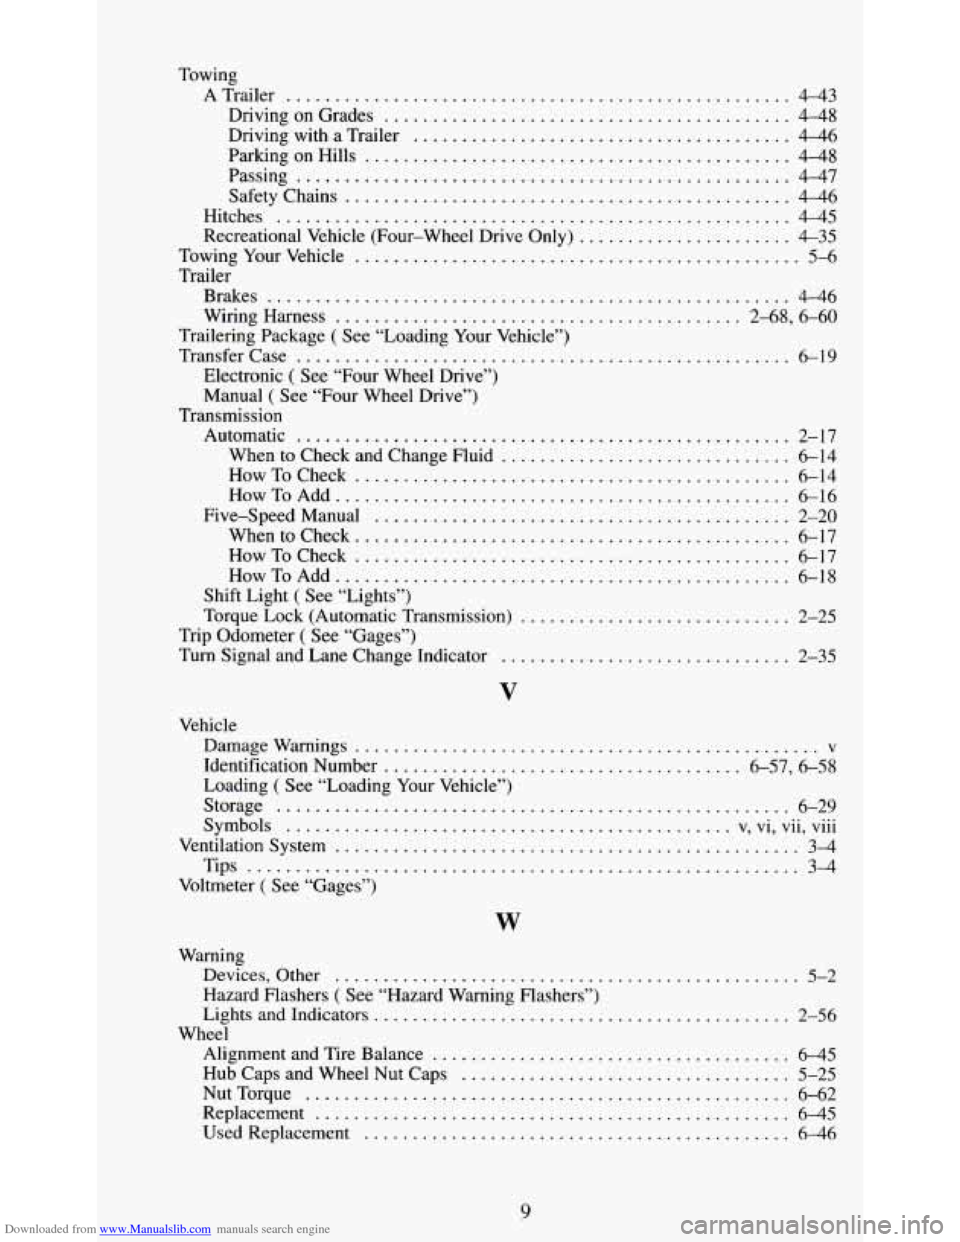
Downloaded from www.Manualslib.com manuals search engine Towing ATrailer
.................................................... 4-43
Driving on Grades
.......................................... 4-48
Driving with a Trailer ....................................... 4-46
ParkingonHills
............................................ 4-48
Passing
................................................... 447
SafetyChains
.............................................. 4-46
Hitches
..................................................... 4-45
Recreational Vehicle (Four-wheel Drive Only) ...................... 4-35
TowingYourVehicle
.............................................. 5-6
Trailer
Brakes
...................................................... 446
Wiring Harness
.......................................... 2-68, 6-60
Trailering Package
( See “Loading Your Vehicle”)
Transfer Case
................................................... 6-19
Electronic
( See “Four Wheel Drive”)
Manual
( See “Four Wheel Drive”)
Automatic
................................................... 2-17
When to Check and Change Fluid
.............................. 6-14
HowToCheck
............................................. 6-14
HowToAdd
............................................... 6-16
Five-Speed Manual
........................................... 2-20
Whentocheck
............................................. 6-17
HowToCheck
............................................. 6-17
Transmission
HowToAdd
............................................... 6-18
Shift Light
( See “Lights”)
Torque Lock (Automatic Transmission)
.......................... 2-25
Trip Odometer
( See “Gages”)
Turn Signal and Lane Change Indicator
.............................. 2-35
Vehicle Damagewarnings
................................................ v
Identification Number ..................................... 6-57, 6-58
Loading ( See “Loading Your Vehicle”)
Storage
..................................................... 6-29
Symbols
.............................................. v, vi, vu, vlll
Ventilation System ................................................ 3-4
Tips ......................................................... 34
Voltmeter
( See “Gages”)
.....
W
Warning Devices. Other
................................................ 5-2
Hazard Flashers ( See “Hazard Warning Flashers”)
Lights and Indicators
........................................... 2-56
Alignment and Tire Balance
..................................... 6-45
Hub Caps and Wheel
Nut Caps .................................. 5-25
NutTorque .................................................. 6-62
Replacement
................................................. 645
Used Replacement
............................................ 6-46
Wheel
9