radiator cap CHEVROLET S10 1996 2.G Owners Manual
[x] Cancel search | Manufacturer: CHEVROLET, Model Year: 1996, Model line: S10, Model: CHEVROLET S10 1996 2.GPages: 375, PDF Size: 20.73 MB
Page 203 of 375
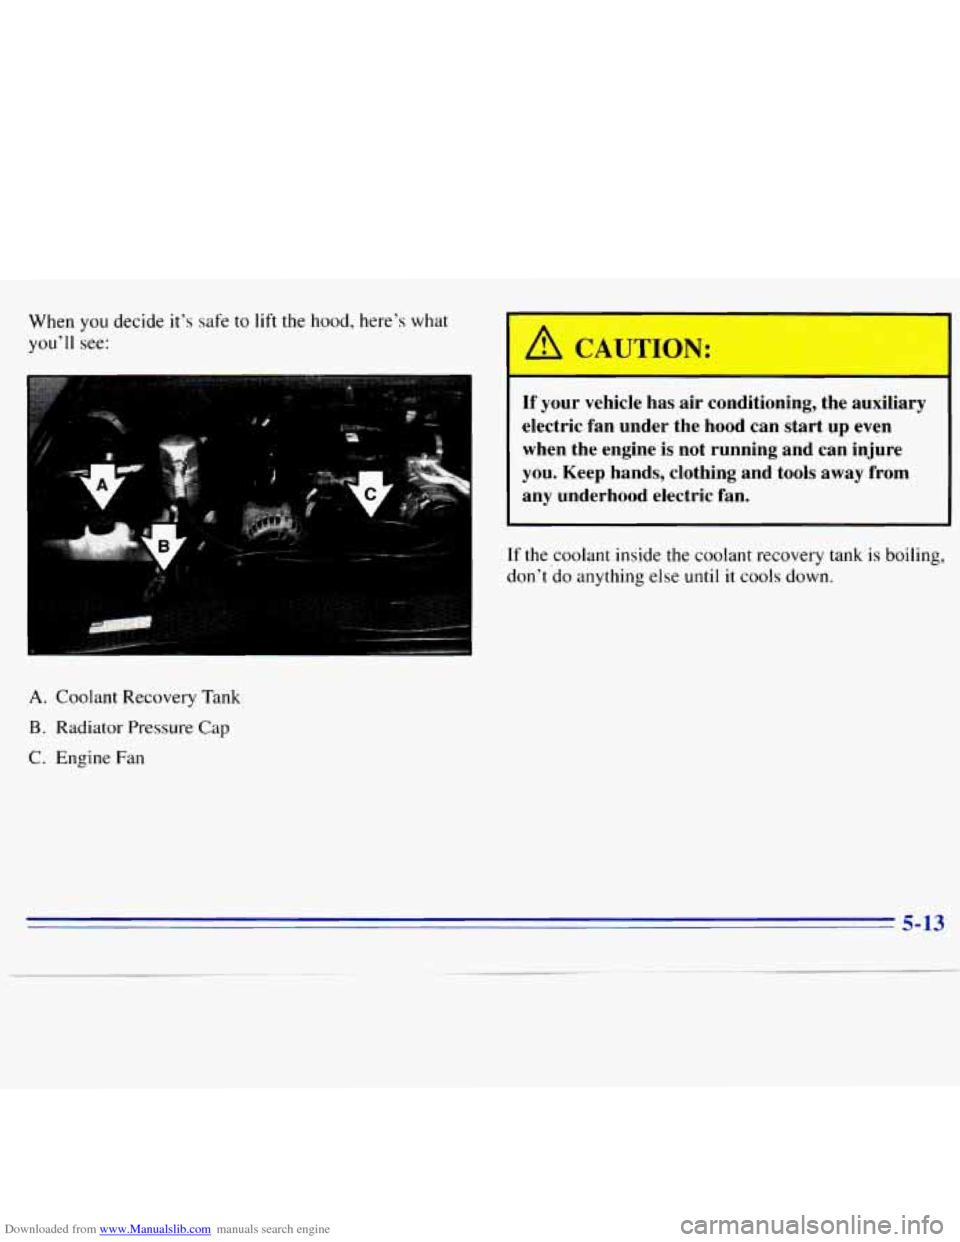
Downloaded from www.Manualslib.com manuals search engine When you decide it’s safe to lift the hood, here’s what
you’ll see:
If your vehicle has air conditioning, the auxiliary
electric fan under the hood can start up even
when the engine is not running and can injure
you. Keep hands, clothing and tools away from
--1 any underhood electric fan.
If the coolant inside the coolant recovery tank is boiling,
don’t
do anything else until it cools down.
A. Coolant Recovery Tank
B. Radiator Pressure Cap
C. Engine Fan
5-13
Page 207 of 375
Downloaded from www.Manualslib.com manuals search engine mu= -
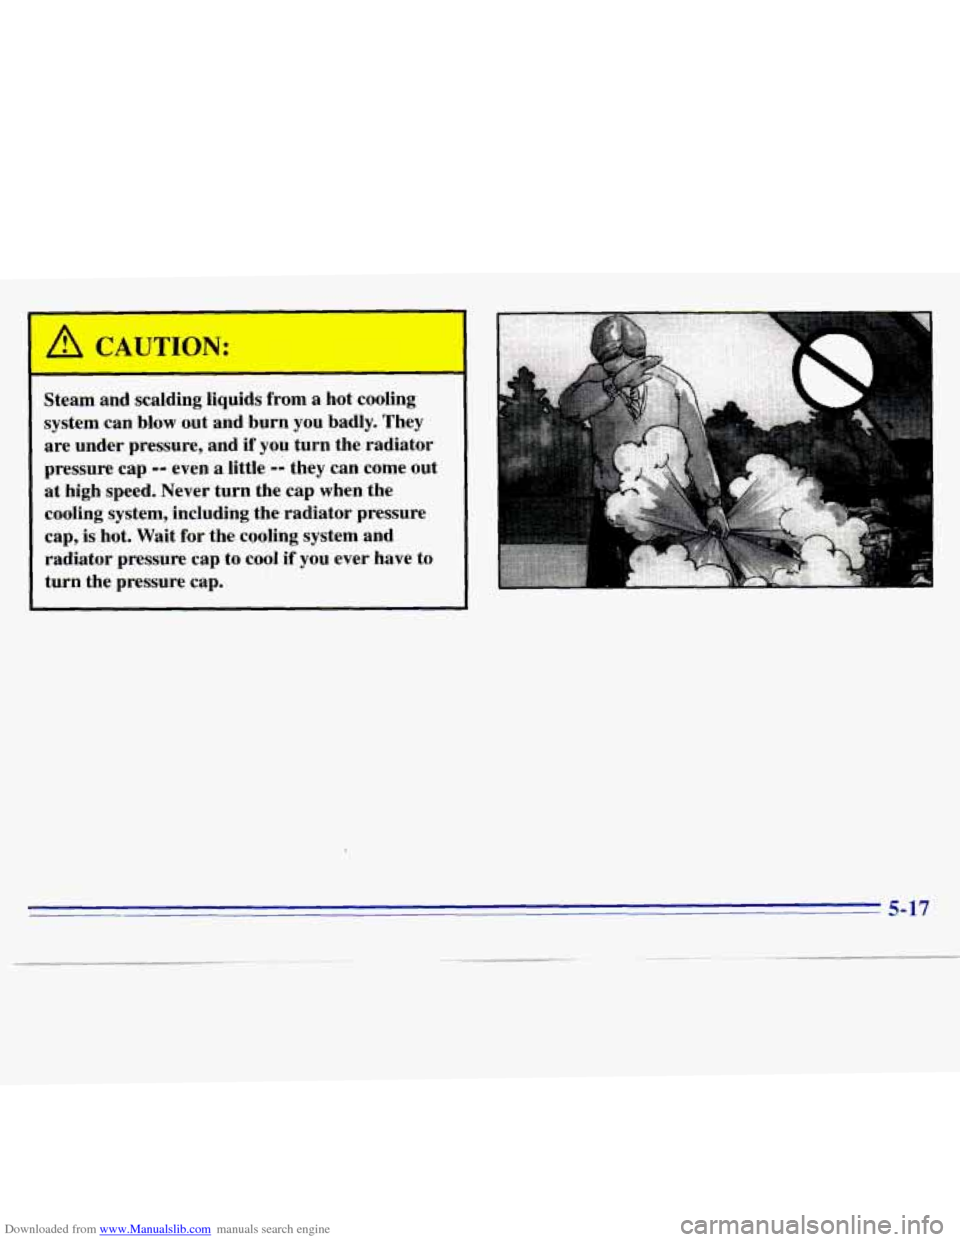
~ Steam and scalding liquids from a hot cooling
system can blow out and burn you badly. They
are under pressure, and if you turn the radiator
pressure cap
-- even a little -- they can come out
at high speed. Never turn the cap when the
cooling system, including the radiator pressure
cap,
is hot. Wait for the cooling system and
radiator pressure cap
to cool if you ever have to
turn the pressure cap.
Page 208 of 375
Downloaded from www.Manualslib.com manuals search engine ' How to Add Coolant to the Radiator
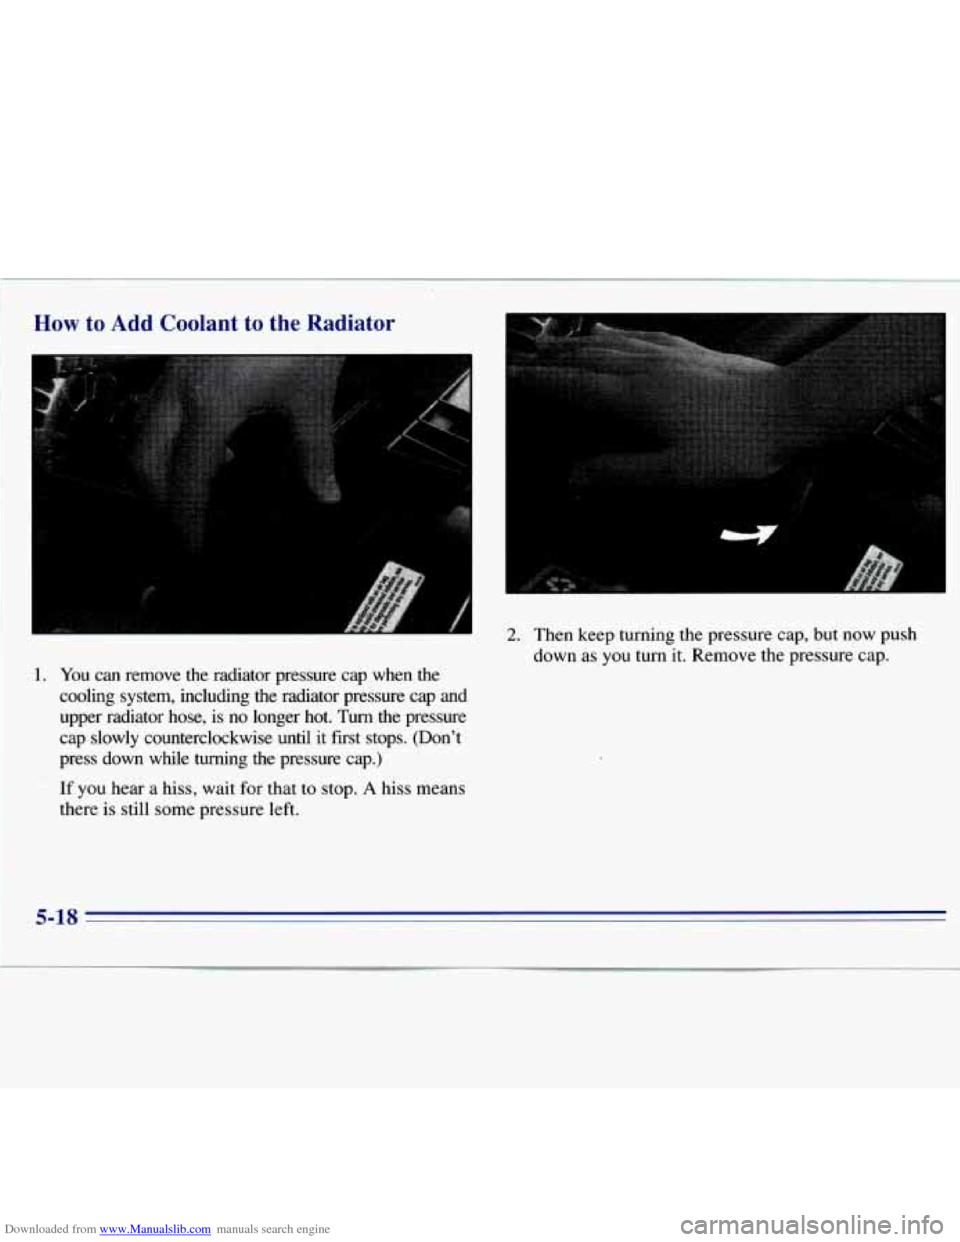
1. You can remove the radiator pressure cap when the
cooling system, including the radiator pressure cap and
upper radiator hose, is
no longer hot. Turn the pressure
cap slowly counterclockwise until
it first stops. (Don't
press down while
turning the pressure cap.)
If
you hear a hiss, wait for that to stop. A hiss means
there
is still some pressure left.
2. Then keep turning the pressure cap, but now push
down as you turn it. Remove the pressure cap.
Page 209 of 375
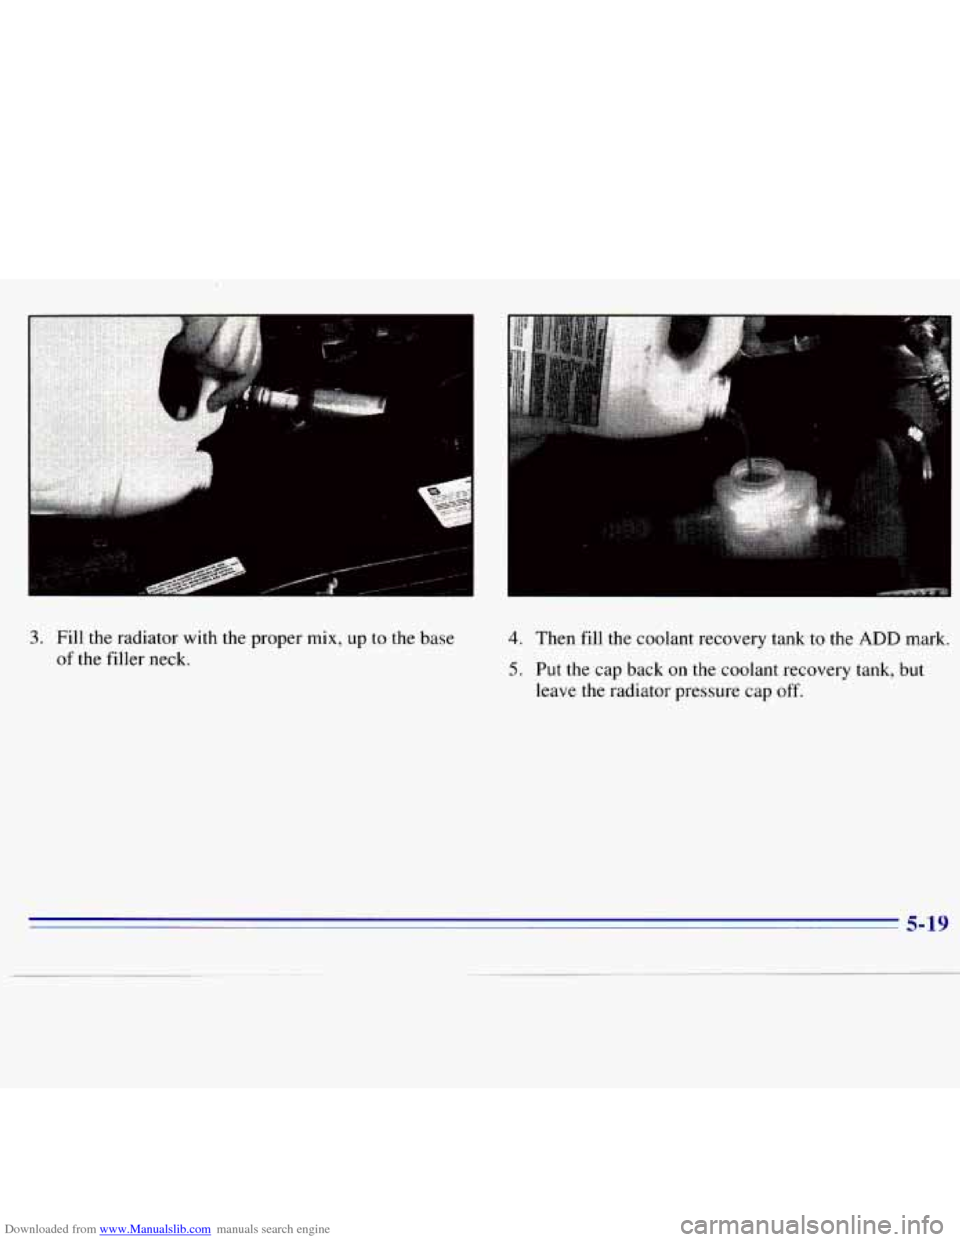
Downloaded from www.Manualslib.com manuals search engine 3. Fill the radiator with the proper mix, up to the base
of the filler neck.
4. Then fill the coolant recovery tank to the ADD mark.
5. Put the cap back on the coolant recovery tank, but
leave the radiator pressure cap
off.
Page 210 of 375
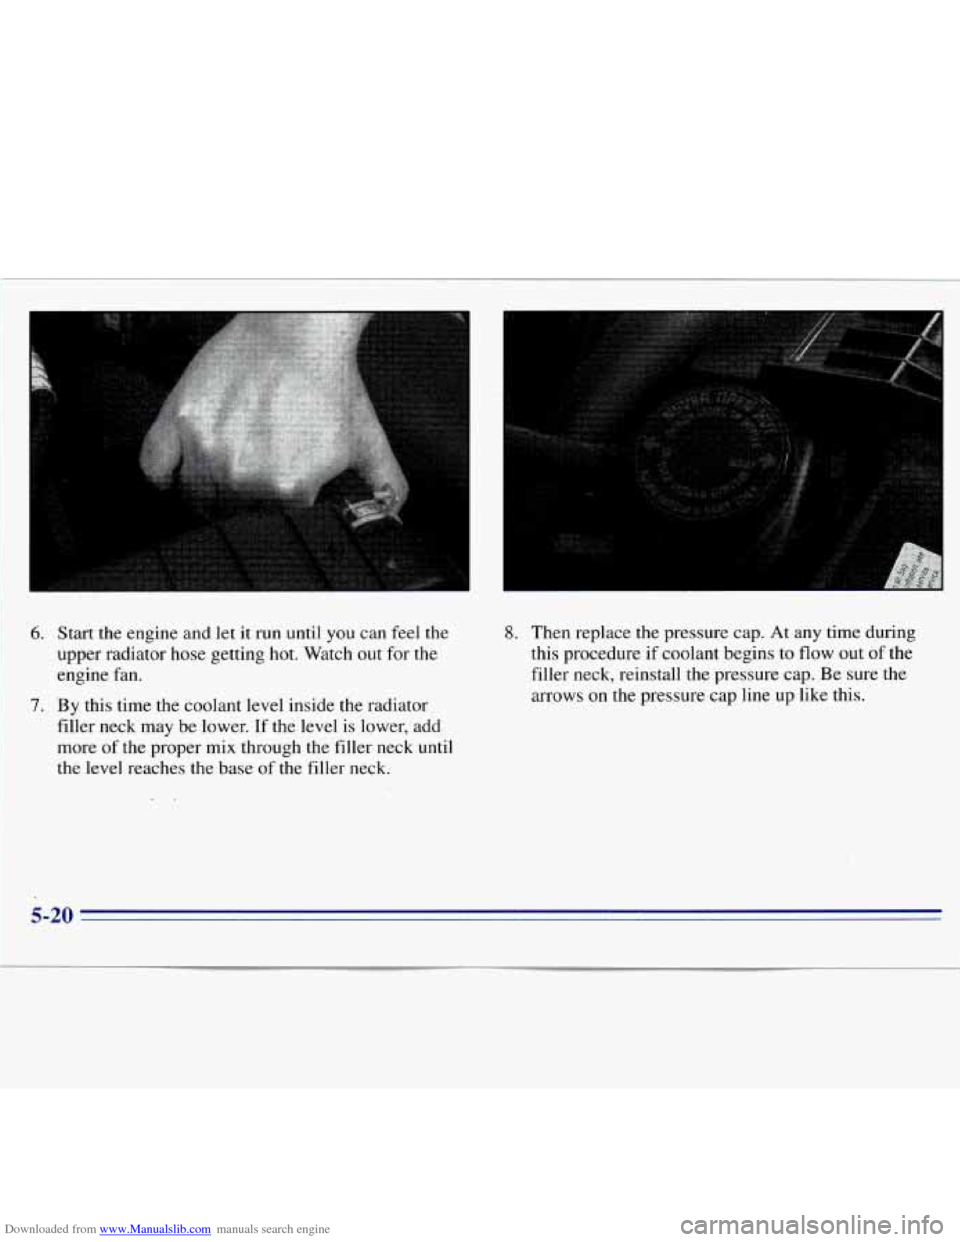
Downloaded from www.Manualslib.com manuals search engine 6. Start the engine and let it run until you can feel the
upper radiator hose getting hot. Watch out for the
engine fan.
7. By this time the coolant level inside the radiator
filler neck may be lower. If the level is lower, add
more of the proper mix through the filler neck
until
the level reaches the base of the filler neck.
8. Then replace the pressure cap. At any time during
this procedure if coolant begins to flow out of the
filler neck, reinstall
the pressure cap. Be sure the
arrows on the pressure cap line up like this.
5-20 .
Page 253 of 375
Downloaded from www.Manualslib.com manuals search engine Adding Coolant
If you need more coolant, add the proper mix at the
coolant recovery tank.
1 A CAUTION:
Add coolant mix at the recovery tank, but be careful not
to spill
it.
Tbrning the radiator pressure cap when the
engine and radiator are hot can allow steam and
scalding liquids to blow out and burn you badly.
With the coolant recovery tank, you will almost
never have to add coolant at the radiator.
Never turn the radiator pressure cap
-- even a
little
-- when the engine and radiator are hot.
A CAUTION:
+-
You can be burned if you spill coolant on hot
engine parts. Coolant contains ethylene glycol,
and
it will burn if the engine parts are hot
enough. Don’t spill coolant on a hot engine.
6-27
Page 254 of 375
Downloaded from www.Manualslib.com manuals search engine Radiator Pressure Cap
NOTICE: - ~ I
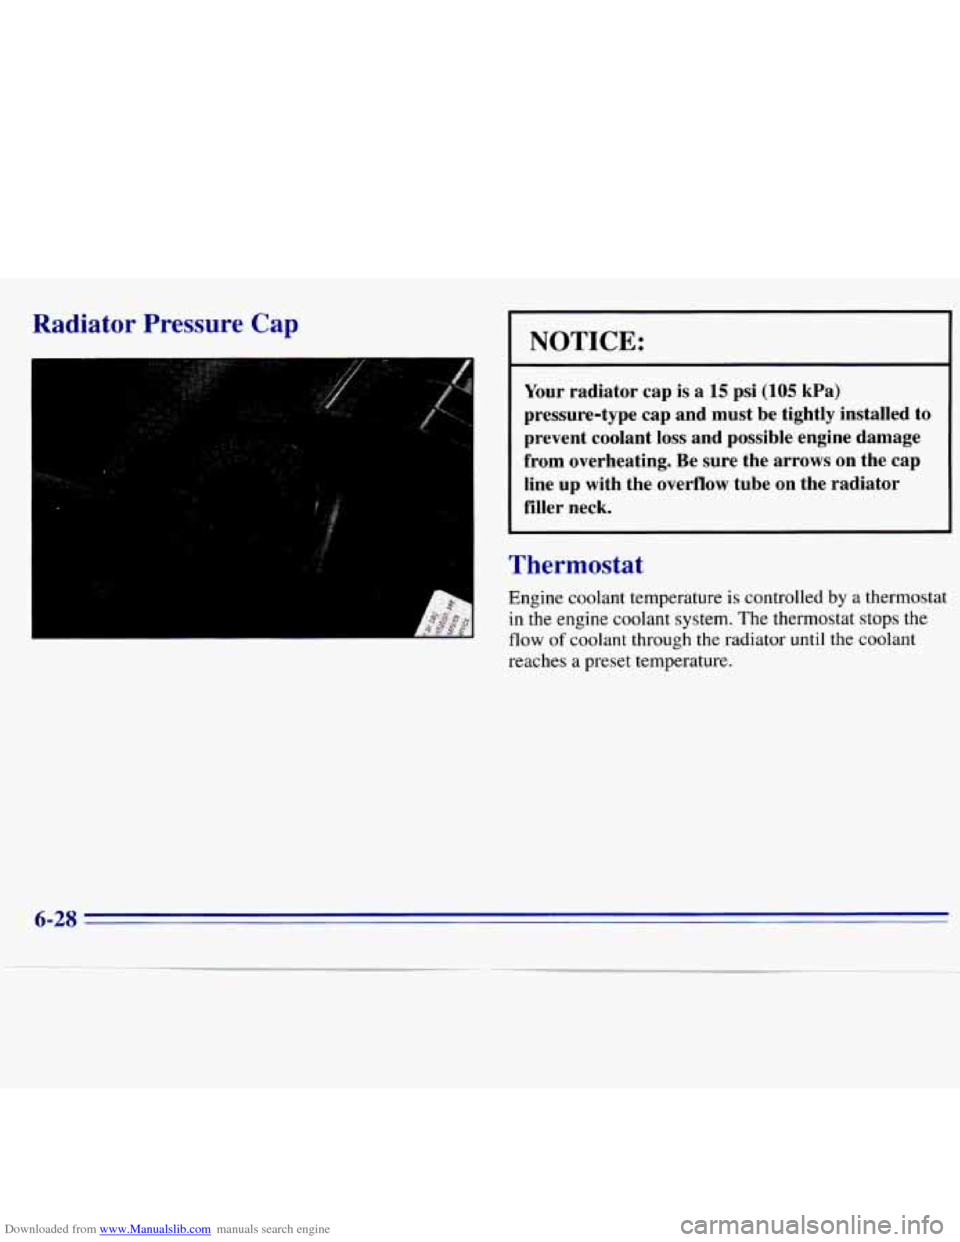
Your radiator cap is a 15 psi (105 kPa)
pressure-type cap and must be tightly installed to
prevent coolant
loss and possible engine damage
from overheating. Be sure the arrows on the cap
line up with the overflow tube on the radiator
filler neck.
Thermostat
Engine coolant temperature is controlled by a thermostat
in the engine coolant system. The thermostat stops the
flow of coolant through the radiator until the coolant
reaches a preset temperature.
6-28
Page 256 of 375
Downloaded from www.Manualslib.com manuals search engine Adding Washer Fluid
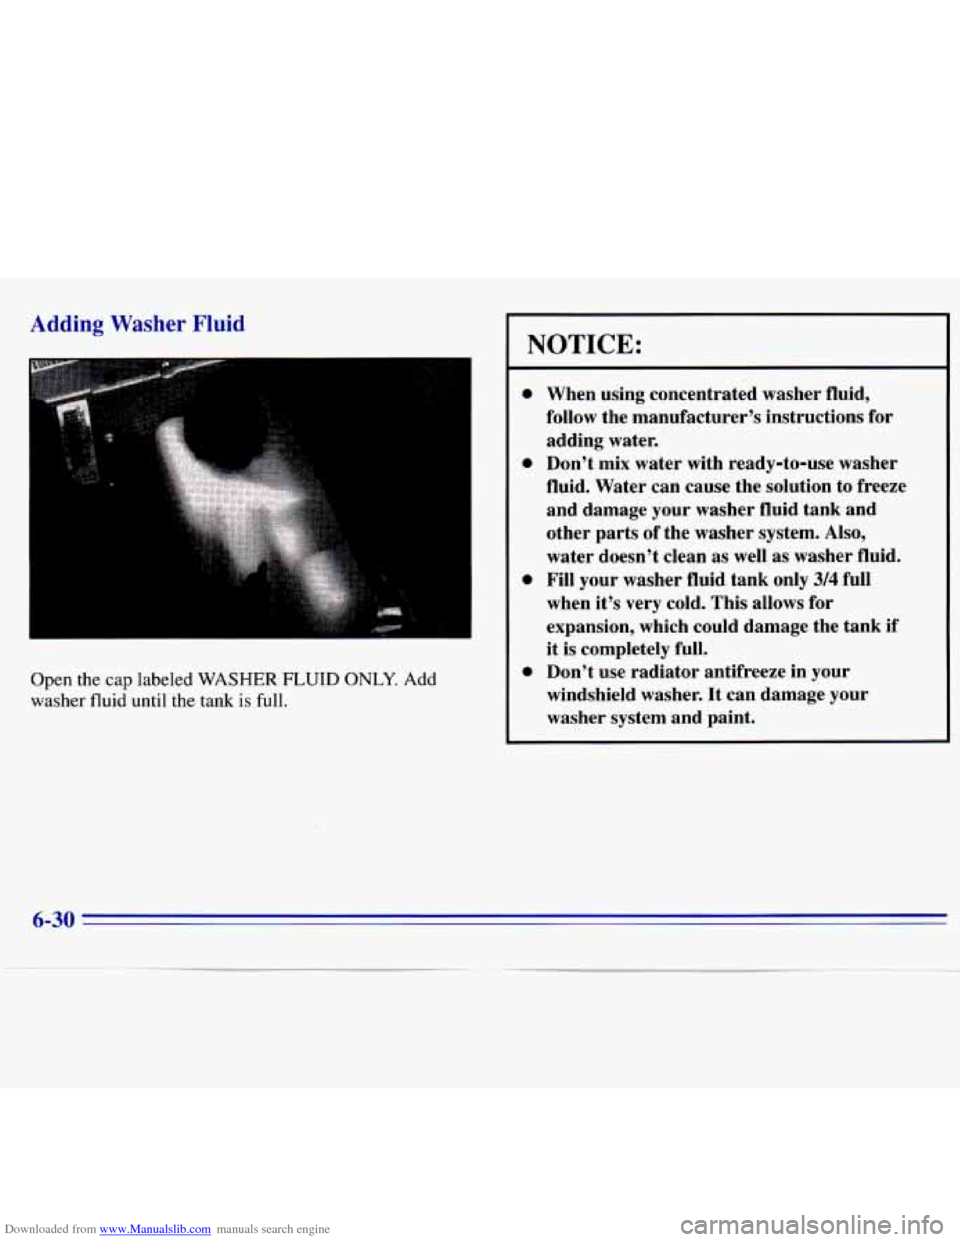
Open the cap labeled WASHER FLUID ONLY. Add
washer fluid until the tank is full.
NOTICE:
0
0
0
0
When using concentrated washer fluid,
follow the manufacturer’s instructions for
adding water.
Don’t mix water with ready-to-use washer
fluid. Water can cause the solution to freeze and damage your washer fluid tank and
other parts of the washer system. Also,
water doesn’t clean
as well as washer fluid.
Fill your washer fluid tank only
3/4 full
when it’s very cold. This allows for
expansion, which could damage the tank if
it is completely full.
Don’t use radiator antifreeze in your
windshield washer.
It can damage your
washer system and paint.
6-30
Page 263 of 375
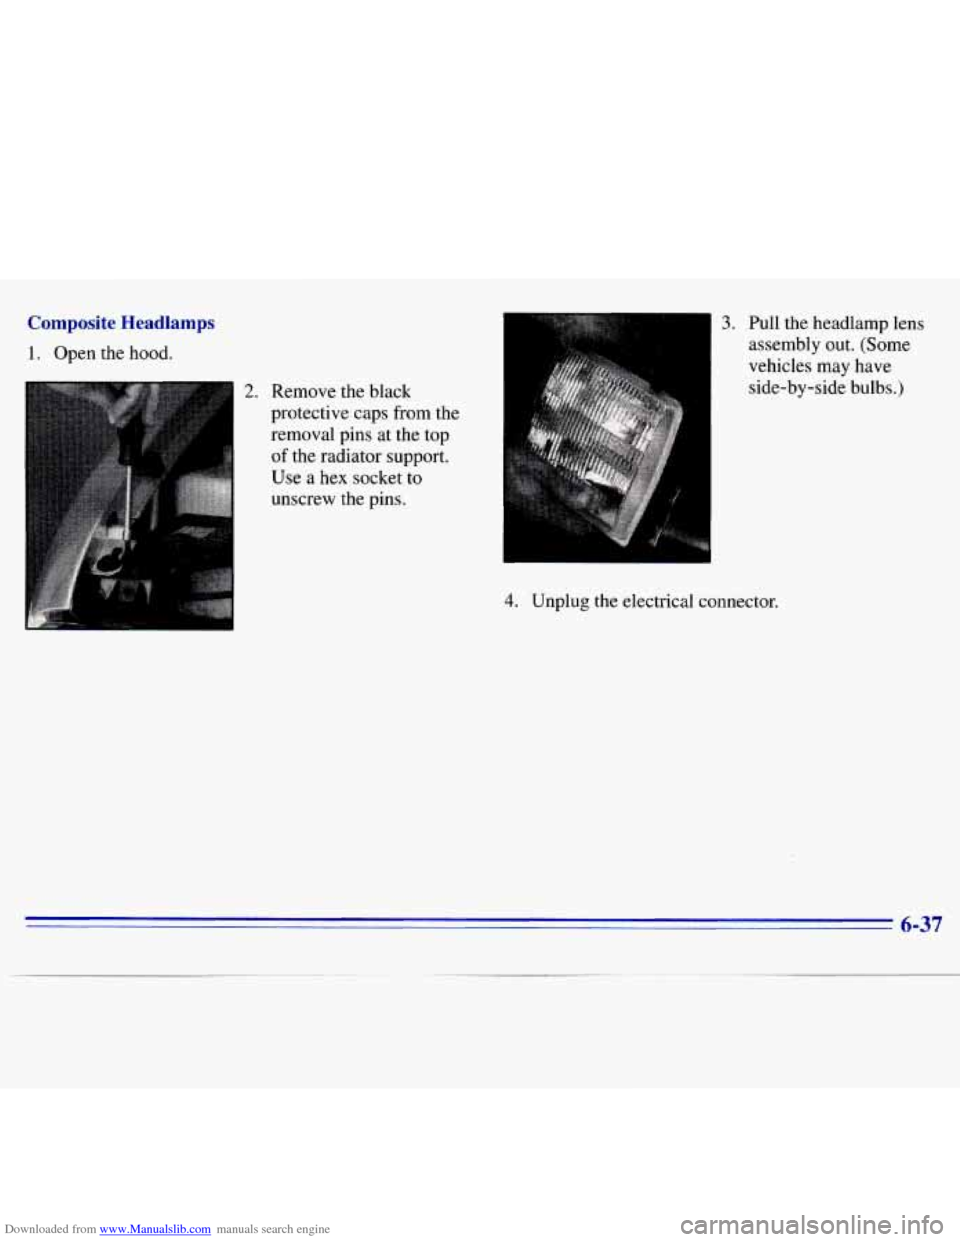
Downloaded from www.Manualslib.com manuals search engine Composite Headlamps
1. Open the hood.
2. Remove the black
protective caps from the
removal pins at the top
of the radiator support.
Use a hex socket to
unscrew the pins.
3. Pull the headlamp lens
I
assembly out. (Some
vehicles may have
4. Unplug the electrical connector.
6-37
Page 326 of 375
Downloaded from www.Manualslib.com manuals search engine I Short Trip/City Maintenance Schedule I
99,000 Miles (165 000 km)
0 Change engine oil and filter (or every
3 months, whichever occurs first).
An Emission Control Service.
100,000 Miles (166 000 km)
0 Drain, flush and refill cooling system
(or every
60 months since last service,
whichever occurs first). See “Engine
U
[7 Lubricate the front suspension, ball joints, Coolant’’ in
the Index for what to use.
steering linkage and transfer case shift
propshaft splines, universal joints, brake pressure
cap and neck. Pressure test cooling
linkage, parking brake cable guides, Inspect hoses. Clean radiator, condenser,
system and pressure cap.
pedal springs and clutch pedal springs at
An Emission Control Service.?
every oil change (or every 3 months, 0 Inspect spark plug wires.
whichever occurs first).
An Emission Control Service.
fluid as needed. Check constant velocity An Emission Control Service.
joints and axle seals for leaking.**
0 Check readfront axle fluid level and add 0 Replace spark plugs.
DATE SERVICED BY ACTUAL MILEAGE
>-, - - -- -- - ~-
7-30