tire pressure CHEVROLET S10 1996 2.G Owners Manual
[x] Cancel search | Manufacturer: CHEVROLET, Model Year: 1996, Model line: S10, Model: CHEVROLET S10 1996 2.GPages: 375, PDF Size: 20.73 MB
Page 138 of 375
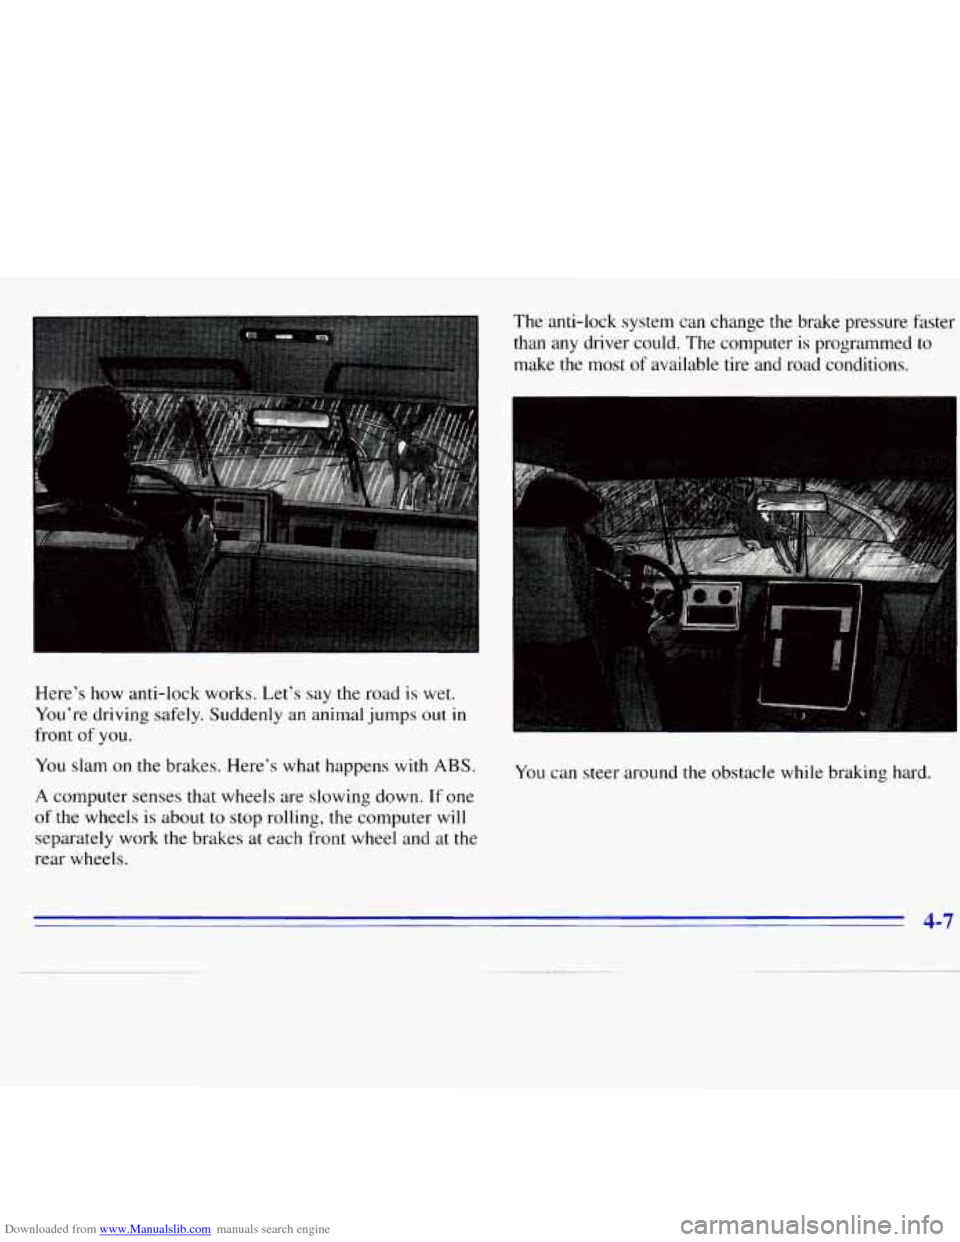
Downloaded from www.Manualslib.com manuals search engine Here’s how anti-lock works. Let’s say the road is wet.
You’re driving safely. Suddenly an animal jumps
out in
front of you.
You slam on the brakes. Here’s what happens with ABS.
A computer senses that wheels are slowing down. If one
of the wheels is about to stop rolling, the computer will
separately work the brakes
at each front wheel and at the
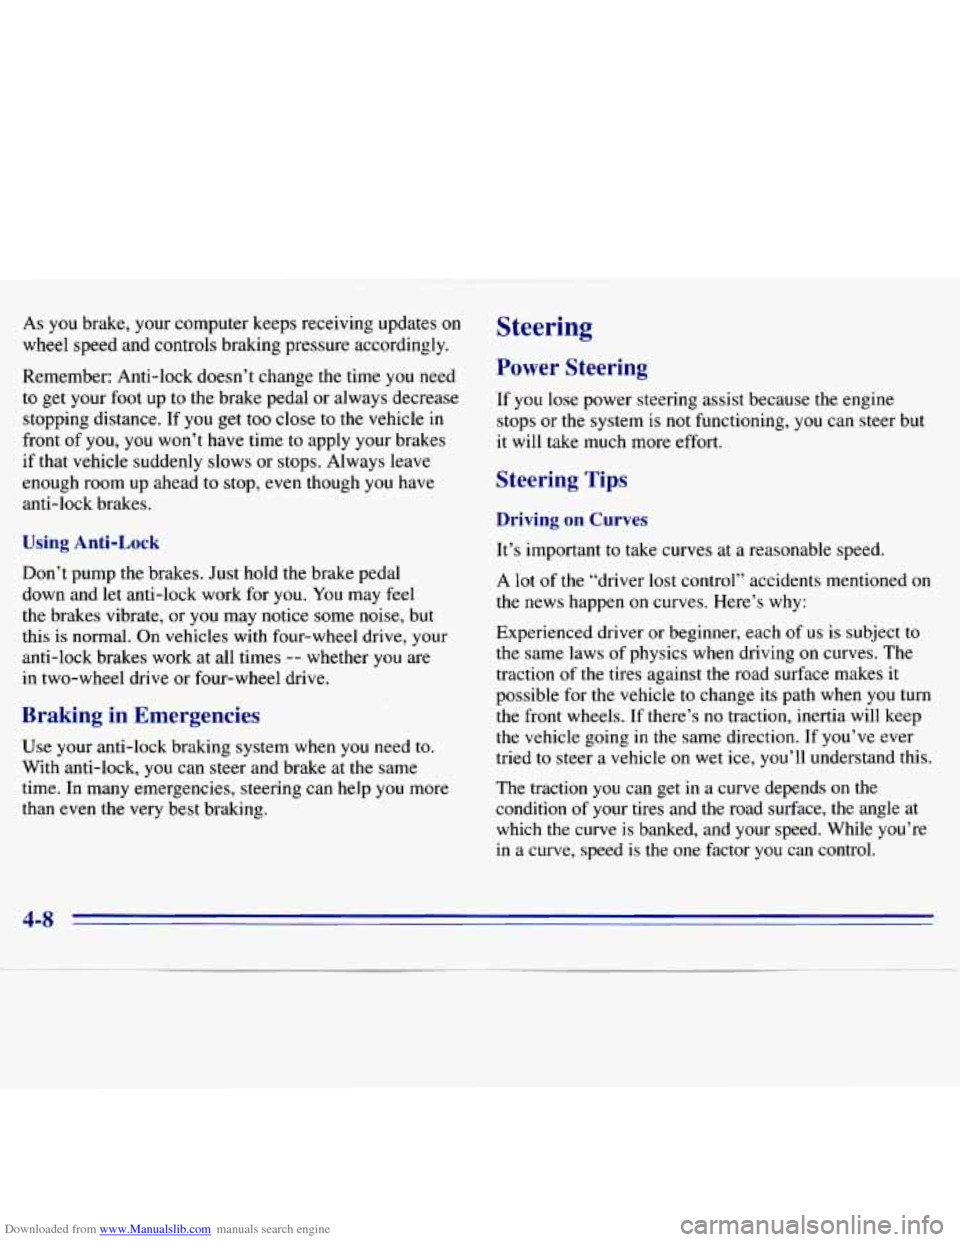
rear wheels. The anti-lock system can change the brake pressure faster
than any driver could. The computer
is programmed to
make the most
of available tire and road conditions.
You can steer around the obstacle while braking hard.
4-7
Page 139 of 375
Downloaded from www.Manualslib.com manuals search engine As you brake, your computer keeps receiving updates on
wheel speed and controls braking pressure accordingly.
Remember: Anti-lock doesn’t change the time you need
to get your foot up to the brake pedal or always decrease
stopping distance. If
you get too close to the vehicle in
front of
you, you won’t have time to apply your brakes
if that vehicle suddenly
slows or stops. Always leave
enough room up ahead
to stop, even though you have
anti-lock brakes.
Using Anti-Lock
Don’t pump the brakes. Just hold the brake pedal
down and let anti-lock work for
you. You may feel
the brakes vibrate, or
you may notice some noise, but
this is normal. On vehicles with four-wheel drive, your
anti-lock brakes work at all times
-- whether you are
in two-wheel drive or four-wheel drive.
Braking in Emergencies
Use your anti-lock braking system when you need to.
With anti-lock, you can steer and brake
at the same
time. In many emergencies, steering can help you more
than even the very best braking.
Steering
Power Steering
If you lose power steering assist because the engine
stops or the system is not functioning,
you can steer but
it will take much more effort.
Steering Tips
Driving on Curves
It’s important to take curves at a reasonable speed.
A lot of the “driver lost control” accidents mentioned on
the news happen
on curves. Here’s why:
Experienced driver or beginner, each
of us is subject to
the same laws
of physics when driving on curves. The
traction
of the tires against the road surface makes it
possible for the vehicle to change its path when you turn
the front wheels. If there’s no traction, inertia will keep
the vehicle going
in the same direction. If you’ve ever
tried
to steer a vehicle on wet ice, you’ll understand this.
The traction you can get in a curve depends
on the
condition of your tires and the road surface, the angle at which
the curve is banked, and your speed. While you’re
in a curve, speed is the one factor you can control.
4-8
Page 157 of 375
Downloaded from www.Manualslib.com manuals search engine Driving in Mud, Sand, Snow or Ice
When you drive in mud, snow or sand, your wheels
won’t get good traction.
You can’t accelerate as quickly,
turning is more difficult. and you’ll need longer
braking distances.
It’s best
to use a low gear when you’re in mud -- the
deeper the mud, the lower the gear. In really deep mud,
the idea is to keep your vehicle moving
so you don’t
get stuck.
When you drive on
sand, you’ll sense a change in wheel
traction. But it will depend upon how loosely packed the
sand is. On loosely packed sand (as
on beaches or sand
dunes) your tires will tend to sink into the sand. This has
an effect on steering, accelerating and braking. You may
want to reduce the air pressure in your tires slightly
when driving on sand. This will improve traction.
Hard packed snow and ice offer the worst tire traction.
On these surfaces, it’s
very easy to lose control. On wet
ice, for example, the traction is
so poor that you will
have difficulty accelerating. And if you do get moving,
poor steering and difficult braking can cause you to slide
out of control.
I A C. UTIC-T:
I
Driving on frozen lakes, ponds or rivers can be
dangerous. Underwater springs, currents under
the ice, or sudden thaws can weaken the ice. Your
vehicle could fall through the ice and you and
your passengers could drown. Drive your vehicle
on safe surfaces only.
Driving in Water
Light rain causes no special off-road driving problems.
But heavy rain can mean flash flooding, and
flood
waters demand extreme caution.
Find out how deep the water
is before you drive through
it. If it’s deep enough to cover your wheel hubs, axles or
exhaust pipe, don’t try it
-- you probably won’t get
through. Also, water that,deep can damage your axle
and other vehicle parts.
4-26
Page 162 of 375
Downloaded from www.Manualslib.com manuals search engine A CAUTION: I
-
Wet brakes can cause accidents. They won’t work
well in a quick stop and may cause pulling to one
side. You could lose control
of the vehicle.
After driving through a large puddle of water or
a car wash, apply your brake pedal lightly until
your brakes work normally.
Hydroplaning
Hydroplaning is dangerous. So much water can build up
under your tires that they can actually ride on the water.
This can happen if the road
is wet enough and you’re
going fast enough. When your vehicle is hydroplaning,
it has little or no contact with the road.
Hydroplaning doesn’t happen often. But it can
if your
tires haven’t much tread or if the pressure
in one or
more is low. It can happen if a lot of water is standing on
the road. If you can see reflections from trees, telephone
poles or other vehicles, and raindrops “dimple” the
water’s surface, there could be hydroplaning.
Hydroplaning usually happens at higher speeds. There
just isn’t
a hard and fast rule about hydroplaning. The
best advice is to slow down when it is raining.
Driving Through Deep Standing Water
NOTICE:
If you drive too quickly through deep puddles or
standing water, water can come in through your
engine’s
air intake and badly damage your
engine. Never drive through water that
is slightly
lower than the underbody
of your vehicle. If you
can’t avoid deep puddles or standing water, drive
through them very slowly.
Some Other Rainy Weather Tips
Besides slowing down, allow some extra following
distance. And be especially careful when
you pass
another vehicle. Allow yourself more clear room
ahead, and be prepared to have your view restricted
by road spray.
0 Have good tires with proper tread depth.
(See “Tires” in the Index.)
4-31
Page 165 of 375
Downloaded from www.Manualslib.com manuals search engine Once you are moving on the freeway, make certain you
allow
a reasonable following distance. Expect to move
slightly slower
at night.
When you want to leave the freeway, move to the proper
lane well in advance.
If you miss your exit, do not,
under any circumstances, stop and back
up. Drive on to
the
next exit.
The exit ramp can be curved, sometimes quite sharply.
The exit speed is usually posted.
Reduce your speed according to your speedometer, ‘not
to your sense of motion. After driving for
any distance
at higher speeds, you may tend to think you are going
slower than
you actually are.
Before Leaving on a Long Trip
Make sure you’re ready. Try to be well rested. If you
must start when you’re not fresh
-- such as after a day’s
work
-- don’t plan to make too many miles that first part
of the journey. Wear comfortable clothing and shoes you
can easily drive in.
Is your vehicle ready for a long trip? If you keep it
serviced and maintained,
it’s ready to go. If it needs
service, have it done before starting out. Of course,
you’ll find experienced and able service experts in
GM
dealers all across North America. They’ll be ready and
willing to help
if you need it.
Here are some things you can check before
a trip:
0
0
0
0
0
0
0
Windshield Washer Fluid: Is the reservoir full?
Are all windows clean inside and outside?
Wiper Blades: Are they in good shape?
Fuel, Engine Oil, Other Fluids: Have you checked
all levels?
Lamps: Are they all working? Are the lenses clean?
Tires: They are vitally important to a safe,
trouble-free trip.
Is the tread good enough for
long-distance driving? Are the tires all inflated to the
recommended pressure?
Weather Forecasts: What’s the weather outlook
along your route? Should you delay your trip a short
time to avoid a major storm system?
Maps: Do you have up-to-date maps?
4-34
Page 173 of 375
Downloaded from www.Manualslib.com manuals search engine Loading Your Vehicle
< SEE OWNER'S MANUAL FOR ADDITIONAL INFORMATION uu-
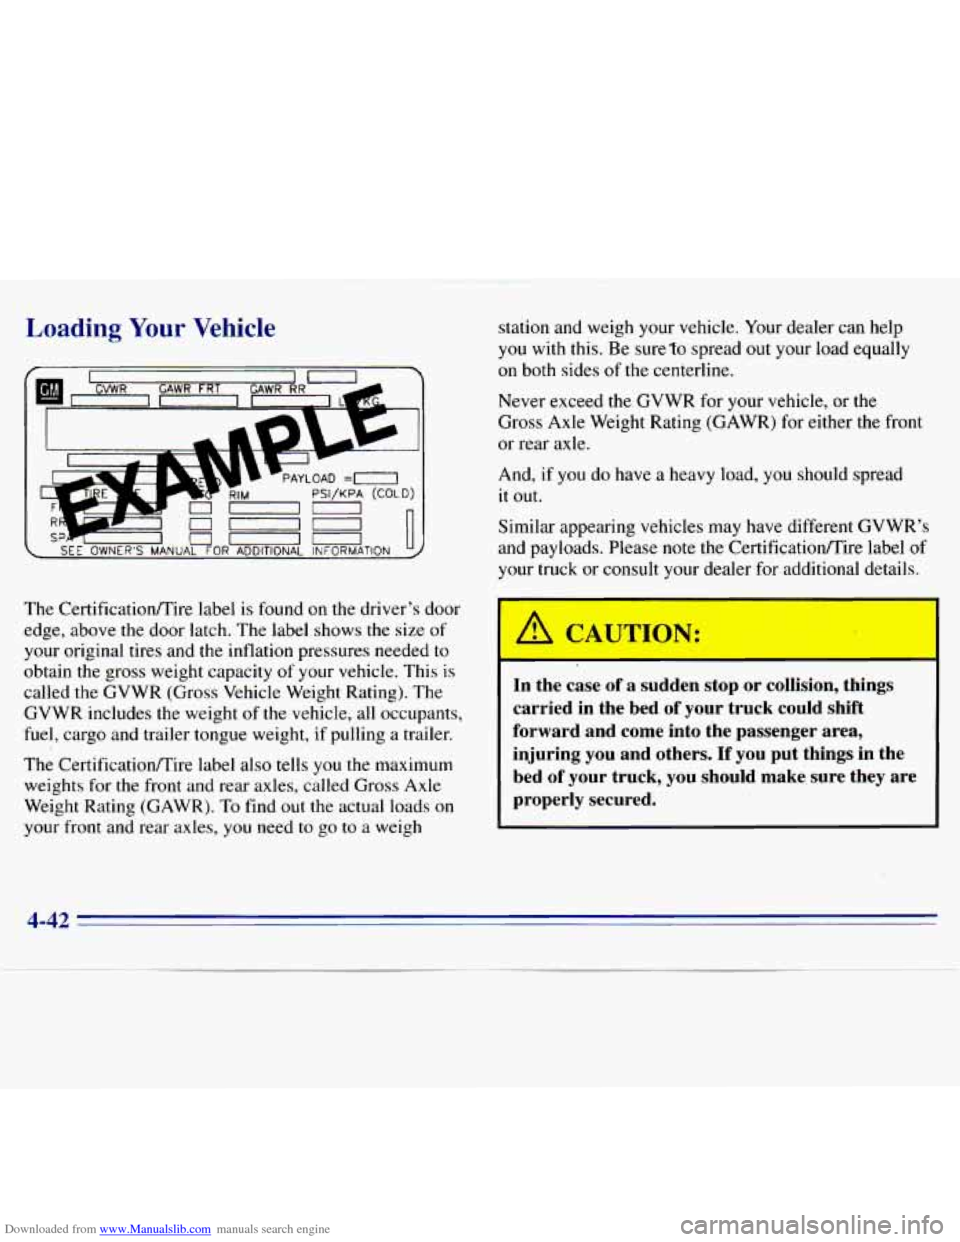
The CertificatiodTire label is found on the driver's door
edge, above
the door latch. The label shows the size of
your original tires and the inflation pressures needed to
obtain the gross weight capacity of your vehicle. This is
called the GVWR (Gross Vehicle Weight Rating). The
GVWR includes the weight
of the vehicle, all occupants,
fuel, cargo and trailer tongue weight, if pulling a trailer.
The Certificationmire label also
tells you the maximum
weights for the front and rear axles, called Gross Axle
Weight Rating (GAWR). To find out the actual loads
on
your front and rear axles, you need to go to a weigh station and weigh your vehicle.
Your dealer can help
you with this. Be sure'to spread out your load equally
on both sides of the centerline.
Never exceed the GVWR for your vehicle, or
the
Gross Axle Weight Rating (GAWR) for either the front
or rear axle.
And, if you do have a heavy load, you should spread
it out.
Similar appearing vehicles may have different GVWR's
and payloads. Please note the Certificationire label
of
your truck or consult your dealer for additional details.
I
. A CAUTION:
I
In the case of a sudden stop or collision, things
carried in the bed of your truck could shift
forward and come into the passenger area,
injuring you and others.
If you put things in the
bed of your truck, you should make, sure they are
properly secured.
4-42
Page 183 of 375
Downloaded from www.Manualslib.com manuals search engine Trailer Brakes
If your trailer weighs more than 1,000 lbs. (450 kg)
loaded, then it needs its own brakes
-- and they must be
adequate. Be sure to read and follow
the instructions for
the trailer brakes
so you’ll be able to install, adjust and
maintain them properly.
Your trailer’s brake system can tap into the vehicle’s
hydraulic brake system only if
a
a
The trailer parts can withstand 3,000 psi
(20 650 kPa) of pressure.
The trailer’s brake system will use less than
0.02 cubic inch (0.3 cc) of fluid from your vehicle’s
master cylinder. Otherwise, both braking systems
won’t work well. You could even lose your brakes.
If everything checks
out this far, then make the brake
fluid tap at the port on the master cylinder that sends
fluid
to the rear brakes. But don’t use copper tubing for
this. If
you do, it will bend and finally break off. Use
steel brake tubing.
Driving with a Trailer
Towing a trailer requires a certain amount of experience.
Before setting
out for the open road, you’ll want to get
to know your rig. Acquaint yourself with the feel of
handling and braking with the added weight of the
trailer. And always keep
in mind that the vehicle you are
driving is now a good deal longer and not nearly
as
responsive as your vehicle is by itself.
Before
you start, check the trailer hitch and platform
(and attachments), safety chains, electrical connector,
lamps, tires and mirror adjustment. If the trailer has
electric brakes, start your vehicle and trailer moving and
then apply the trailer brake controller
by hand to be sure
the brakes are working. This lets
you check your
electrical connection at the same time.
During your trip, check occasionally
to be sure that the
load is secure, and that the lamps and any trailer brakes
are still working.
Page 222 of 375
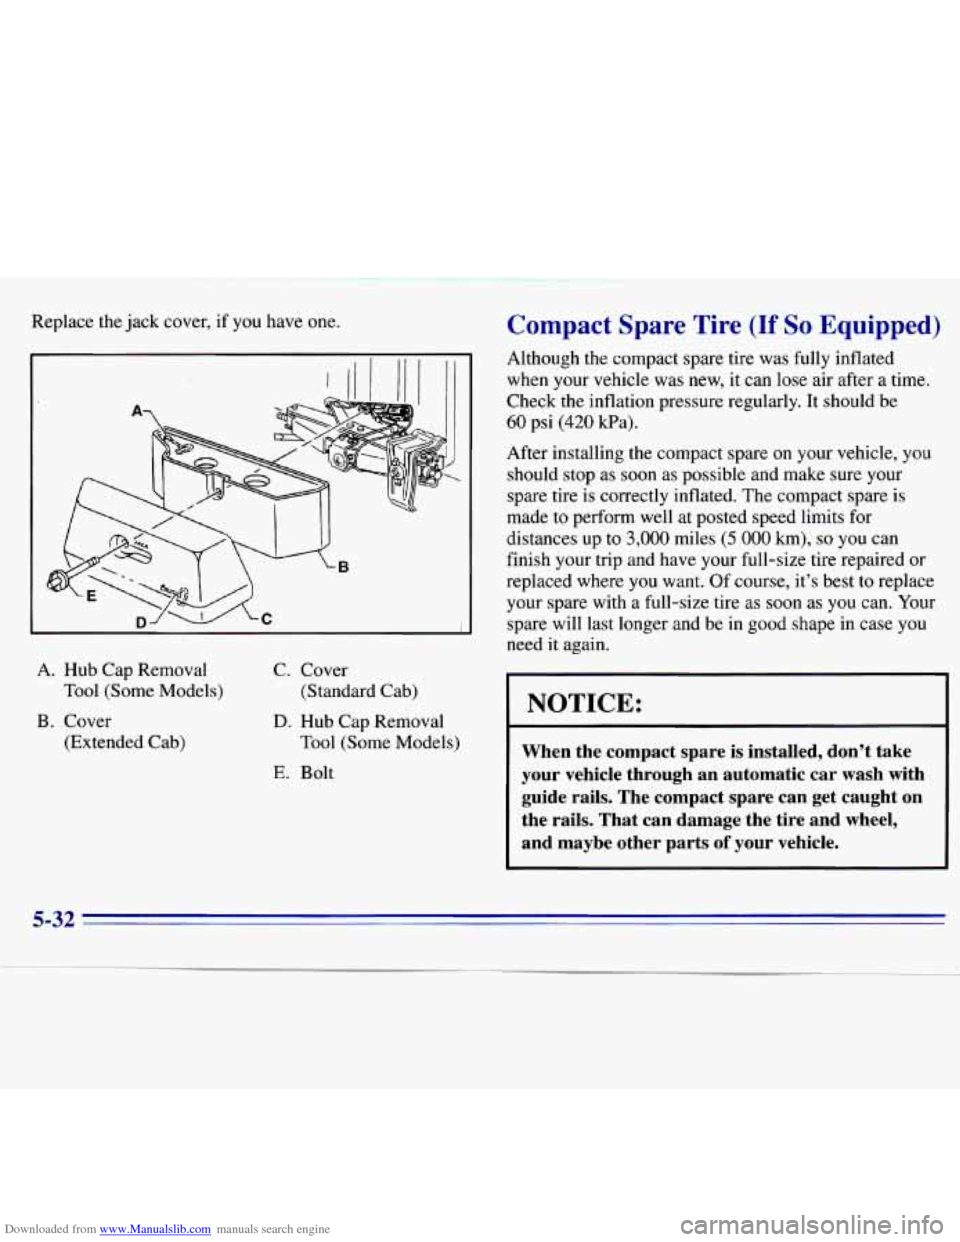
Downloaded from www.Manualslib.com manuals search engine Replace the jack cover, if you have one.
A. Hub Cap Removal
Tool (Some Models)
B. Cover
(Extended Cab) C.
Cover
(Standard Cab) D. Hub Cap Removal
E. Bolt Tool
(Some Models)
Compact Spare Tire (If So Equipped)
Although the compact spare tire was fully inflated
when your vehicle was new,
it can lose air after a time.
Check the inflation pressure regularly. It should be
60 psi (420 Pa).
After installing the compact spare on your vehicle, you
should stop as soon as possible and make sure your
spare tire is correctly inflated. The compact spare is
made to perform well at posted speed limits for
distances up to
3,000 miles (5 000 km), so you can
finish your trip and have your full-size tire repaired or
replaced where you want.
Of course, it’s best to replace
your spare with
a full-size tire as soon as you can. Your
spare will last longer and be
in good shape in case you
need it again.
NOTICE:
When the compact spare is installed, don’t take
your vehicle through an automatic car wash
with
guide rails. The compact spare can get caught on
the rails. That can damage the tire and wheel,
and maybe other parts
of your vehicle.
5-32
Page 270 of 375
Downloaded from www.Manualslib.com manuals search engine 6. Put the blade assembly pivot in the wiper arm
hook. Pull up until the pivot locking tab locks in
the hook
slot.
7. Carefully lower the wiper arm and blade assembly
onto the windshield.
Tires
We don’t make tires. Your new vehicle comes with
high-quality tires made
by a leading tire manufacturer.
If you ever have questions about your tire warranty
and where to obtain service, see
your warranty booklet
for details.
I A CAUTION:
Poorly maintained and improperly used tires are
dangerous.
0 Overloading your tires can cause
overheating as a result of too much friction.
You could have an air-out and a serious
accident. See “Loading Your Vehicle” in
the Index.
CAUTION: (Continued)
0
0
Underinflated tires pose the same danger as
overloaded tires. The resulting accident
could cause serious injury. Check all tires
frequently to maintain the recommended pressure. Tire pressure should be checked
when your tires are cold.
Overinflated tires are more likely to be
cut, punctured or broken by a sudden
impact
-- such as when you hit a pothole.
Keep tires at the recommended pressure.
Worn, old tires can cause accidents.
If your
tread is badly worn,
or if your tires have
been damaged, replace them.
6-44
Page 271 of 375
Downloaded from www.Manualslib.com manuals search engine Inflation - Tire Pressure
The Certificatioflire label which is on the driver’s door
door edge, above the door latch, shows the correct
inflation pressures for your tires when they’re cold.
“Cold” means your vehicle has been sitting for at least
three hours or driven no more thana mile.
NOTICE:
Don’t let anyone tell you that underinflation or
overinflation
is all right. It’s not. If your tires
don’t have enough
air (underinflation), you can
get the following:
Too much flexing
0 Too much,heat
0 Tire overloading :
0 Bad wear
0 Bad handling
Bad fuel economy.
NOTICE: (Continued) NOTICE: (Continued)
If your tires have too much air (overinflation),
you can get the following:
Unusual wear
0 Bad handling
e Rough ride
Needless damage from road hazards.
When to Check Check your tires once a month or
more. Also, check the
tire pressure of the spare tire.
If you have a compact spare tire, it should be at 60 psi
(420 Wa).
How to Check
Use a good quality pocket-type gage to check tire
pressure.
You can’t tell if your tires are properly inflated
simply by looking at them. Radial tires may look
properly inflated even when they’re underinflated.
Be sure to put the valve caps back
on the valve stems.
They help prevent leaks by keeping out
dirt and moisture.
. 6-45