instrument panel CHEVROLET SILVERADO 1999 1.G Owner's Manual
[x] Cancel search | Manufacturer: CHEVROLET, Model Year: 1999, Model line: SILVERADO, Model: CHEVROLET SILVERADO 1999 1.GPages: 432, PDF Size: 3.06 MB
Page 136 of 432
yellowblue
2-64 Armrest Storage Compartment
(If Equipped)
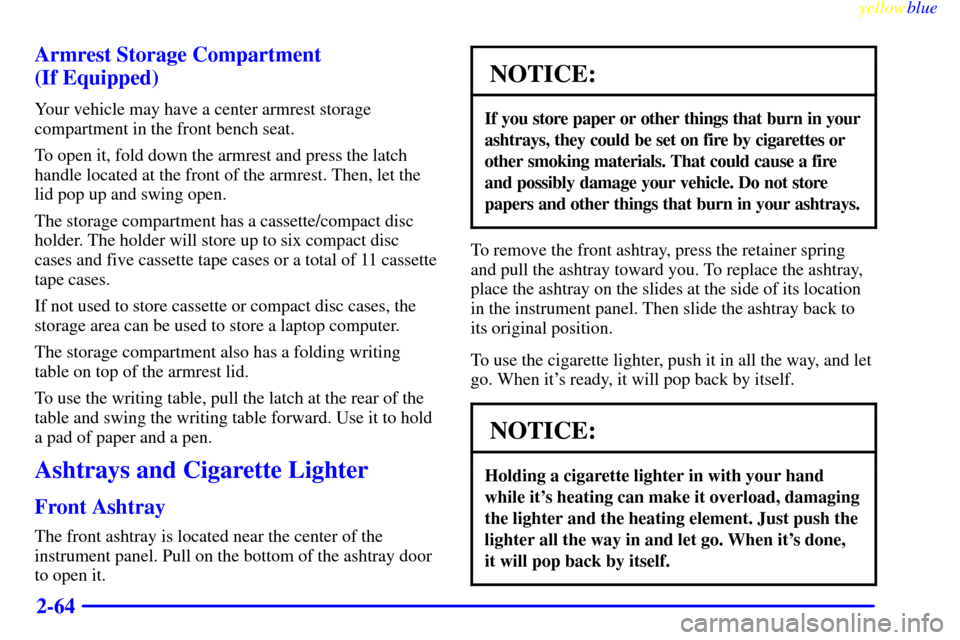
Your vehicle may have a center armrest storage
compartment in the front bench seat.
To open it, fold down the armrest and press the latch
handle located at the front of the armrest. Then, let the
lid pop up and swing open.
The storage compartment has a cassette/compact disc
holder. The holder will store up to six compact disc
cases and five cassette tape cases or a total of 11 cassette
tape cases.
If not used to store cassette or compact disc cases, the
storage area can be used to store a laptop computer.
The storage compartment also has a folding writing
table on top of the armrest lid.
To use the writing table, pull the latch at the rear of the
table and swing the writing table forward. Use it to hold
a pad of paper and a pen.
Ashtrays and Cigarette Lighter
Front Ashtray
The front ashtray is located near the center of the
instrument panel. Pull on the bottom of the ashtray door
to open it.
NOTICE:
If you store paper or other things that burn in your
ashtrays, they could be set on fire by cigarettes or
other smoking materials. That could cause a fire
and possibly damage your vehicle. Do not store
papers and other things that burn in your ashtrays.
To remove the front ashtray, press the retainer spring
and pull the ashtray toward you. To replace the ashtray,
place the ashtray on the slides at the side of its location
in the instrument panel. Then slide the ashtray back to
its original position.
To use the cigarette lighter, push it in all the way, and let
go. When it's ready, it will pop back by itself.
NOTICE:
Holding a cigarette lighter in with your hand
while it's heating can make it overload, damaging
the lighter and the heating element. Just push the
lighter all the way in and let go. When it's done,
it will pop back by itself.
Page 138 of 432
yellowblue
2-66
Instrument Panel
Page 139 of 432
yellowblue
2-67
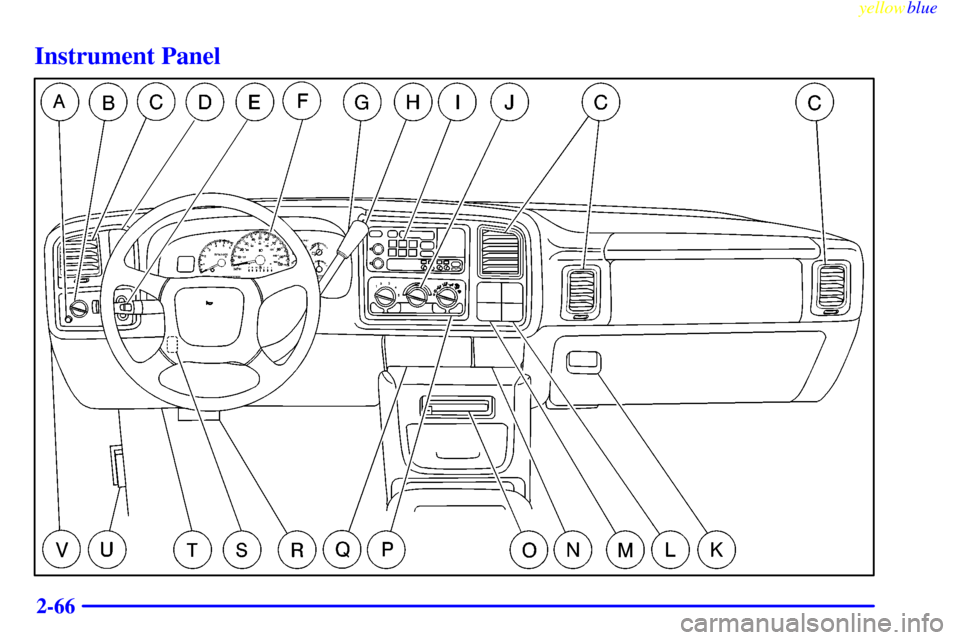
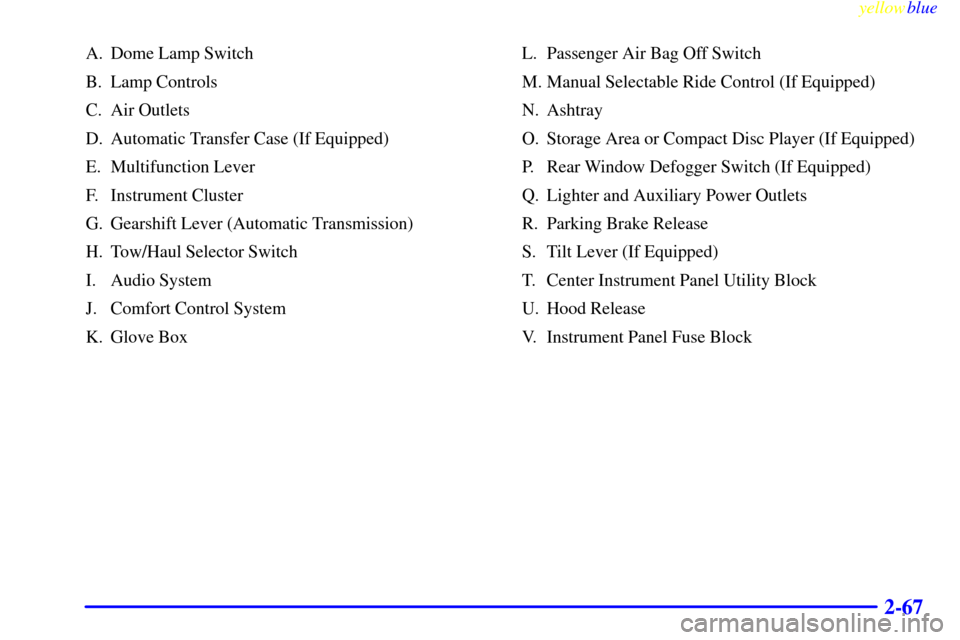
A. Dome Lamp Switch
B. Lamp Controls
C. Air Outlets
D. Automatic Transfer Case (If Equipped)
E. Multifunction Lever
F. Instrument Cluster
G. Gearshift Lever (Automatic Transmission)
H. Tow/Haul Selector Switch
I. Audio System
J. Comfort Control System
K. Glove BoxL. Passenger Air Bag Off Switch
M. Manual Selectable Ride Control (If Equipped)
N. Ashtray
O. Storage Area or Compact Disc Player (If Equipped)
P. Rear Window Defogger Switch (If Equipped)
Q. Lighter and Auxiliary Power Outlets
R. Parking Brake Release
S. Tilt Lever (If Equipped)
T. Center Instrument Panel Utility Block
U. Hood Release
V. Instrument Panel Fuse Block
Page 140 of 432
yellowblue
2-68
Instrument Panel Cluster
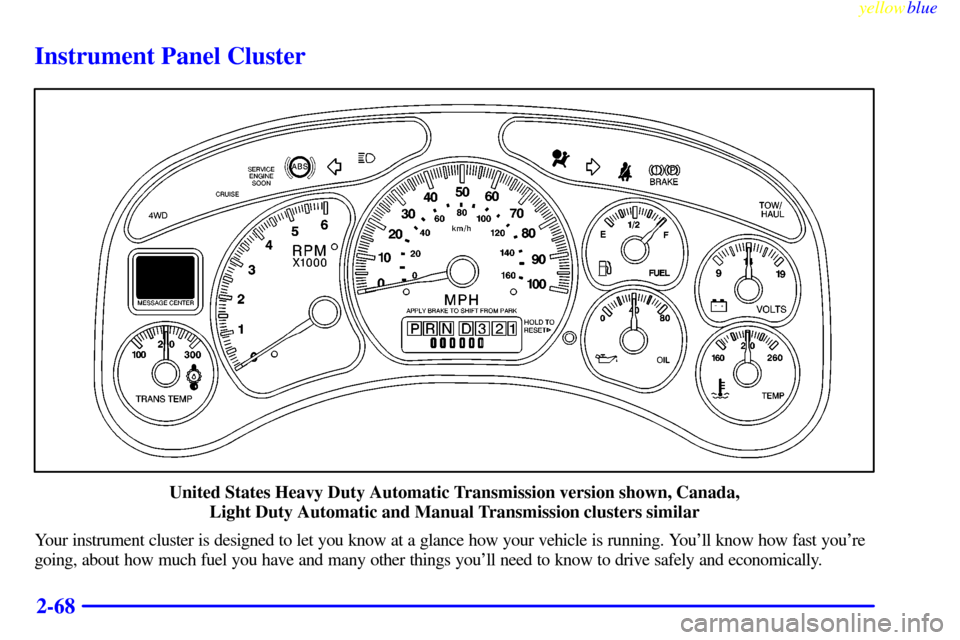
United States Heavy Duty Automatic Transmission version shown, Canada,
Light Duty Automatic and Manual Transmission clusters similar
Your instrument cluster is designed to let you know at a glance how your vehicle is running. You'll know how fast you're
going, about how much fuel you have and many other things you'll need to know to drive safely and economically.
Page 143 of 432
yellowblue
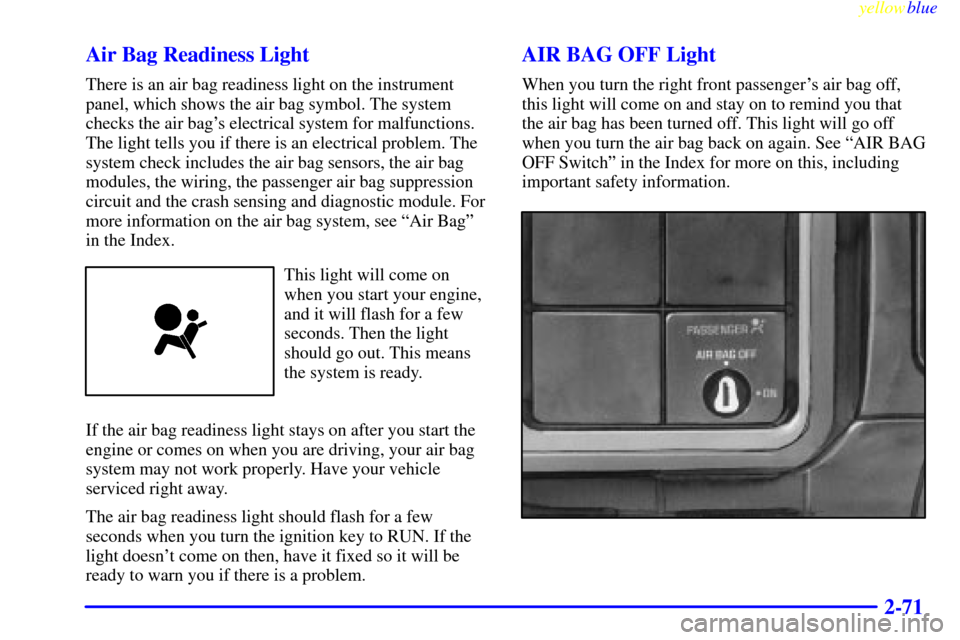
2-71 Air Bag Readiness Light
There is an air bag readiness light on the instrument
panel, which shows the air bag symbol. The system
checks the air bag's electrical system for malfunctions.
The light tells you if there is an electrical problem. The
system check includes the air bag sensors, the air bag
modules, the wiring, the passenger air bag suppression
circuit and the crash sensing and diagnostic module. For
more information on the air bag system, see ªAir Bagº
in the Index.
This light will come on
when you start your engine,
and it will flash for a few
seconds. Then the light
should go out. This means
the system is ready.
If the air bag readiness light stays on after you start the
engine or comes on when you are driving, your air bag
system may not work properly. Have your vehicle
serviced right away.
The air bag readiness light should flash for a few
seconds when you turn the ignition key to RUN. If the
light doesn't come on then, have it fixed so it will be
ready to warn you if there is a problem.
AIR BAG OFF Light
When you turn the right front passenger's air bag off,
this light will come on and stay on to remind you that
the air bag has been turned off. This light will go off
when you turn the air bag back on again. See ªAIR BAG
OFF Switchº in the Index for more on this, including
important safety information.
Page 154 of 432
yellowblue
2-82
Message Center
The message center is located above the transmission
temperature gage (if equipped) on the instrument panel
cluster. It gives you important safety and maintenance
facts. When you turn the ignition on, the entire center
lights up for just a few seconds. As needed, the message
center will display one of the following messages. The
message center is capable of alternating among different
messages if needed.
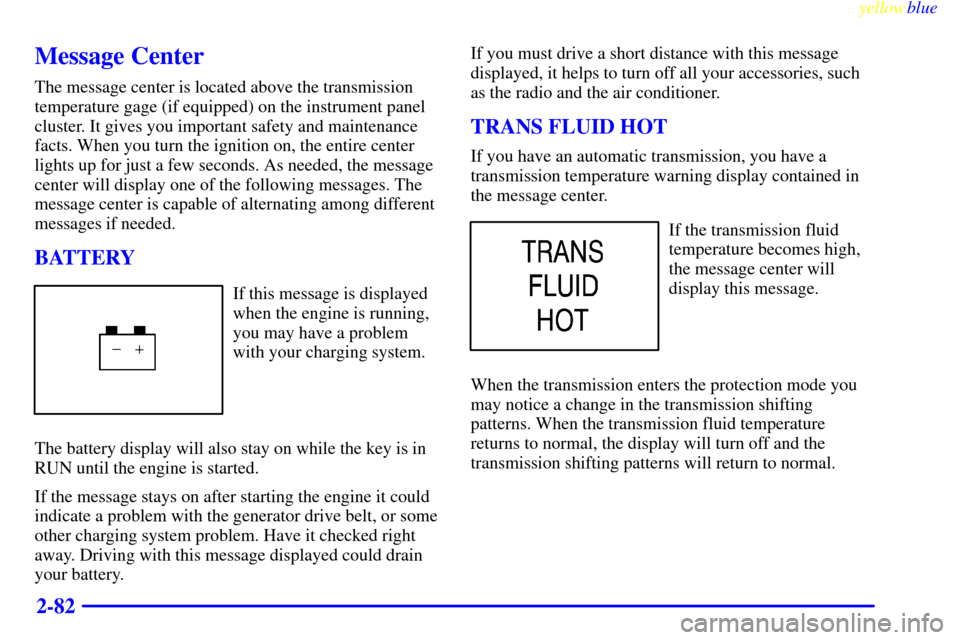
BATTERY
If this message is displayed
when the engine is running,
you may have a problem
with your charging system.
The battery display will also stay on while the key is in
RUN until the engine is started.
If the message stays on after starting the engine it could
indicate a problem with the generator drive belt, or some
other charging system problem. Have it checked right
away. Driving with this message displayed could drain
your battery.If you must drive a short distance with this message
displayed, it helps to turn off all your accessories, such
as the radio and the air conditioner.
TRANS FLUID HOT
If you have an automatic transmission, you have a
transmission temperature warning display contained in
the message center.
If the transmission fluid
temperature becomes high,
the message center will
display this message.
When the transmission enters the protection mode you
may notice a change in the transmission shifting
patterns. When the transmission fluid temperature
returns to normal, the display will turn off and the
transmission shifting patterns will return to normal.
Page 162 of 432
yellowblue
3-2
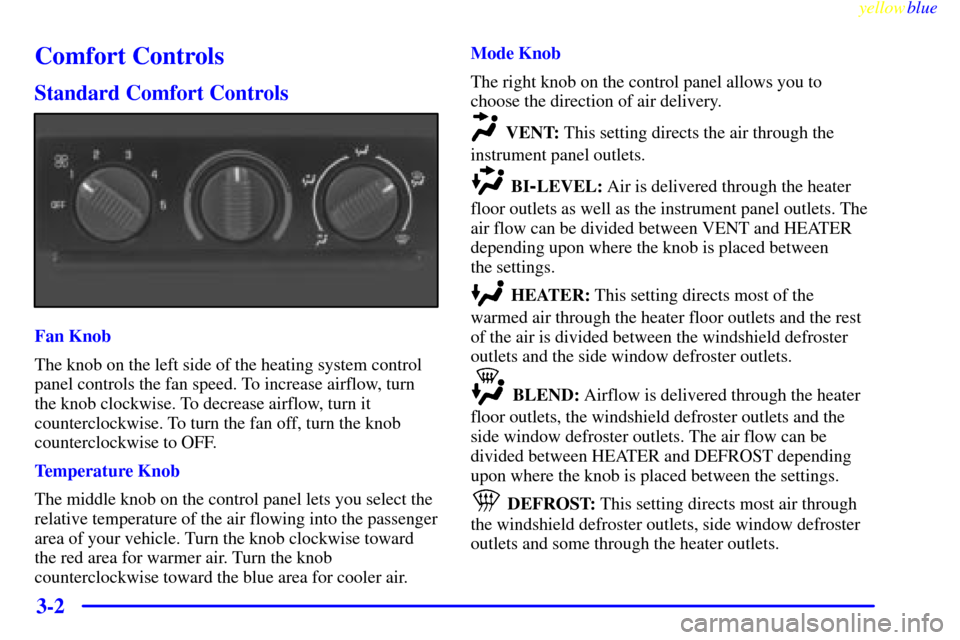
Comfort Controls
Standard Comfort Controls
Fan Knob
The knob on the left side of the heating system control
panel controls the fan speed. To increase airflow, turn
the knob clockwise. To decrease airflow, turn it
counterclockwise. To turn the fan off, turn the knob
counterclockwise to OFF.
Temperature Knob
The middle knob on the control panel lets you select the
relative temperature of the air flowing into the passenger
area of your vehicle. Turn the knob clockwise toward
the red area for warmer air. Turn the knob
counterclockwise toward the blue area for cooler air.Mode Knob
The right knob on the control panel allows you to
choose the direction of air delivery.
VENT: This setting directs the air through the
instrument panel outlets.
BI-LEVEL: Air is delivered through the heater
floor outlets as well as the instrument panel outlets. The
air flow can be divided between VENT and HEATER
depending upon where the knob is placed between
the settings.
HEATER: This setting directs most of the
warmed air through the heater floor outlets and the rest
of the air is divided between the windshield defroster
outlets and the side window defroster outlets.
BLEND: Airflow is delivered through the heater
floor outlets, the windshield defroster outlets and the
side window defroster outlets. The air flow can be
divided between HEATER and DEFROST depending
upon where the knob is placed between the settings.
DEFROST: This setting directs most air through
the windshield defroster outlets, side window defroster
outlets and some through the heater outlets.
Page 163 of 432
yellowblue
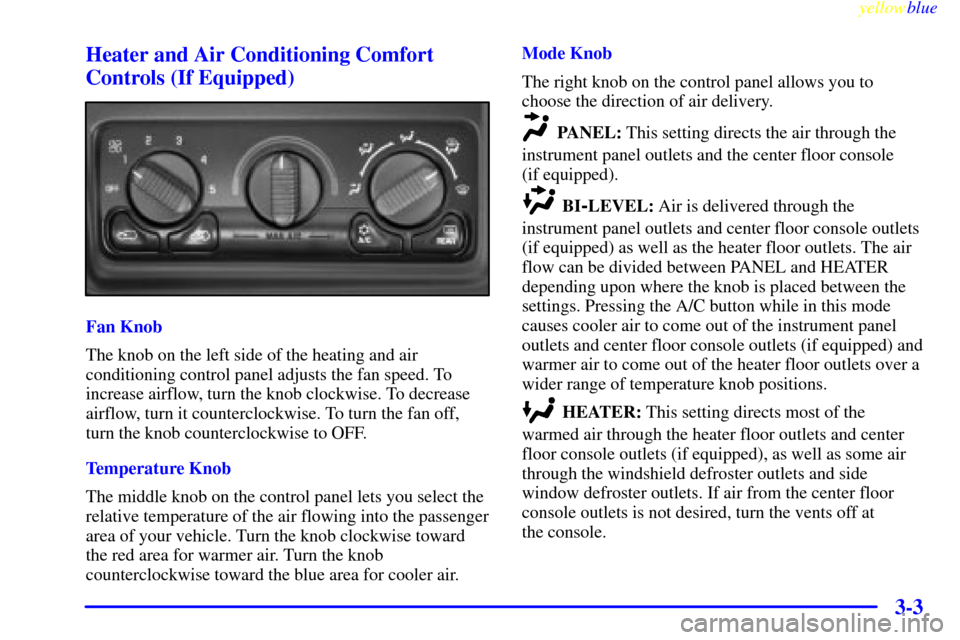
3-3 Heater and Air Conditioning Comfort
Controls (If Equipped)
Fan Knob
The knob on the left side of the heating and air
conditioning control panel adjusts the fan speed. To
increase airflow, turn the knob clockwise. To decrease
airflow, turn it counterclockwise. To turn the fan off,
turn the knob counterclockwise to OFF.
Temperature Knob
The middle knob on the control panel lets you select the
relative temperature of the air flowing into the passenger
area of your vehicle. Turn the knob clockwise toward
the red area for warmer air. Turn the knob
counterclockwise toward the blue area for cooler air.Mode Knob
The right knob on the control panel allows you to
choose the direction of air delivery.
PANEL: This setting directs the air through the
instrument panel outlets and the center floor console
(if equipped).
BI-LEVEL: Air is delivered through the
instrument panel outlets and center floor console outlets
(if equipped) as well as the heater floor outlets. The air
flow can be divided between PANEL and HEATER
depending upon where the knob is placed between the
settings. Pressing the A/C button while in this mode
causes cooler air to come out of the instrument panel
outlets and center floor console outlets (if equipped) and
warmer air to come out of the heater floor outlets over a
wider range of temperature knob positions.
HEATER: This setting directs most of the
warmed air through the heater floor outlets and center
floor console outlets (if equipped), as well as some air
through the windshield defroster outlets and side
window defroster outlets. If air from the center floor
console outlets is not desired, turn the vents off at
the console.
Page 167 of 432
yellowblue
3-7
If your vehicle is equipped with heated outside rearview
mirrors, the rear window defogger button will activate
the rear window defogger and the heated outside
rearview mirrors.
Do not attach a temporary vehicle license, tape or decals
across the defogger grid on the rear window.
NOTICE:
Don't use a razor blade or something else sharp
on the inside of the rear window. If you do, you
could cut or damage the warming grid, and the
repairs wouldn't be covered by your warranty.
Ventilation System
For mild outside temperatures when little heating or
cooling is needed, use VENT to direct outside air
through your vehicle. Air will flow through the
instrument panel outlets.
Your vehicle's ventilation system supplies outside air to
the inside of your vehicle when it is moving. With the side
windows closed, air will flow into the front air inlet grilles,
through the vehicle, and out the air exhaust valves.Outside air will also enter the vehicle when the heater or
the air conditioning fan is running, unless you have the
RECIRCULATION button pushed in. For more
information on the RECIRCULATION button, see ªAir
Conditioningº earlier in this section.
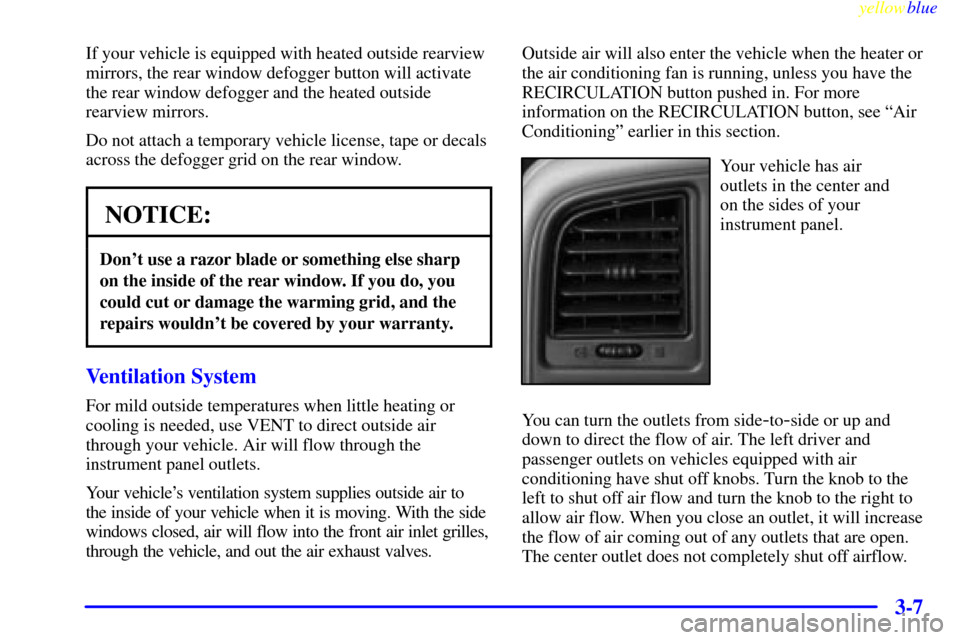
Your vehicle has air
outlets in the center and
on the sides of your
instrument panel.
You can turn the outlets from side
-to-side or up and
down to direct the flow of air. The left driver and
passenger outlets on vehicles equipped with air
conditioning have shut off knobs. Turn the knob to the
left to shut off air flow and turn the knob to the right to
allow air flow. When you close an outlet, it will increase
the flow of air coming out of any outlets that are open.
The center outlet does not completely shut off airflow.
Page 234 of 432
yellowblue
4-44
Recreational Vehicle Towing
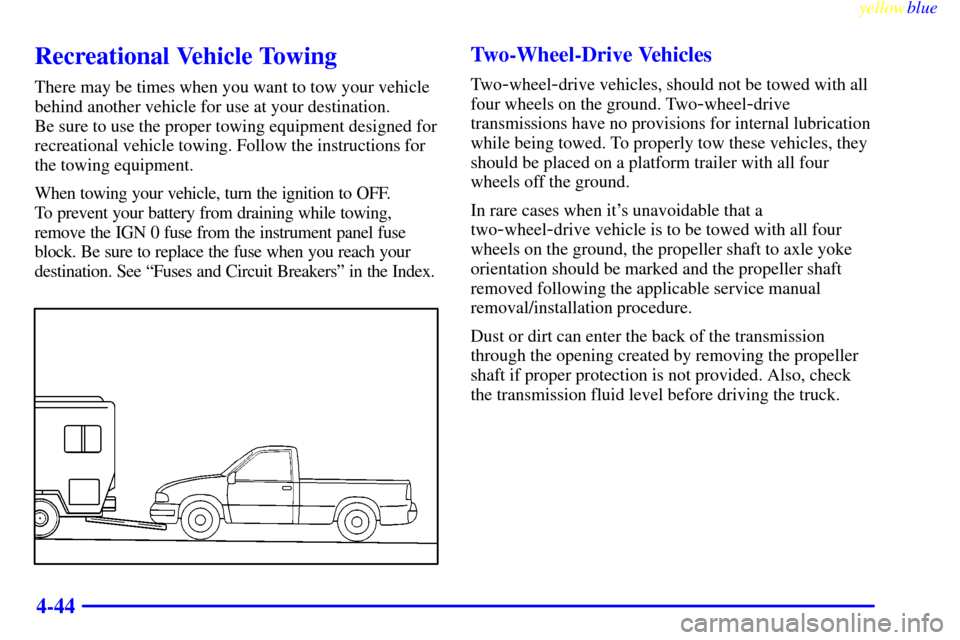
There may be times when you want to tow your vehicle
behind another vehicle for use at your destination.
Be sure to use the proper towing equipment designed for
recreational vehicle towing. Follow the instructions for
the towing equipment.
When towing your vehicle, turn the ignition to OFF.
To prevent your battery from draining while towing,
remove the IGN 0 fuse from the instrument panel fuse
block. Be sure to replace the fuse when you reach your
destination. See ªFuses and Circuit Breakersº in the Index.
Two-Wheel-Drive Vehicles
Tw o-wheel-drive vehicles, should not be towed with all
four wheels on the ground. Two
-wheel-drive
transmissions have no provisions for internal lubrication
while being towed. To properly tow these vehicles, they
should be placed on a platform trailer with all four
wheels off the ground.
In rare cases when it's unavoidable that a
two
-wheel-drive vehicle is to be towed with all four
wheels on the ground, the propeller shaft to axle yoke
orientation should be marked and the propeller shaft
removed following the applicable service manual
removal/installation procedure.
Dust or dirt can enter the back of the transmission
through the opening created by removing the propeller
shaft if proper protection is not provided. Also, check
the transmission fluid level before driving the truck.