CHEVROLET SILVERADO 2004 1.G User Guide
Manufacturer: CHEVROLET, Model Year: 2004, Model line: SILVERADO, Model: CHEVROLET SILVERADO 2004 1.GPages: 584, PDF Size: 3.52 MB
Page 11 of 584
Power Lumbar
Your vehicle’s seats may be equipped with
power lumbar.
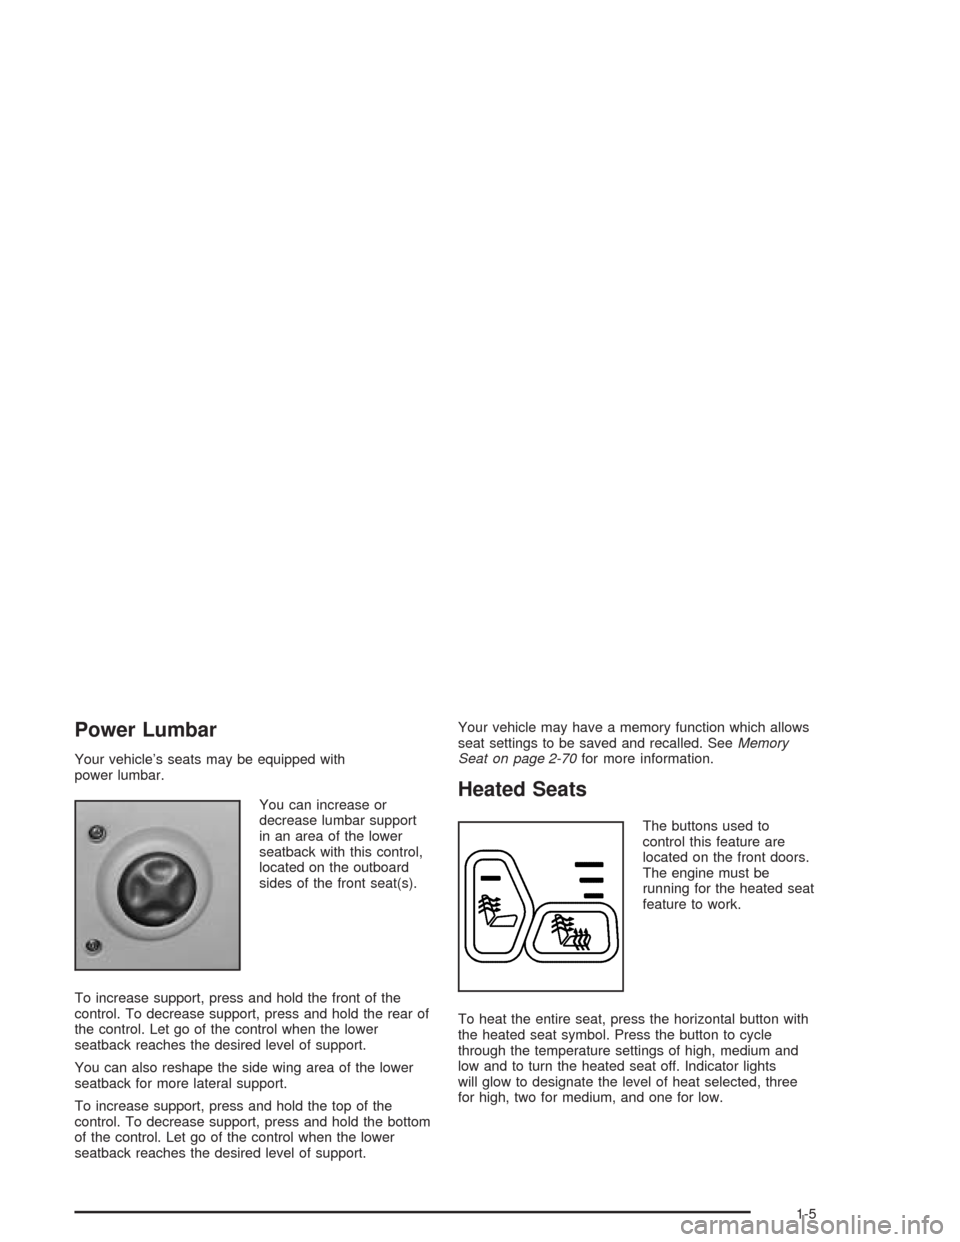
You can increase or
decrease lumbar support
in an area of the lower
seatback with this control,
located on the outboard
sides of the front seat(s).
To increase support, press and hold the front of the
control. To decrease support, press and hold the rear of
the control. Let go of the control when the lower
seatback reaches the desired level of support.
You can also reshape the side wing area of the lower
seatback for more lateral support.
To increase support, press and hold the top of the
control. To decrease support, press and hold the bottom
of the control. Let go of the control when the lower
seatback reaches the desired level of support.Your vehicle may have a memory function which allows
seat settings to be saved and recalled. SeeMemory
Seat on page 2-70for more information.
Heated Seats
The buttons used to
control this feature are
located on the front doors.
The engine must be
running for the heated seat
feature to work.
To heat the entire seat, press the horizontal button with
the heated seat symbol. Press the button to cycle
through the temperature settings of high, medium and
low and to turn the heated seat off. Indicator lights
will glow to designate the level of heat selected, three
for high, two for medium, and one for low.
1-5
Page 12 of 584
The low setting warms the seatback and cushion until
the seat temperature is near body temperature. The
medium and high settings heat the seatback and seat
cushion to a slightly higher temperature. You will be able
to feel heat in about two minutes.
To heat only the seatback, press the vertical button with
the heated seatback symbol. An indicator light on the
seatback button will glow to designate that only the
seatback is being heated. Additional presses of
the seatback button will cycle through the heat levels for
the seatback only. Press the horizontal button again
to heat the whole seat.
The heated front seats will shut off automatically when
the ignition is turned off.Reclining Seatbacks
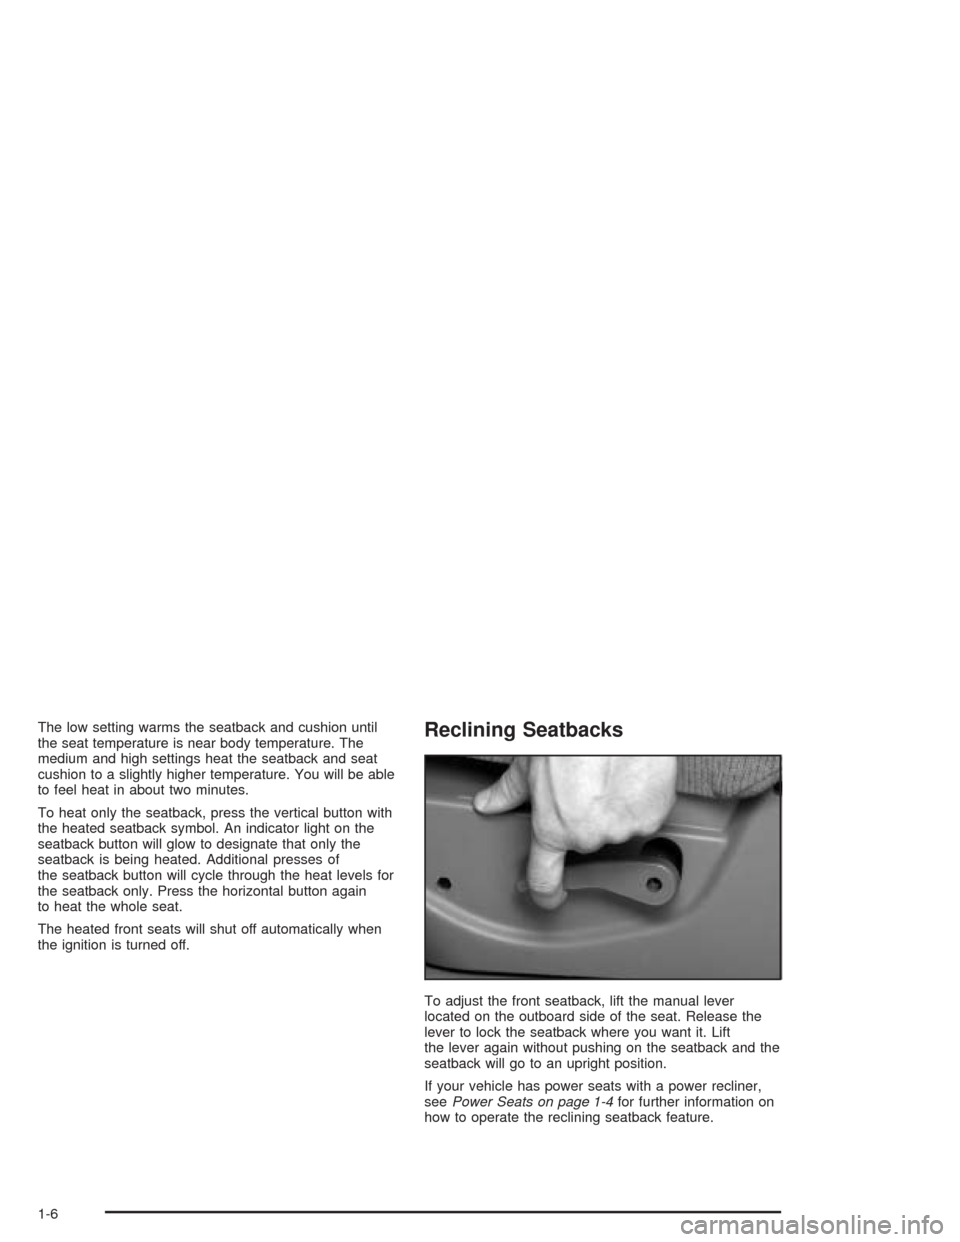
To adjust the front seatback, lift the manual lever
located on the outboard side of the seat. Release the
lever to lock the seatback where you want it. Lift
the lever again without pushing on the seatback and the
seatback will go to an upright position.
If your vehicle has power seats with a power recliner,
seePower Seats on page 1-4for further information on
how to operate the reclining seatback feature.
1-6
Page 13 of 584
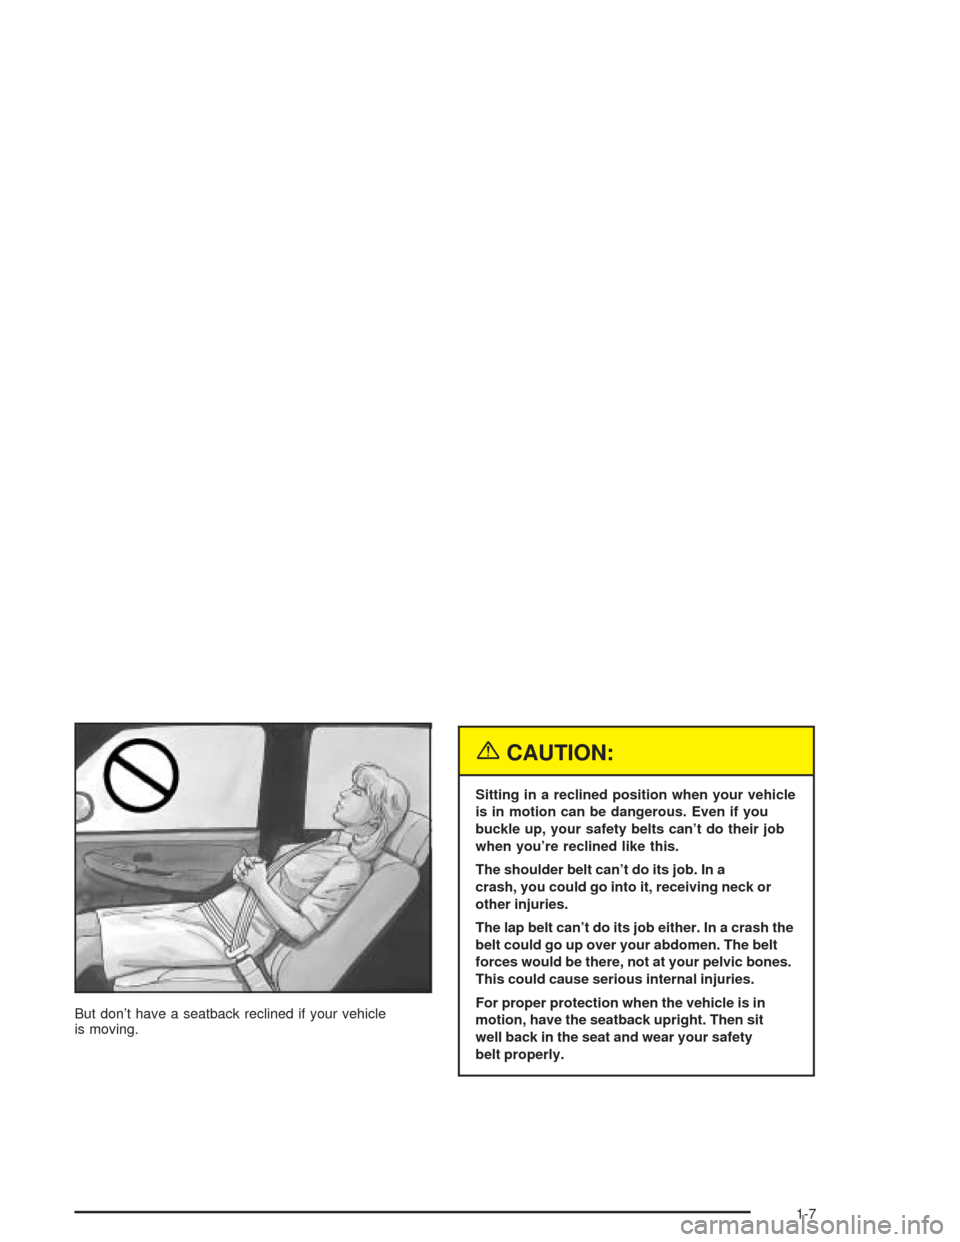
But don’t have a seatback reclined if your vehicle
is moving.
{CAUTION:
Sitting in a reclined position when your vehicle
is in motion can be dangerous. Even if you
buckle up, your safety belts can’t do their job
when you’re reclined like this.
The shoulder belt can’t do its job. In a
crash, you could go into it, receiving neck or
other injuries.
The lap belt can’t do its job either. In a crash the
belt could go up over your abdomen. The belt
forces would be there, not at your pelvic bones.
This could cause serious internal injuries.
For proper protection when the vehicle is in
motion, have the seatback upright. Then sit
well back in the seat and wear your safety
belt properly.
1-7
Page 14 of 584
Head Restraints
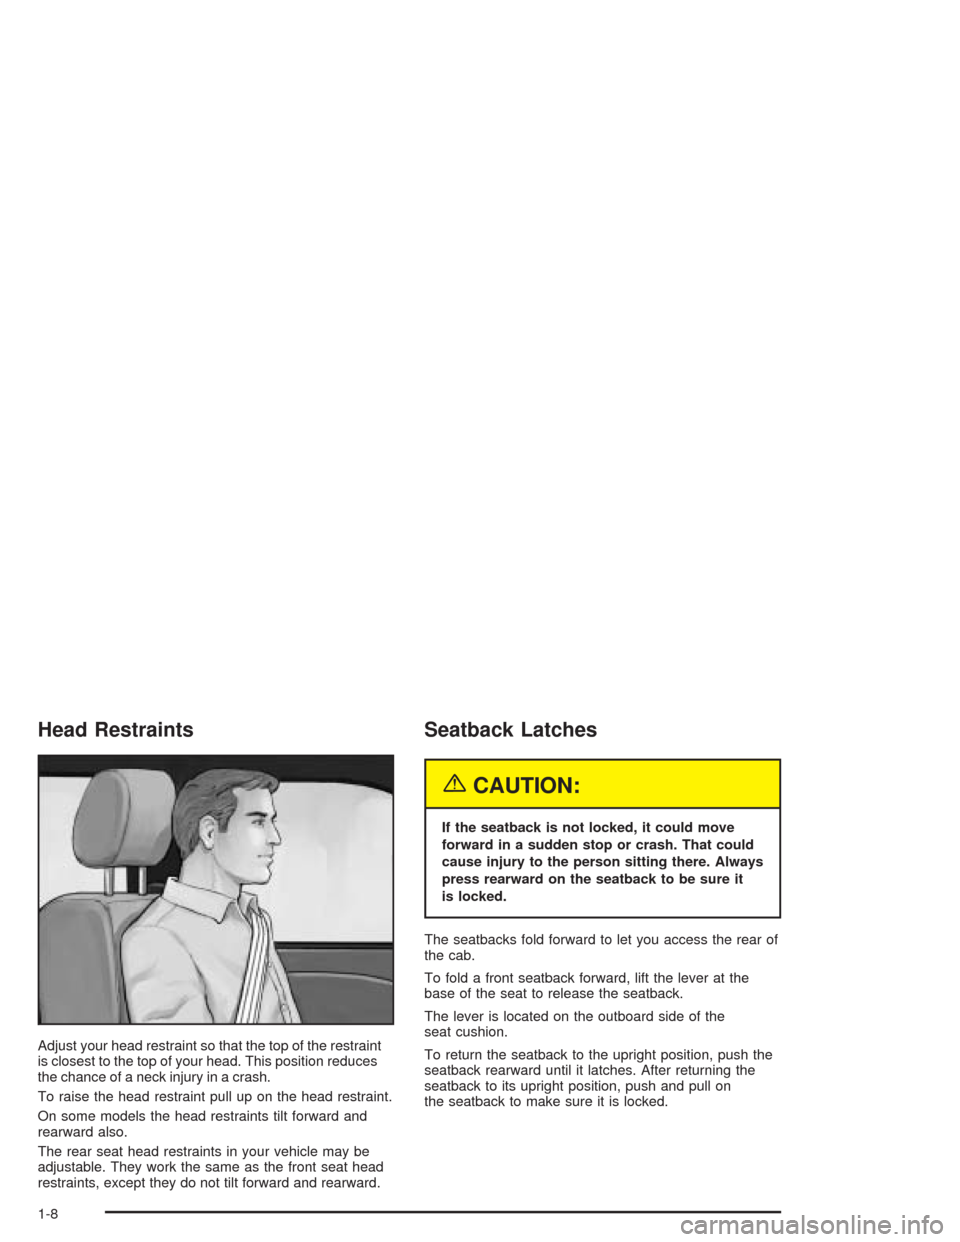
Adjust your head restraint so that the top of the restraint
is closest to the top of your head. This position reduces
the chance of a neck injury in a crash.
To raise the head restraint pull up on the head restraint.
On some models the head restraints tilt forward and
rearward also.
The rear seat head restraints in your vehicle may be
adjustable. They work the same as the front seat head
restraints, except they do not tilt forward and rearward.
Seatback Latches
{CAUTION:
If the seatback is not locked, it could move
forward in a sudden stop or crash. That could
cause injury to the person sitting there. Always
press rearward on the seatback to be sure it
is locked.
The seatbacks fold forward to let you access the rear of
the cab.
To fold a front seatback forward, lift the lever at the
base of the seat to release the seatback.
The lever is located on the outboard side of the
seat cushion.
To return the seatback to the upright position, push the
seatback rearward until it latches. After returning the
seatback to its upright position, push and pull on
the seatback to make sure it is locked.
1-8
Page 15 of 584
Rear Seats
Rear Seat Operation (Extended Cab)
Folding the Rear Seat
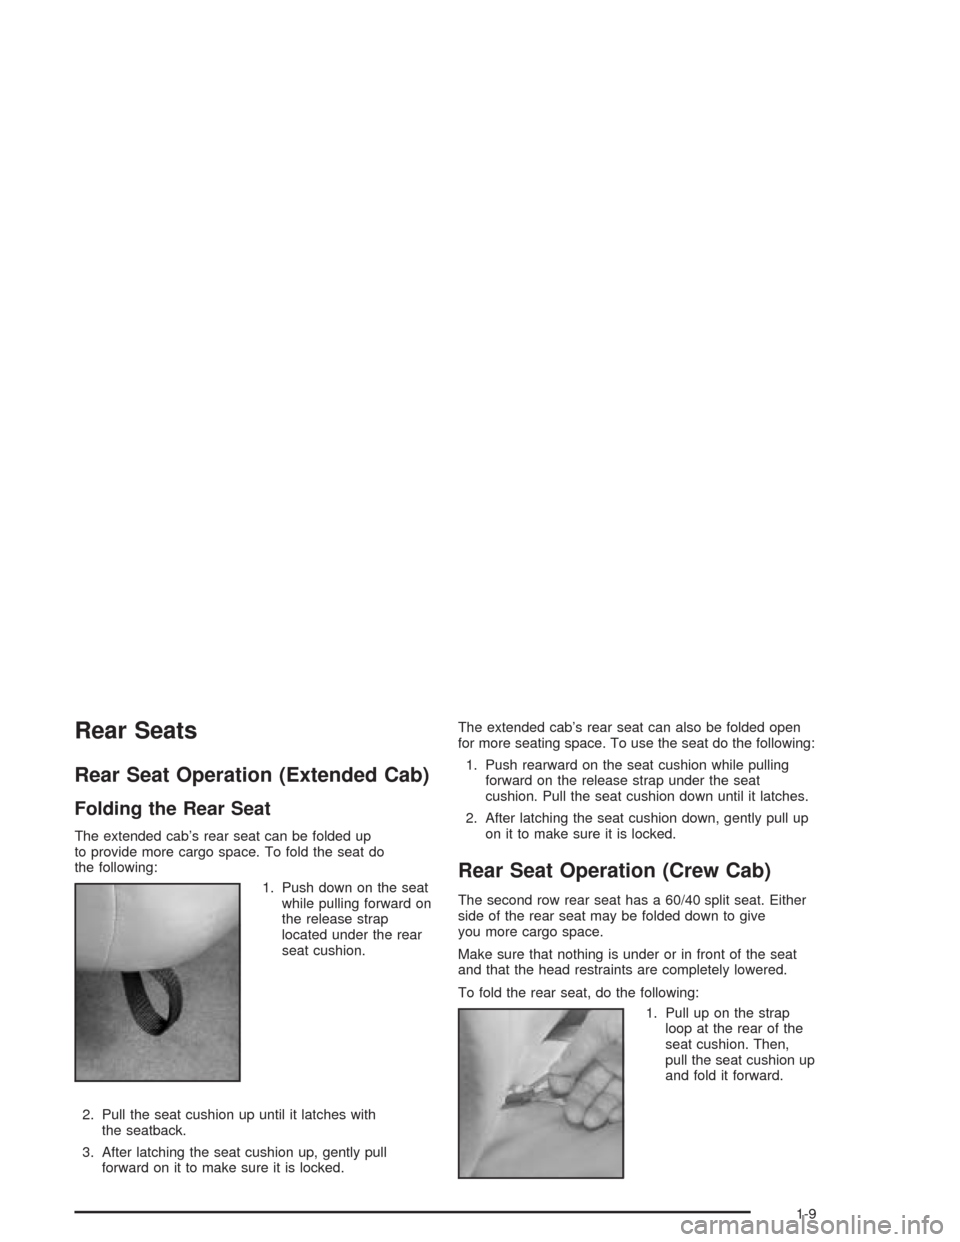
The extended cab’s rear seat can be folded up
to provide more cargo space. To fold the seat do
the following:
1. Push down on the seat
while pulling forward on
the release strap
located under the rear
seat cushion.
2. Pull the seat cushion up until it latches with
the seatback.
3. After latching the seat cushion up, gently pull
forward on it to make sure it is locked.The extended cab’s rear seat can also be folded open
for more seating space. To use the seat do the following:
1. Push rearward on the seat cushion while pulling
forward on the release strap under the seat
cushion. Pull the seat cushion down until it latches.
2. After latching the seat cushion down, gently pull up
on it to make sure it is locked.
Rear Seat Operation (Crew Cab)
The second row rear seat has a 60/40 split seat. Either
side of the rear seat may be folded down to give
you more cargo space.
Make sure that nothing is under or in front of the seat
and that the head restraints are completely lowered.
To fold the rear seat, do the following:
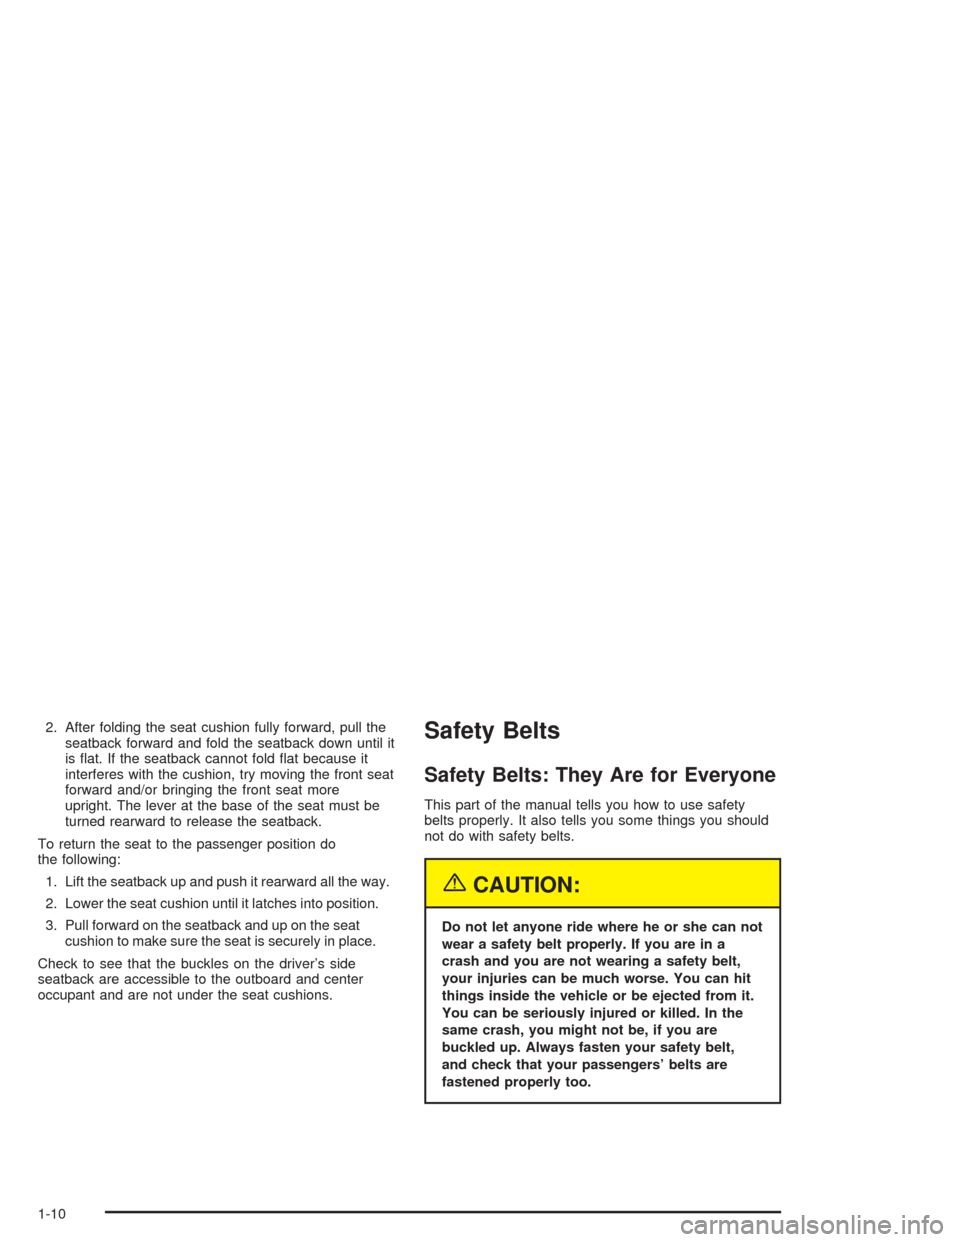
1. Pull up on the strap
loop at the rear of the
seat cushion. Then,
pull the seat cushion up
and fold it forward.
1-9
Page 16 of 584
2. After folding the seat cushion fully forward, pull the
seatback forward and fold the seatback down until it
is �at. If the seatback cannot fold �at because it
interferes with the cushion, try moving the front seat
forward and/or bringing the front seat more
upright. The lever at the base of the seat must be
turned rearward to release the seatback.
To return the seat to the passenger position do
the following:
1. Lift the seatback up and push it rearward all the way.
2. Lower the seat cushion until it latches into position.
3. Pull forward on the seatback and up on the seat
cushion to make sure the seat is securely in place.
Check to see that the buckles on the driver’s side
seatback are accessible to the outboard and center
occupant and are not under the seat cushions.Safety Belts
Safety Belts: They Are for Everyone
This part of the manual tells you how to use safety
belts properly. It also tells you some things you should
not do with safety belts.
{CAUTION:
Do not let anyone ride where he or she can not
wear a safety belt properly. If you are in a
crash and you are not wearing a safety belt,
your injuries can be much worse. You can hit
things inside the vehicle or be ejected from it.
You can be seriously injured or killed. In the
same crash, you might not be, if you are
buckled up. Always fasten your safety belt,
and check that your passengers’ belts are
fastened properly too.
1-10
Page 17 of 584
{CAUTION:
It is extremely dangerous to ride in a cargo
area, inside or outside of a vehicle. In a
collision, people riding in these areas are more
likely to be seriously injured or killed. Do not
allow people to ride in any area of your vehicle
that is not equipped with seats and safety
belts. Be sure everyone in your vehicle is in a
seat and using a safety belt properly.
Your vehicle has a light
that comes on as a
reminder to buckle up. See
Safety Belt Reminder
Light on page 3-36.In most states and in all Canadian provinces, the law
says to wear safety belts. Here’s why:They work.
You never know if you’ll be in a crash. If you do have a
crash, you don’t know if it will be a bad one.
A few crashes are mild, and some crashes can be so
serious that even buckled up, a person wouldn’t survive.
But most crashes are in between. In many of them,
people who buckle up can survive and sometimes walk
away. Without belts they could have been badly hurt
or killed.
After more than 30 years of safety belts in vehicles, the
facts are clear. In most crashes buckling up does
matter... a lot!
1-11
Page 18 of 584
Why Safety Belts Work
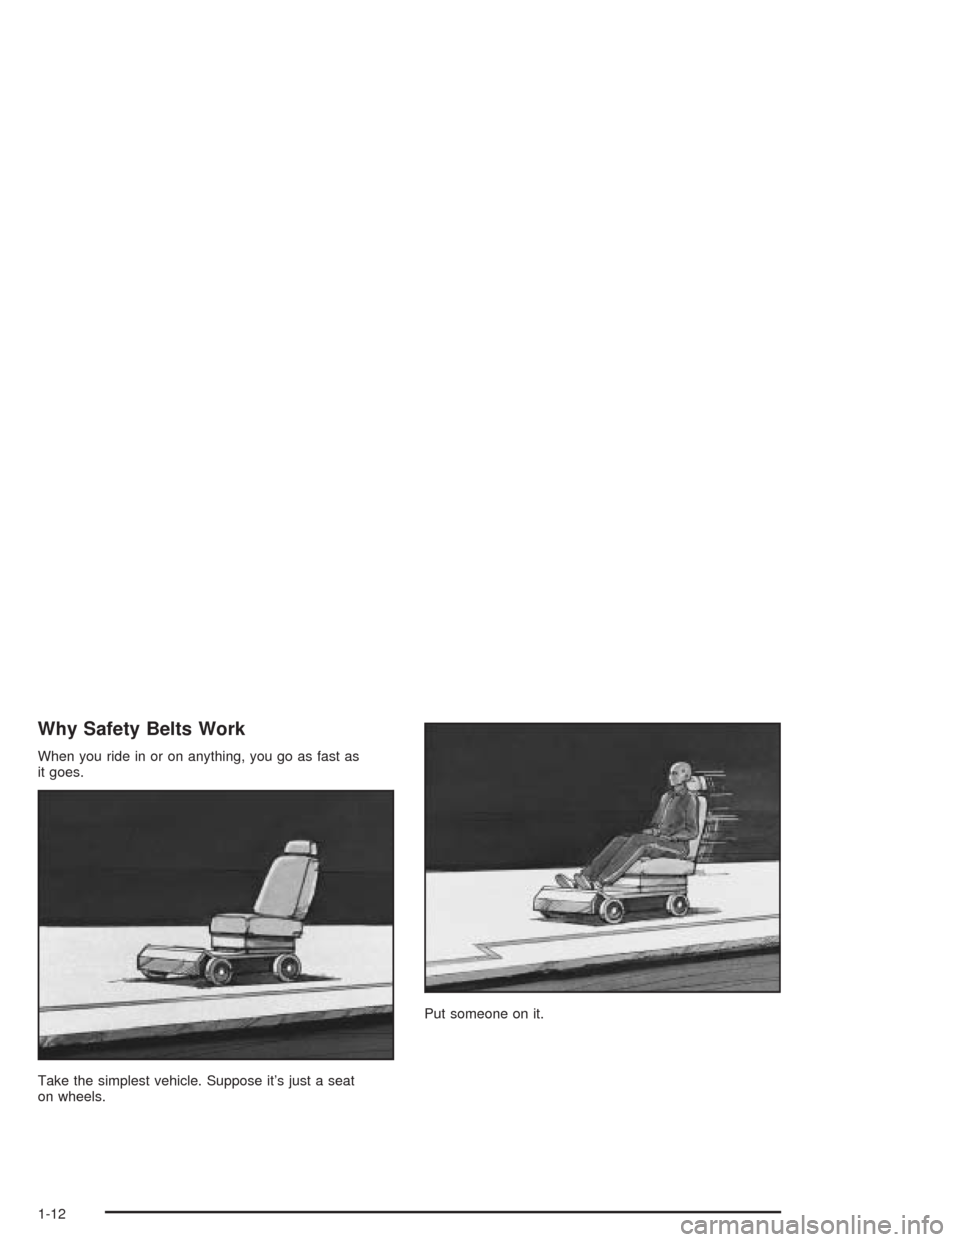
When you ride in or on anything, you go as fast as
it goes.
Take the simplest vehicle. Suppose it’s just a seat
on wheels.Put someone on it.
1-12
Page 19 of 584
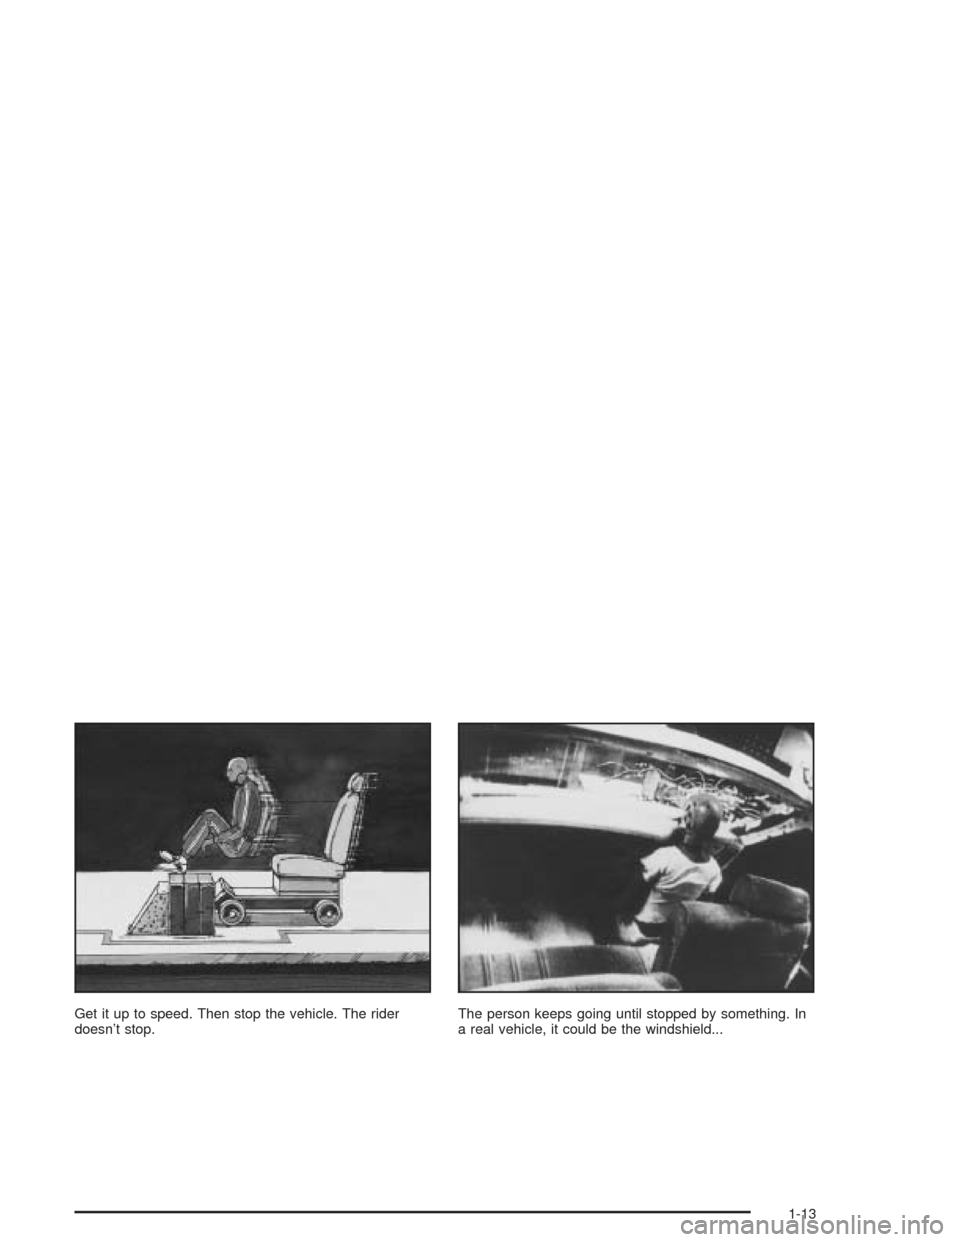
Get it up to speed. Then stop the vehicle. The rider
doesn’t stop.The person keeps going until stopped by something. In
a real vehicle, it could be the windshield...
1-13
Page 20 of 584
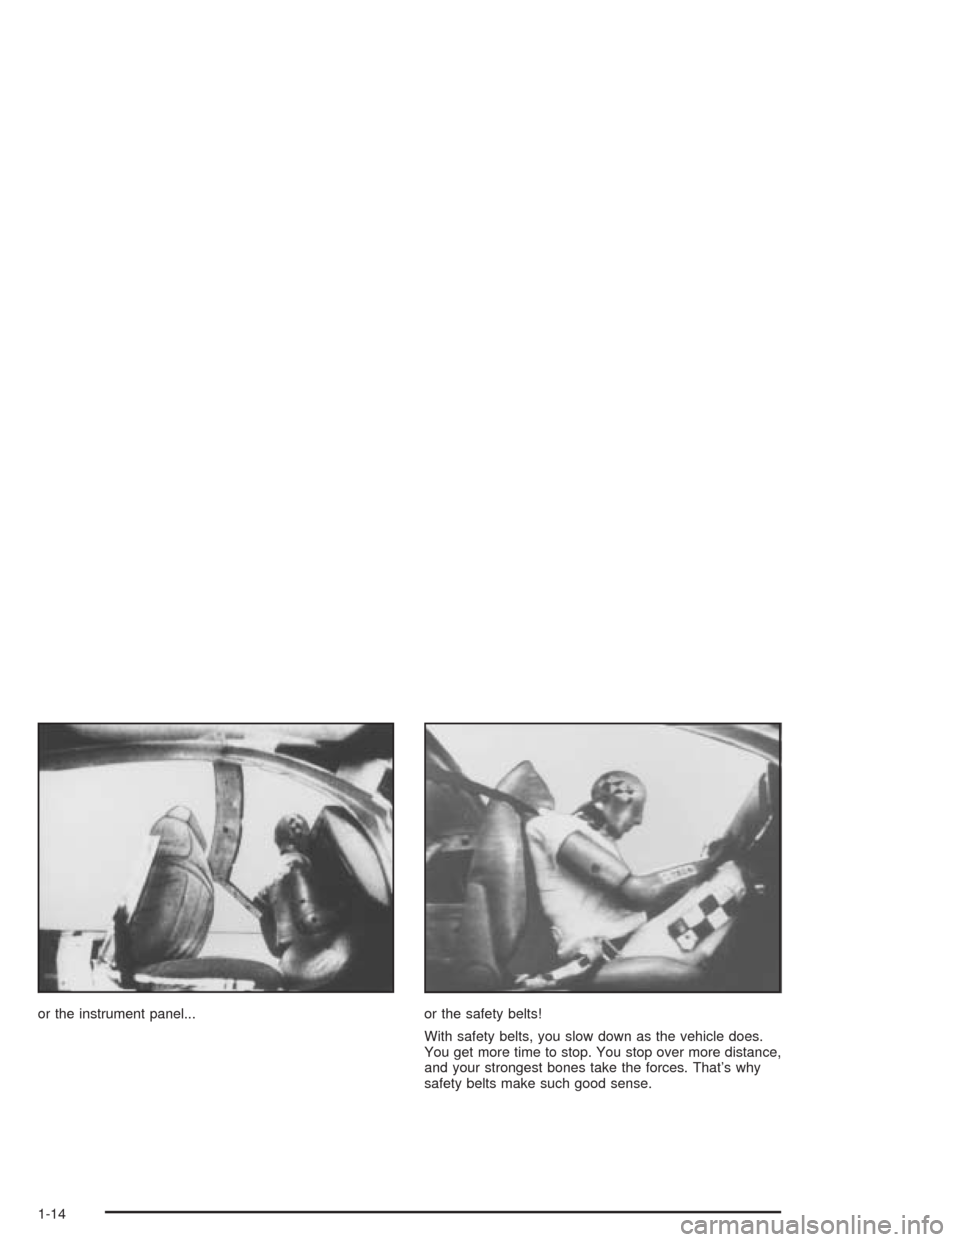
or the instrument panel... or the safety belts!
With safety belts, you slow down as the vehicle does.
You get more time to stop. You stop over more distance,
and your strongest bones take the forces. That’s why
safety belts make such good sense.
1-14