headlamp CHEVROLET SILVERADO 2004 1.G User Guide
[x] Cancel search | Manufacturer: CHEVROLET, Model Year: 2004, Model line: SILVERADO, Model: CHEVROLET SILVERADO 2004 1.GPages: 584, PDF Size: 3.52 MB
Page 179 of 584
If you start your vehicle in a dark garage, the automatic
headlamp system will come on immediately. Once
you leave the garage, it will take approximately
one minute for the automatic headlamp system to
change to DRL if it is bright enough outside. During that
delay, your instrument panel cluster may not be as
bright as usual. Make sure your instrument panel
brightness control is in the full bright position. See
“Instrument Panel Brightness Control” underInterior
Lamps on page 3-18.
To idle your vehicle with the automatic headlamp
system off, turn the control to the off position.
You may be able to turn off your Automatic Headlamp
System. See “Daytime Running Lamps (DRL)” later
in this section for more information.
As with any vehicle, you should turn on the regular
headlamp system when you need them.
Lamps On Reminder
A reminder chime will sound when your headlamps or
parking lamps are manually turned on and your
ignition is off, in LOCK, ACCESSORY, or your door is
open. To disable the chime, turn the light off then
back on.
Daytime Running Lamps
Daytime Running Lamps (DRL) can make it easier for
others to see the front of your vehicle during the
day. DRL can be helpful in many different driving
conditions, but they can be especially helpful in the short
periods after dawn and before sunset. Fully functional
daytime running lamps are required on all vehicles
�rst sold in Canada.
The DRL system will come on when the following
conditions are met:
The ignition is on
The exterior lamps control is in AUTO
The automatic transmission is not in PARK (P)
The light sensor determines it is daytime
When the DRL system is on, only your DRL lamps will
be on. The taillamps, sidemarker and other lamps
won’t be on. The instrument panel won’t be lit up either.
When it begins to get dark, the automatic headlamp
system will switch from DRL to the headlamps or the last
chosen headlamp setting that was used.
When you turn the headlamp switch off, the headlamps
will go off, and your DRL lamps will illuminate,
provided it is not dark outside.
3-15
Page 180 of 584
To idle an automatic transmission equipped vehicle with
the DRL off, set the parking brake. Shifting the
transmission into PARK (P) will also allow you to idle
the vehicle with the DRL off. The DRL will stay off until
you release the parking brake or shift the transmission
out of PARK (P).
To idle a manual transmission equipped vehicle with the
DRL off, set the parking brake. The DRL will stay off
until you release the parking brake.
Fog Lamps
If your vehicle has fog lamps, use them for better vision
in foggy or misty conditions.
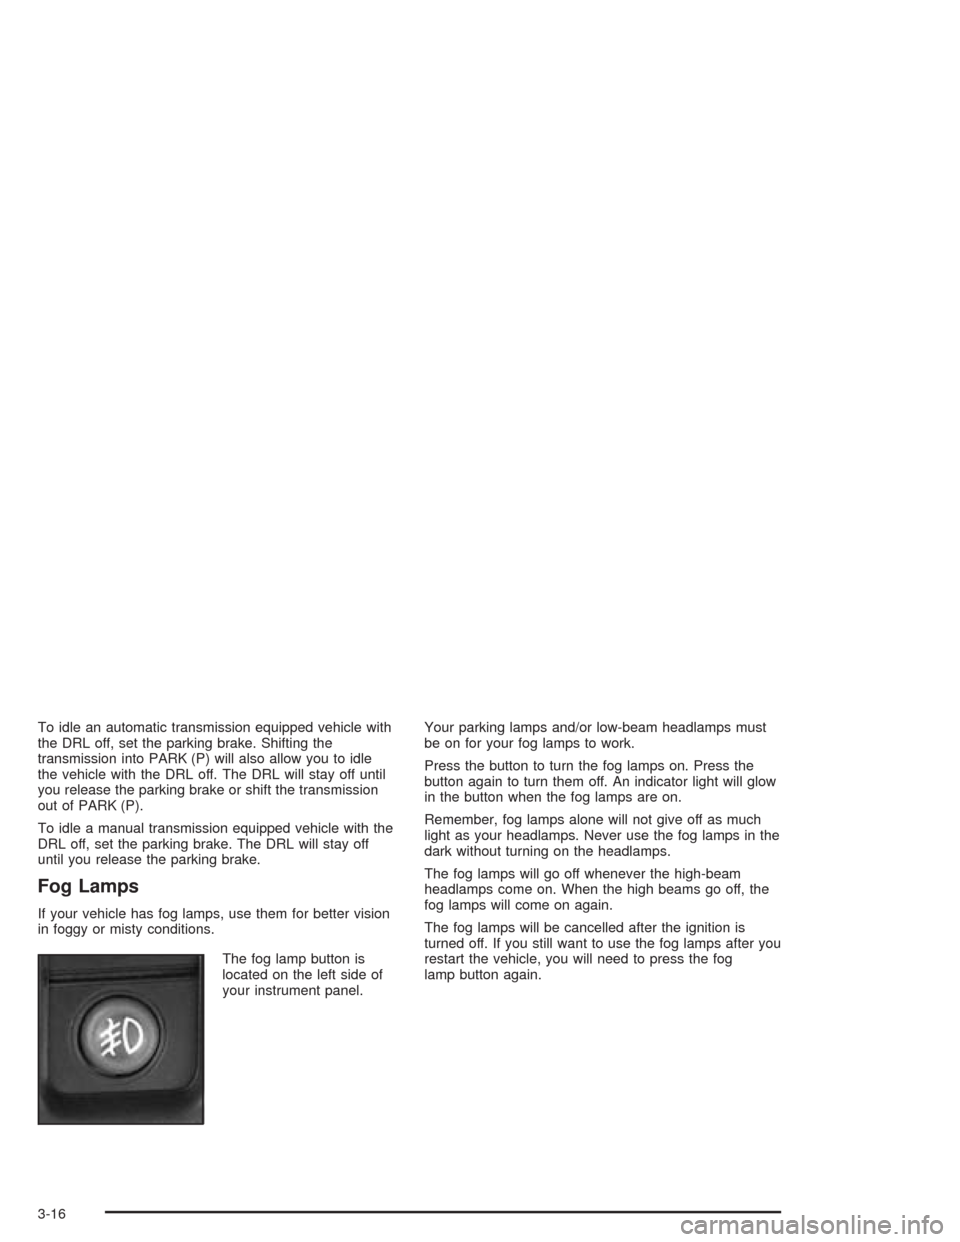
The fog lamp button is
located on the left side of
your instrument panel.Your parking lamps and/or low-beam headlamps must
be on for your fog lamps to work.
Press the button to turn the fog lamps on. Press the
button again to turn them off. An indicator light will glow
in the button when the fog lamps are on.
Remember, fog lamps alone will not give off as much
light as your headlamps. Never use the fog lamps in the
dark without turning on the headlamps.
The fog lamps will go off whenever the high-beam
headlamps come on. When the high beams go off, the
fog lamps will come on again.
The fog lamps will be cancelled after the ignition is
turned off. If you still want to use the fog lamps after you
restart the vehicle, you will need to press the fog
lamp button again.
3-16
Page 182 of 584
Interior Lamps
Instrument Panel Brightness Control
D
:This feature controls the brightness of the
instrument panel lights.
The thumbwheel for this feature is located next to the
headlamp control.
Turn the thumbwheel up, or down, to adjust the
instrument panel lights. Turn the thumbwheel up to
return the radio display to full brightness when the
headlamps or parking lamps are on. To turn on the
dome lamps, turn the thumbwheel all the way up.
Exit Lighting
With exit lighting, the interior lamps will come on when
you remove the key from the ignition. The lights will
not come on if the dome override button is pressed in.
Entry Lighting
Your vehicle is equipped with an illuminated
entry feature.
When a door is opened, the dome lamps will come on if
the dome override button is in the out position. If the
dome override button is pressed in, the lamps will
not come on.
Front Reading Lamps
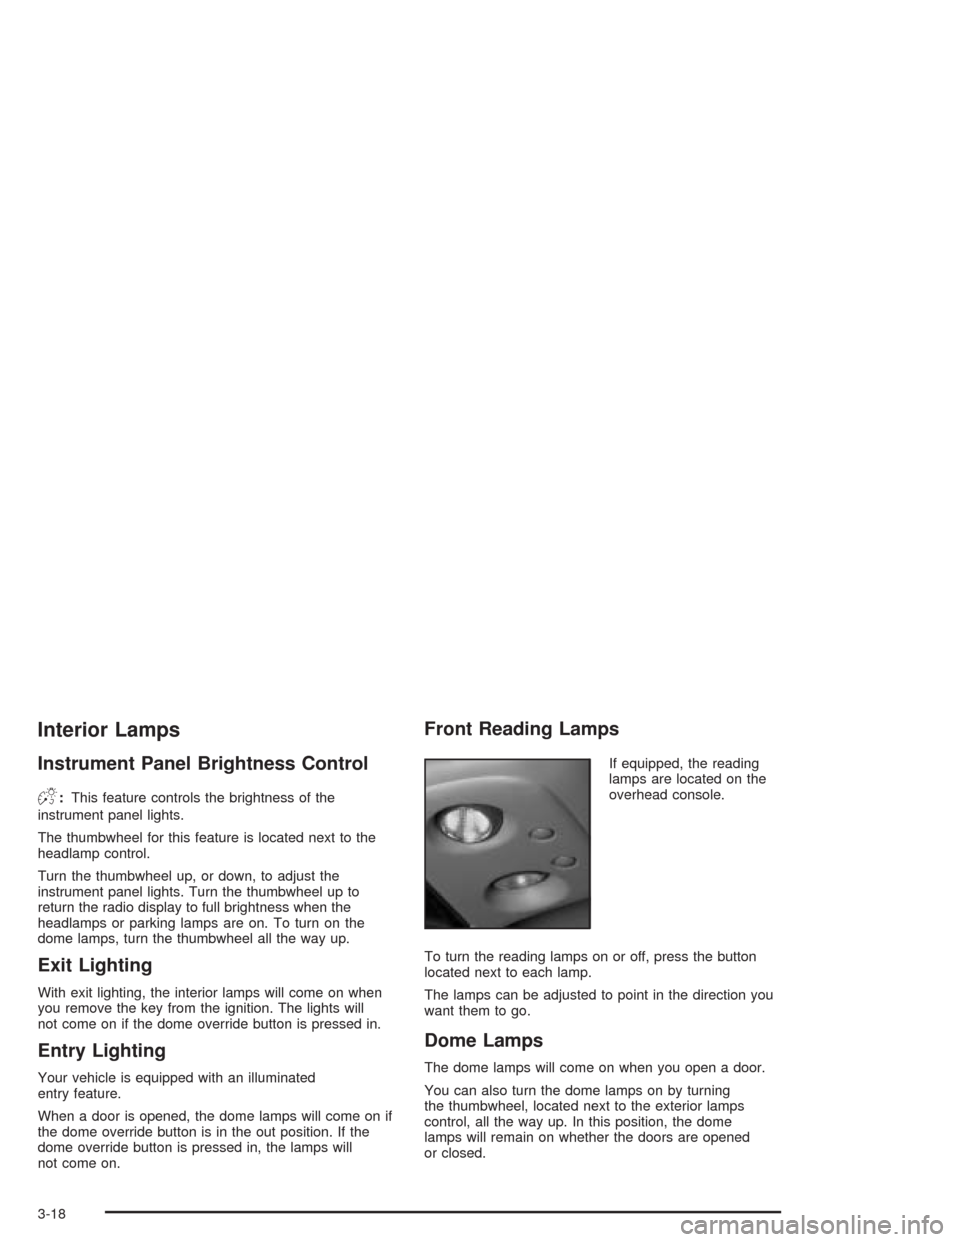
If equipped, the reading
lamps are located on the
overhead console.
To turn the reading lamps on or off, press the button
located next to each lamp.
The lamps can be adjusted to point in the direction you
want them to go.
Dome Lamps
The dome lamps will come on when you open a door.
You can also turn the dome lamps on by turning
the thumbwheel, located next to the exterior lamps
control, all the way up. In this position, the dome
lamps will remain on whether the doors are opened
or closed.
3-18
Page 191 of 584

Use the steps below to place the entire system in
automatic mode:
1. Press the AUTO button.
When AUTO is selected, the display will change to
show the current driver’s set temperature, delivery
mode and fan speed. Press the AUTO button again
within �ve seconds to display the passenger’s
set temperature.
If the driver and passenger’s temperature settings
are not the same, the opposite side temperature
setting will be displayed for an additional �ve
seconds. To make the passenger’s temperature the
same as the driver’s press and hold the AUTO
button for about four seconds.
When AUTO is selected, the air conditioning
operation and air inlet will be automatically
controlled. The air conditioning compressor will run
when the outside temperature is over about
40°F (4°C). The air inlet will normally be set to
outside air. If it’s hot outside, the air inlet may
automatically switch to recirculate inside air to help
quickly cool down your vehicle. The light on the
button will illuminate in recirculation.2. Set the driver’s and passenger’s temperature.
To �nd your comfort setting, start with a 74°F (23°C)
temperature setting and allow about 20 minutes
for the system to regulate. Turn the driver’s or
passenger’s side temperature knob to adjust the
temperature setting as necessary. If you choose the
temperature setting of 60°F (15°C) the system
will remain at the maximum cooling setting. If you
choose the temperature setting of 90°F (32°C)
the system will remain at the maximum heat setting.
Choosing either maximum setting will not cause
the vehicle to heat or cool any faster.
Be careful not to cover the sensor located on the
top of the instrument panel near the windshield. This
sensor regulates air temperature based on sun
load, and also turns on your headlamps.
To avoid blowing cold air in cold weather, the
system will delay turning on the fan until warm air is
available. The length of delay depends on the
engine coolant temperature. Pressing the fan switch
will override this delay and change the fan to a
selected speed.
3-27
Page 221 of 584

Instant Fuel Economy
Press the fuel information button until INST ECON
appears in the display. Instant fuel economy is how
many miles per gallon your vehicle is getting at
the particular moment in time. The instant fuel economy
cannot be reset.
GM Oil Life System
Press the fuel information button until ENGINE OIL LIFE
appears in the display. The GM Oil Life System shows
an estimate of the oil’s remaining useful life. It will show
100% when the system is reset after an oil change. It
will alert you to change your oil on a schedule consistent
with your driving conditions.
Always reset the engine oil life after an oil change. To
reset the Oil Life System use the fuel button to reach the
ENGINE OIL LIFE screen and then press and hold
the select button for �ve seconds while ENGINE OIL
LIFE is displayed. OIL LIFE RESET will appear on
the display for 10 seconds to let you know the system
is reset.
The DIC does not replace the need to maintain your
vehicle as recommended in the Maintenance Schedule
in this manual. SeeEngine Oil on page 5-20.
Personalization Button
You can program certain features to a preferred setting
for up to two people. Press the personalization button
to scroll through the following personalization features.
All of the personalization options may not be available
on your vehicle. Only the options available will be
displayed on your DIC.
If your vehicle is not equipped with the DIC steering
wheel buttons you will not have any of the following
personalization options except for DISPLAY
LANGUAGE. See DISPLAY LANGUAGE later in this
section for more information.
AUTOMATIC LOCKING
AUTOMATIC UNLOCKING
DELAYED LOCKING
REMOTE LOCK FEEDBACK
ALARM WARNING TYPE
REMOTE UNLOCK FEEDBACK
HEADLAMPS ON AT EXIT
PERIMETER LIGHTING
SEAT POSITION RECALL
EASY EXIT DRIVER SEAT
CURB VIEW ASSIST
DISPLAY LANGUAGE
DISPLAY UNITS (ENG/MET)
3-57
Page 222 of 584

The default options for the above features were set
when your vehicle left the factory. The default options
are noted in the text following, but may have been
changed from their default state since then.
The driver’s preferences can be recalled by pressing the
unlock button on the remote keyless entry transmitter
labeled 1 or 2 or by pressing the appropriate memory
button 1 or 2 located on the driver’s door.
Alarm Warning Type
Press the personalization button until ALARM
WARNING TYPE appears in the display. To select your
personalization for alarm warning type, press the
select button while ALARM WARNING TYPE is
displayed on the DIC. Pressing the select button will
scroll through the following choices:
ALARM WARNING: BOTH (default):The headlamps
will �ash and the horn will chirp when the alarm
is active.
ALARM WARNING: OFF:There will be no alarm
warning on activation.
ALARM WARNING: HORN:The horn will chirp when
the alarm is active.
ALARM WARNING: LAMPS:The headlamps will �ash
when the alarm is active.Choose one of the four options and press the
personalization button while your choice is displayed on
the DIC to select it and move on to the next feature.
For more information on alarm warning type seeContent
Theft-Deterrent on page 2-20.
Automatic Locking
Press the personalization button until AUTOMATIC
LOCKING appears in the display. To select your
personalization for automatic locking, press the select
button while AUTOMATIC LOCKING is displayed on the
DIC. Pressing the select button will scroll through the
following choices:
LOCK DOORS MANUALLY:The doors will not be
locked automatically.
LOCK DOORS WITH SPEED:The doors will lock
when the vehicle speed is above 8 mph (13 km/h) for
three seconds.
LOCK DOORS OUT OF PARK (default):The doors
will lock when the vehicle is shifted out of PARK (P).
Choose one of the three options and press the
personalization button while it is displayed on the DIC to
select it and move on to the next feature. For more
information on automatic door locks seeProgrammable
Automatic Door Locks on page 2-10.
3-58
Page 224 of 584
Seat Position Recall
Press the personalization button until SEAT POSITION
RECALL appears in the display. To select your
personalization for seat position recall, press the select
button while SEAT POSITION RECALL is displayed
on the DIC. Pressing the select button will scroll through
the following choices:
SEAT POSITION RECALL OFF (default):The memory
seat position you saved will only be recalled when the
memory button 1 or 2 is pressed.
SEAT POSITION RECALL AT KEY IN:The memory
seat position you saved will be recalled when you
put the key in the ignition.
SEAT POSITION RECALL ON REMOTE:The
memory seat position you saved will be recalled
when you unlock the vehicle with the remote keyless
entry transmitter.
Choose one of the three options and press the
personalization button while it is displayed on the DIC to
select it and move on to the next feature. For more
information on seat position recall seeMemory Seat on
page 2-70.
Perimeter Lighting
Press the personalization button until PERIMETER
LIGHTING appears in the display. To select your
personalization for perimeter lighting, press the select
button while PERIMETER LIGHTING is displayed on the
DIC. Pressing the select button will scroll through the
following choices:
PERIMETER LIGHTING ON (default):The headlamps
and back-up lamps will come on for 40 seconds, if it
is dark enough outside, when you unlock the vehicle
with the remote keyless entry transmitter.
PERIMETER LIGHTING OFF:The perimeter lights will
not come on when you unlock the vehicle with the
remote keyless entry transmitter.
Choose one of the two options and press the
personalization button while it is displayed on the
DIC to select it and move on to the next feature.
3-60
Page 226 of 584
Headlamps On At Exit
Press the personalization button until HEADLAMPS ON
AT EXIT appears in the display. To select your
personalization for how long the headlamps will stay on
when you turn off the vehicle, press the select button
while HEADLAMPS ON AT EXIT is displayed on
the DIC. Pressing the select button will scroll through
the following choices:
HEADLAMP DELAY: 10 SEC (default)
HEADLAMP DELAY: 20 SEC
HEADLAMP DELAY: 40 SEC
HEADLAMP DELAY: 60 SEC
HEADLAMP DELAY: 120 SEC
HEADLAMP DELAY: 180 SEC
HEADLAMP DELAY OFF
The amount of time you choose will be the amount of
time that the headlamps stay on after you turn off
the vehicle. If you choose off, the headlamps will turn
off as soon as you turn off the vehicle.
Choose one of the seven options and press the
personalization button while it is displayed on the DIC to
select it and move on to the next feature.
Curb View Assist
Press the personalization button until CURB VIEW
ASSIST appears in the display. To select your
personalization for curb view assist, press the select
button while CURB VIEW ASSIST is displayed on
the DIC. Pressing the select button will scroll through
the following choices:
CURB VIEW: OFF (default):Neither outside mirror will
be tilted down when the vehicle is shifted into
REVERSE (R).
CURB VIEW: PASSENGER:The passenger’s outside
mirror will be tilted down when the vehicle is shifted
into REVERSE (R).
CURB VIEW: DRIVER:The driver’s outside mirror will
be tilted down when the vehicle is shifted into
REVERSE (R).
CURB VIEW: BOTH:The driver’s and passenger’s
outside mirror will be tilted down when the vehicle
is shifted into REVERSE (R).
Choose one of the four options and press the
personalization button while it is displayed on the DIC to
select it and move on to the next feature. For more
information on tilt mirror in reverse seeOutside Curb
View Assist Mirrors on page 2-64.
3-62
Page 323 of 584
Sound the horn as you approach the top of the hill
to let opposing traffic know you are there.
Use your headlamps even during the day. They
make you more visible to oncoming traffic.
{CAUTION:
Driving to the top (crest) of a hill at full speed
can cause an accident. There could be a
drop-off, embankment, cliff, or even another
vehicle. You could be seriously injured or
killed. As you near the top of a hill, slow down
and stay alert.
Q:What should I do if my vehicle stalls, or
is about to stall, and I cannot make it up
the hill?
A:If this happens, there are some things you should
do, and there are some things you must not do.
First, here is what youshoulddo:
Push the brake pedal to stop the vehicle and
keep it from rolling backwards. Also, apply the
parking brake.
If your engine is still running, shift the transmission
to REVERSE (R), release the parking brake, and
slowly back down the hill in REVERSE (R).
If your engine has stopped running, you will need to
restart it. With the brake pedal pressed and the
parking brake still applied, shift the transmission to
PARK (P) (or shift to neutral if your vehicle has
a manual transmission) and restart the engine.
Then, shift to REVERSE (R), release the parking
brake, and slowly back down the hill as straight as
possible in REVERSE (R).
As you are backing down the hill, put your left hand
on the steering wheel at the 12 o’clock position.
This way, you will be able to tell if your wheels are
straight and maneuver as you back down. It is
best that you back down the hill with your wheels
straight rather than in the left or right direction.
Turning the wheel too far to the left or right
will increase the possibility of a rollover.
4-29
Page 330 of 584
Driving at Night
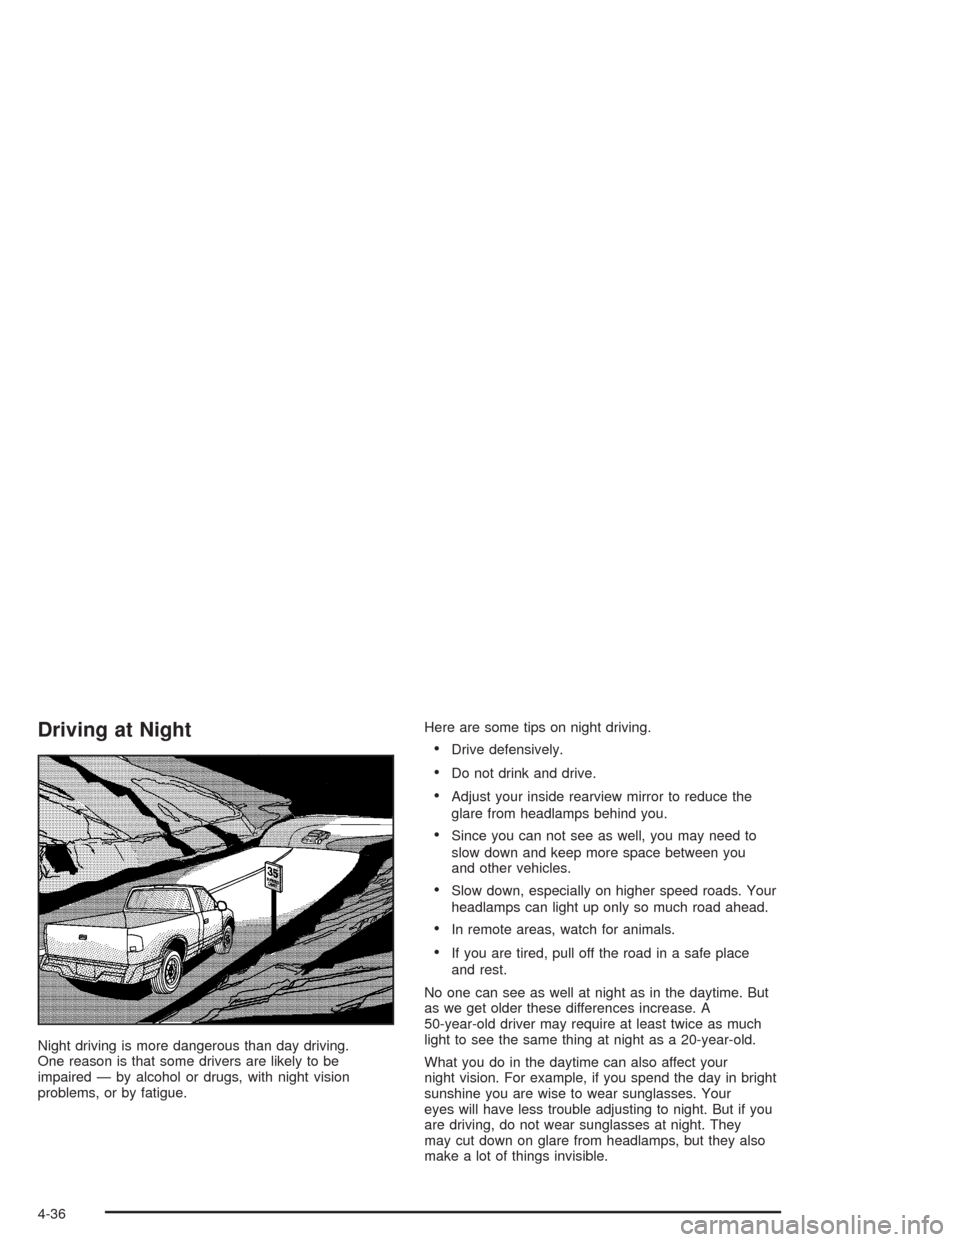
Night driving is more dangerous than day driving.
One reason is that some drivers are likely to be
impaired — by alcohol or drugs, with night vision
problems, or by fatigue.Here are some tips on night driving.
Drive defensively.
Do not drink and drive.
Adjust your inside rearview mirror to reduce the
glare from headlamps behind you.
Since you can not see as well, you may need to
slow down and keep more space between you
and other vehicles.
Slow down, especially on higher speed roads. Your
headlamps can light up only so much road ahead.
In remote areas, watch for animals.
If you are tired, pull off the road in a safe place
and rest.
No one can see as well at night as in the daytime. But
as we get older these differences increase. A
50-year-old driver may require at least twice as much
light to see the same thing at night as a 20-year-old.
What you do in the daytime can also affect your
night vision. For example, if you spend the day in bright
sunshine you are wise to wear sunglasses. Your
eyes will have less trouble adjusting to night. But if you
are driving, do not wear sunglasses at night. They
may cut down on glare from headlamps, but they also
make a lot of things invisible.
4-36