CHEVROLET SILVERADO 2005 1.G Owners Manual
Manufacturer: CHEVROLET, Model Year: 2005, Model line: SILVERADO, Model: CHEVROLET SILVERADO 2005 1.GPages: 580, PDF Size: 3.44 MB
Page 301 of 580
Anti-Lock Brake System (ABS)
Your vehicle has anti-lock brakes. ABS is an advanced
electronic braking system that will help prevent a
braking skid.
When you start your engine and begin to drive away,
your anti-lock brake system will check itself. You
may hear a momentary motor or clicking noise while
this test is going on. This is normal.
If there is a problem with
the anti-lock brake system,
this warning light will
stay on. SeeAnti-Lock
Brake System Warning
Light on page 3-41.
Along with ABS, your vehicle has a Dynamic Rear
Proportioning (DRP) system. If there is a DRP problem,
both the brake and ABS warning lights will come on
accompanied by a 10-second chime. The lights
and chime will come on each time the ignition is turned
on until the problem is repaired. See your dealer for
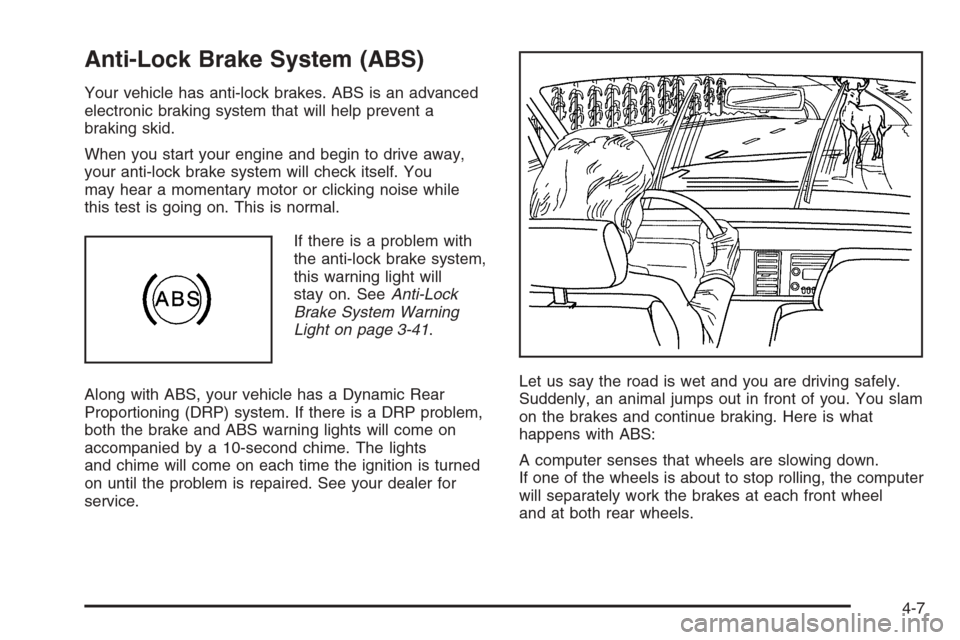
service.Let us say the road is wet and you are driving safely.
Suddenly, an animal jumps out in front of you. You slam
on the brakes and continue braking. Here is what
happens with ABS:
A computer senses that wheels are slowing down.
If one of the wheels is about to stop rolling, the computer
will separately work the brakes at each front wheel
and at both rear wheels.
4-7
Page 302 of 580
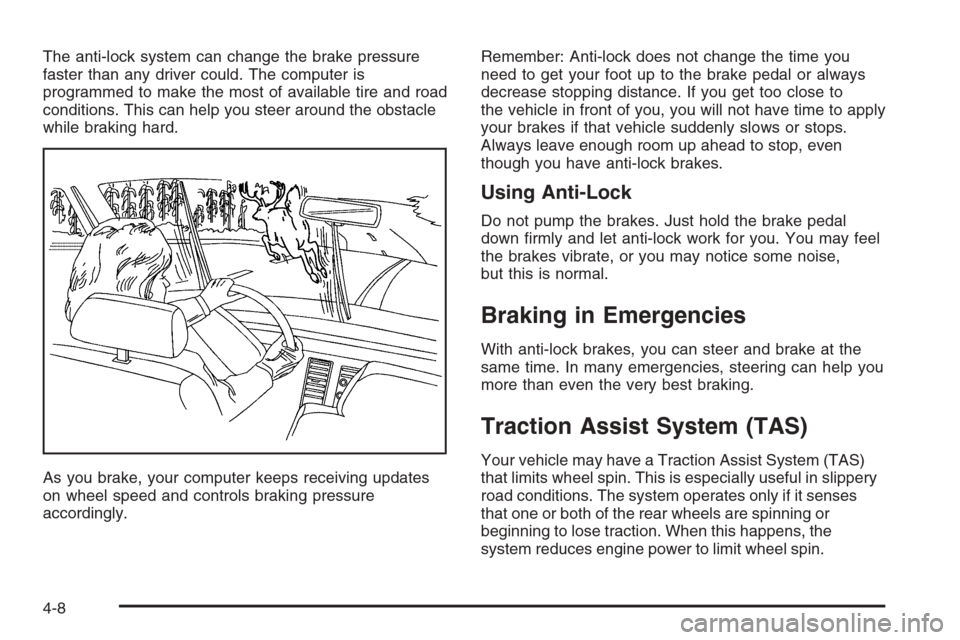
The anti-lock system can change the brake pressure
faster than any driver could. The computer is
programmed to make the most of available tire and road
conditions. This can help you steer around the obstacle
while braking hard.
As you brake, your computer keeps receiving updates
on wheel speed and controls braking pressure
accordingly.Remember: Anti-lock does not change the time you
need to get your foot up to the brake pedal or always
decrease stopping distance. If you get too close to
the vehicle in front of you, you will not have time to apply
your brakes if that vehicle suddenly slows or stops.
Always leave enough room up ahead to stop, even
though you have anti-lock brakes.
Using Anti-Lock
Do not pump the brakes. Just hold the brake pedal
down �rmly and let anti-lock work for you. You may feel
the brakes vibrate, or you may notice some noise,
but this is normal.
Braking in Emergencies
With anti-lock brakes, you can steer and brake at the
same time. In many emergencies, steering can help you
more than even the very best braking.
Traction Assist System (TAS)
Your vehicle may have a Traction Assist System (TAS)
that limits wheel spin. This is especially useful in slippery
road conditions. The system operates only if it senses
that one or both of the rear wheels are spinning or
beginning to lose traction. When this happens, the
system reduces engine power to limit wheel spin.
4-8
Page 303 of 580
The traction control system is enabled every time your
vehicle is started. The system will activate if it senses
that any of the wheels are spinning or beginning to lose
traction.
You may hear or feel the system working or notice a
lack of accelerator response, but this is normal.
The Traction Assist System may operate on dry roads
under some conditions. When this happens, you may
notice a reduction in acceleration. This is normal and
doesn’t mean there’s a problem with your vehicle.
Examples of these conditions include a hard acceleration
in a turn, an abrupt upshift or downshift of the
transmission or driving on rough roads.
If your vehicle is in cruise control when the TAS begins
to limit wheel spin, the cruise control will automatically
disengage. When road conditions allow you to safely
use it again, you may re-engage the cruise control.
SeeCruise Control on page 3-10.
When the traction off light
is on, the TAS is off and
will not limit wheel
spin. Adjust your driving
accordingly.The traction off light will come on under the following
conditions:
The Traction Assist System is turned off, either by
pressing the TAS on/off button, located on the
instrument panel, or by turning off the automatic
engagement feature of the TAS.
The transmission is in FIRST (1); TAS will not
operate in this gear. This is normal.
The vehicle is driven on an extremely rough road.
When the vehicle leaves the rough surface, slows
down or stops, the light will go off and TAS will turn
on again. This is normal.
A Traction Assist System, Anti-Lock Brake System
or engine-related problem has been detected and
the vehicle needs service.
If the vehicle has been driven with the TAS system
on for long periods of time, or if the vehicle has
gone through many several high speed braking
maneuvers the system may be automatically
disabled. The system will automatically re-enable
after approximately two minutes of not using
the brakes.
SeeTraction Off Light on page 3-41.
4-9
Page 304 of 580
The Traction Assist System, as delivered from the
factory, will automatically come on whenever you start
your vehicle. To limit wheel spin, especially in
slippery road conditions, you should always leave the
system on. But you can turn the TAS off if you ever need
to. You should turn the TAS off if your vehicle ever
gets stuck in sand, mud or snow and rocking the vehicle
is required. SeeRocking Your Vehicle to Get It Out
on page 4-48andIf Your Vehicle is Stuck in Sand, Mud,
Ice or Snow on page 4-48.
To turn the system on or
off press the TAS on/off
button located on the
instrument panel.
If you used the button to turn the system off, the traction
off light will come on and stay on. You can turn the
system back on at any time by pressing the button
again. The traction off light should go off.If desired, for a vehicle with QUADRASTEER™, you
can change the TAS automatic engagement feature so
that the system will not come on automatically when
the engine is started. To do so:
1. Park the vehicle with the ignition off and the
transmission in PARK (P) for an automatic
transmission, or in gear for a manual transmission.
2. Turn the ignition to RUN; do not start the engine.
3. Apply the brake pedal, shift into NEUTRAL (N),
press the accelerator pedal to the �oor, then
press the TAS on/off button and hold it down for at
least six seconds.
4. Release the TAS button and both pedals.
5. Turn off the ignition and wait a few seconds.
The next time you start your vehicle, the TAS will not
automatically come on. You can restore the automatic
feature by repeating the same procedure. Whether
the TAS is set to come on automatically or not, you can
always turn the system on or off by pressing the TAS
on/off button.
4-10
Page 305 of 580
Manual Selectable Ride
The main function of this system is to provide superior
ride comfort while trailering or fully loaded, as well
as for unloaded driving. This system also helps
to provide:
Improved trailering stability
Improved handling response when trailering or
fully loaded
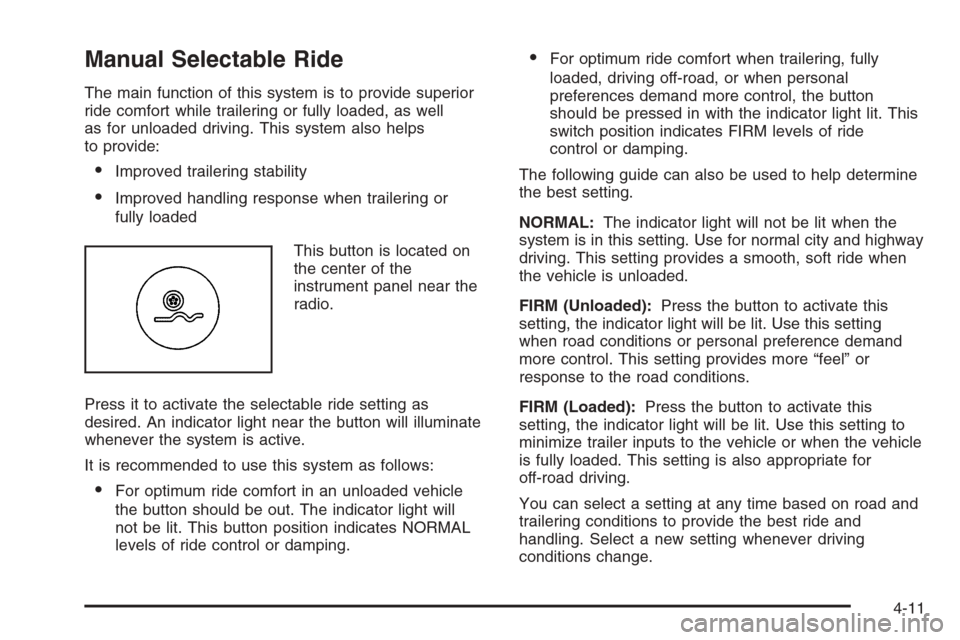
This button is located on
the center of the
instrument panel near the
radio.
Press it to activate the selectable ride setting as
desired. An indicator light near the button will illuminate
whenever the system is active.
It is recommended to use this system as follows:
For optimum ride comfort in an unloaded vehicle
the button should be out. The indicator light will
not be lit. This button position indicates NORMAL
levels of ride control or damping.
For optimum ride comfort when trailering, fully
loaded, driving off-road, or when personal
preferences demand more control, the button
should be pressed in with the indicator light lit. This
switch position indicates FIRM levels of ride
control or damping.
The following guide can also be used to help determine
the best setting.
NORMAL:The indicator light will not be lit when the
system is in this setting. Use for normal city and highway
driving. This setting provides a smooth, soft ride when
the vehicle is unloaded.
FIRM (Unloaded):Press the button to activate this
setting, the indicator light will be lit. Use this setting
when road conditions or personal preference demand
more control. This setting provides more “feel” or
response to the road conditions.
FIRM (Loaded):Press the button to activate this
setting, the indicator light will be lit. Use this setting to
minimize trailer inputs to the vehicle or when the vehicle
is fully loaded. This setting is also appropriate for
off-road driving.
You can select a setting at any time based on road and
trailering conditions to provide the best ride and
handling. Select a new setting whenever driving
conditions change.
4-11
Page 306 of 580
Locking Rear Axle
If your vehicle has this feature, your locking rear axle
can give you additional traction on snow, mud, ice, sand
or gravel. It works like a standard axle most of the
time, but when one of the rear wheels has no traction
and the other does, this feature will allow the wheel with
traction to move the vehicle.
Steering
Power Steering
If you lose power steering assist because the engine
stops or the system is not functioning, you can steer but
it will take much more effort.
Steering Tips
Driving on Curves
It is important to take curves at a reasonable speed.
A lot of the “driver lost control” accidents mentioned on
the news happen on curves. Here is why:
Experienced driver or beginner, each of us is subject to
the same laws of physics when driving on curves.
The traction of the tires against the road surface makes
it possible for the vehicle to change its path when
you turn the front wheels. If there is no traction, inertiawill keep the vehicle going in the same direction. If you
have ever tried to steer a vehicle on wet ice, you will
understand this.
The traction you can get in a curve depends on the
condition of your tires and the road surface, the angle at
which the curve is banked, and your speed. While
you are in a curve, speed is the one factor you
can control.
Suppose you are steering through a sharp curve.
Then you suddenly accelerate. Both control
systems — steering and acceleration — have to do
their work where the tires meet the road. Adding the
sudden acceleration can demand too much of those
places. You can lose control. SeeTraction Assist System
(TAS) on page 4-8.
What should you do if this ever happens? Ease up on
the accelerator pedal, steer the vehicle the way you
want it to go, and slow down.
Speed limit signs near curves warn that you should
adjust your speed. Of course, the posted speeds
are based on good weather and road conditions. Under
less favorable conditions you will want to go slower.
If you need to reduce your speed as you approach
a curve, do it before you enter the curve, while your front
wheels are straight ahead.
4-12
Page 307 of 580
Try to adjust your speed so you can “drive” through the
curve. Maintain a reasonable, steady speed. Wait to
accelerate until you are out of the curve, and then
accelerate gently into the straightaway.
Steering in Emergencies
There are times when steering can be more effective
than braking. For example, you come over a hill and �nd
a truck stopped in your lane, or a car suddenly pulls
out from nowhere, or a child darts out from between
parked cars and stops right in front of you. You
can avoid these problems by braking — if you can stop
in time. But sometimes you cannot; there is not room.
That is the time for evasive action — steering around the
problem.
Your vehicle can perform very well in emergencies like
these. First apply your brakes.
SeeBraking on page 4-6. It is better to remove as much
speed as you can from a possible collision. Then
steer around the problem, to the left or right depending
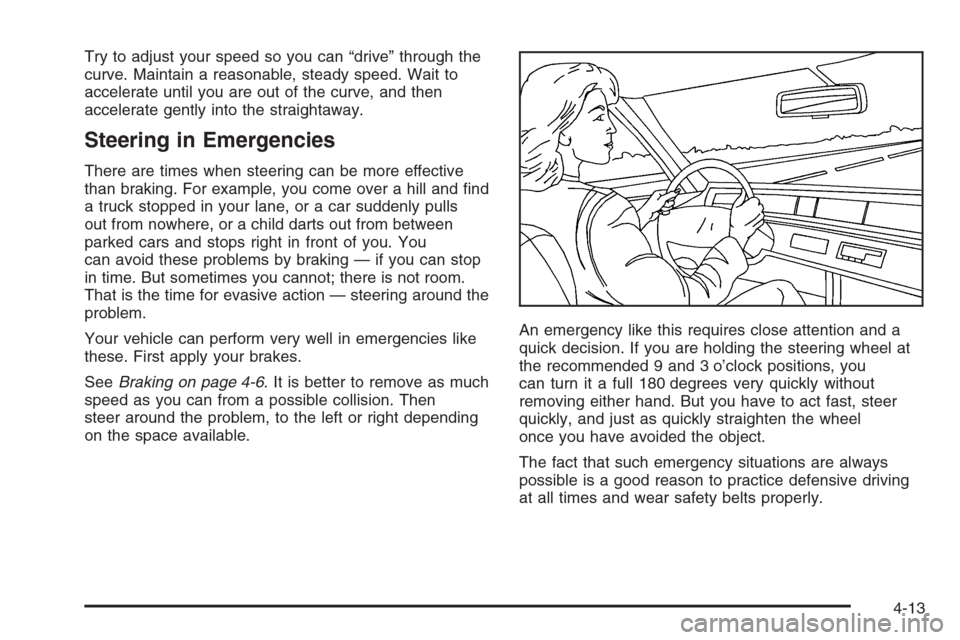
on the space available.An emergency like this requires close attention and a
quick decision. If you are holding the steering wheel at
the recommended 9 and 3 o’clock positions, you
can turn it a full 180 degrees very quickly without
removing either hand. But you have to act fast, steer
quickly, and just as quickly straighten the wheel
once you have avoided the object.
The fact that such emergency situations are always
possible is a good reason to practice defensive driving
at all times and wear safety belts properly.
4-13
Page 308 of 580
QUADRASTEER™
The QUADRASTEER™ System has a control and
diagnostic module that monitors and records current
system status and operational information.
If your vehicle is equipped with the 4-Wheel Steer
system, it has the ability to steer the vehicle with all
four wheels.
Once the 4-Wheel Steer mode is selected, it is
recommended to leave the vehicle in this mode at all
times, and during all driving and weather conditions.
You can select this mode at any speed, however, if you
are turning, the system will not engage until the turn
is complete.
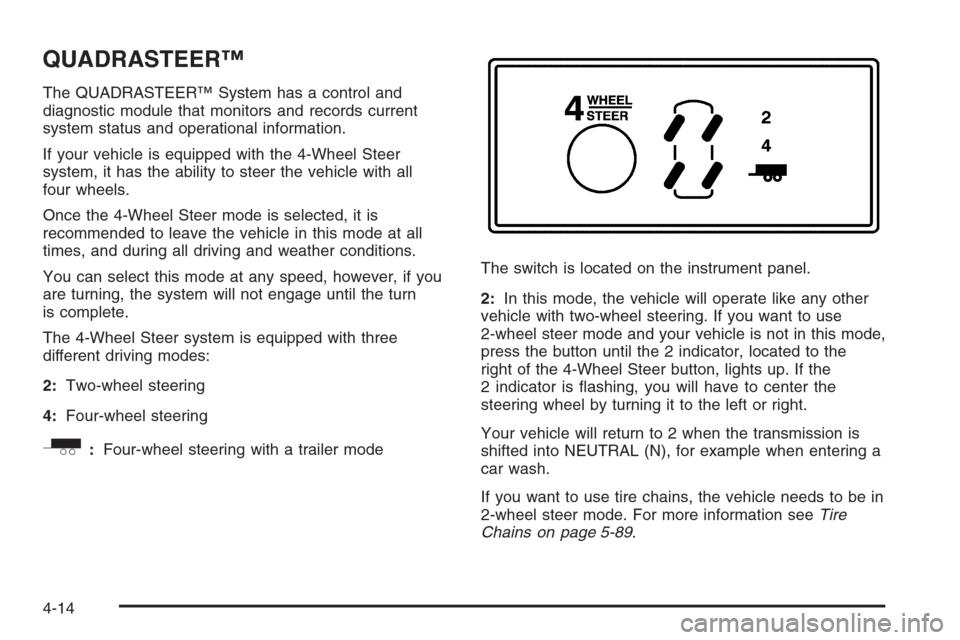
The 4-Wheel Steer system is equipped with three
different driving modes:
2:Two-wheel steering
4:Four-wheel steering
_:Four-wheel steering with a trailer modeThe switch is located on the instrument panel.
2:In this mode, the vehicle will operate like any other
vehicle with two-wheel steering. If you want to use
2-wheel steer mode and your vehicle is not in this mode,
press the button until the 2 indicator, located to the
right of the 4-Wheel Steer button, lights up. If the
2 indicator is �ashing, you will have to center the
steering wheel by turning it to the left or right.
Your vehicle will return to 2 when the transmission is
shifted into NEUTRAL (N), for example when entering a
car wash.
If you want to use tire chains, the vehicle needs to be in
2-wheel steer mode. For more information seeTire
Chains on page 5-89.
4-14
Page 309 of 580
4:In this mode, all four wheels will help steer the
vehicle. If you want to use 4, and your vehicle is not in
this mode, press the button, until the 4 indicator,
located to the right of the 4-Wheel Steer button, comes
on and stays on. If the 4 indicator is �ashing, you
will have to center the steering wheel by turning it to the
left or right.
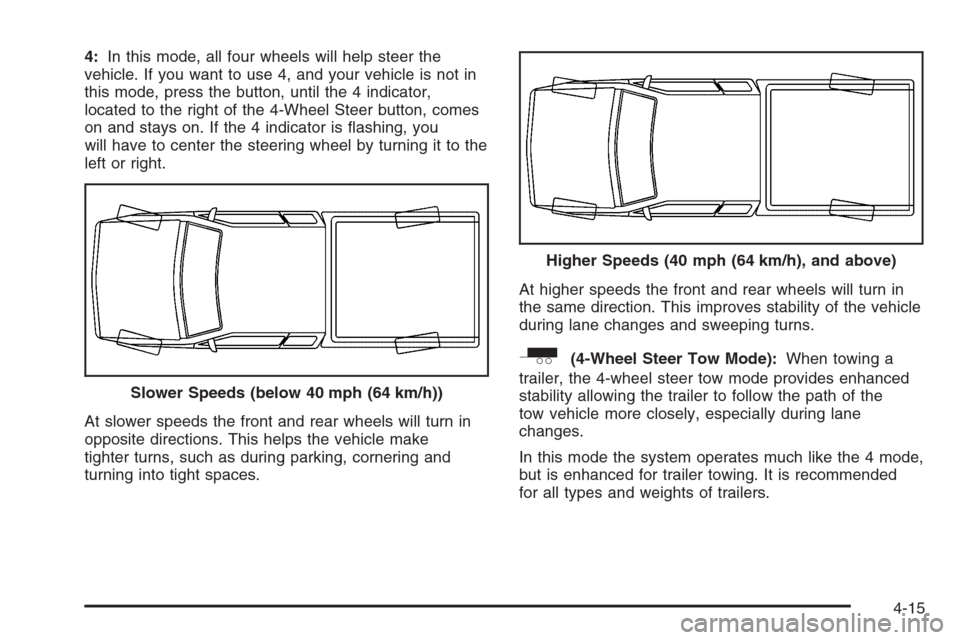
At slower speeds the front and rear wheels will turn in
opposite directions. This helps the vehicle make
tighter turns, such as during parking, cornering and
turning into tight spaces.At higher speeds the front and rear wheels will turn in
the same direction. This improves stability of the vehicle
during lane changes and sweeping turns.
_(4-Wheel Steer Tow Mode):When towing a
trailer, the 4-wheel steer tow mode provides enhanced
stability allowing the trailer to follow the path of the
tow vehicle more closely, especially during lane
changes.
In this mode the system operates much like the 4 mode,
but is enhanced for trailer towing. It is recommended
for all types and weights of trailers. Slower Speeds (below 40 mph (64 km/h))
Higher Speeds (40 mph (64 km/h), and above)
4-15
Page 310 of 580
To engage the 4-wheel steer tow mode, press the
button until the 4 and tow mode indicators light up on
the instrument panel. If the tow indicator is �ashing, you
will have to center the steering wheel by turning it to
the left or right. While in the 4-wheel steer tow mode, it
is possible the steering wheel may be slightly off
center. For more information, seeTowing a Trailer on
page 4-69.
Car Washes for QUADRASTEER™
Equipped Vehicles
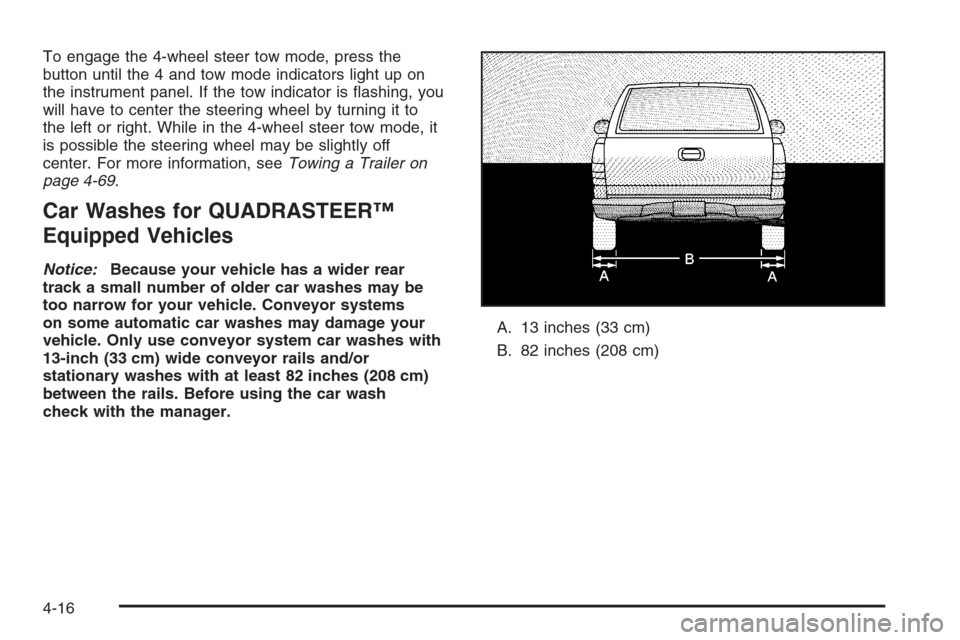
Notice:Because your vehicle has a wider rear
track a small number of older car washes may be
too narrow for your vehicle. Conveyor systems
on some automatic car washes may damage your
vehicle. Only use conveyor system car washes with
13-inch (33 cm) wide conveyor rails and/or
stationary washes with at least 82 inches (208 cm)
between the rails. Before using the car wash
check with the manager.A. 13 inches (33 cm)
B. 82 inches (208 cm)
4-16