steering wheel CHEVROLET SILVERADO 2006 1.G User Guide
[x] Cancel search | Manufacturer: CHEVROLET, Model Year: 2006, Model line: SILVERADO, Model: CHEVROLET SILVERADO 2006 1.GPages: 594, PDF Size: 3.41 MB
Page 227 of 594
Driver Information Center (DIC)
The Driver Information Center (DIC) display is located
on the instrument panel cluster, below the speedometer.
If your vehicle has DIC buttons, they are located on
the steering wheel. The DIC can display information
such as the trip odometer, fuel economy, customization
features, and warning/status messages.
If your vehicle does not have DIC steering wheel
buttons, you will not have all of the features listed. Scroll
through the odometer, trip odometer, engine hours,
and selected range if your vehicle has an Allison
Transmission
®by pressing the trip odometer reset stem
located on the instrument panel cluster. Turn off, or
acknowledge, DIC messages by pressing the trip
odometer reset stem. SeeSpeedometer and Odometer
on page 3-32for information on features for vehicles
without DIC buttons.
If your vehicle has an Allison Transmission
®and the
shift lever is in the MANUAL MODE (M) position,
the DIC will display the current gear range. The DIC
will also display the gear range as it is shifted up
or down. For example, if the gear range is currently set
to 6, the DIC will display (6)54321. When the
gear range is shifted down one time, the DIC will display
6(5)4321. SeeAutomatic Transmission Operation
on page 2-24for more information.
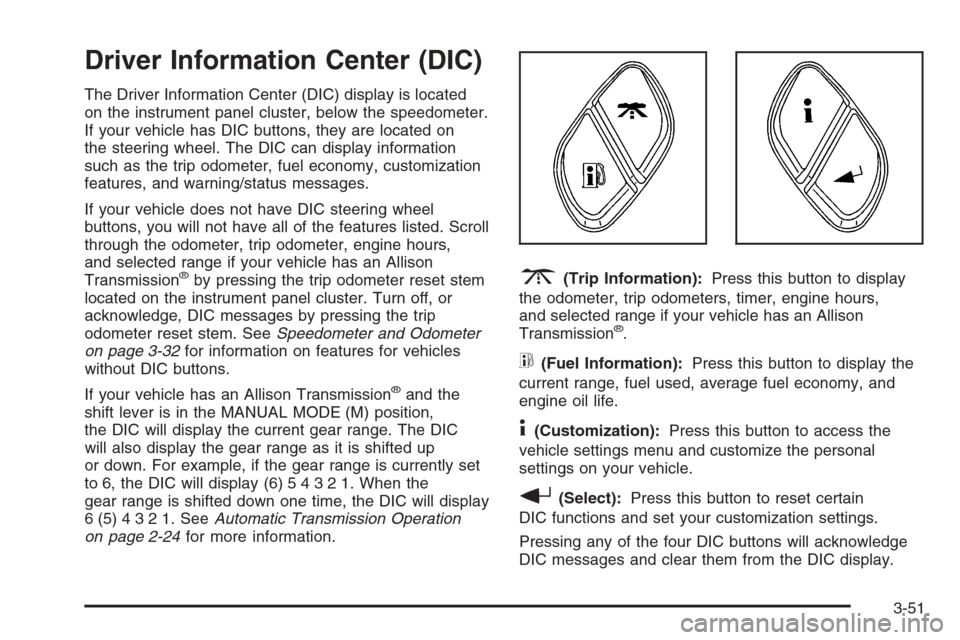
3(Trip Information):Press this button to display
the odometer, trip odometers, timer, engine hours,
and selected range if your vehicle has an Allison
Transmission
®.
t(Fuel Information):Press this button to display the
current range, fuel used, average fuel economy, and
engine oil life.
4(Customization):Press this button to access the
vehicle settings menu and customize the personal
settings on your vehicle.
r(Select):Press this button to reset certain
DIC functions and set your customization settings.
Pressing any of the four DIC buttons will acknowledge
DIC messages and clear them from the DIC display.
3-51
Page 228 of 594
DIC Operation and Displays
The Driver Information Center (DIC) comes on when the
ignition is on. After a short delay, the DIC will display
the information that was last displayed before the engine
was turned off.
The DIC has different modes which can be accessed by
pressing the four DIC buttons located on the steering
wheel. These buttons are trip information, fuel
information, customization, and select. The button
functions are detailed in the following pages.
Trip Information Button
3
(Trip Information):Press the trip information
button to scroll through the ODOMETER, TRIP A,
TRIP B, TIMER, ENGINE HOURS, and SELECTED
RANGE.
Odometer:Press the trip information button until
ODOMETER appears on the display. This mode shows
the total distance the vehicle has been driven in
either miles or kilometers. Pressing the reset stem
located on the instrument cluster with the vehicle off will
also display the odometer.
Trip A:Press the trip information button until TRIP A
appears on the display. This mode shows the current
distance traveled since the last reset for TRIP A in either
miles or kilometers.Trip B:Press the trip information button until TRIP B
appears on the display. This mode shows the current
distance traveled since the last reset for TRIP B in either
miles or kilometers.
To reset TRIP A or TRIP B information, press and hold
the select button for one second while in one of the
trip modes. This will reset the information for TRIP A
or TRIP B.
You can also reset TRIP A or TRIP B while they are
displayed by pressing the reset stem on the cluster.
If you press and hold the reset stem or the select button
for four seconds, the display will show the distance
traveled since the last ignition cycle for TRIP A
or TRIP B.
SeeTrip Odometer on page 3-32for more information.
Timer:The DIC can be used as a timer. Press the
select button while TIMER is displayed to start the timer.
The display will show the amount of time that has
passed since the timer was last reset, not including time
the ignition is off. Time will continue to be counted as
long as the ignition is on, even if another display is being
shown on the DIC. The timer will record up to 99 hours,
59 minutes and 59 seconds (99:59:59) after which
the display will roll back to zero.
To stop the counting of time, press the select button
brie�y while TIMER is displayed.
To reset the timer to zero, press and hold the select
button while TIMER is displayed.
3-52
Page 230 of 594
Engine Oil Life System:Press the fuel information
button until ENGINE OIL LIFE appears on the display.
The engine oil life system shows an estimate of the
oil’s remaining useful life. It will show 100% when the
system is reset after an oil change. It will alert you
to change your oil on a schedule consistent with your
driving conditions.
Always reset the engine oil life system after an oil
change. To reset the engine oil life system, seeEngine
Oil Life System (Gasoline Engine) on page 5-23.
In addition to the engine oil life system monitoring the
oil life, additional maintenance is recommended in
the Maintenance Schedule in this manual. SeeEngine
Oil (Gasoline Engine) on page 5-20andScheduled
Maintenance (Gasoline Engine) on page 6-4.
Customization Button
4
(Customization):Press the customization button to
access the VEHICLE SETTINGS menu and customize
the settings to your vehicle. SeeDIC Vehicle
Customization on page 3-64for more information.
Select Button
r
(Select):Press the select button to reset certain
DIC functions and set your customization settings.
For example, this button will reset the trip odometers
and enables you to scroll through and select the
language in which the DIC information will appear.
DIC Warnings and Messages
Warning messages are displayed on the Driver
Information Center (DIC) to notify the driver that the
status of the vehicle has changed and that some action
may be needed by the driver to correct the condition.
If there is more than one message that needs to
be displayed, they will appear one after another. Some
messages may not require immediate action, but
you should press any of the four DIC buttons on the
steering wheel to acknowledge that you received
the messages and to clear them from the display. If
your vehicle does not have DIC buttons on the steering
wheel, press the trip odometer reset stem, located
on the instrument panel cluster, to acknowledge
messages and clear them from the display.
Some messages cannot be cleared from the display
because they are more urgent. These messages require
action before they can be removed from the DIC
display. You should take any messages that appear on
the display seriously and remember that clearing the
messages will only make the messages disappear, not
correct the problem.
3-54
Page 246 of 594
Audio System(s)
Determine which radio your vehicle has and then read the
pages following to familiarize yourself with its features.
Driving without distraction is a necessity for a safer
driving experience. SeeDefensive Driving on page 4-2.
By taking a few moments to read this manual and
get familiar with your vehicle’s audio system, you can
use it with less effort, as well as take advantage of
its features. While your vehicle is parked, set up your
audio system by presetting your favorite radio stations,
setting the tone and adjusting the speakers. Then,
when driving conditions permit, you can tune to your
favorite stations using the presets and steering
wheel controls if the vehicle has them.
{CAUTION:
This system provides you with a far greater
access to audio stations and song listings.
Giving extended attention to entertainment
tasks while driving can cause a crash and you
or others can be injured or killed. Always keep
your eyes on the road and your mind on the
drive — avoid engaging in extended searching
while driving.Keeping your mind on the drive is important for safe
driving. For more information, seeDefensive Driving on
page 4-2.
Here are some ways in which you can help avoid
distraction while driving.
While your vehicle is parked:
Familiarize yourself with all of its controls.
Familiarize yourself with its operation.
Set up your audio system by presetting your
favorite radio stations, setting the tone, and
adjusting the speakers. Then, when driving
conditions permit, you can tune to your favorite
radio stations using the presets and steering wheel
controls if the vehicle has them.
Notice:Before adding any sound equipment to
your vehicle, such as an audio system, CD player,
CB radio, mobile telephone, or two-way radio, make
sure that it can be added by checking with your
dealer. Also, check federal rules covering mobile
radio and telephone units. If sound equipment can
be added, it is very important to do it properly.
Added sound equipment may interfere with
the operation of your vehicle’s engine, radio, or
other systems, and even damage them. Your
vehicle’s systems may interfere with the operation
of sound equipment that has been added.
3-70
Page 303 of 594
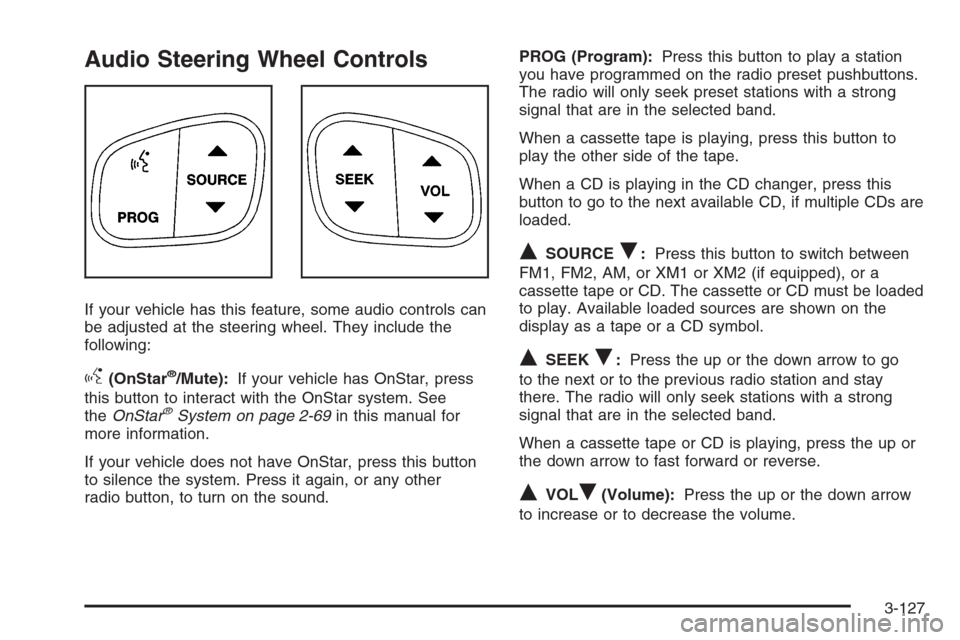
Audio Steering Wheel Controls
If your vehicle has this feature, some audio controls can
be adjusted at the steering wheel. They include the
following:
g(OnStar®/Mute):If your vehicle has OnStar, press
this button to interact with the OnStar system. See
theOnStar
®System on page 2-69in this manual for
more information.
If your vehicle does not have OnStar, press this button
to silence the system. Press it again, or any other
radio button, to turn on the sound.PROG (Program):Press this button to play a station
you have programmed on the radio preset pushbuttons.
The radio will only seek preset stations with a strong
signal that are in the selected band.
When a cassette tape is playing, press this button to
play the other side of the tape.
When a CD is playing in the CD changer, press this
button to go to the next available CD, if multiple CDs are
loaded.
QSOURCER:Press this button to switch between
FM1, FM2, AM, or XM1 or XM2 (if equipped), or a
cassette tape or CD. The cassette or CD must be loaded
to play. Available loaded sources are shown on the
display as a tape or a CD symbol.
QSEEKR:Press the up or the down arrow to go
to the next or to the previous radio station and stay
there. The radio will only seek stations with a strong
signal that are in the selected band.
When a cassette tape or CD is playing, press the up or
the down arrow to fast forward or reverse.
QVOLR(Volume):Press the up or the down arrow
to increase or to decrease the volume.
3-127
Page 315 of 594
Remember: ABS does not change the time you need to
get your foot up to the brake pedal or always decrease
stopping distance. If you get too close to the vehicle
in front of you, you will not have time to apply your
brakes if that vehicle suddenly slows or stops. Always
leave enough room up ahead to stop, even though
you have ABS.
Using ABS
Do not pump the brakes. Just hold the brake pedal
down �rmly and let anti-lock work for you. You may feel
the brakes vibrate, or you may notice some noise,
but this is normal.
Braking in Emergencies
With ABS, you can steer and brake at the same time.
In many emergencies, steering can help you more than
even the very best braking.
Traction Assist System (TAS)
Your vehicle may have a Traction Assist System (TAS)
that limits wheel spin. This is especially useful in
slippery road conditions. The system operates only if it
senses that one or both of the rear wheels are
spinning or beginning to lose traction. When this
happens, the system reduces engine power to limit
wheel spin.The traction control system is enabled every time your
vehicle is started. The system will activate if it senses
that any of the wheels are spinning or beginning to lose
traction.
You may hear or feel the system working or notice a
lack of accelerator response, but this is normal.
The Traction Assist System may operate on dry roads
under some conditions. When this happens, you
may notice a reduction in acceleration. This is normal
and doesn’t mean there’s a problem with your vehicle.
Examples of these conditions include a hard
acceleration in a turn, an abrupt upshift or downshift of
the transmission or driving on rough roads.
If your vehicle is in cruise control when the TAS begins
to limit wheel spin, the cruise control will automatically
disengage. When road conditions allow you to safely
use it again, you may re-engage the cruise control. See
Cruise Control on page 3-10.
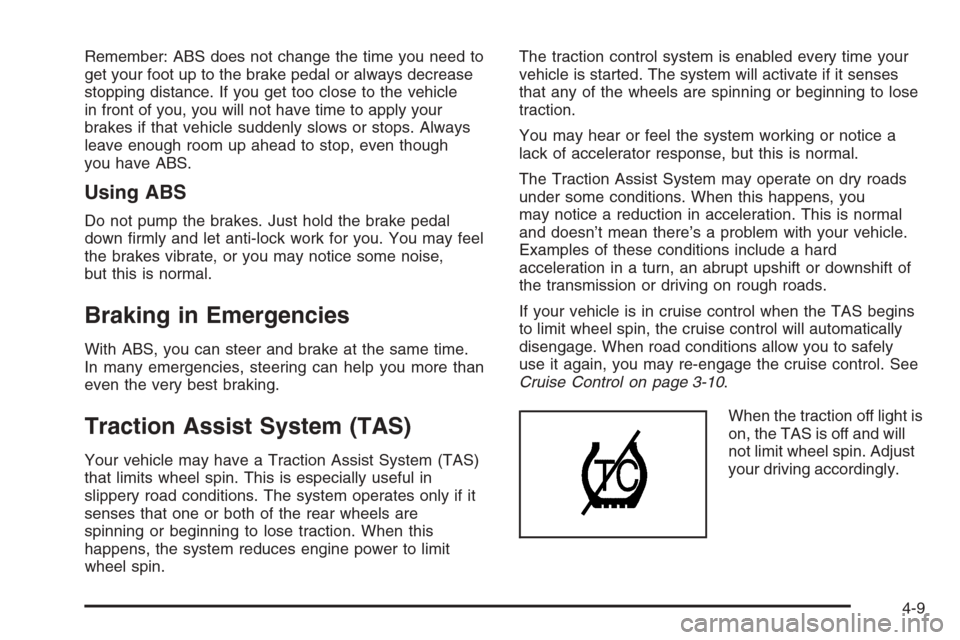
When the traction off light is
on, the TAS is off and will
not limit wheel spin. Adjust
your driving accordingly.
4-9
Page 318 of 594
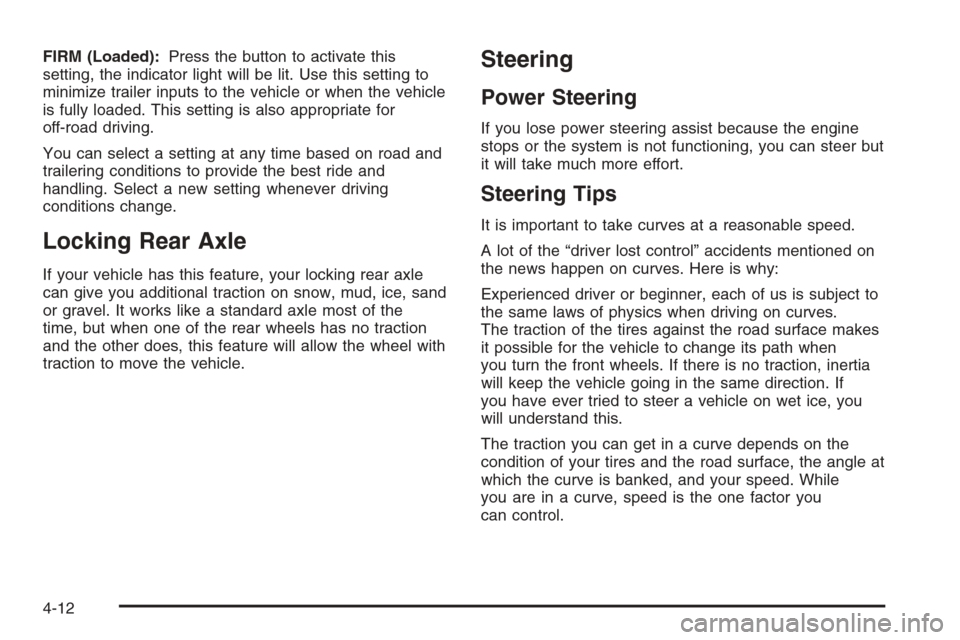
FIRM (Loaded):Press the button to activate this
setting, the indicator light will be lit. Use this setting to
minimize trailer inputs to the vehicle or when the vehicle
is fully loaded. This setting is also appropriate for
off-road driving.
You can select a setting at any time based on road and
trailering conditions to provide the best ride and
handling. Select a new setting whenever driving
conditions change.
Locking Rear Axle
If your vehicle has this feature, your locking rear axle
can give you additional traction on snow, mud, ice, sand
or gravel. It works like a standard axle most of the
time, but when one of the rear wheels has no traction
and the other does, this feature will allow the wheel with
traction to move the vehicle.
Steering
Power Steering
If you lose power steering assist because the engine
stops or the system is not functioning, you can steer but
it will take much more effort.
Steering Tips
It is important to take curves at a reasonable speed.
A lot of the “driver lost control” accidents mentioned on
the news happen on curves. Here is why:
Experienced driver or beginner, each of us is subject to
the same laws of physics when driving on curves.
The traction of the tires against the road surface makes
it possible for the vehicle to change its path when
you turn the front wheels. If there is no traction, inertia
will keep the vehicle going in the same direction. If
you have ever tried to steer a vehicle on wet ice, you
will understand this.
The traction you can get in a curve depends on the
condition of your tires and the road surface, the angle at
which the curve is banked, and your speed. While
you are in a curve, speed is the one factor you
can control.
4-12
Page 319 of 594
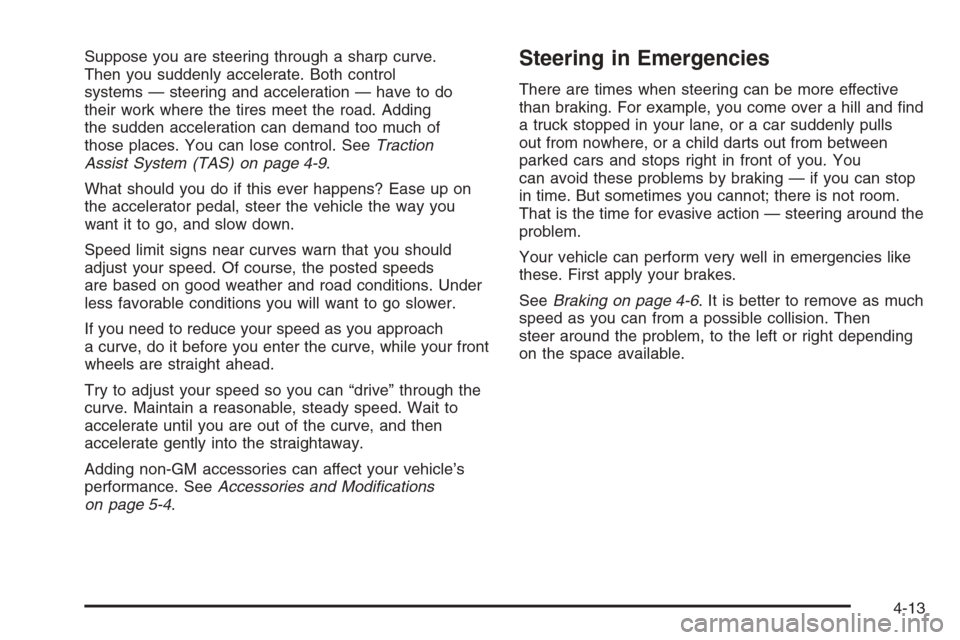
Suppose you are steering through a sharp curve.
Then you suddenly accelerate. Both control
systems — steering and acceleration — have to do
their work where the tires meet the road. Adding
the sudden acceleration can demand too much of
those places. You can lose control. SeeTraction
Assist System (TAS) on page 4-9.
What should you do if this ever happens? Ease up on
the accelerator pedal, steer the vehicle the way you
want it to go, and slow down.
Speed limit signs near curves warn that you should
adjust your speed. Of course, the posted speeds
are based on good weather and road conditions. Under
less favorable conditions you will want to go slower.
If you need to reduce your speed as you approach
a curve, do it before you enter the curve, while your front
wheels are straight ahead.
Try to adjust your speed so you can “drive” through the
curve. Maintain a reasonable, steady speed. Wait to
accelerate until you are out of the curve, and then
accelerate gently into the straightaway.
Adding non-GM accessories can affect your vehicle’s
performance. SeeAccessories and Modi�cations
on page 5-4.Steering in Emergencies
There are times when steering can be more effective
than braking. For example, you come over a hill and �nd
a truck stopped in your lane, or a car suddenly pulls
out from nowhere, or a child darts out from between
parked cars and stops right in front of you. You
can avoid these problems by braking — if you can stop
in time. But sometimes you cannot; there is not room.
That is the time for evasive action — steering around the
problem.
Your vehicle can perform very well in emergencies like
these. First apply your brakes.
SeeBraking on page 4-6. It is better to remove as much
speed as you can from a possible collision. Then
steer around the problem, to the left or right depending
on the space available.
4-13
Page 320 of 594
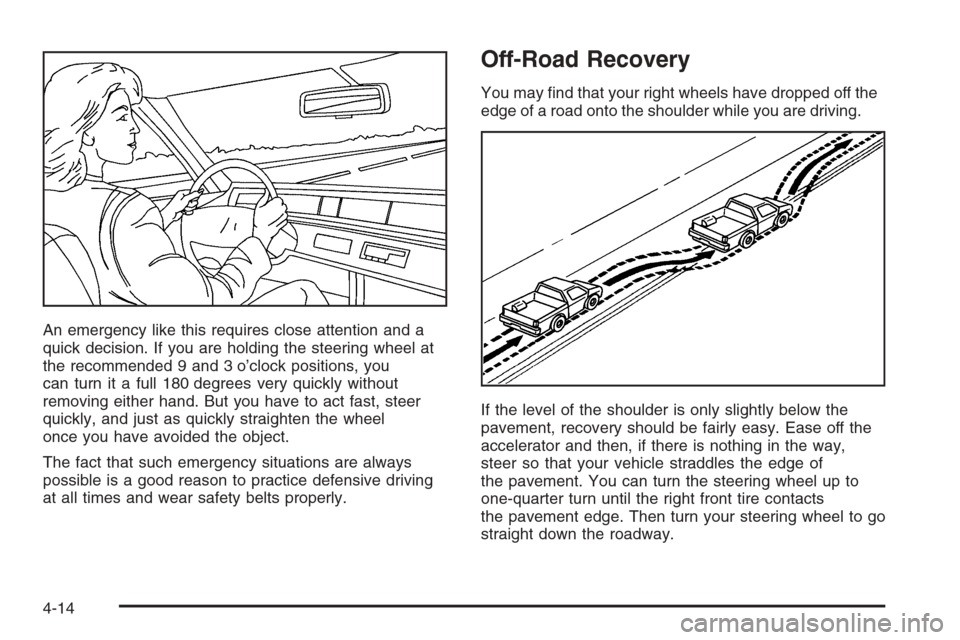
An emergency like this requires close attention and a
quick decision. If you are holding the steering wheel at
the recommended 9 and 3 o’clock positions, you
can turn it a full 180 degrees very quickly without
removing either hand. But you have to act fast, steer
quickly, and just as quickly straighten the wheel
once you have avoided the object.
The fact that such emergency situations are always
possible is a good reason to practice defensive driving
at all times and wear safety belts properly.
Off-Road Recovery
You may �nd that your right wheels have dropped off the
edge of a road onto the shoulder while you are driving.
If the level of the shoulder is only slightly below the
pavement, recovery should be fairly easy. Ease off the
accelerator and then, if there is nothing in the way,
steer so that your vehicle straddles the edge of
the pavement. You can turn the steering wheel up to
one-quarter turn until the right front tire contacts
the pavement edge. Then turn your steering wheel to go
straight down the roadway.
4-14
Page 322 of 594
Check your mirrors, glance over your shoulder and
start your left lane change signal before moving out
of the right lane to pass. When you are far enough
ahead of the passed vehicle to see its front in your
inside mirror, activate your right lane change signal
and move back into the right lane. Remember that if
your passenger side outside mirror is convex, the
vehicle you just passed may seem to be farther away
from you than it really is.
Try not to pass more than one vehicle at a time on
two-lane roads. Reconsider before passing the next
vehicle.
Do not overtake a slowly moving vehicle too rapidly.
Even though the brake lamps are not �ashing, it may
be slowing down or starting to turn.
If you are being passed, make it easy for the
following driver to get ahead of you. Perhaps you can
ease a little to the right.
Loss of Control
Let us review what driving experts say about what
happens when the three control systems — brakes,
steering, and acceleration — do not have enough friction
where the tires meet the road to do what the driver
has asked.
In any emergency, do not give up. Keep trying to steer
and constantly seek an escape route or area of less
danger.
Skidding
In a skid, a driver can lose control of the vehicle.
Defensive drivers avoid most skids by taking reasonable
care suited to existing conditions, and by not overdriving
those conditions. But skids are always possible.
The three types of skids correspond to your vehicle’s
three control systems. In the braking skid, your wheels
are not rolling. In the steering or cornering skid, too much
speed or steering in a curve causes tires to slip and lose
cornering force. And in the acceleration skid, too much
throttle causes the driving wheels to spin.
A cornering skid is best handled by easing your foot off
the accelerator pedal.
4-16