seat memory CHEVROLET SILVERADO 2010 2.G Owners Manual
[x] Cancel search | Manufacturer: CHEVROLET, Model Year: 2010, Model line: SILVERADO, Model: CHEVROLET SILVERADO 2010 2.GPages: 626, PDF Size: 4.8 MB
Page 18 of 626
To recline the seatback, tilt the top of the control
rearward.
To bring the seatback forward, tilt the top of the control
forward.
SeeReclining Seatbacks on page 2‑10.
Memory Features
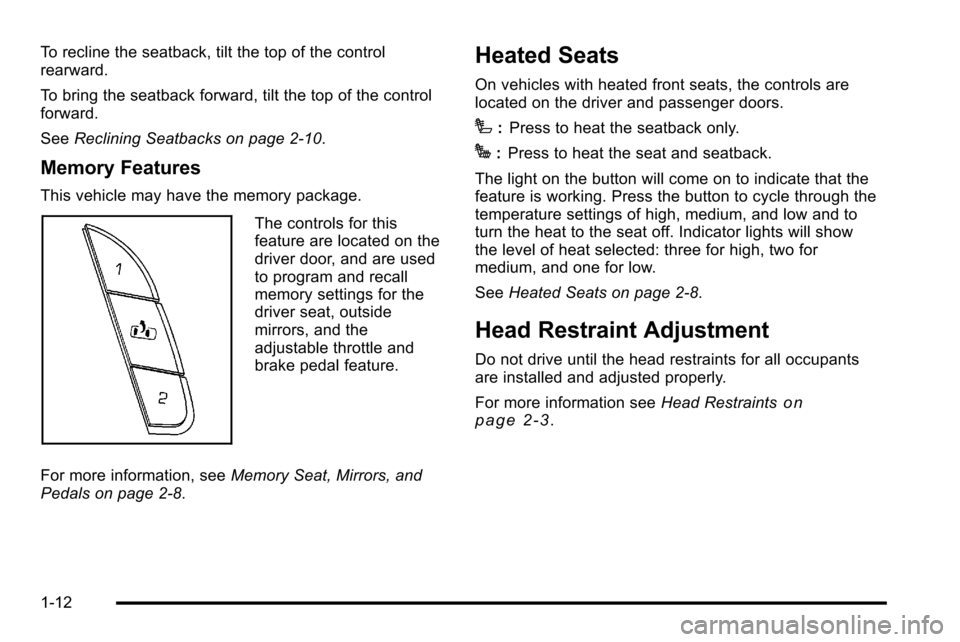
This vehicle may have the memory package.
The controls for this
feature are located on the
driver door, and are used
to program and recall
memory settings for the
driver seat, outside
mirrors, and the
adjustable throttle and
brake pedal feature.
For more information, see Memory Seat, Mirrors, and
Pedals on page 2‑8.
Heated Seats
On vehicles with heated front seats, the controls are
located on the driver and passenger doors.
I: Press to heat the seatback only.
J:Press to heat the seat and seatback.
The light on the button will come on to indicate that the
feature is working. Press the button to cycle through the
temperature settings of high, medium, and low and to
turn the heat to the seat off. Indicator lights will show
the level of heat selected: three for high, two for
medium, and one for low.
See Heated Seats on page 2‑8.
Head Restraint Adjustment
Do not drive until the head restraints for all occupants
are installed and adjusted properly.
For more information see Head Restraints
on
page 2‑3.
1-12
Page 43 of 626
Section 2 Seats and Restraint System
Head Restraints. . . . . . . . . . . . . . . . . . . . . . . . . . . . . . . . . . . . 2-3
Front Seats . . . . . . . . . . . . . . . . . . . . . . . . . . . . . . . . . . . . . . . . . 2-4
Manual Seats . . . . . . . . . . . . . . . . . . . . . . . . . . . . . . . . . . . 2-4
Power Seats . . . . . . . . . . . . . . . . . . . . . . . . . . . . . . . . . . . . 2-5
Manual Lumbar . . . . . . . . . . . . . . . . . . . . . . . . . . . . . . . . . 2-6
Power Lumbar . . . . . . . . . . . . . . . . . . . . . . . . . . . . . . . . . . 2-7
Heated Seats . . . . . . . . . . . . . . . . . . . . . . . . . . . . . . . . . . . 2-8
Memory Seat, Mirrors, and Pedals . . . . . . . . . . . . . . 2-8
Reclining Seatbacks . . . . . . . . . . . . . . . . . . . . . . . . . . . 2-10
Seatback Latches . . . . . . . . . . . . . . . . . . . . . . . . . . . . . 2-13
Center Seat . . . . . . . . . . . . . . . . . . . . . . . . . . . . . . . . . . . . 2-13
Rear Seats . . . . . . . . . . . . . . . . . . . . . . . . . . . . . . . . . . . . . . . . 2-14
Rear Seat Operation (Extended Cab Full Bench) . . . . . . . . . . . . . . . . . . . . . . . . . . . . . . . . . . . . . . 2-14
Rear Seat Operation (All Split Bench and Hybrid Full Bench) . . . . . . . . . . . . . . . . . . . . . . . . . . . . . . . . . . 2-15
Safety Belts . . . . . . . . . . . . . . . . . . . . . . . . . . . . . . . . . . . . . . . 2-16
Safety Belts: They Are for Everyone . . . . . . . . . . . 2-16
How to Wear Safety Belts Properly . . . . . . . . . . . . 2-21
Lap-Shoulder Belt . . . . . . . . . . . . . . . . . . . . . . . . . . . . . 2-30 Safety Belt Use During Pregnancy . . . . . . . . . . . . . 2-37
Lap Belt (Crew and Extended Cab) . . . . . . . . . . . . 2-37
Safety Belt Extender . . . . . . . . . . . . . . . . . . . . . . . . . . . 2-38
Child Restraints . . . . . . . . . . . . . . . . . . . . . . . . . . . . . . . . . . 2-39
Older Children . . . . . . . . . . . . . . . . . . . . . . . . . . . . . . . . . 2-39
Infants and Young Children . . . . . . . . . . . . . . . . . . . . 2-42
Child Restraint Systems . . . . . . . . . . . . . . . . . . . . . . . 2-45
Where to Put the Restraint . . . . . . . . . . . . . . . . . . . . . 2-48
Lower Anchors and Tethers for Children
(LATCH) . . . . . . . . . . . . . . . . . . . . . . . . . . . . . . . . . . . . . 2-49
Securing a Child Restraint in a Rear Seat Position . . . . . . . . . . . . . . . . . . . . . . . . . . . . . . . . . . . . . . 2-58
Securing a Child Restraint in the Center Front Seat Position . . . . . . . . . . . . . . . . . . . . . . . . . . . . . . . . 2-61
Securing a Child Restraint in the Right Front Seat Position (With Passenger Sensing
System) . . . . . . . . . . . . . . . . . . . . . . . . . . . . . . . . . . . . . 2-61
Securing a Child Restraint in the Right Front Seat Position (With Airbag Off Switch) . . . . . . . 2-65
Securing a Child Restraint in the Right Front Seat Position (Heavy Duty Crew
Cab Only) . . . . . . . . . . . . . . . . . . . . . . . . . . . . . . . . . . . 2-70
2-1
Page 48 of 626
Your vehicle may have additional features to adjust your
vehicle's power seat:
.Raise or lower the front part of the seat cushion by
moving the front of the control up or down.
.Raise or lower the rear part of the seat cushion by
moving the rear of the control up or down.
.Raise or lower the entire seat by moving the entire
control up or down.
On seats with power reclining seatbacks, the control is
located behind the power seat control on the outboard
side of the seats. See “Power Reclining Seatbacks”
under Reclining Seatbacks on page 2‑10.
A vehicle with a memory function allows seat settings to
be saved and recalled. See Memory Seat, Mirrors, and
Pedals
on page 2‑8for more information.
Manual Lumbar
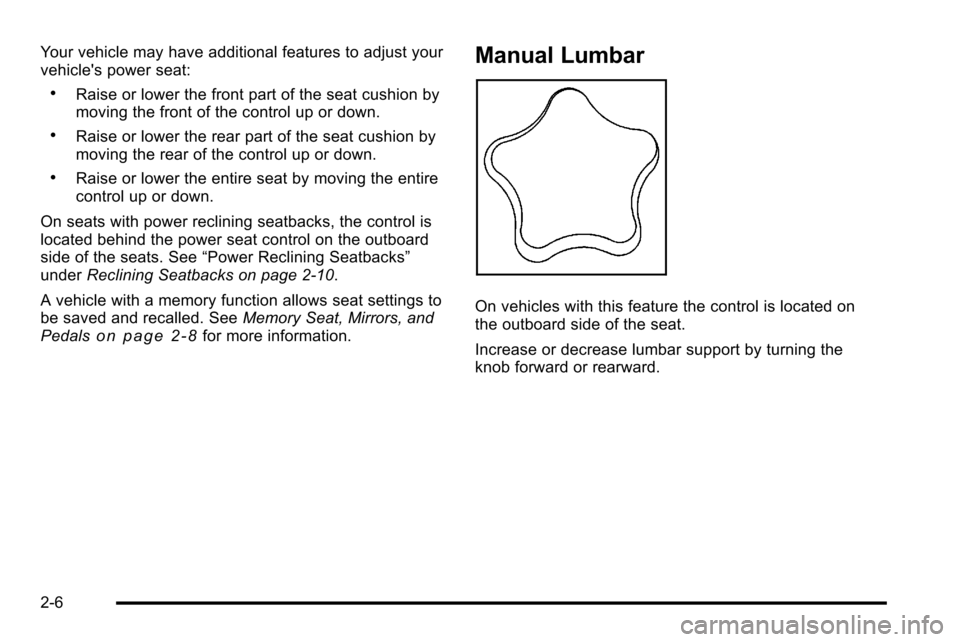
On vehicles with this feature the control is located on
the outboard side of the seat.
Increase or decrease lumbar support by turning the
knob forward or rearward.
2-6
Page 49 of 626
Power Lumbar
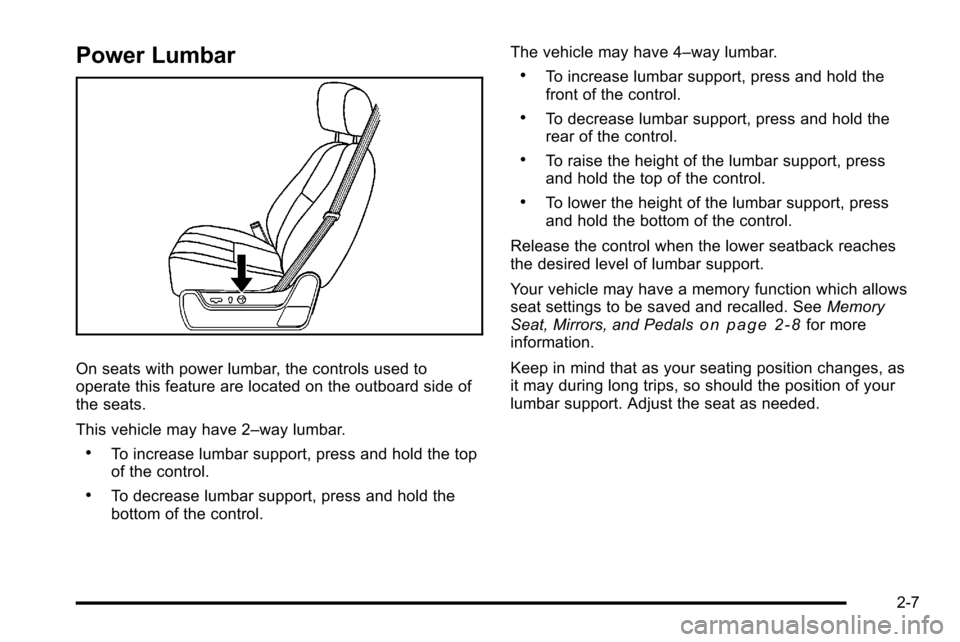
On seats with power lumbar, the controls used to
operate this feature are located on the outboard side of
the seats.
This vehicle may have 2–way lumbar.
.To increase lumbar support, press and hold the top
of the control.
.To decrease lumbar support, press and hold the
bottom of the control.The vehicle may have 4–way lumbar.
.To increase lumbar support, press and hold the
front of the control.
.To decrease lumbar support, press and hold the
rear of the control.
.To raise the height of the lumbar support, press
and hold the top of the control.
.To lower the height of the lumbar support, press
and hold the bottom of the control.
Release the control when the lower seatback reaches
the desired level of lumbar support.
Your vehicle may have a memory function which allows
seat settings to be saved and recalled. See Memory
Seat, Mirrors, and Pedals
on page 2‑8for more
information.
Keep in mind that as your seating position changes, as
it may during long trips, so should the position of your
lumbar support. Adjust the seat as needed.
2-7
Page 50 of 626
Heated Seats
{WARNING:
If you cannot feel temperature change or pain to
the skin, the seat heater may cause burns even at
low temperatures. To reduce the risk of burns,
people with such a condition should use care
when using the seat heater, especially for long
periods of time. Do not place anything on the seat
that insulates against heat, such as a blanket,
cushion, cover or similar item. This may cause the
seat heater to overheat. An overheated seat
heater may cause a burn or may damage
the seat.
On vehicles with heated front seats, the controls are
located on the driver and passenger doors.
I (Heated Seatback): Press to turn on the heated
seatback.
J (Heated Seat and Seatback): Press to turn on the
heated seat and seatback.
The light on the button will come on to indicate that the
feature is working. Press the button to cycle through the
temperature settings of high, medium, and low and to turn the heat to the seat off. Indicator lights will show
the level of heat selected: three for high, two for
medium, and one for low.
The heated seats will be canceled 10 seconds after the
ignition is turned off. To use the heated seat feature
after restarting the vehicle, press the heated seat or
seatback button again.
Memory Seat, Mirrors, and Pedals
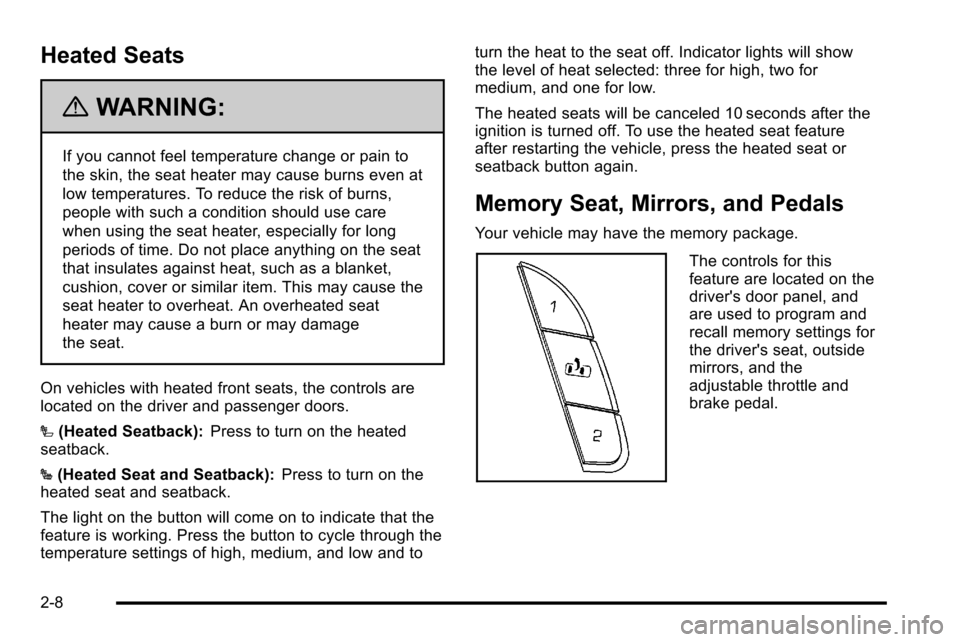
Your vehicle may have the memory package.
The controls for this
feature are located on the
driver's door panel, and
are used to program and
recall memory settings for
the driver's seat, outside
mirrors, and the
adjustable throttle and
brake pedal.
2-8
Page 51 of 626
To save seating positions in memory:1. Adjust the driver's seatback recliner, both outside mirrors, and the throttle and brake pedals to a
comfortable position.
See Outside Power Mirrors
on page 3‑57and
Adjustable Throttle and Brake Pedalon page 3‑26for more information.
Not all mirrors, adjustable throttles and brake
pedals will have the ability to save and recall their
positions.
2. Press and hold button 1 until two beeps sound to indicate that the position has been stored.
A second seating, mirror, and throttle and brake pedal
position can be programmed by repeating the above
steps and pressing button 2.
To recall the memory positions, the vehicle must be in
P (Park). Press and release either button 1 or button 2
corresponding to the desired driving position. The seat,
outside mirrors, and adjustable throttle and brake
pedals will move to the position previously stored. You
will hear a single beep. If you use the remote keyless entry transmitter to enter
your vehicle and the remote recall memory feature is
on, automatic seat, adjustable mirror, and adjustable
pedal movements will occur. See
“MEMORY SEAT
RECALL” underDIC Vehicle Customization (With DIC
Buttons)
on page 4‑73for more information.
To stop recall movement of the memory function at any
time, press one of the power seat controls, memory
buttons, power mirror buttons, or adjustable pedal
switch.
If something has blocked the driver ’s seat and/or the
adjustable pedals while recalling a memory position, the
driver ’s seat and/or the adjustable pedals recall may
stop working. If this happens, remove the obstruction
and press the appropriate control for the area that is not
responding for two seconds. Try recalling the memory
position again by pressing the appropriate memory
button. If the memory position is still not recalling, see
your dealer for service.
2-9
Page 52 of 626
Easy Exit Seat
The control for this feature is located on the driver’s
door panel between buttons 1 and 2.
With the vehicle in P (Park), the driver's seat exit
position can be recalled by pressing the exit button. You
will hear a single beep, and the driver ’s seat will move
back approximately 8 cm (3 in). To move the seat back
further, press the exit button again until the seat is all
the way back.
If the easy exit seat feature is programmed in the Driver
Information Center (DIC), automatic seat movement will
occur when the key is removed from the ignition. See
“EASY EXIT SEAT” underDIC Vehicle Customization
(With DIC Buttons)
on page 4‑73for more information.
The memory seat and easy exit features can also be
programmed using the DIC.
For programming information, see DIC Vehicle
Customization (With DIC Buttons) on page 4‑73.
Reclining Seatbacks
{WARNING:
You can lose control of the vehicle if you try to
adjust a manual driver's seat while the vehicle is
moving. The sudden movement could startle and
confuse you, or make you push a pedal when you
do not want to. Adjust the driver's seat only when
the vehicle is not moving.
{WARNING:
If either seatback is not locked, it could move
forward in a sudden stop or crash. That could
cause injury to the person sitting there. Always
push and pull on the seatbacks to be sure they
are locked.
2-10
Page 143 of 626
/(Remote Vehicle Start):For vehicles with this
feature, press /to start the engine from outside the
vehicle using the RKE transmitter. See Remote Vehicle
Start
on page 3‑7for additional information.
Q(Lock): Press to lock all the doors.
If enabled through the Driver Information Center (DIC),
the turn signal lamps flash once to indicate locking has
occurred. If enabled through the DIC, the horn chirps
when
Qis pressed again within three seconds. See DIC
Vehicle Customization (With DIC Buttons)
on
page 4‑73for additional information.
Pressing
Qarms the content theft‐deterrent system.
See Content Theft-Deterrent on page 3‑17.
K(Unlock): Press once to unlock only the driver door.
If
Kis pressed again within three seconds, all
remaining doors unlock. The interior lamps may come
on and stay on for 20 seconds or until the ignition is
turned on.
If enabled through the DIC, the turn signal lamps flash
twice to indicate unlocking has occurred. See DIC
Vehicle Customization (With DIC Buttons)
on
page 4‑73. If enabled through the DIC, the exterior
lights may turn on. See “APPROACH LIGHTING” under
DIC Vehicle Customization (With DIC Buttons)
on
page 4‑73. Pressing
Kon the RKE transmitter disarms the content
theft‐deterrent system. See Content Theft-Deterrent
on
page 3‑17.
L(Vehicle Locator/Panic Alarm): Press and release
to locate the vehicle. The turn signal lamps flash and
the horn sounds three times.
Press and hold
Lfor more than two seconds to
activate the panic alarm. The turn signal lamps flash
and the horn sounds repeatedly for 30 seconds. The
alarm turns off when the ignition is moved to ON/RUN
or
Lis pressed again. The ignition must be in LOCK/
OFF for the panic alarm to work.
The vehicle comes with two transmitters. Each
transmitter will have a number on it, “1”or“2”. These
numbers correspond to the driver of the vehicle. For
example, the memory seat position for driver 1 will be
recalled when using the transmitter labeled “1”,
if enabled through the DIC. See Memory Seat, Mirrors,
and Pedals
on page 2‑8and DIC Vehicle
Customization (With DIC Buttons)on page 4‑73for
more information.
3-5
Page 164 of 626
Adjustable Throttle and Brake Pedal
On vehicles with this feature, you can change the
position of the throttle and brake pedals.
No adjustment to the pedals can be made when the
vehicle is in R (Reverse) or while using the cruise
control.
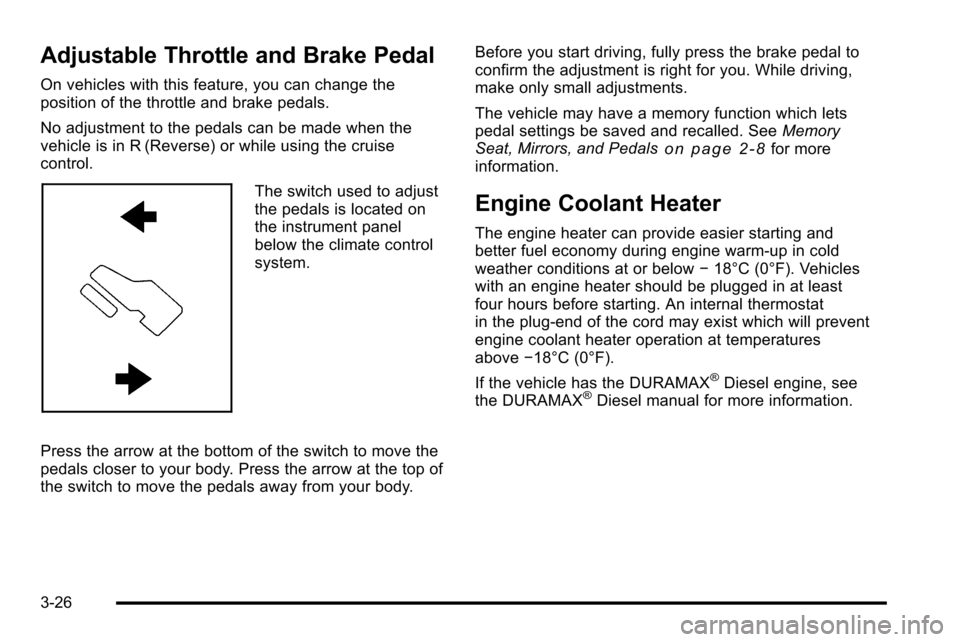
The switch used to adjust
the pedals is located on
the instrument panel
below the climate control
system.
Press the arrow at the bottom of the switch to move the
pedals closer to your body. Press the arrow at the top of
the switch to move the pedals away from your body. Before you start driving, fully press the brake pedal to
confirm the adjustment is right for you. While driving,
make only small adjustments.
The vehicle may have a memory function which lets
pedal settings be saved and recalled. See
Memory
Seat, Mirrors, and Pedals
on page 2‑8for more
information.
Engine Coolant Heater
The engine heater can provide easier starting and
better fuel economy during engine warm-up in cold
weather conditions at or below −18°C (0°F). Vehicles
with an engine heater should be plugged in at least
four hours before starting. An internal thermostat
in the plug-end of the cord may exist which will prevent
engine coolant heater operation at temperatures
above −18°C (0°F).
If the vehicle has the DURAMAX
®Diesel engine, see
the DURAMAX®Diesel manual for more information.
3-26
Page 197 of 626
Park Tilt Mirrors
If the vehicle has the memory package, the passenger
and/or driver mirror tilts to a preselected position when
the vehicle is in R (Reverse). This feature lets the driver
view the curb when parallel parking. The mirror(s) return
to the original position when the vehicle is shifted out of
R (Reverse), or the ignition is turned off or to
OFF/LOCK.
Turn this feature on or off through the Driver Information
Center (DIC). SeeDIC Vehicle Customization (With DIC
Buttons)
on page 4‑73for more information.
Outside Convex Mirror
{WARNING:
A convex mirror can make things, like other
vehicles, look farther away than they really are.
If you cut too sharply into the right lane, you could
hit a vehicle on the right. Check the inside mirror
or glance over your shoulder before changing
lanes.
The passenger side mirror is convex shaped. A convex
mirror's surface is curved so more can be seen from the
driver seat.
Outside Heated Mirrors
For vehicles with heated mirrors:
<(Rear Window Defogger): Press to heat the
mirrors. If the vehicle has a towing mirror, only the
upper glass of the mirror is heated. The lower convex
part of the towing mirror is not heated.
Depending on the vehicle's features, see “Rear Window
Defogger” under,Climate Control System (With Air
Conditioning)
on page 4‑18or Climate Control System
(With Heater Only)on page 4‑21or Dual Automatic
Climate Control Systemon page 4‑22for more
information.
3-59