length CHEVROLET SILVERADO 2500 2020 Owners Manual
[x] Cancel search | Manufacturer: CHEVROLET, Model Year: 2020, Model line: SILVERADO 2500, Model: CHEVROLET SILVERADO 2500 2020Pages: 500, PDF Size: 9.71 MB
Page 86 of 500
Chevrolet Silverado Owner Manual (GMNA-Localizing-U.S./Canada/Mexico-
13337620) - 2020 - CRC - 4/2/19
Seats and Restraints 85
If an airbag inflates, you will need to
replace airbag system parts. See
your dealer for service.
If the airbag readiness light stays on
after the vehicle is started or comes
on when you are driving, the airbag
system may not work properly. Have
the vehicle serviced right away. See
Airbag Readiness Light0136.Child Restraints
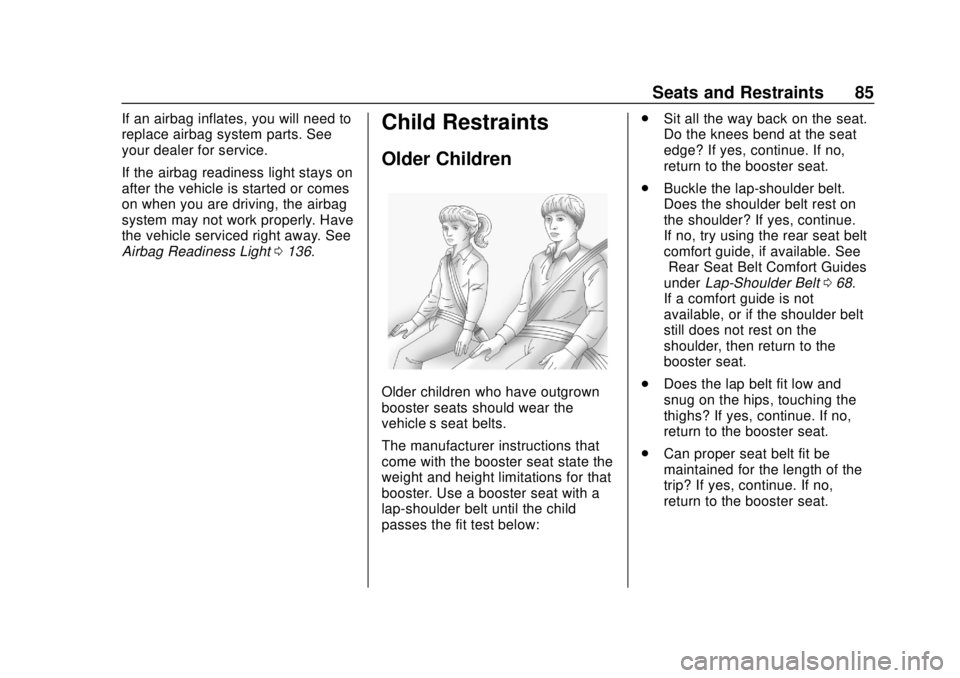
Older Children
Older children who have outgrown
booster seats should wear the
vehicle’s seat belts.
The manufacturer instructions that
come with the booster seat state the
weight and height limitations for that
booster. Use a booster seat with a
lap-shoulder belt until the child
passes the fit test below: .
Sit all the way back on the seat.
Do the knees bend at the seat
edge? If yes, continue. If no,
return to the booster seat.
. Buckle the lap-shoulder belt.
Does the shoulder belt rest on
the shoulder? If yes, continue.
If no, try using the rear seat belt
comfort guide, if available. See
“Rear Seat Belt Comfort Guides”
under Lap-Shoulder Belt 068.
If a comfort guide is not
available, or if the shoulder belt
still does not rest on the
shoulder, then return to the
booster seat.
. Does the lap belt fit low and
snug on the hips, touching the
thighs? If yes, continue. If no,
return to the booster seat.
. Can proper seat belt fit be
maintained for the length of the
trip? If yes, continue. If no,
return to the booster seat.
Page 217 of 500
Chevrolet Silverado Owner Manual (GMNA-Localizing-U.S./Canada/Mexico-
13337620) - 2020 - CRC - 4/11/19
216 Driving and Operating
Warning (Continued)
function. An ungrounded
outlet could cause an
electric shock.
. Use a weatherproof,
heavy-duty, 15 amp-rated
extension cord if needed.
Failure to use the
recommended extension
cord in good operating
condition, or using a
damaged heater or
extension cord, could make
it overheat and cause a fire,
property damage, electric
shock, and injury.
. Do not operate the vehicle
with the heater cord
permanently attached to the
(Continued)
Warning (Continued)
vehicle. Possible heater
cord and thermostat
damage could occur.
. While in use, do not let the
heater cord touch vehicle
parts or sharp edges. Never
close the hood on the
heater cord.
. Before starting the vehicle,
unplug the cord, reattach
the cover to the plug, and
securely fasten the cord.
Keep the cord away from
any moving parts.
5. Before starting the engine, be sure to unplug and store
the cord.
The length of time the heater should
remain plugged in depends on
several factors. Ask a dealer in the
area where you will be parking the
vehicle for the best advice on this.
Retained Accessory
Power (RAP)
When the ignition is turned from on
to off, the following features (if
equipped) will continue to function
for up to 10 minutes, or until the
driver door is opened. These
features will also work when the
ignition is in RUN or ACC/
ACCESSORY:
. Infotainment System
. Power Windows (during RAP
this functionality will be lost
when any door is opened)
. Sunroof (during RAP this
functionality will be lost when
any door is opened)
. Auxiliary Power Outlet
. Audio System
. OnStar System
Page 239 of 500
Chevrolet Silverado Owner Manual (GMNA-Localizing-U.S./Canada/Mexico-
13337620) - 2020 - CRC - 4/11/19
238 Driving and Operating
If HDC is to be used for more than
three minutes or on grades steeper
than 25%, the transfer case should
be put into Four-Wheel Drive Low (4
n) to reduce the possibility of brake
overheating.
Noise from the Electronic Brake
Control Module (EBCM) is normal
when HDC is active.
When HDC is activated, the initial
HDC speed is set to the current
driving speed. It can be increased or
decreased by pressing +RES or
SET- on the steering wheel, or by
applying the accelerator or brake
pedal. This adjusted speed
becomes the new set speed.
HDC will remain enabled between
30 and 60 km/h (19 and 37 mph);
however, vehicle speed cannot be
set or maintained in this range. HDC
will automatically disable if the
vehicle speed is above 80 km/h
(50 mph) or above 60 km/h
(37 mph) for at least 30 seconds.
5must be pressed again to
re-enable HDC. HDC may disable
after an extended period of use. If this happens, HDC will require
time to cool down. The length of
time HDC remains active depends
on road conditions, grade, set
speed, vehicle loading, and outside
temperature.
When enabled, if the vehicle speed
is above 30 km/h (19 mph) and
below 60 km/h (37 mph), a DIC
message will display.
Driver Mode Control
This feature adds a sportier feel,
provides a more comfortable ride,
or assists in different weather
conditions or terrain. Depending on
the option package, available
features, and mode selected; the
suspension, steering, and
powertrain will change settings to
achieve the desired mode
characteristics. If the vehicle is
equipped with magnetic ride control,
selecting the various Driver Modes
enhances the ride performance for
the road conditions and the
selected mode.
Mode availability is dependent upon
vehicle trim level, region, and
optional features.
Not all drive modes are available
on. 1500 series vehicles may have
Normal, Sport, Snow/Ice, Off Road,
Terrain, and Tow Haul. 2500/3500
series vehicles may have Normal,
Off Road, Snow/Ice, and Tow/Haul.
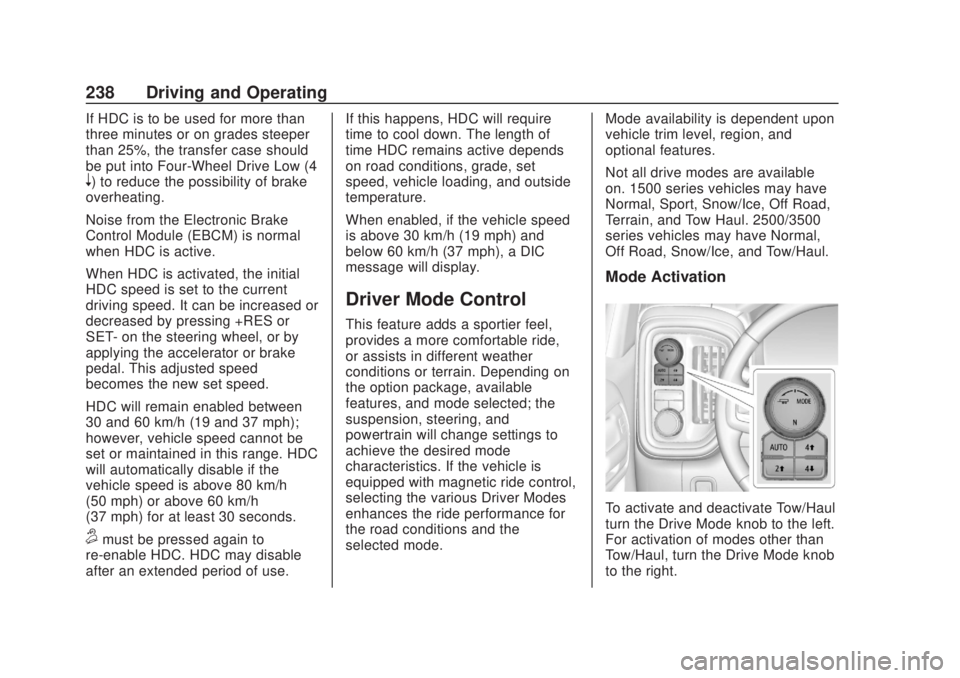
Mode Activation
To activate and deactivate Tow/Haul
turn the Drive Mode knob to the left.
For activation of modes other than
Tow/Haul, turn the Drive Mode knob
to the right.
Page 314 of 500
Chevrolet Silverado Owner Manual (GMNA-Localizing-U.S./Canada/Mexico-
13337620) - 2020 - CRC - 4/11/19
Driving and Operating 313
4. Move to the next tire andrepeat Step 3 for each sensor.
The horn chirps twice when all
sensors are completed.
5. Return to the vehicle to complete the setup.
Maintenance Reminders
To set up maintenance reminders,
touch the Trailer Maintenance icon.
Select Yes to set up the
maintenance reminders for the
Trailer Profile. Follow the on-screen
prompts. The maximum number of
reminders is 50. Select No to return
to the previous screen.
Towing Assistance
If the Transparent Trailer feature is
available, touch the Towing
Assistance icon to set up
transparent trailer.
Touch Yes to begin set up or touch
No to return to the previous screen.
Follow the on-screen instructions.
A rear trailer camera must be
mounted on the trailer and
electrically connected to the vehicle before transparent trailer feature
can be used. See
Assistance
Systems for Parking or Backing
0 257.
Trailer dimensions must be in range
and transparent trailer must be
calibrated prior to use.
Transparent Trailer Setup
To complete setup for transparent
trailer: 1. Select the number of axles on the trailer.
2. Enter trailer dimensions .Trailer Length: 300
cm (118.1 in)
–970 cm (381.8 in).
Measure from center of
coupler to furthest rear
point on the trailer.
. Trailer Width:
120 cm (47.2 in) –
260 cm (102.3 in). Measure
from left edge to right edge. .
Trailer Height:
1 cm (.39 in) –
450 cm (177.1 in). Measure
from ground to tallest point.
. Hitching Point Length:
180 cm (70.8 in)
–970 cm (381.8 in).
Measure from center of
coupler to middle of tires.
. Trailer Tongue Length:
50 cm (119.6 in) –220
cm (86.6 in). Measure from
center of coupler to trailer
front wall.
. Vehicle Hitch Height:
10 cm (3.9 in) –
100 cm (39.3 in). Measure
from ground to top of
coupler.
. Vehicle Hitch Length:
10 cm (3.9 in) –
100 cm;(39.3 in). Measure
from hitch receiver to center
of ball.
3. If trailer dimensions are out of range, this feature will be
unavailable. Select OK to
return.
Page 365 of 500
Chevrolet Silverado Owner Manual (GMNA-Localizing-U.S./Canada/Mexico-
13337620) - 2020 - CRC - 4/10/19
364 Vehicle Care
pressure from the regular brake
pedal. Do this until the vehicle is
held by the parking brake only.
. To check the P (Park)
mechanism's holding ability:
With the engine running, shift to
P (Park). Then release the
parking brake followed by the
regular brake.
Contact your dealer if service is
required.
Wiper Blade Replacement
Windshield wiper blades should be
replaced periodically. See
Maintenance Schedule 0441.
Replacement blades come in
different types and are removed in
different ways. For proper type and
length, see Maintenance
Replacement Parts 0453.
Caution
Allowing the wiper arm to touch
the windshield when no wiper
blade is installed could damage
the windshield. Any damage that
occurs would not be covered by
the vehicle warranty. Do not allow
the wiper arm to touch the
windshield.
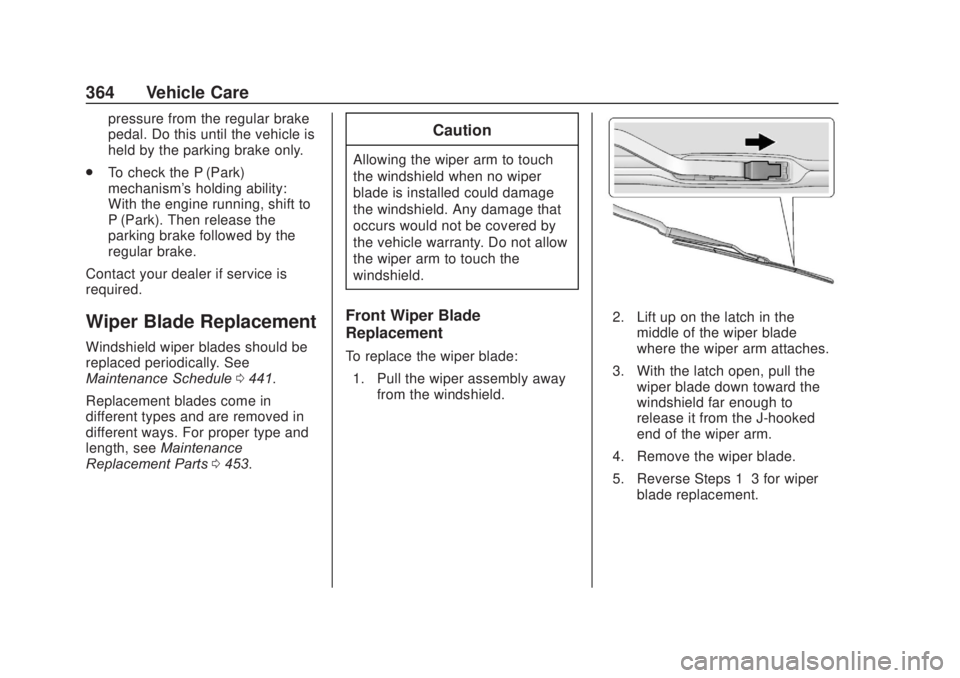
Front Wiper Blade
Replacement
To replace the wiper blade:
1. Pull the wiper assembly away from the windshield.
2. Lift up on the latch in the
middle of the wiper blade
where the wiper arm attaches.
3. With the latch open, pull the wiper blade down toward the
windshield far enough to
release it from the J-hooked
end of the wiper arm.
4. Remove the wiper blade.
5. Reverse Steps 1–3 for wiper blade replacement.