tow CHEVROLET SSR 2005 1.G User Guide
[x] Cancel search | Manufacturer: CHEVROLET, Model Year: 2005, Model line: SSR, Model: CHEVROLET SSR 2005 1.GPages: 388, PDF Size: 2.5 MB
Page 85 of 388

Running Your Engine While You
Are Parked
It is better not to park with the engine running. But if
you ever have to, here are some things to know.
{CAUTION:
Idling the engine with the climate control
system off could allow dangerous exhaust into
your vehicle. See the earlier caution under
Engine Exhaust on page 2-26.
Also, idling in a closed-in place can let deadly
carbon monoxide (CO) into your vehicle even if
the climate control fan is at the highest setting.
One place this can happen is a garage.
Exhaust — with CO — can come in easily.
NEVER park in a garage with the engine
running.
Another closed-in place can be a blizzard.
SeeWinter Driving on page 4-24.
{CAUTION:
It can be dangerous to get out of your vehicle
if the automatic transmission shift lever is not
fully in PARK (P) with the parking brake �rmly
set. Your vehicle can roll. Do not leave your
vehicle when the engine is running unless you
have to. If you have left the engine running,
the vehicle can move suddenly. You or others
could be injured. To be sure your vehicle will
not move, even when you are on fairly level
ground, always set your parking brake and
move the automatic transmission shift lever to
PARK (P), or the manual transmission shift
lever to NEUTRAL.
Follow the proper steps to be sure your vehicle will
not move. SeeShifting Into Park (P) (Automatic
Transmission) on page 2-24.
If you are pulling a trailer, seeTowing a Trailer on
page 4-35.
2-27
Page 86 of 388

Mirrors
Manual Rearview Mirror
The vehicle may have a manual rearview mirror. While
sitting in a comfortable driving position, adjust the mirror
so you can see clearly behind your vehicle. Grip the
mirror in the center to move it up or down and side to
side. The control at the bottom of the mirror is the
day/night feature that allows adjustment to the mirror so
that the glare of headlamps from behind is reduced.
Push the control for daytime use; pull it for night use.
Automatic Dimming Rearview Mirror
with HomeLink
®
The vehicle may have an automatic dimming rearview
mirror with map lamps and HomeLink®Transmitter
buttons. For more information about this feature, see
HomeLink
®on page 2-30.
While sitting in a comfortable driving position, adjust
the mirror so you can see clearly behind your vehicle.
Grip the mirror in the center to move it up or down
and side to side.
Mirror Operation
The mirror automatically changes to reduce glare from
headlamps behind you. A time delay feature prevents
rapid changing from the day to night positions while
driving under lights and through traffic.
[(On/Off):The automatic dimming feature is
automatically activated when the vehicle is started.
The automatic dimming feature is turned on or off
by pressing this button located on the lower part
of the mirror. Press and hold the button for up to
three seconds to turn this feature on or off.
T(Indicator Light):This light will turn on when the
automatic dimming feature is on.
+(Map Lamps):Press this button to turn the map
lamps on and off.
Press the two outside mirror buttons to light the
transmission positions on the console.
Cleaning the Mirror
When cleaning the mirror, use a paper towel or similar
material dampened with glass cleaner. Do not spray
glass cleaner directly on the mirror as this could damage
the mirror housing.
2-28
Page 87 of 388

Outside Power Heated Mirrors
The vehicle has outside heated power mirrors.
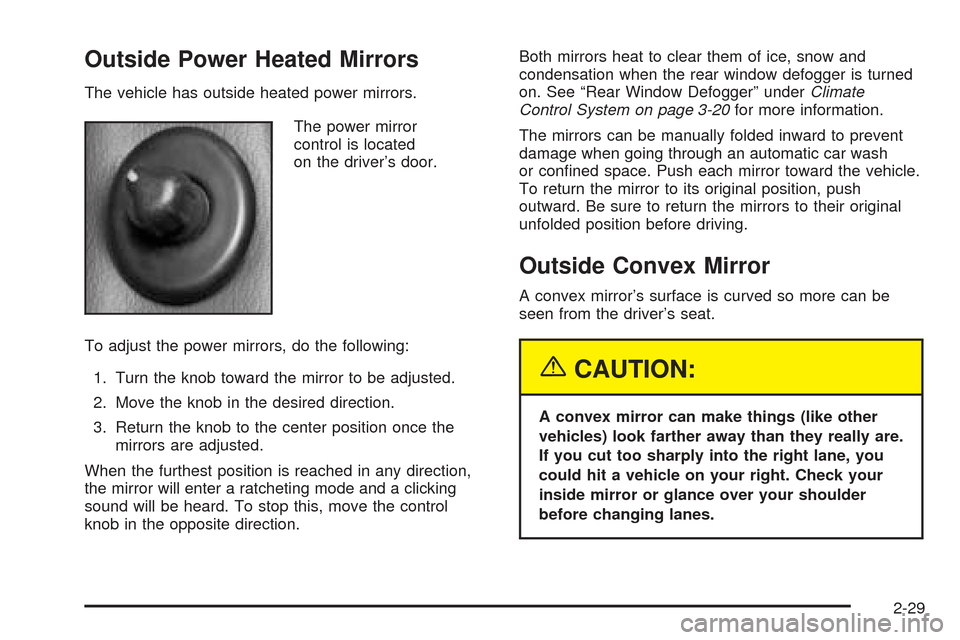
The power mirror
control is located
on the driver’s door.
To adjust the power mirrors, do the following:
1. Turn the knob toward the mirror to be adjusted.
2. Move the knob in the desired direction.
3. Return the knob to the center position once the
mirrors are adjusted.
When the furthest position is reached in any direction,
the mirror will enter a ratcheting mode and a clicking
sound will be heard. To stop this, move the control
knob in the opposite direction.Both mirrors heat to clear them of ice, snow and
condensation when the rear window defogger is turned
on. See “Rear Window Defogger” underClimate
Control System on page 3-20for more information.
The mirrors can be manually folded inward to prevent
damage when going through an automatic car wash
or con�ned space. Push each mirror toward the vehicle.
To return the mirror to its original position, push
outward. Be sure to return the mirrors to their original
unfolded position before driving.
Outside Convex Mirror
A convex mirror’s surface is curved so more can be
seen from the driver’s seat.
{CAUTION:
A convex mirror can make things (like other
vehicles) look farther away than they really are.
If you cut too sharply into the right lane, you
could hit a vehicle on your right. Check your
inside mirror or glance over your shoulder
before changing lanes.
2-29
Page 88 of 388

Outside Automatic Dimming
Heated Mirror
If the vehicle has this feature, the driver’s side outside
rearview mirror will adjust for the glare of headlamps
from behind by pushing the on and off settings on the
mirror. SeeAutomatic Dimming Rearview Mirror
with HomeLink
®on page 2-28for more information.
Both outside mirrors are also heated when the
rear window defogger is turned on. See “Rear Window
Defogger” underClimate Control System on page 3-20.
The mirrors can be manually folded inward to prevent
damage when going through an automatic car wash.
To fold, push the mirror toward the vehicle. To return
the mirror to its original position, push outward. Be sure
to return the mirrors to their original unfolded position
before driving.
HomeLink®Transmitter
HomeLink®
If your vehicle has this feature, the HomeLink®
transmitter buttons are located on the automatic
dimming rearview mirror. The three buttons on the left
side of the mirror are the HomeLink
®transmitter buttons.
HomeLink
®, a combined universal transmitter and
receiver, provides a way to replace up to three
hand-held transmitters used to activate devices such
as gate operators, garage door openers, entry door
locks, security systems and home lighting. Additional
HomeLink
®information can be found on the Internet at
www.homelink.com or by calling 1-800-355-3515.
2-30
Page 93 of 388

Storage Areas
Glove Box
To open the glove box, pull on the lever. Use your
door key to lock or unlock it.
Cupholder(s)
Your vehicle has one cupholder located on your
instrument panel and one cupholder that is removable
and snaps to the passenger’s side of the center console
in the bracket provided.
To open the cupholder on the instrument panel, push
in the center of the cupholder door. The cupholder
will then release and move outward toward you for
use. To return the cupholder to its closed position,
push in the center of the cupholder door near the top.
If you press in the center middle of the cupholder
door, the cupholder will not close properly.
Instrument Panel Storage Area
There is a storage tray located to the right of the
steering wheel on the instrument panel. Press on the
tray to release it. The tray will slide out of the instrument
panel toward you. You can then put small items into
the tray. To close the tray, push forward on the center of
the tray until it latches back into the instrument panel.
Center Console Storage Area
Your center console has a storage area that can be
locked and unlocked with the center console storage
key. SeeKeys on page 2-3for more information.
Map Pocket
The map/storage pockets are located on both the driver
and passenger side doors.
2-35
Page 124 of 388

Horn
To sound the horn, press the horn symbol on the
steering wheel pad.
Tilt Wheel
A tilt wheel allows you to adjust the steering wheel before
you drive. You can raise it to the highest level to allow
more room for the driver to enter and exit the vehicle.The tilt lever is located on
the driver's side of the
steering column, under the
turn signal lever.
To tilt, hold the steering wheel and pull the tilt lever
toward you. Move the wheel to a comfortable level, then
release the tilt lever to lock the wheel in place.
Turn Signal/Multifunction Lever
The lever on the left side of the steering column
includes the following:
·GTurn and Lane Change Signals.Turn and
Lane-Change Signals on page 3-7
.
·3Headlamp High/Low-Beam Changer.Headlamp
High/Low-Beam Changer on page 3-8
.
·Flash-to-Pass Feature. SeeFlash-to-Pass on
page 3-8
.
·NWindshield Wipers. SeeWindshield Wipers on
page 3-8
.
3-6
Page 126 of 388

Headlamp High/Low-Beam Changer
To change the headlamps from low to high beam,
push the lever toward the instrument panel. To return
to low-beam headlamps, pull the multifunction lever
toward you. Then release it.When the high beams are
on, this indicator light on
the instrument panel
cluster will also be on.
Flash-to-Pass
This feature lets you use your high-beam headlamps to
signal a driver in front of you that you want to pass.
It works even if your headlamps are in the automatic
position.
To use it, pull the turn signal lever toward you, then
release it.
If your headlamps are in the automatic position or on
low beam, your high-beam headlamps will turn on.
They'll stay on as long as you hold the lever toward you. The high-beam indicator on the instrument panel cluster
will come on. Release the lever to return to normal
operation.
Windshield Wipers
N(Windshield Wipers):
To use the windshield
wipers, turn the band with the wiper symbol on it.
8(Mist): For a single wiping cycle, turn the band to
mist. Hold it there until the wipers start. Then let go.
The wipers will stop after one wipe. If you want
more wipes, hold the band on mist longer.
Delayed Wipers: You can set the wiper speed for a long
or short delay between wipes. This can be very useful in
light rain or snow. Turn the band to one of the dashed
marks on the lever to choose the delay time. The closer
to the top of the lever, the shorter the delay.
6(Low Speed): For steady wiping at low speed,
turn the band away from you to the ®rst solid band past
the delay settings.
1(High Speed): For high-speed wiping, turn the
band further, to the second solid band past the
delay settings.
9(Off): Turn the band to this symbol to turn off your
windshield wipers.
3-8
Page 148 of 388

Brake System Warning Light
When the ignition is on, the brake system warning light
will come on when you set your parking brake. See
Parking Brake on page 2-23for more information. The
light will stay on if your parking brake doesn't release
fully. If it stays on after your parking brake is fully
released, it means you have a brake problem.
Your vehicle's hydraulic brake system is divided into
two parts. If one part isn't working, the other part can
still work and stop you. For good braking, though,
you need both parts working well.
If the warning light comes on, there could be a brake
problem. Have your brake system inspected right away. This light should come on brie¯y when you turn the
ignition key to RUN. If it doesn't come on then, have it
®xed so it will be ready to warn you if there's a
problem.
If the light comes on while you are driving, pull off the
road and stop carefully. You may notice that the pedal
is harder to push. Or, the pedal may go closer to
the ¯oor. It may take longer to stop. If the light is still
on, have the vehicle towed for service. See
Towing Your
Vehicle on page 4-34.
{CAUTION:
Your brake system may not be working
properly if the brake system warning light is
on. Driving with the brake system warning
light on can lead to an accident. If the light
is still on after you have pulled off the road
and stopped carefully, have the vehicle towed
for service.
United States
Canada
3-30
Page 152 of 388

If the Light is Flashing
The following may prevent more serious damage to
your vehicle:
·Reducing vehicle speed
·Avoiding hard accelerations
·Avoiding steep uphill grades
·If you are towing a trailer, reduce the amount of
cargo being hauled as soon as it is possible
If the light stops ¯ashing and remains on steady,
see ªIf the Light Is On Steadyº following.
If the light continues to ¯ash, when it is safe to do so, stop
the vehicle. Find a safe place to park your vehicle. Turn
the key off, wait at least 10 seconds and restart the
engine. If the light remains on steady, see ªIf the Light Is
On Steadyº following. If the light is still ¯ashing, follow the
previous steps, and see your dealer for service as soon
as possible.
If the Light Is On Steady
You may be able to correct the emission system
malfunction by considering the following:
Did you recently put fuel into your vehicle?
If so, reinstall the fuel cap, making sure to fully install
the cap. See
Filling Your Tank on page 5-8. The
diagnostic system can determine if the fuel cap has
been left off or improperly installed. A loose or missing
fuel cap will allow fuel to evaporate into the atmosphere.
A few driving trips with the cap properly installed
should turn the light off.
Did you just drive through a deep puddle of water?
If so, your electrical system may be wet. The condition
will usually be corrected when the electrical system
dries out. A few driving trips should turn the light off.
3-34
Page 179 of 388

Setting Preset Stations
Up to 18 stations (six FM1, six FM2, and six AM), can
be programmed on the six numbered pushbuttons,
by performing the following steps:1. Turn the radio on.
2. Press BAND to select FM1, FM2, or AM.
3. Tune in the desired station.
4. Press AUTO EQ to select the equalization.
5. Press and hold one of the six numbered pushbuttons until you hear a beep. Whenever
that numbered pushbutton is pressed, the station
that was set will return and the equalization that was
selected will be stored for that pushbutton.
6. Repeat the steps for each pushbutton.
Setting the Tone (Bass/Treble)
AUDIO: Push and release the AUDIO knob until BASS
or TREB appears on the display. Turn the knob to
increase or to decrease. The display will show the bass
or the treble level. If a station is weak or noisy,
decrease the treble.
To adjust the bass and the treble to the middle position,
push and hold the AUDIO knob. The radio will produce
one beep. To adjust all tone and speaker controls to the middle
position, push and hold the AUDIO knob when no tone
or speaker control is displayed. ALL will appear on
the display and you will hear a beep.
AUTO EQ (Automatic Equalization):
Press this button
to select customized equalization settings designed
for country/western, jazz, talk, pop, rock, and classical.
To return the bass and treble to the manual mode,
push and release the AUDIO knob until MANUAL
appears on the display.
Adjusting the Speakers (Balance/Fade)
AUDIO: To adjust the balance between the right
and the left speakers, push and release the AUDIO
knob until BAL appears on the display. Turn the knob to
move the sound toward the right or the left speakers.
To adjust the fade between the front and the rear
speakers, push and release the AUDIO knob until FADE
appears on the display. Turn the knob to move the
sound toward the front or the rear speakers.
To adjust the balance and the fade to the middle
position, push the AUDIO knob, then push it again and
hold it until you hear one beep.
To adjust all tone and speaker controls to the middle
position, push and hold the AUDIO knob when no tone
or speaker control is displayed. ALL will appear on
the display and you will hear a beep.
3-61