turn signal CHEVROLET SUBURBAN 1994 Owners Manual
[x] Cancel search | Manufacturer: CHEVROLET, Model Year: 1994, Model line: SUBURBAN, Model: CHEVROLET SUBURBAN 1994Pages: 385, PDF Size: 19.88 MB
Page 9 of 385
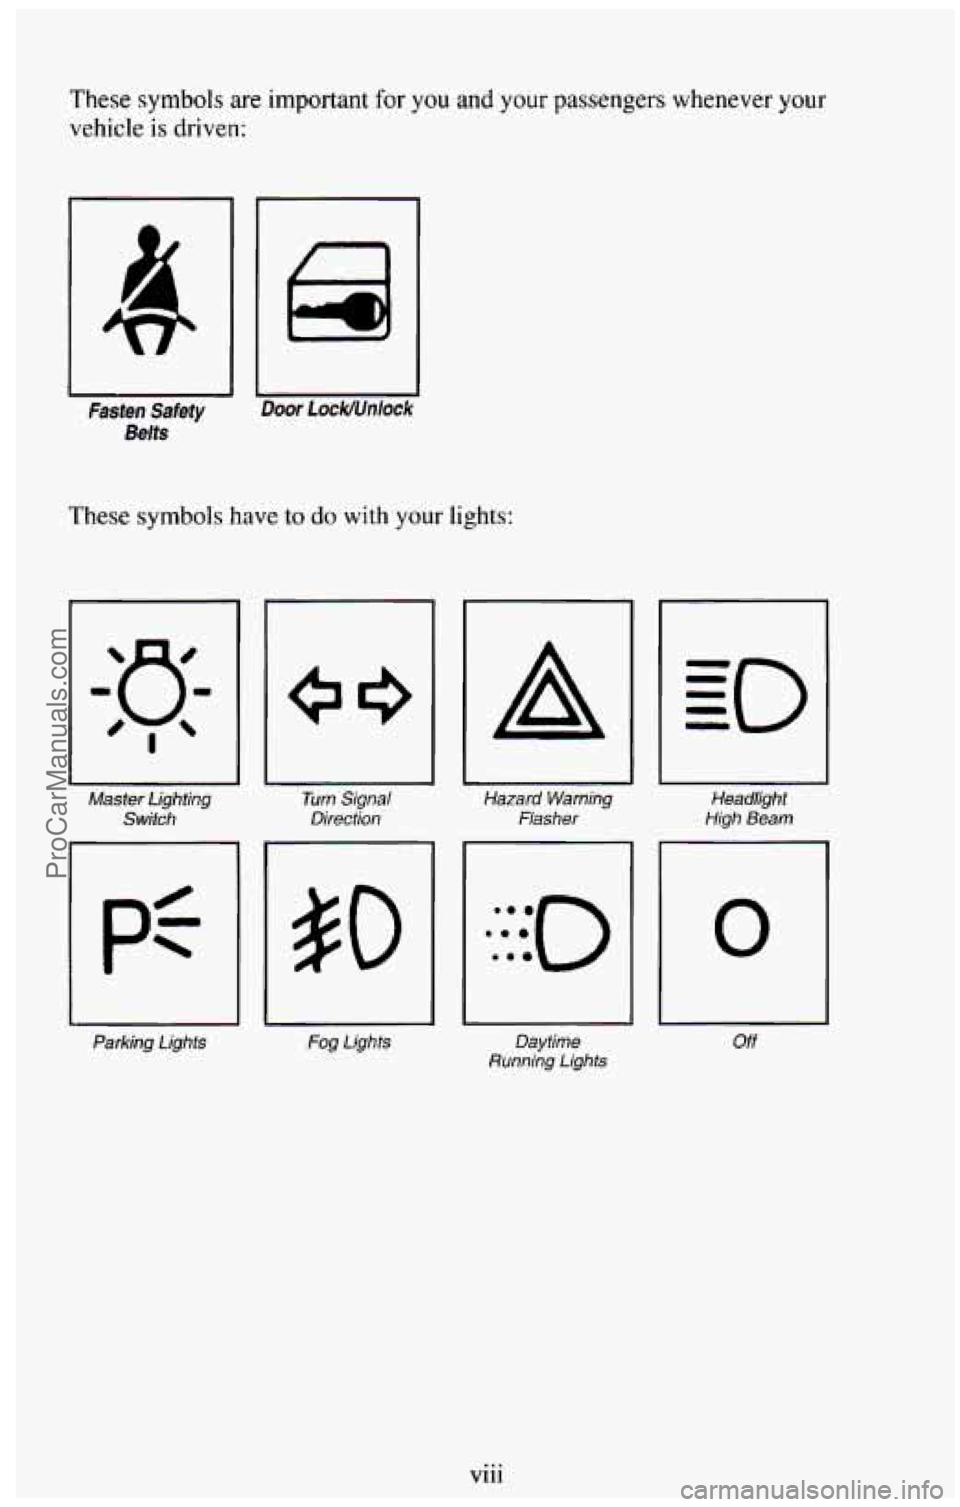
These symbols are important for you and your passengers whenever your
vehicle is driven:
IC I
Fasten Safety Door 1 ock/Unlock
Belts
These symbols have to do with your lights:
Master Lighting
Switch
Parking Lights
I
Turn Signal
Direction
Fog Lights
A
U
Hazard Warning
Flasher
1
Headlight
High Beam
Daytime
Running Lights
0
Off
Vlll ...
ProCarManuals.com
Page 57 of 385
Parking Over Things That Burn ........................ ... 2-30
Running Your Engine While You’re Parked
..................... 2-31
EngineExhaust
........................................... 2-31
Four-WheelDrive
..................................... 2-32
Transfer Case
............................................. 2-33
Front Axle Locking Feature
.................................. 2-34
Windows
................................................ 2-35
Ho~ .................................................... 2-37
Tiltwheel
............................................. 2-37
Multifunction Lever
........................................ 2-38
Turn Signal and Lane Change Indicator
...................... 2-39
Windshield Wipers
......................................... 240
Headlight
High-Low Beam
................................ 2-40
Windshield Washer
........................................ 2-41
Cruise Control
........................................... 2-42
Headlights and Vehicle Lighting
.............................. 247
Mirrors
.................................................. 2-51
SunVisors
............................................... 2-53
Rear Window Wiper and Washer
.............................. 2-54
Storage Compartments
...................................... 2-56
Instrument Cluster
......................................... 2-64
Warning and Indicator Lights
.............................. 2-66
Luggagecarrier
........................................... 2-79
Trailer Wiring Harness
.................................... 2-80
Cigarette LightedAshtrays
............... ................ 2-55
Gages
................................................ 2-74
ProCarManuals.com
Page 93 of 385
Multifunction Lever
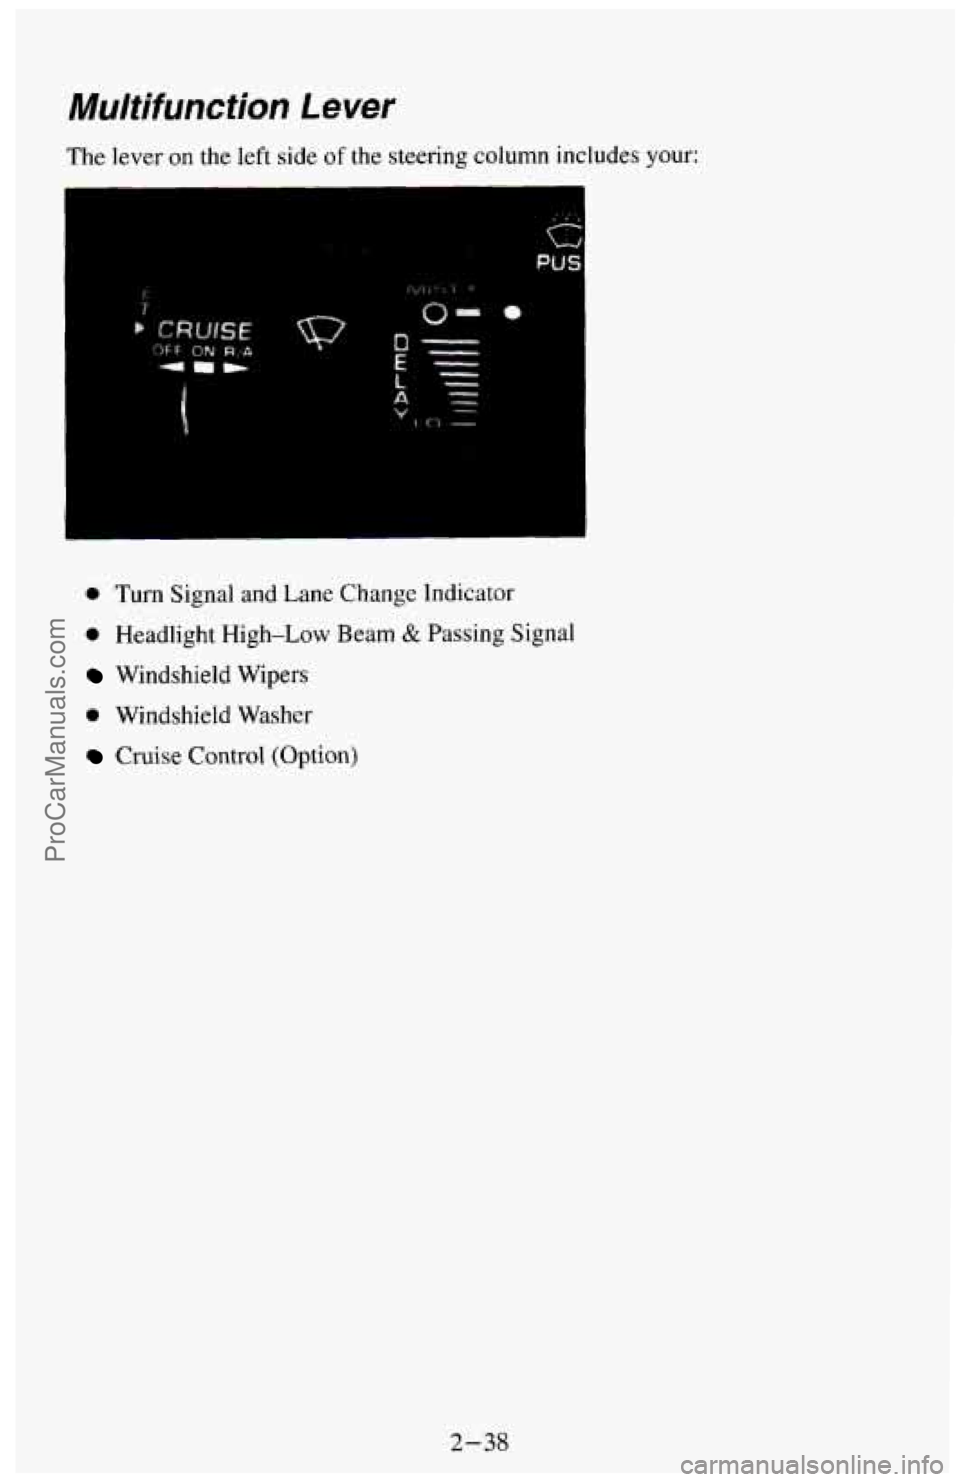
The lever on the left side of the steering column includes your:
h I
0 Turn Signal and Lane Change Indicator
0 Headlight High-Low Beam & Passing Signal
Windshield Wipers
0 Windshield Washer
Cruise Control (Option)
2-38
ProCarManuals.com
Page 94 of 385
Turn Signal and Lane Change lndicator
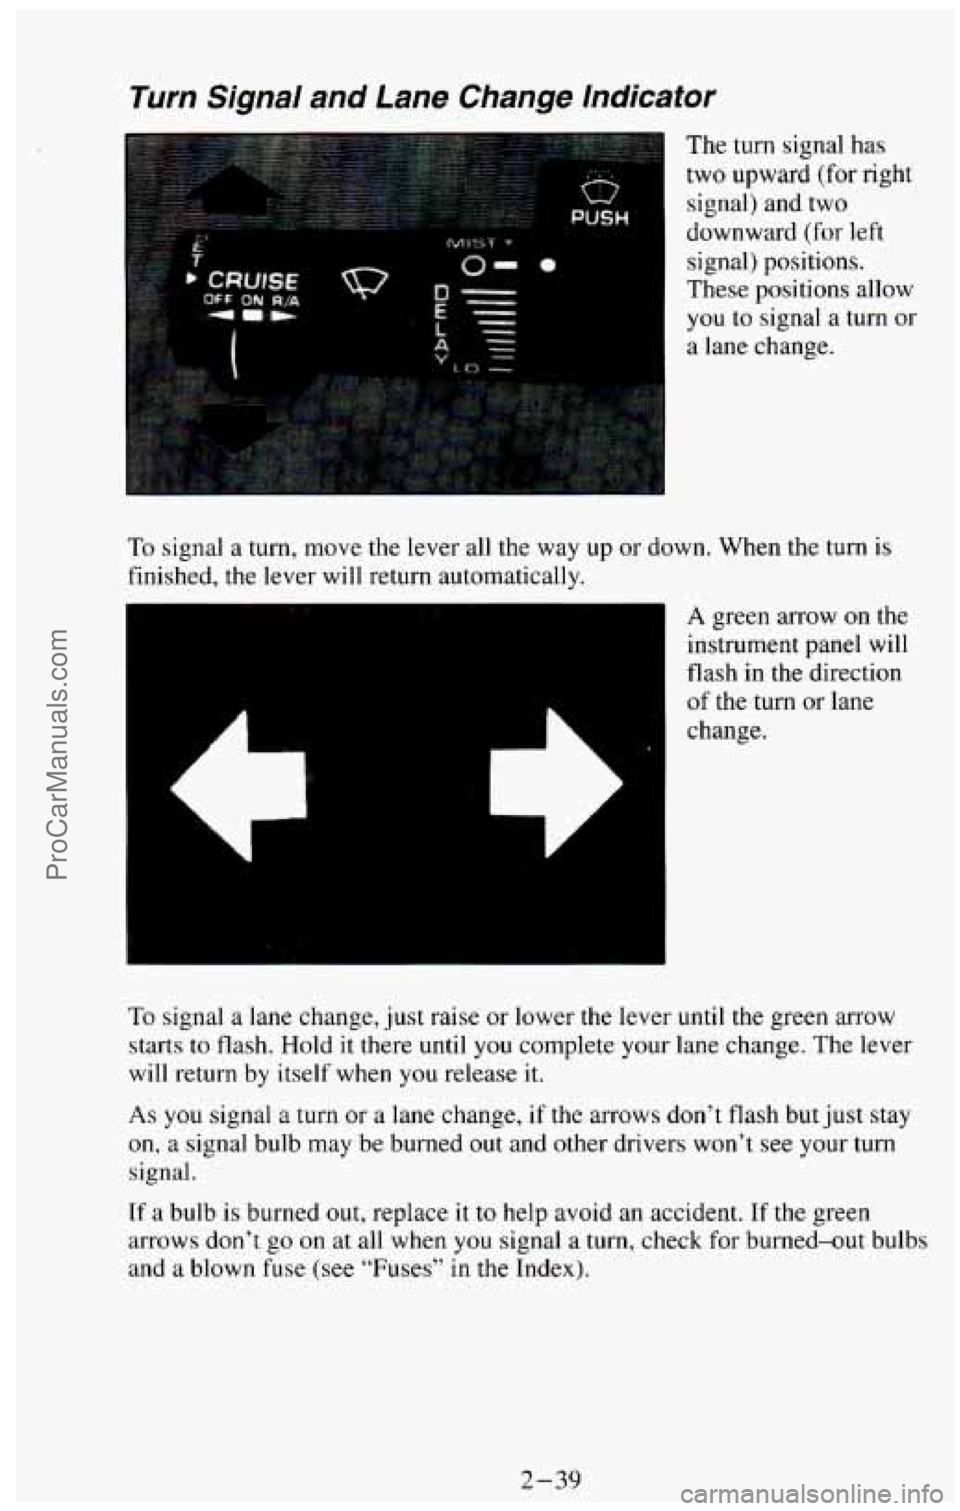
The turn signal has
two upward (for right
signal) and two
downward
(for left
signal) positions.
These positions allow
you to signal a turn or
a lane change.
To signal a turn, move the lever all the way up or down. When the turn
is
finished, the lever will return automatically.
A green arrow on the
instrument panel will
flash in the direction
of the turn or lane
change.
To signal a lane change, just raise or lower the lever until the green arrow
starts to flash. Hold it there until
you complete your lane change. The lever
will return by itself when
you release it.
As you signal a turn or a lane change, if the arrows don’t flash but just stay
on, a signal bulb may be burned out and other drivers won’t see your turn
signal.
If a bulb is burned out, replace it to help avoid an accident. If the green
arrows don’t
go on at all when you signal a turn, check for burned-out bulbs
and a blown fuse (see “Fuses” in
the Index).
2-39
ProCarManuals.com
Page 95 of 385
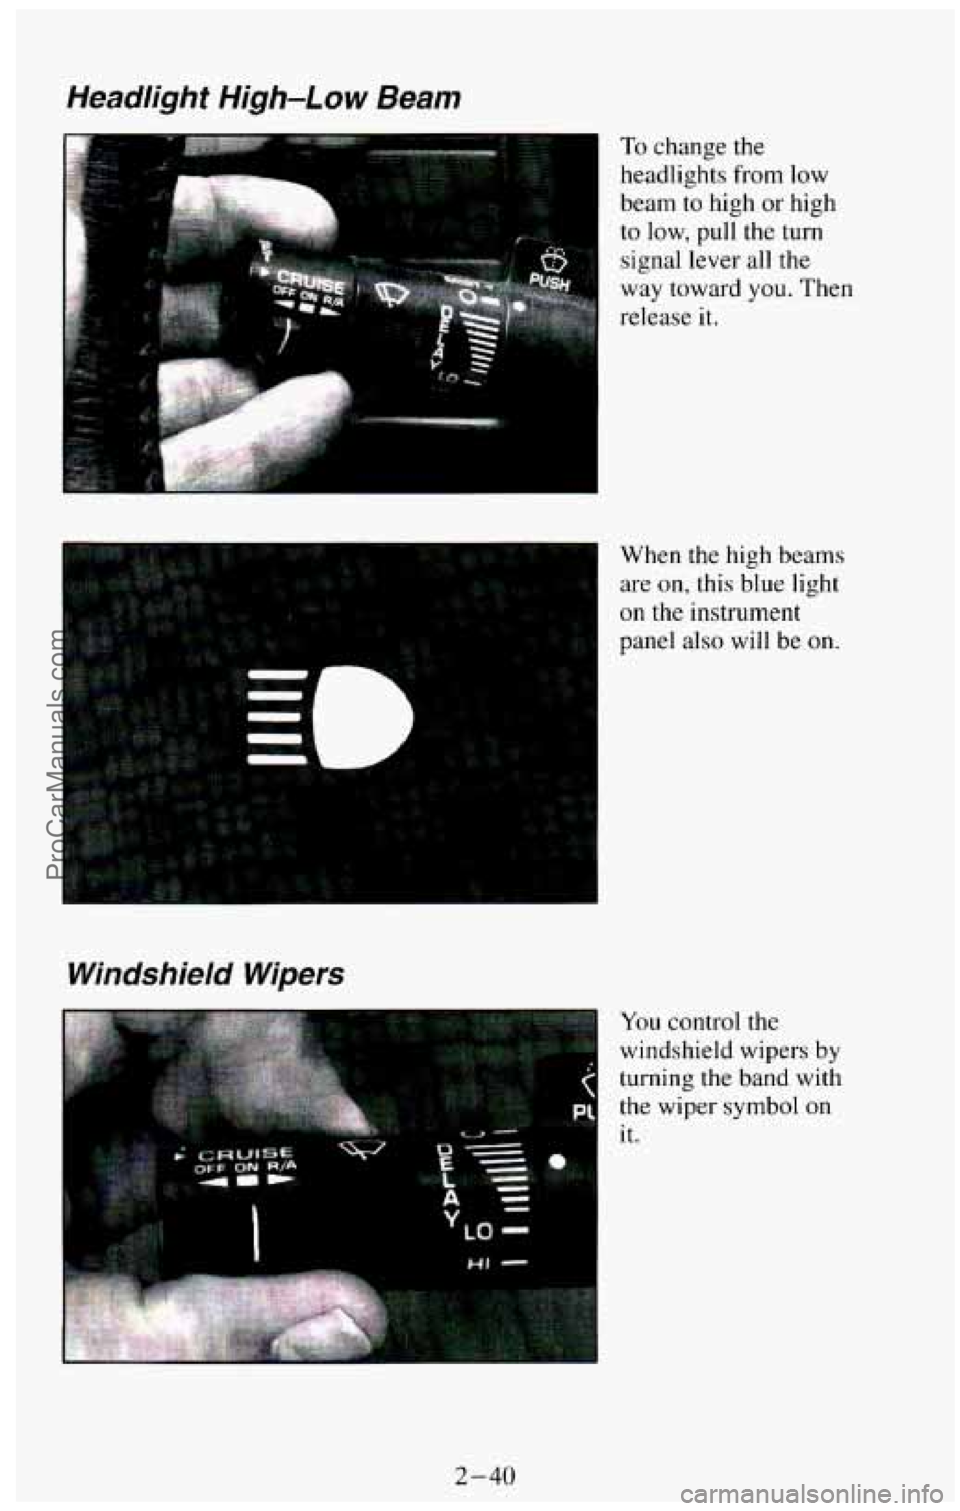
Headlight High-Low Beam
Windshield Wipers
To change the
headlights from low
beam to high
or high
to low, pull the turn
signal lever
all the
way toward
you. Then
release it.
When
the high beams
are on, this blue light
on the instrument
panel also will be on.
You control the
windshield wipers
by
turning the band with
the wiper symbol on
it.
2-40
ProCarManuals.com
Page 102 of 385
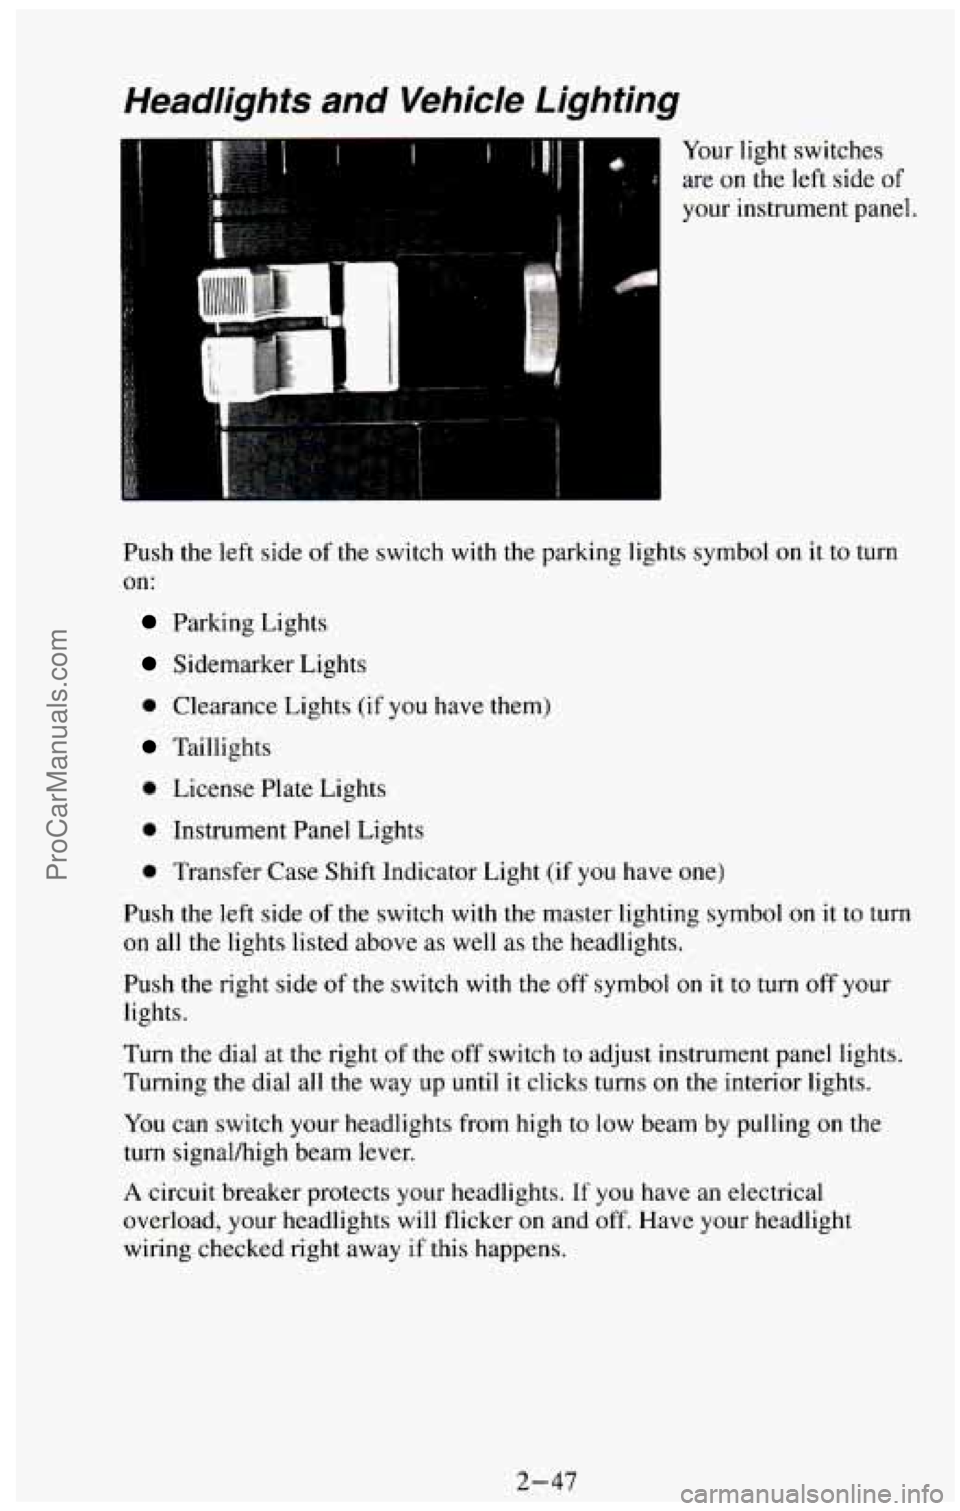
Headlights and Vehicle Lighting
Your light switches
are
on the left side of
your instrument panel.
Push the left side of the switch with the parking lights symbol on it to turn
on:
Parking Lights
Sidemarker Lights
0 Clearance Lights (if you have them)
Taillights
0 License Plate Lights
0 Instrument Panel Lights
0 Transfer Case Shift Indicator Light (if you have one)
Push the left side of the switch with the master lighting symbol
on it to turn
on all the lights listed above as well as the headlights.
Push the right side
of the switch with the off symbol on it to turn off your
lights.
Turn the dial at
the right of the off switch to adjust instrument panel lights.
Turning the dial all the way up until it clicks turns
on the interior lights.
You
can switch your headlights from high to low beam by pulling on the
turn signal/high beam lever.
A circuit breaker protects your headlights. If you have an electrical
overload, your headlights will flicker
on and off. Have your headlight
wiring checked right away
if this happens.
2-47
ProCarManuals.com
Page 121 of 385
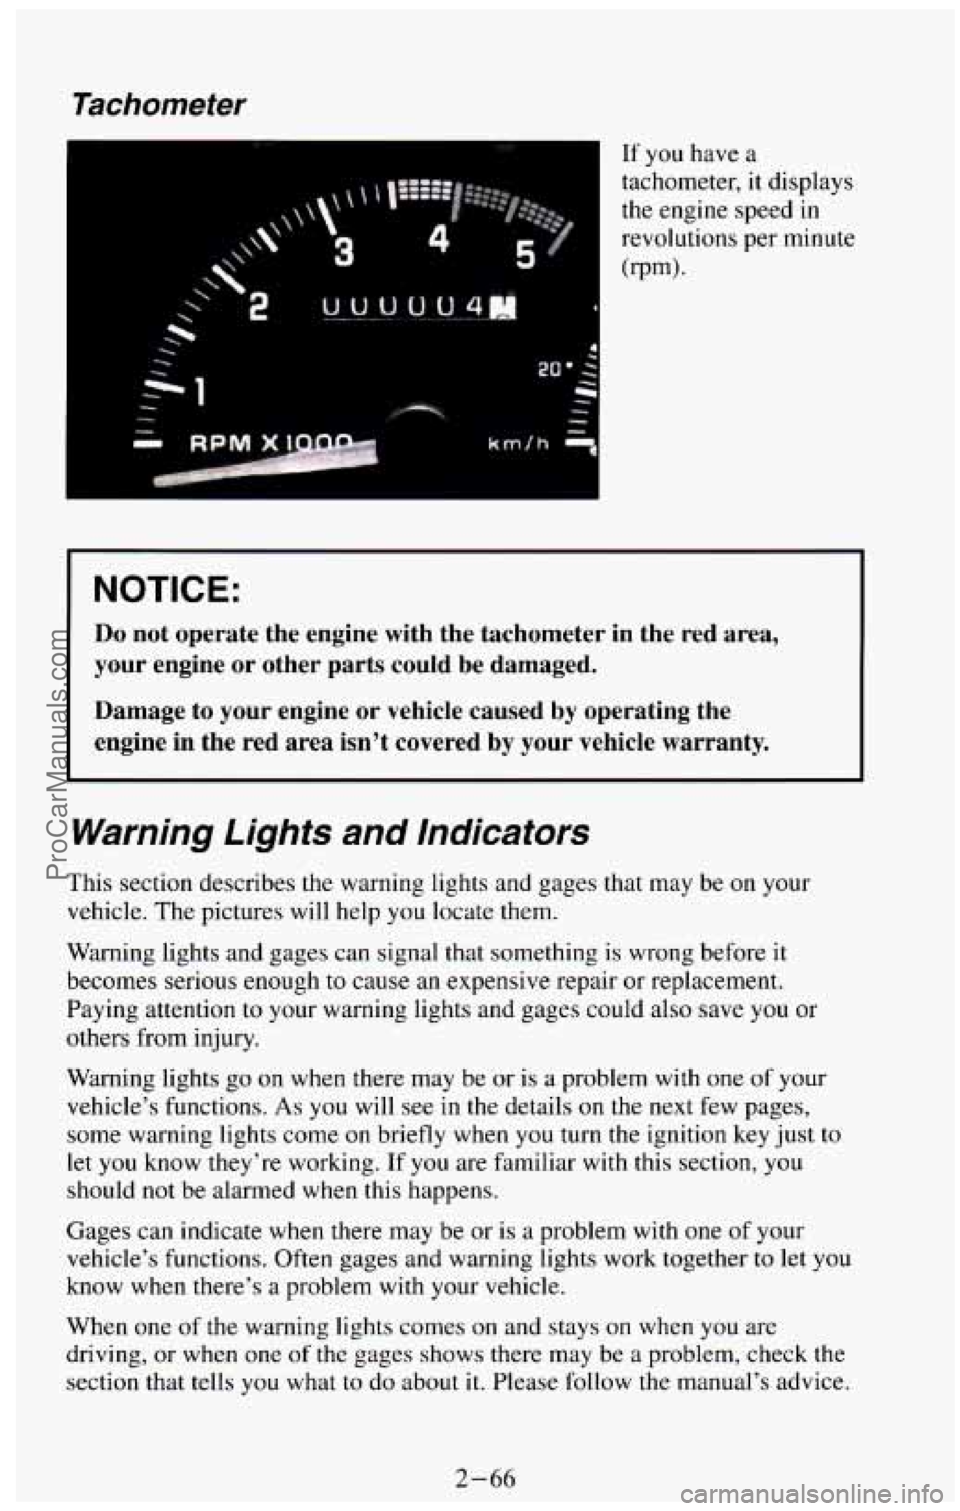
Tachometer
4
If you have a
tachometer,
it displays
the engine speed in
revolutions per minute
(rpm).
I NOTICE:
Do not operate the engine with the tachometer in the red area,
your engine
or other parts could be damaged.
Damage to your engine
or vehicle caused by operating the
engine in the red area isn't covered by your vehicle warranty.\
Warning Lights andl Indicators
This section describes the warning lights and gages that may be on your
vehicle. The pictures will help you locate them.
Warning lights and gages can signal that something
is wrong before it
becomes serious enough to cause
an expensive repair or replacement.
Paying attention to your warning lights and gages could also save you or
others from injury.
Warning lights
go on when there may be or is a problem with one of your
vehicle's functions.
As you will see in the details on the next few pages,
some warning lights come on briefly when you turn the ignition key
just to
let you know they're working. If you are familiar with this section, you
should not be alarmed when this happens.
Gages can indicate when there may be or is a problem with one of your
vehicle's functions. Often gages and warning lights work together
to let you
know when there's
a problem with your vehicle.
When one
of the warning lights comes on and stays on when you are
driving,
or when one of the gages shows there may be a problem, check the
section that tells you what to
do about it. Please follow the manual's advice.
2-66
ProCarManuals.com
Page 123 of 385
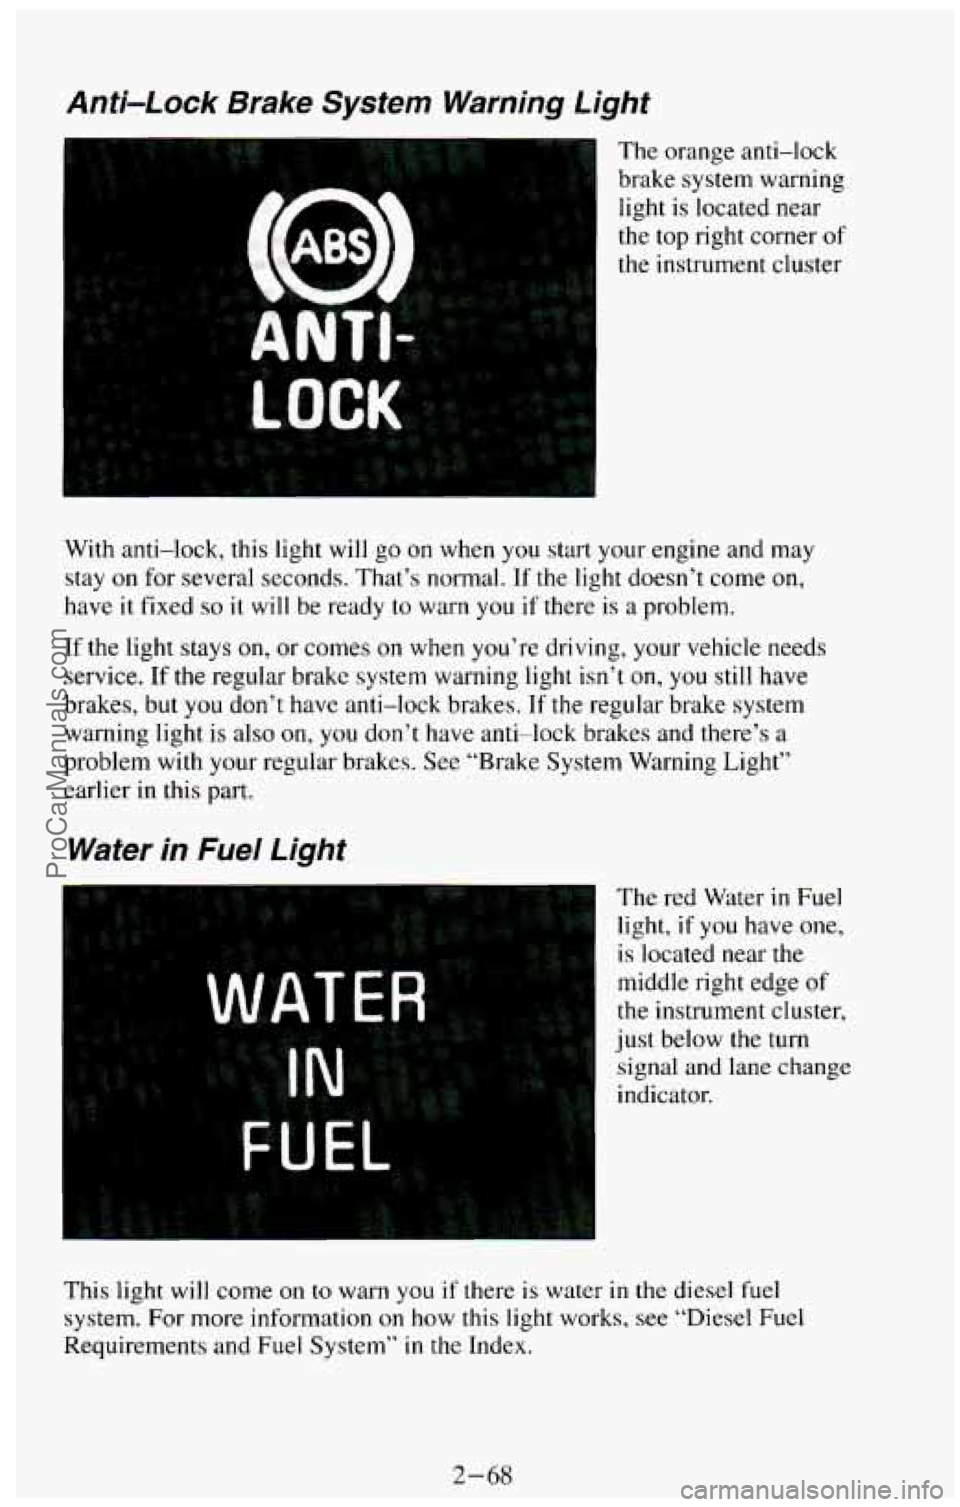
Anti-Lock Brake System Warning Light
The orange anti-lock
brake system warning light is located near
the top right corner
of
the instrument cluster
mi
With anti-lock, this light will go on when you start your engine and may
stay
on for several seconds. That’s normal. If the light doesn’t come on,
have it fixed
so it will be ready to warn you if there is a problem.
If the light stays on, or comes on when you’re driving, your vehicle needs
service.
If the regular brake system warning light isn’t on, you still have
brakes, but you don’t have anti-lock brakes. If the regular brake system
warning light is also
on, you don’t have anti-lock brakes and there’s a
problem with your regular brakes. See “Brake System Warning Light’’
earlier in this part.
Water in Fuel Light
The red Water in Fuel
light, if
you have one,
is located near the
middle right edge of
the instrument cluster,
just below the turn
signal and lane change
indicator.
This light will come on
to warn you if there is water in the diesel fuel
system.
For more information on how this light works, see “Diesel Fuel
Requirements and Fuel System”
in the Index.
2-68
ProCarManuals.com
Page 130 of 385
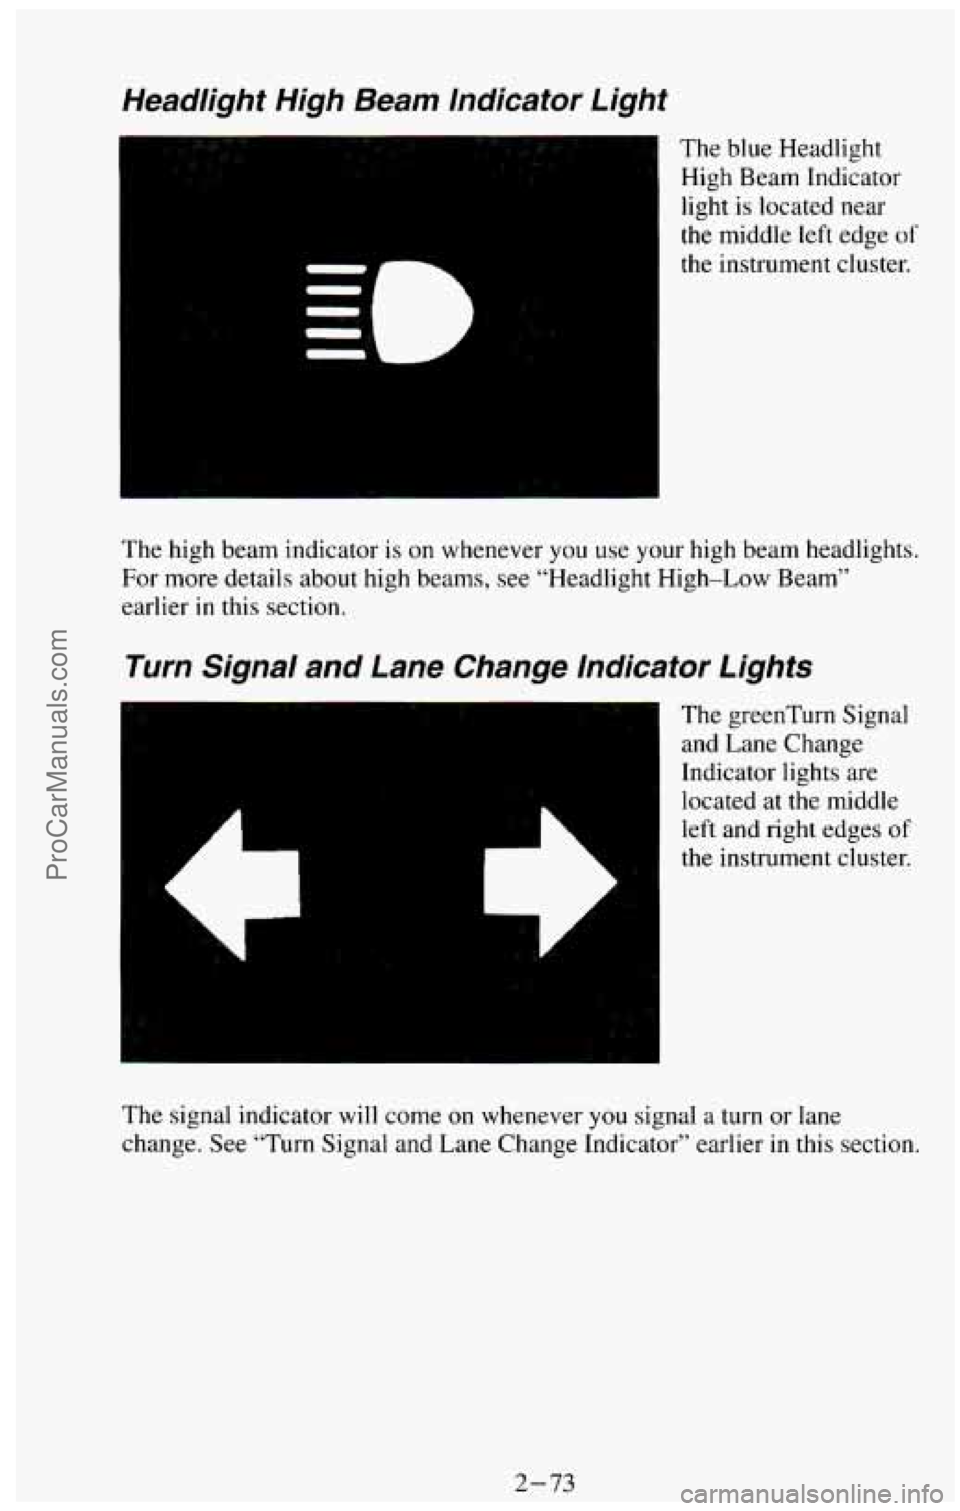
Headlight High Beam Indicator Light
The blue Headlight
High Beam Indicator
light
is located near
the middle left edge of
the instrument cluster.
The high beam indicator
is on whenever you use your high beam headlights.
For more details about high beams, see “Headlight High-Low Beam”
earlier
in this section.
Turn Signal and Lane Change lndicator Lights
(I
The greenTurn Signal
and Lane Change
Indicator lights are
located at the middle
left and right edges
of
the instrument cluster.
The signal indicator will come
on whenever you signal a turn or lane
change. See “Turn Signal and Lane Change Indicator” earlier
in this section.
2-73
ProCarManuals.com
Page 156 of 385
Stereo (AM)
Your Delco@ radio can receive C-QUAM@stereo broadcasts. Many AM
stations around the country use C-QUAM@to produce stereo, though
some
do not. If your Delco@ system can get C-QUAM@ signals, your
“STEREO” light will come on when you are receiving stereo. (C-QUAM@
is a registered trademark of Motorola Inc.).
VOL Button
The VOL button controls the volume. Pressing VOL “+.I’ increases volume;
VOL “-” decreases volume.
TUNE Button
To tune in radio stations, press the TUNE button. TUNE “+” increases
radio station frequency;
TUNE “-’, decreases radio station frequency.
BAUFADE Buttons
To balance and fade the sound between the lefthight or fronthear speakers,
use the four buttons
with the speaker symbols on them. Press the left and
right buttons to adjust the left and right speaker balance. Pressing
the top
and bottom
buttons adjusts the front and rear speaker volume balance, or
fade. The relative balance and fade adjustments are shown on the electronic
display.
Pushbuttons
The six pushbuttons let you return to favorite stations. You can set the
pushbuttons for up to twelve favorite stations (6 AM and 6 FM). To set the
pushbuttons, just:
Tune in the station you want.
Press the SET button. (SET appears in the electronic display for a few
seconds.)
0 Within 5 seconds, push one of the six pushbuttons to store the station.
After that, whenever you press that button, the preset station will
return.
Clock
To set the clock, just:
Press the SET button. The word SET will light up in the electronic
display.
hour appears on the display.
Within 5 seconds, press and hold the SEEK button until the correct
3-19
ProCarManuals.com