wiring CHEVROLET SUBURBAN 1997 Owners Manual
[x] Cancel search | Manufacturer: CHEVROLET, Model Year: 1997, Model line: SUBURBAN, Model: CHEVROLET SUBURBAN 1997Pages: 433, PDF Size: 21.49 MB
Page 80 of 433
It can be dangerous to drive with the tailgate
glass, tailgate or rear doors open because carbon
monoxide (CO) gas can come into your vehicle.
You can’t see or smell CO. It can cause
unconsciousness and even death.
If you must drive with the tailgate glass, tailgate
or rear doors open or if electrical wiring or other
cable connections must pass through the seal
between the body and the tailgate glass, tailgate
or rear doors:
Make sure all windows are shut.
firn the fan on your heating or cooling
system to its highest speed with the setting
on VENT. That will force outside air into
your vehicle. See “Comfort Controls” in
the Index.
instrument panel, open them all the
way.
If you have air outlets on or under the
See “Engine Exhaust” in the Index.
Tailgate Glass and Tailgate
If your vehicle has a tailgate, you must raise the rear
glass before lowering the tailgate.
To open the glass from the outside, use your key. With
the key
in the lock, turn the key clockwise to release the
glass, then lift it up.
To release the glass from the inside, use the electric
tailgate glass release switch on the instrument panel. For
more information, see “Tailgate
-- Electric Glass
Release” in the Index.
To open the tailgate, lift up on the handle while pulling
the tailgate toward you.
Close the tailgate before closing the rear glass. After
closing the tailgate, make sure the tailgate is securely
latched by pulling it toward
you. After closing the rear
glass, pull up on its handle to make sure it is locked.
2-9
ProCarManuals.com
Page 111 of 433
Erasing Speed Memory
When you turn off the cruise control or the ignition,
your cruise control set speed memory is erased.
Lamps
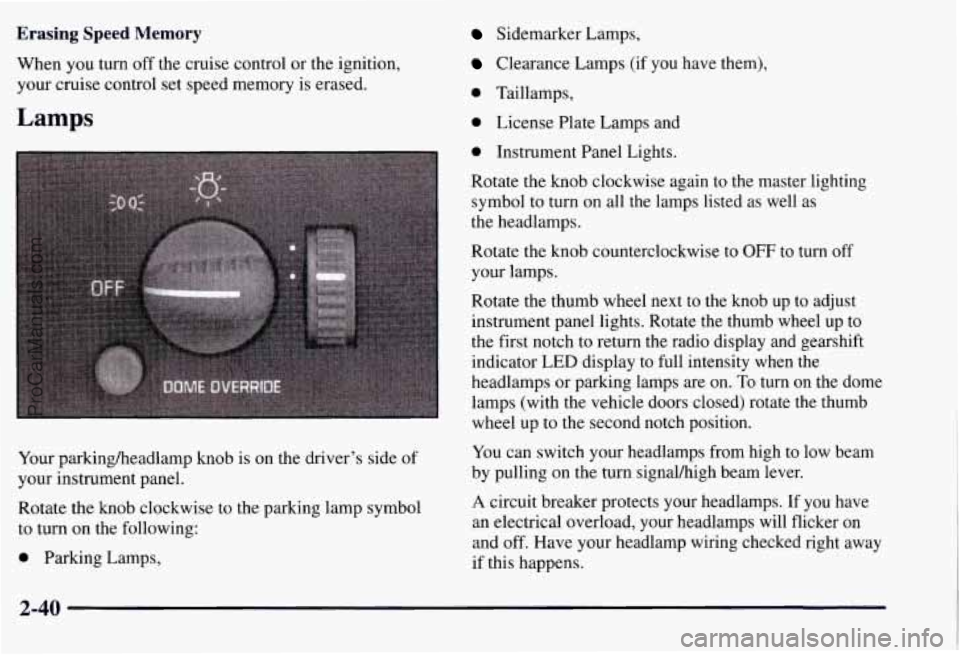
Your parkingheadlamp knob is on the driver’s side of
your instrument panel.
Rotate the knob clockwise to the parking lamp symbol
to turn on the following:
0 Parking Lamps,
Sidemarker Lamps,
Clearance Lamps (if you have them),
0 Taillamps,
0 License Plate Lamps and
0 Instrument Panel Lights.
Rotate the knob clockwise again to the master lighting
symbol to turn on all the lamps listed as well as
the headlamps.
Rotate the knob counterclockwise to
OFF to turn off
your lamps.
Rotate the thumb wheel next to the knob up to adjust
instrument panel lights. Rotate the thumb wheel up to
the first notch to return the radio display and gearshift
indicator LED display to full intensity when the
headlamps or parking lamps are on.
To turn on the dome
lamps (with the vehicle doors closed) rotate the thumb
wheel up to the second notch position.
You can switch your headlamps from high to low beam
by pulling on the turn signal/high beam lever.
A circuit breaker protects your headlamps. If you have
an electrical overload, your headlamps will flicker
on
and off. Have your headlamp wiring checked right away
if this happens.
2-40
ProCarManuals.com
Page 136 of 433
Air Bag Readiness Light
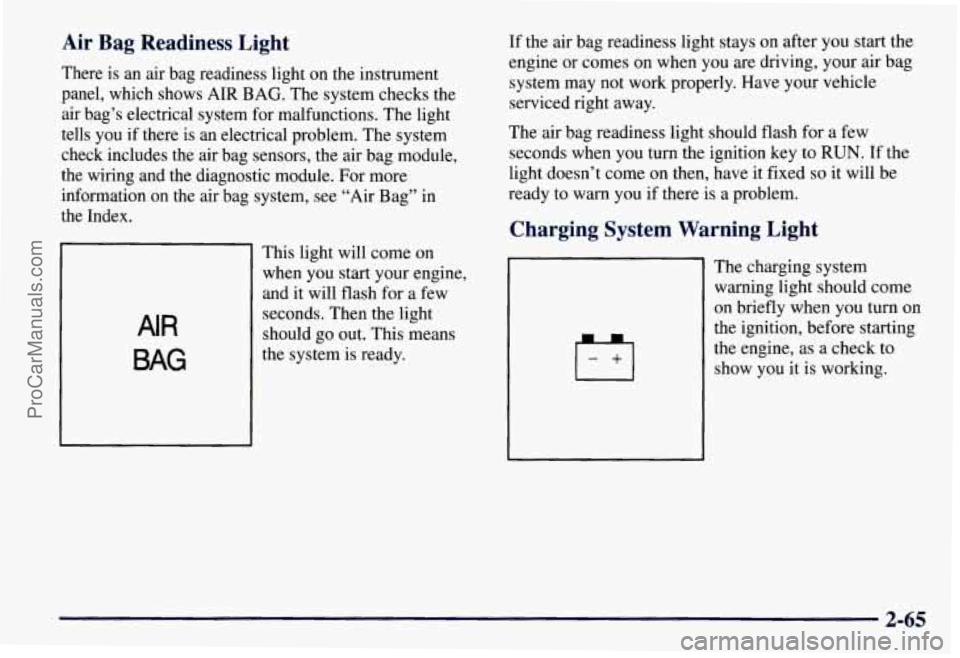
There is an air bag readiness light on the instrument
panel, which shows
AIR BAG. The system checks the
air bag’s electrical system for malfunctions. The light
tells you if there is an electrical problem. The system
check includes the air bag sensors, the air bag module,
the wiring and the diagnostic module. For more
information on the air bag system, see “Air Bag” in
the Index.
AIR
BAG
This light will come on
when
you start your engine,
and it will flash for a few
seconds. Then the light
should go out. This means
the system is ready. If
the air bag readiness light stays on after you start the
engine or comes on when you are driving, your air bag
system may not work properly. Have your vehicle
serviced right away.
The air bag readiness light should flash for a few
seconds when you turn the ignition key to
RUN. If the
light doesn’t come on then, have it fixed
so it will be
ready to warn you
if there is a problem.
Charging System Warning Light
The charging system
warning light should come
on briefly when you turn on
the ignition, before starting
the engine, as a check to
show you it is working.
2-65
ProCarManuals.com
Page 233 of 433
When You Are Ready to Leave After
Parking
on a Hill
1. Apply your regular brakes and hold the pedal down
while you:
Start your engine;
0 Shift into a gear; and
0 Release the parking brake.
2. Let up on the brake pedal.
3. Drive slowly until the trailer is clear of the chocks.
4. Stop and have someone pick up and store the chocks.
Maintenance When Trailer Towing
Your vehicle will need service more often when you’re
pulling a trailer. See the Maintenance Schedule for more
on this. Things that are especially important in trailer
operation are automatic transmission fluid (don’t
overfill), engine oil, axle lubricant, belt, cooling system
and brake adjustment. Each
of these is covered in this
manual, and the Index will help you find them quickly.
If you’re trailering, it’s a good idea to review these
sections before you start your trip.
Check periodically to see that all hitch nuts and bolts
are tight.
Trailer Wiring Harness
A seven-wire harness is stored under the rear of your
vehicle, between the frame rails. An electrical connector
will need to be added at the trailer end
of the harness, by
a qualified electrical technician. For additional trailer
wiring and towing information, please consult your
dealer. Securely attach the harness to the trailer, then
tape or strap it to your vehicle’s frame rail. Be sure you
leave it loose enough
so the wiring won’t bind or break
when turning with the trailer, but not
so loose that it
drags on the ground. Store the harness in its original
position. Wrap the harness together and tie it neatly
so it
won’t be damaged. If you tow a trailer, your Center
High-Mounted Stoplamp (CHMSL) may not be
properly visible from behind. You should select a trailer
with a CHMSL
on it or, if one is not available, have one
installed. See your GM dealer about how to connect
your vehicle’s wiring to
a trailer CHMSL.
4-54
ProCarManuals.com
Page 341 of 433
Electrical System
Add-on Electrical Equipment
NOTICE:
Don’t add anything electrical to your vehicle
unless you check with your dealer first. Some
electrical equipment can damage your vehicle
and the damage wouldn’t be covered by your
warranty. Some add-on electrical equipment
can keep other components from working as
they should.
Your vehicle has an air bag system. Before attempting to
add anything electrical to your vehicle, see “Servicing
Your Air Bag-Equipped Vehicle” in the Index.
Headlamps
The headlamp wiring is protected by a circuit breaker in
the lamp switch. An electrical overload will cause the
lamps to flicker on and off, or in some cases to remain
off. If this happens, have your headlamp wiring checked
right away.
Windshield Wipers
The windshield wiper motor is protected by a circuit
breaker and a fuse. If the motor overheats due
to heavy
snow, etc., the wiper will stop until the motor cools.
Although the circuit is protected from electrical
overload, overload due to heavy snow, etc., may cause
wiper linkage damage. Always clear ice and heavy snow
from the the windshield before using the windshield
wipers. If the overload is caused by some electrical
problem and not snow, etc., be sure to get it fixed.
6-62
ProCarManuals.com
Page 342 of 433
Power Windows and Other Power Options
Circuit breakers in the fuse panel protect the power
windows and other power accessories. When the current
load is too heavy, the circuit breaker opens and closes.
This protects the circuit until the current load returns
to
normal or the problem is fixed.
Fuses and Circuit Breakers
The wiring circuits in your vehicle are protected from
short circuits by a combination of fuses, circuit breakers
and fusible thermal links in the wiring itself. This
Instrument Panel Fuse Block
The fuse block access door
is on the driver’s side edge
of the instrument panel. Pull
off the cover to access the
fuse block.
You can remove fuses with
a fuse extractor. The fuse
extractor is mounted to the
fuse block access door.
greatly reduces the chance of fires caused by electrical
problems. See “Fuses and Circuit Breakers” in the Index
for more information.
Look at the silver-colored band inside the fuse. If the
band is broken or melted, replace the fuse. Be sure
you
replace a bad fuse with a new one of the identical size
and rating.
If you ever have a problem on the road and don’t have a
spare fuse, you can “borrow” one that has the same
amperage. Just pick some feature
of your vehicle that
you can get along without
-- like the radio or cigarette
lighter
-- and use its fuse, if it is the correct amperage.
Replace it as soon as you can.
To remove fuses if you don’t have a fuse extractor, hold
the end of the fuse between your thumb and index finger
and pull straight out.
You may have spare fuses attached to the inside of
the fuse block access door. These can be used to
replace a bad fuse. However, make sure that it is the
correct amperage.
6-63
ProCarManuals.com
Page 426 of 433
Gear Positions. Automatic Transmission ............. 2- 16
Gross Axle Weight Rating
........................ 4-42
Gross Vehicle Weight Rating
...................... 4-42
Guide en Franqais
11
GloveBox .................................... 2-48
.. .................................
GVWR ....................................... 4-42
Halogen Bulbs
................................ 6-37
Hazard Warning Flashers
.......................... 5-2
Head Restraints
................................. 1-6
Headlamps .................................... 2-40
Bulb Replacement
.................. 6-37,6-38, 6-67
High/Low Beam Changer
...................... 2-34
On Reminder
................................ 2-41
Wiring
..................................... 6-62
Hearing Impaired, Customer Assistance
.............. 8-4
Heating
........................................ 3-8
High-Beam Headlamps
.......................... 2-34
Highway Hypnosis
.............................. 4-35
Hill and Mountain Roads
......................... 4-36
Hitches, Trailer
................................. 4-49
Hood Checking Things Under
......................... 6-8
Release
...................................... 6-9
Horn
......................................... 2-33
Hydroplaning
.................................. 4-31
Ignition Positions
.............................. 2- 12
Ignition Transmission Lock Check
................. 7-46
Illuminated Entry
............................... 2-42
Inflation, Tire
.................................. 6-45
Inside Rearview Mirror
.......................... 2-44 Inspections
.................................... 7-47
Brakesystem
................................ 7-48
DriveAxle
.................................. 7-48
Exhaust System
.............................. 7-47
Radiator and Heater Hose
...................... 7-47
Steering
.................................... 7-47
Suspension
.................................. 7-47
Throttle Linkage
.............................. 7-47
Transfer Case (Four-wheel Drive)
............... 7-48
Instrumentpanel
............................... 2-60
Brightness Control
............................ 2-42
Cleaning
.................................... 6-56
Cluster
..................................... 2-62
FuseBlock
.................................. 6-63
Interior Lamps
..................... ....... 2-42
Jack, Tire
............................... 5-24, 5-25
Jump Starting
................................... 5-3
Key Lock Cylinder Service
...................... 7-44
Keyless Entry System
............................ 2-6
Keys
............... .................... 2-2
Labels Certificatioflire
............................. 4-42
Service Parts Identification
..................... 6-61
Tire-Loading Information
...................... 4-42
Vehicle Identification Number
................... 6-61
9-5
ProCarManuals.com
Page 431 of 433
Theft ................... ... 2-11
Theft-Deterrent Feature ...... ... ...... 3-26
THEFTLOCK
........................ ... 3-26
Thermostat
............................ ... 6-29
Third Gear, Automatic Transmission
................ 2- 19
Tilt Steering Wheel ............................. 2-33
Time. Setting the
............................... 3- 11
Tire Chains .................................... 6-5 1
TireLoading ................................... 4-42
Tire-Loading Information Label
................... 4-42
Alignment and Balance
........................ 6-50
BuyingNew
................................. 6-48
Chains
..................................... 6-51
Changing
a Flat .............................. 5-22
Cleaning
.................................... 6-59
Tires
......................................... 6-44
Inflation
.................................... 6-45
Inflation Check
............................... 7-43
Inspection and Rotation
............... 1 ........ 6-46
Loading
.................................... 4-42
Pressure
.................................... 6-45
Temperature ................................. 6-50
Traction
.................................... 6-49
Treadwear
................................... 6-49
Uniform Quality Grading
....................... 6-49
Used Wheel Replacement
...................... 6-51
Wear Indicators
.............................. 6-48
Wheel Replacement
........................... 6-50
When It’s Time for New
....................... 6-48
TopStrap
..................................... 1-51
TorqueLock ................................... 2-28 Torque.
Wheel
Nut ......................... 5.33. 6.69
From the Front
................................ 5-9
From the Rear
............................... 5-10
Trailer
...................................... 4-44
Yourvehicle
.................................. 5-8
Brakes
..................................... 4-50
Driving on Grades
............................ 4-52
Driving with
................................. 4-50
Engine Cooling When Towing
.............. 4-45, 4-52
Maintenance When Towing
..................... 4-54
Safety Chains
................................ 4-49
Tongueweight
............................... 4-48
Total Weight on Tires
.......................... 4-49
Towing
..................................... 4-44
Turnsignals
................................. 4-52
Weight
..................................... 4-45
Wiring Harness
............................... 4-54
Transfer Case
.................................. 6-24
Transfer Case, Electronic
......................... 2-23
Transfer Case, Manual
........................... 2-21
Transmission Fluid, Automatic
.................... 6-20
Transmitters, Keyless Entry
........................ 2-6
Transportation, Courtesy
.......................... 8-8
Trip Odometer
................................. 2-63
Turn Signal and Lane Change.Signals
............... 2-34
Turn Signals When Towing
a Trailer ................ 4-52
Towing
Trailer Hitches
..................................... 4-49
Parking
on Hills .............................. 4-53
TTYUsers
..................................... 8-4
9-10
ProCarManuals.com
Page 432 of 433
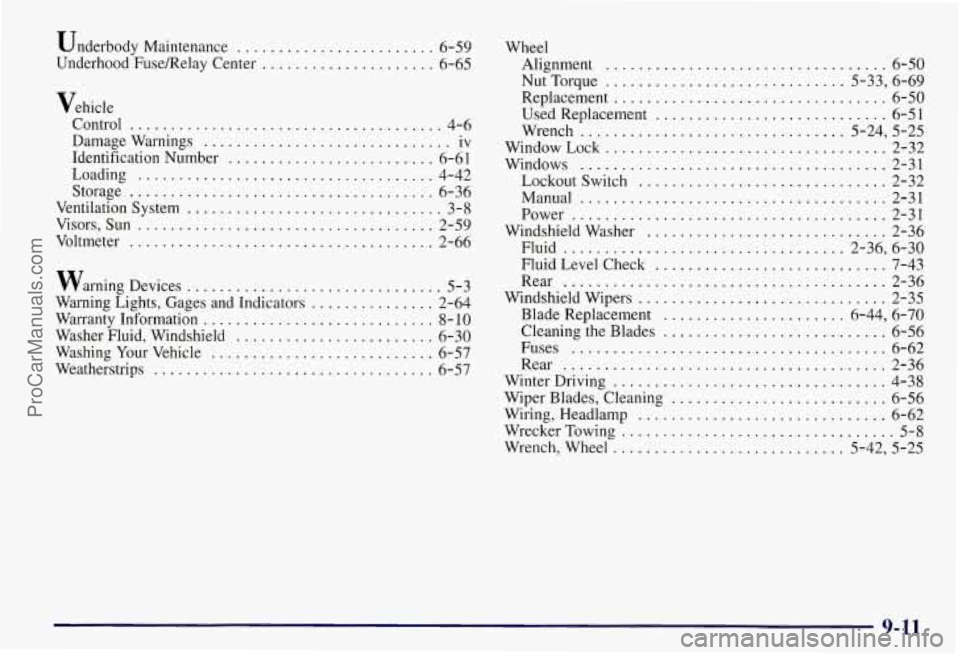
Underbody Maintenance ........................ 6-59
Underhood Fuse/Relay Center
..................... 6-65
Vehicle Control
...................................... 4-6
Damage Warnings
.............................. iv
Identification Number
.......................... 6-61
Loading
.................................... 4-42
Storage
..................................... 6-36
Ventilation System
............................... 3-8
Visors. Sun
.................................... 2-59
Voltmeter
..................................... 2-66
warning Devices
............................... 5-3
Warning Lights. Gages and Indicators
............... 2-64
Warranty Information
............................ 8- 10
Washer Fluid. Windshield
........................ 6-30
Washing Your Vehicle
........................... 6-57
Weatherstrips
.................................. 6-57 Wheel
Alignment
.................................. 6-50
Nut Torque ............................. 5.33, 6.69
Replacement
................................. 6-50
Used Replacement
............................ 6-51
Wrench
................................ 5.24. 5.25
WindowLock
.................................. 2-32
Windows
..................................... 2-31
LockoutSwitch
.............................. 2-32
Manual
..................................... 2-31
Power
...................................... 2-31
Windshield Washer
............................. 2-36
Fluid
.................................. 2-36, 6-30
Fluid Level Check
............................ 7-43
Rear
....................................... 2-36
Windshield Wipers
.............................. 2-35
Blade Replacement
...................... 6-44, 6-70
Cleaning the Blades
........................... 6-56
Winter Driving
................................. 4-38
Wiper Blades, Cleaning
.......................... 6-56
Wiring, Headlamp
.............................. 6-62
WreckerTowing
................................. 5-8
Wrench, Wheel ............................ 5-42, 5-25
Fuses
...................................... 6-62
Rear
....................................... 2-36
9-11
ProCarManuals.com