ad blue CHEVROLET SUBURBAN 2003 9.G Owners Manual
[x] Cancel search | Manufacturer: CHEVROLET, Model Year: 2003, Model line: SUBURBAN, Model: CHEVROLET SUBURBAN 2003 9.GPages: 552, PDF Size: 3.44 MB
Page 151 of 552

OnStaržSystem
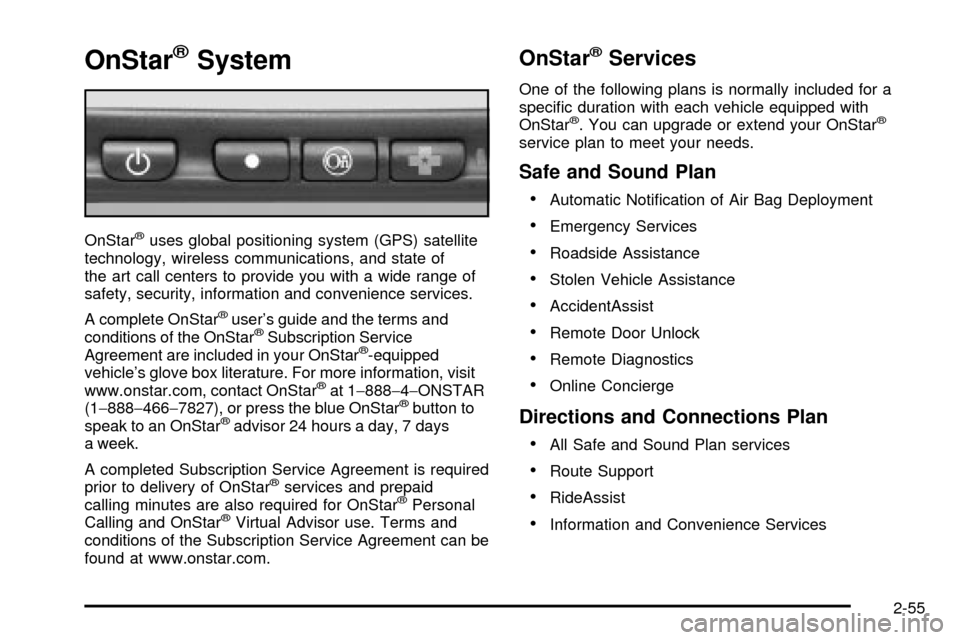
OnStaržuses global positioning system (GPS) satellite
technology, wireless communications, and state of
the art call centers to provide you with a wide range of
safety, security, information and convenience services.
A complete OnStar
žuser's guide and the terms and
conditions of the OnStaržSubscription Service
Agreement are included in your OnStarž-equipped
vehicle's glove box literature. For more information, visit
www.onstar.com, contact OnStar
žat 1-888-4-ONSTAR
(1-888-466-7827), or press the blue OnStaržbutton to
speak to an OnStaržadvisor 24 hours a day, 7 days
a week.
A completed Subscription Service Agreement is required
prior to delivery of OnStar
žservices and prepaid
calling minutes are also required for OnStaržPersonal
Calling and OnStaržVirtual Advisor use. Terms and
conditions of the Subscription Service Agreement can be
found at www.onstar.com.
OnStaržServices
One of the following plans is normally included for a
speci®c duration with each vehicle equipped with
OnStar
ž. You can upgrade or extend your OnStarž
service plan to meet your needs.
Safe and Sound Plan
·
Automatic Noti®cation of Air Bag Deployment
·Emergency Services
·Roadside Assistance
·Stolen Vehicle Assistance
·AccidentAssist
·Remote Door Unlock
·Remote Diagnostics
·Online Concierge
Directions and Connections Plan
·
All Safe and Sound Plan services
·Route Support
·RideAssist
·Information and Convenience Services
2-55
Page 185 of 552

Temperature Knob
The middle knob on the control panel lets you select the
temperature of the air ¯owing into the passenger
area. Turn the knob clockwise toward the red area for
warmer air. Turn the knob counterclockwise toward
the blue area for cooler air.
Mode Knob
The right knob on the control panel allows you to
choose the direction of air delivery.
H(Vent):This setting directs the air through the
instrument panel outlets.
)(Bi-Level):Air is delivered through the ¯oor outlets
as well as the instrument panel outlets. The ¯ow can
be divided between vent and ¯oor outlets depending
upon where the knob is placed between the settings.
6(Floor):This setting directs most of the air through
the ¯oor outlets, and the rest of the air is divided
between the windshield defroster outlets and the side
window defroster outlets.
W(Defog):Air¯ow is delivered through the ¯oor
outlets, the windshield defroster outlets and the side
window defroster outlets. The air ¯ow can be divided
between ¯oor and defrost depending upon where
the knob is placed between the settings.
1(Defrost):This setting directs most air through the
windshield defroster outlets, side window defroster
outlets and some through the ¯oor outlets.
Dual Climate Control System
With this system you can control the heating, cooling
and ventilation for your vehicle.
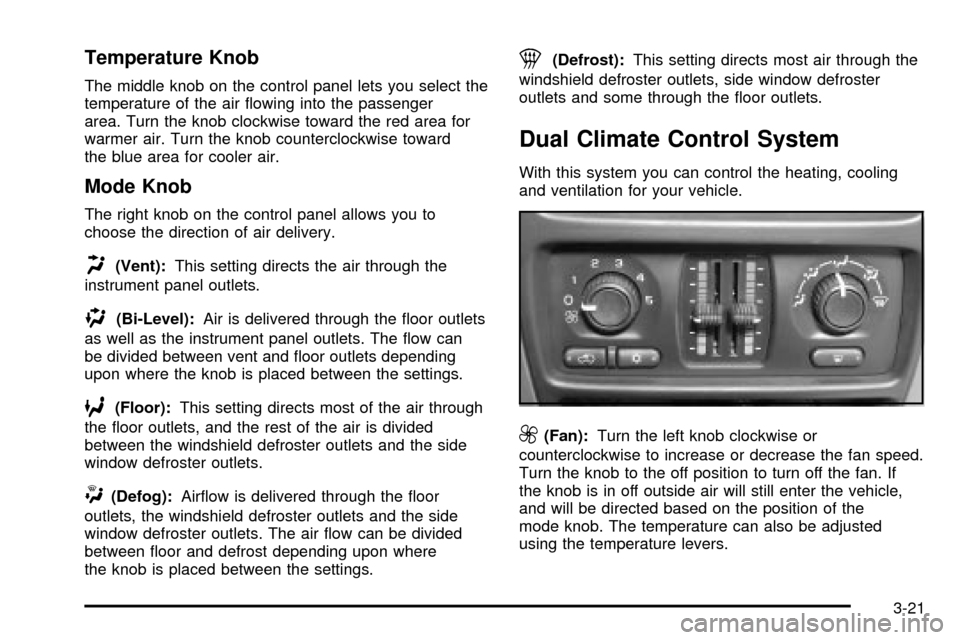
9(Fan):Turn the left knob clockwise or
counterclockwise to increase or decrease the fan speed.
Turn the knob to the off position to turn off the fan. If
the knob is in off outside air will still enter the vehicle,
and will be directed based on the position of the
mode knob. The temperature can also be adjusted
using the temperature levers.
3-21
Page 197 of 552

Fan Knob
The fan knob on the left side of the control panel
adjusts the fan speed. To increase air¯ow, turn the knob
clockwise. To decrease air¯ow, turn it counterclockwise.
To turn the fan off, turn the knob to the off position.
9(Off):An off setting, located on the front climate
control panel also allows the driver to turn off the
rear seat passenger seat controls from the front seat.
Temperature Knob
The middle knob on the control panel lets you select the
temperature of the air ¯owing into the passenger
area. Turn the knob clockwise toward the red area for
warmer air. Turn the knob counterclockwise toward
the blue area for cooler air.
Mode Knob
The right knob on the control panel allows you to
choose the direction of air delivery.
H(Vent):This setting directs the air through the
headliner outlets.
)(Bi-Level):Air is delivered through the ¯oor outlets
as well as the headliner outlets. The ¯ow can be
divided between vent and ¯oor outlets depending upon
where the knob is placed between the settings.
6(Floor):This setting directs most of the air through
the ¯oor outlets.
To use the rear control, ®rst turn the front control to the
AUX position. Then, the rear control can be used to
adjust the air¯ow speed, temperature, and air¯ow
location.Rear Controls
3-33
Page 198 of 552

Fan Knob
The fan knob on the left side of the control panel
adjusts the fan speed. To increase air¯ow, turn the knob
clockwise. To decrease air¯ow, turn it counterclockwise.
To turn the fan off, turn the knob to the off position.
9(Off):Turn the knob to this position to turn the rear
seat comfort controls on or off.
Temperature Knob
The middle knob on the control panel lets you select the
temperature of the air ¯owing into the passenger
area. Turn the knob clockwise toward the red area for
warmer air. Turn the knob counterclockwise toward
the blue area for cooler air.
Mode Knob
The right knob on the control panel allows you to
choose the direction of air delivery.
H(Vent):This setting directs the air through the
headliner outlets.
)(Bi-Level):Air is delivered through the ¯oor outlets
as well as the headliner outlets. The ¯ow can be
divided between vent and ¯oor outlets depending upon
where the knob is placed between the settings.
6(Floor):This setting directs most of the air through
the ¯oor outlets.
Rear Air Conditioning and Heating
System and Electronic Climate
Controls
If your vehicle is equipped with this system, there are
controls located in the overhead console and on
the back of the console in the rear seat area. The
system can be controlled from the overhead controls or
the rear controls.
Front Controls
3-34
Page 372 of 552

Basic Trailer Wiring
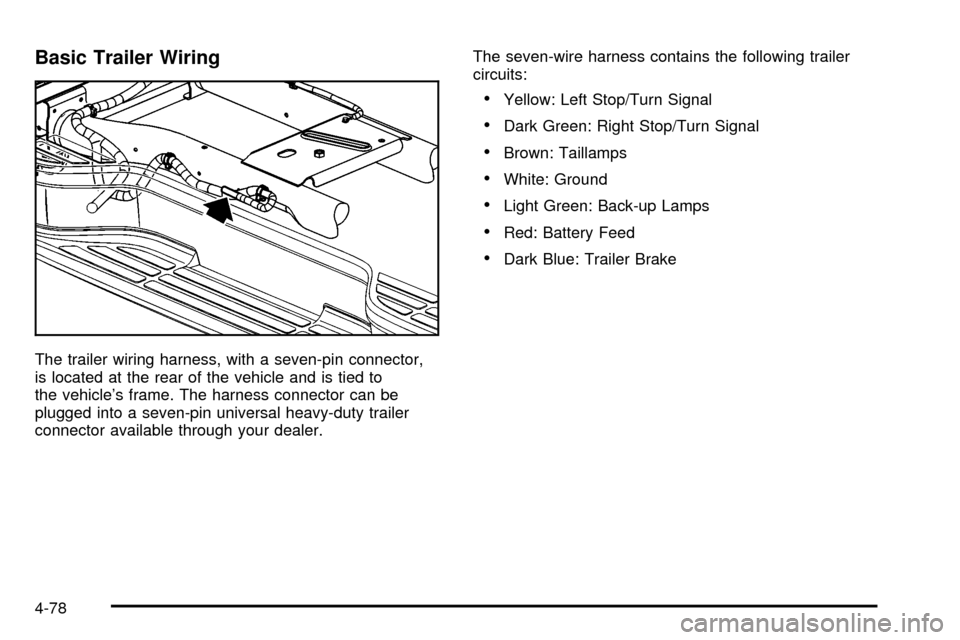
The trailer wiring harness, with a seven-pin connector,
is located at the rear of the vehicle and is tied to
the vehicle's frame. The harness connector can be
plugged into a seven-pin universal heavy-duty trailer
connector available through your dealer.The seven-wire harness contains the following trailer
circuits:
·Yellow: Left Stop/Turn Signal
·Dark Green: Right Stop/Turn Signal
·Brown: Taillamps
·White: Ground
·Light Green: Back-up Lamps
·Red: Battery Feed
·Dark Blue: Trailer Brake
4-78
Page 373 of 552

Heavy-Duty Trailer Wiring Harness
Package
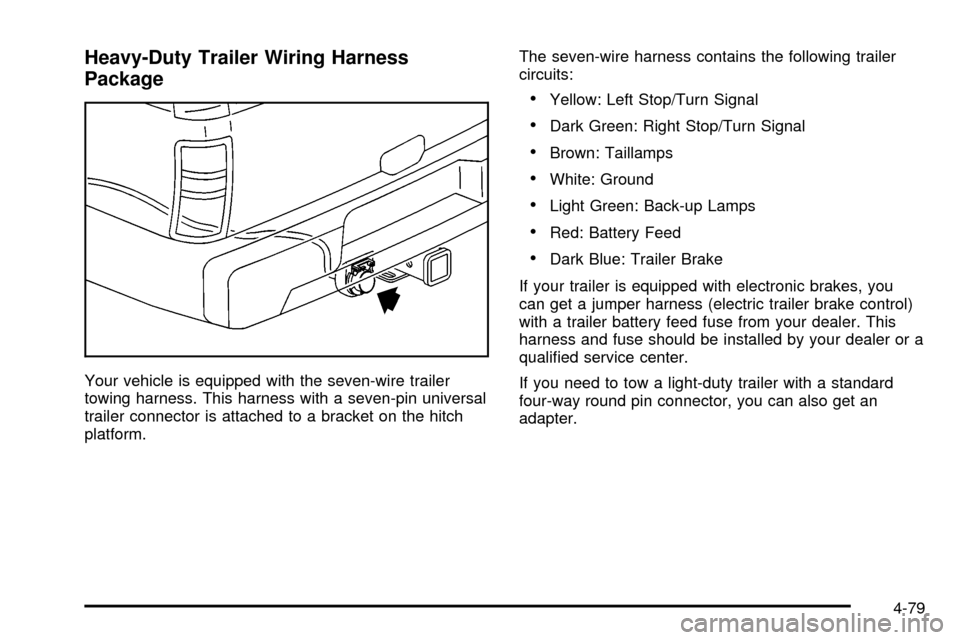
Your vehicle is equipped with the seven-wire trailer
towing harness. This harness with a seven-pin universal
trailer connector is attached to a bracket on the hitch
platform.The seven-wire harness contains the following trailer
circuits:
·Yellow: Left Stop/Turn Signal
·Dark Green: Right Stop/Turn Signal
·Brown: Taillamps
·White: Ground
·Light Green: Back-up Lamps
·Red: Battery Feed
·Dark Blue: Trailer Brake
If your trailer is equipped with electronic brakes, you
can get a jumper harness (electric trailer brake control)
with a trailer battery feed fuse from your dealer. This
harness and fuse should be installed by your dealer or a
quali®ed service center.
If you need to tow a light-duty trailer with a standard
four-way round pin connector, you can also get an
adapter.
4-79