instrument cluster CHEVROLET SUBURBAN 2004 9.G Owners Manual
[x] Cancel search | Manufacturer: CHEVROLET, Model Year: 2004, Model line: SUBURBAN, Model: CHEVROLET SUBURBAN 2004 9.GPages: 556, PDF Size: 3.37 MB
Page 83 of 556
There is an air bag
readiness light on the
instrument panel cluster,
which shows the air
bag symbol.
The system checks the air bag electrical system for
malfunctions. The light tells you if there is an electrical
problem. SeeAir Bag Readiness Light on page 3-42
for more information.Where Are the Air Bags?
The driver’s frontal air bag is in the middle of the
steering wheel.
1-77
Page 93 of 556
{CAUTION:
If the air bag readiness light in the instrument
panel cluster ever comes on and stays on, it
means that something may be wrong with the
air bag system. If this ever happens,
CAUTION: (Continued)
CAUTION: (Continued)
have the vehicle serviced promptly, because
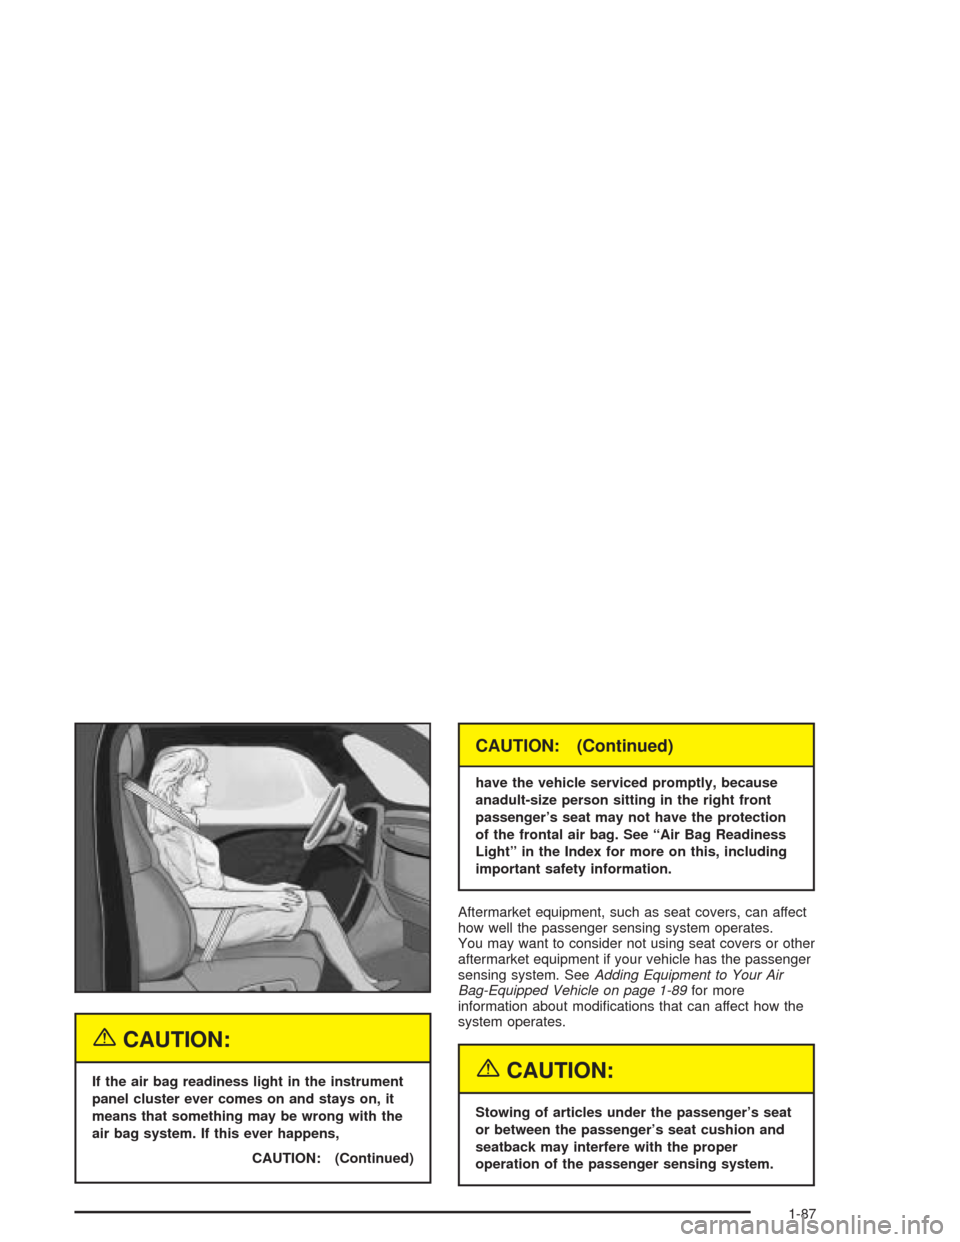
anadult-size person sitting in the right front
passenger’s seat may not have the protection
of the frontal air bag. See “Air Bag Readiness
Light” in the Index for more on this, including
important safety information.
Aftermarket equipment, such as seat covers, can affect
how well the passenger sensing system operates.
You may want to consider not using seat covers or other
aftermarket equipment if your vehicle has the passenger
sensing system. SeeAdding Equipment to Your Air
Bag-Equipped Vehicle on page 1-89for more
information about modi�cations that can affect how the
system operates.
{CAUTION:
Stowing of articles under the passenger’s seat
or between the passenger’s seat cushion and
seatback may interfere with the proper
operation of the passenger sensing system.
1-87
Page 122 of 556
Automatic Transmission Operation
There are several different positions for your shift lever.
Your vehicle is equipped with an automatic transmission
and features an electronic shift position indicator
within the instrument panel cluster. This display must be
powered anytime the shift lever is capable of being
moved out of PARK (P).
PARK (P):This position locks your rear wheels. It’s the
best position to use when you start your engine
because your vehicle can’t move easily.{CAUTION:
It is dangerous to get out of your vehicle if the
shift lever is not fully in PARK (P) with the
parking brake �rmly set. Your vehicle can roll.
Do not leave your vehicle when the engine is
running unless you have to. If you have left the
engine running, the vehicle can move
suddenly. You or others could be injured. To
be sure your vehicle will not move, even when
you are on fairly level ground, always set your
parking brake and move the shift lever to
PARK (P). SeeShifting Into Park (P) on
page 2-39. If you are pulling a trailer, see
Towing a Trailer on page 4-65.
2-26
Page 127 of 556
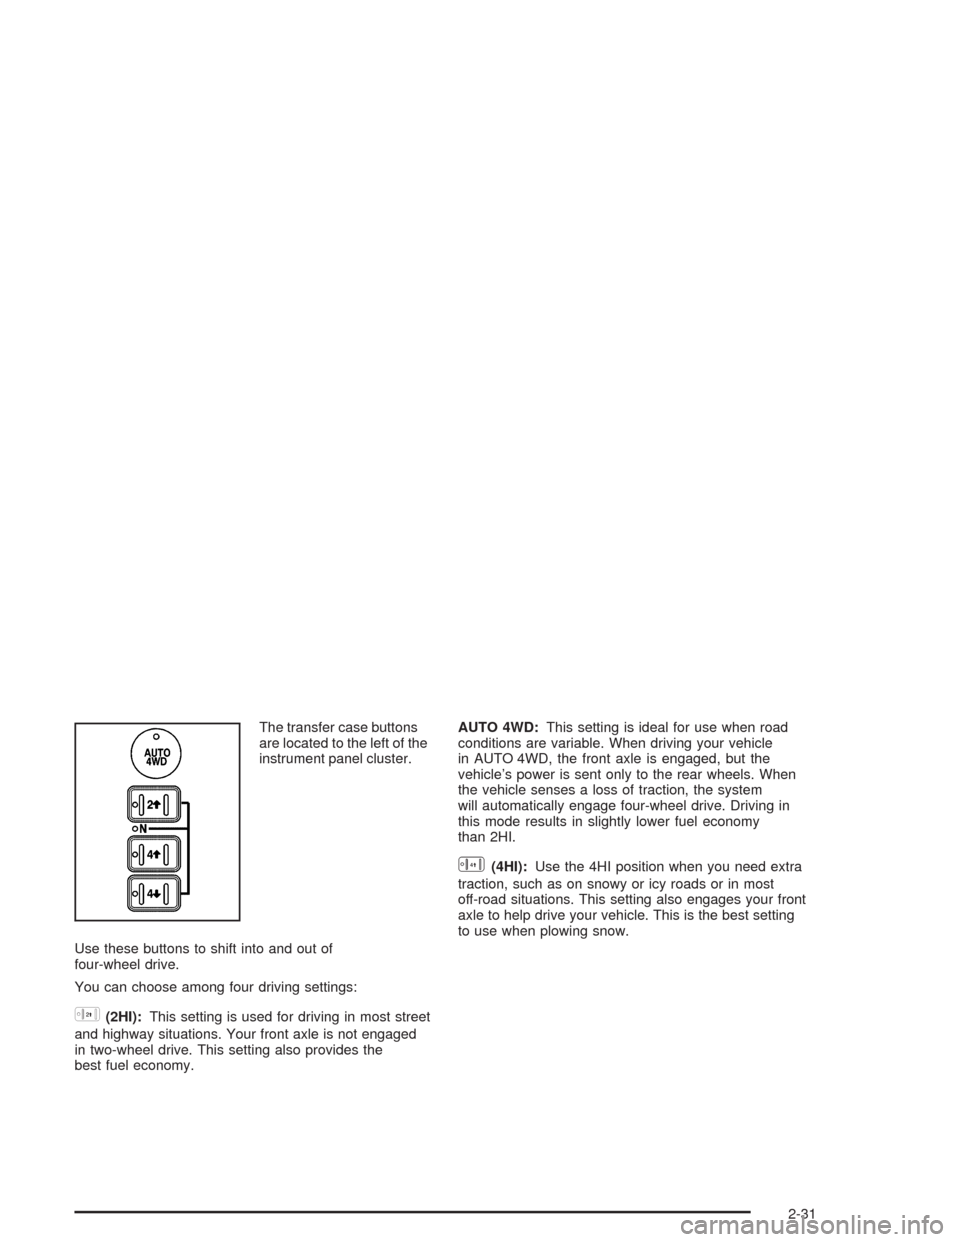
The transfer case buttons
are located to the left of the
instrument panel cluster.
Use these buttons to shift into and out of
four-wheel drive.
You can choose among four driving settings:
h(2HI):This setting is used for driving in most street
and highway situations. Your front axle is not engaged
in two-wheel drive. This setting also provides the
best fuel economy.AUTO 4WD:This setting is ideal for use when road
conditions are variable. When driving your vehicle
in AUTO 4WD, the front axle is engaged, but the
vehicle’s power is sent only to the rear wheels. When
the vehicle senses a loss of traction, the system
will automatically engage four-wheel drive. Driving in
this mode results in slightly lower fuel economy
than 2HI.
G(4HI):Use the 4HI position when you need extra
traction, such as on snowy or icy roads or in most
off-road situations. This setting also engages your front
axle to help drive your vehicle. This is the best setting
to use when plowing snow.
2-31
Page 131 of 556
All-Wheel Drive with Stabilitrak®
With this feature, engine power is sent to all four wheels
all the time.
This is like four-wheel drive, but there is no separate
lever or switch to engage or disengage the front axle. It
is fully automatic, and adjust itself as needed for
road conditions.
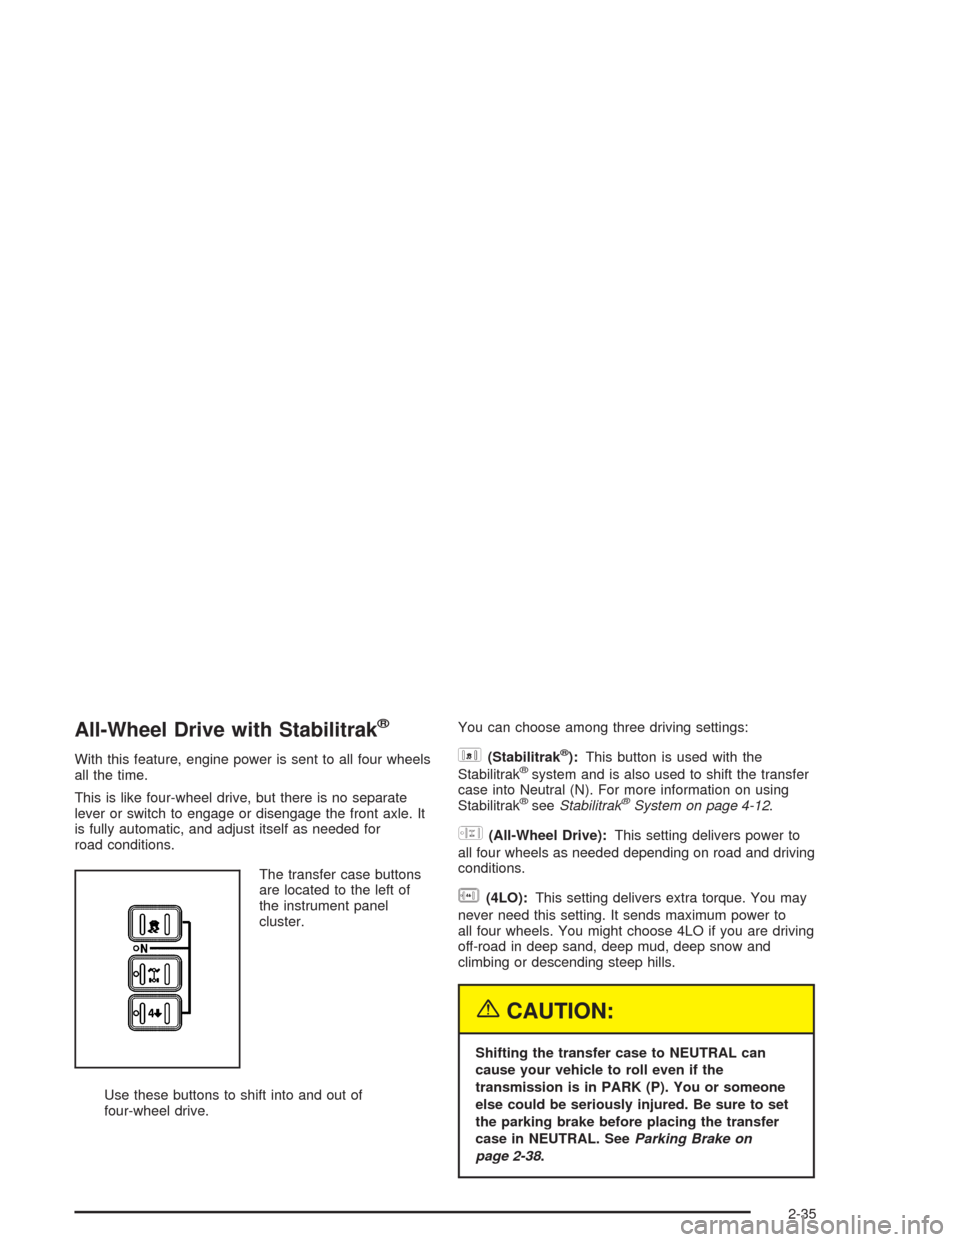
The transfer case buttons
are located to the left of
the instrument panel
cluster.
Use these buttons to shift into and out of
four-wheel drive.You can choose among three driving settings:d(Stabilitrak®):This button is used with the
Stabilitrak®system and is also used to shift the transfer
case into Neutral (N). For more information on using
Stabilitrak
®seeStabilitrak®System on page 4-12.
f(All-Wheel Drive):This setting delivers power to
all four wheels as needed depending on road and driving
conditions.
g(4LO):This setting delivers extra torque. You may
never need this setting. It sends maximum power to
all four wheels. You might choose 4LO if you are driving
off-road in deep sand, deep mud, deep snow and
climbing or descending steep hills.
{CAUTION:
Shifting the transfer case to NEUTRAL can
cause your vehicle to roll even if the
transmission is in PARK (P). You or someone
else could be seriously injured. Be sure to set
the parking brake before placing the transfer
case in NEUTRAL. SeeParking Brake on
page 2-38.
2-35
Page 165 of 556
Instrument Panel Overview...............................3-4
Hazard Warning Flashers................................3-6
Other Warning Devices...................................3-6
Horn.............................................................3-6
Tilt Wheel.....................................................3-7
Turn Signal/Multifunction Lever.........................3-7
Exterior Lamps.............................................3-14
Interior Lamps..............................................3-18
Accessory Power Outlets...............................3-21
Ashtrays and Cigarette Lighter........................3-21
Climate Controls............................................3-22
Climate Control System.................................3-22
Dual Climate Control System..........................3-23
Dual Automatic Climate Control System...........3-27
Rear Air Conditioning System.........................3-34
Rear Air Conditioning and Heating System.......3-35
Rear Air Conditioning and Heating System
and Electronic Climate Controls...................3-37
Warning Lights, Gages, and Indicators............3-39
Instrument Panel Cluster................................3-40
Speedometer and Odometer...........................3-41
Tachometer.................................................3-41Safety Belt Reminder Light.............................3-41
Air Bag Readiness Light................................3-42
Passenger Air Bag Status Indicator.................3-42
Battery Warning Light....................................3-44
Voltmeter Gage............................................3-44
Brake System Warning Light..........................3-45
Anti-Lock Brake System
Warning Light...........................................3-46
Traction Off Light..........................................3-46
Engine Coolant Temperature Gage..................3-47
Transmission Temperature Gage.....................3-48
Tire Pressure Light.......................................3-49
Malfunction Indicator Lamp.............................3-50
Oil Pressure Gage........................................3-53
Cruise Control Light......................................3-54
Four-Wheel-Drive Light..................................3-54
Tow/Haul Mode Light....................................3-54
Fuel Gage...................................................3-55
Low Fuel Warning Light.................................3-55
Driver Information Center (DIC).......................3-56
DIC Operation and Displays...........................3-56
DIC Warnings and Messages.........................3-68
Section 3 Instrument Panel
3-1
Page 169 of 556
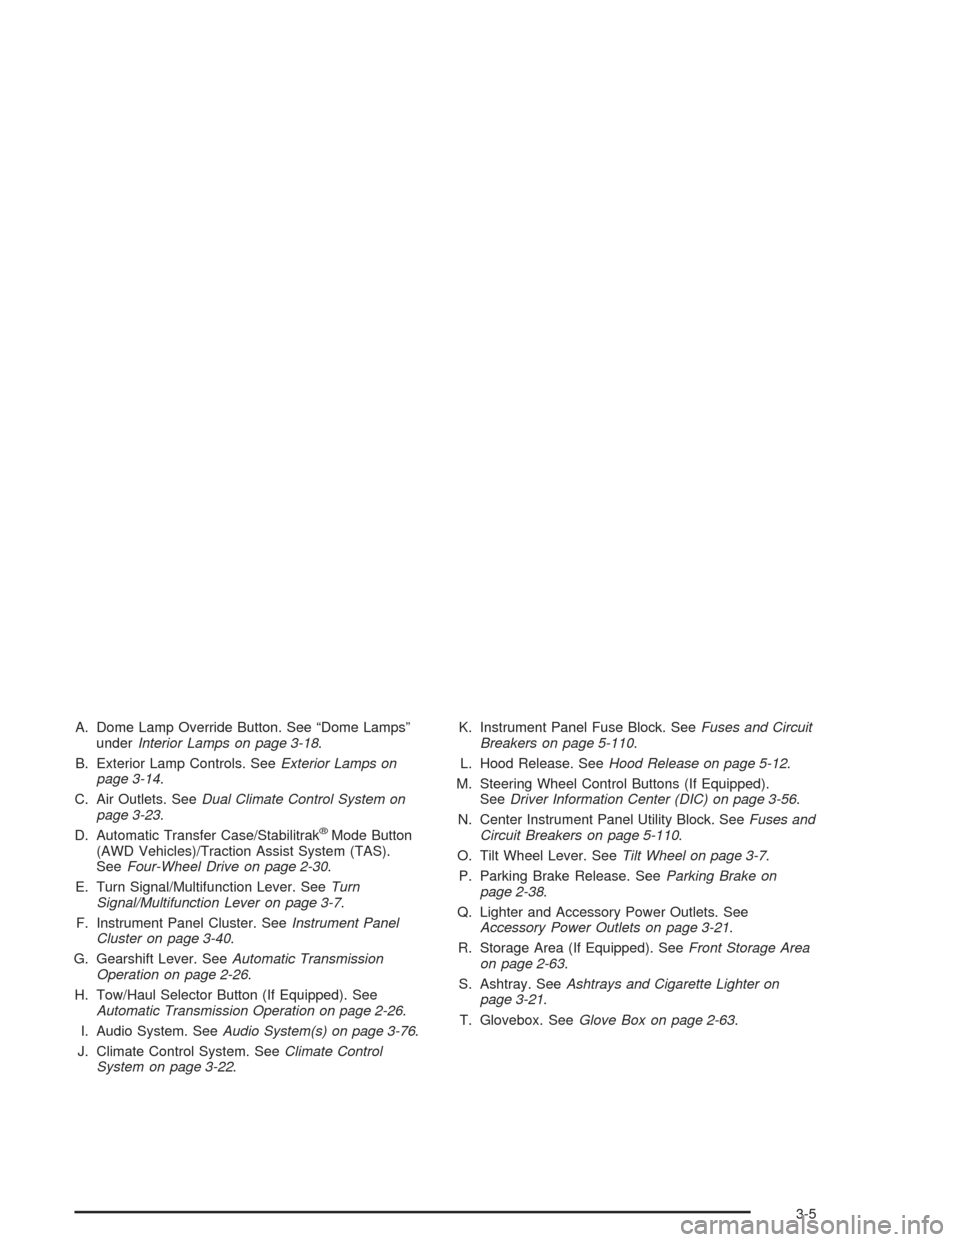
A. Dome Lamp Override Button. See “Dome Lamps”
underInterior Lamps on page 3-18.
B. Exterior Lamp Controls. SeeExterior Lamps on
page 3-14.
C. Air Outlets. SeeDual Climate Control System on
page 3-23.
D. Automatic Transfer Case/Stabilitrak
®Mode Button
(AWD Vehicles)/Traction Assist System (TAS).
SeeFour-Wheel Drive on page 2-30.
E. Turn Signal/Multifunction Lever. SeeTurn
Signal/Multifunction Lever on page 3-7.
F. Instrument Panel Cluster. SeeInstrument Panel
Cluster on page 3-40.
G. Gearshift Lever. SeeAutomatic Transmission
Operation on page 2-26.
H. Tow/Haul Selector Button (If Equipped). See
Automatic Transmission Operation on page 2-26.
I. Audio System. SeeAudio System(s) on page 3-76.
J. Climate Control System. SeeClimate Control
System on page 3-22.K. Instrument Panel Fuse Block. SeeFuses and Circuit
Breakers on page 5-110.
L. Hood Release. SeeHood Release on page 5-12.
M. Steering Wheel Control Buttons (If Equipped).
SeeDriver Information Center (DIC) on page 3-56.
N. Center Instrument Panel Utility Block. SeeFuses and
Circuit Breakers on page 5-110.
O. Tilt Wheel Lever. SeeTilt Wheel on page 3-7.
P. Parking Brake Release. SeeParking Brake on
page 2-38.
Q. Lighter and Accessory Power Outlets. See
Accessory Power Outlets on page 3-21.
R. Storage Area (If Equipped). SeeFront Storage Area
on page 2-63.
S. Ashtray. SeeAshtrays and Cigarette Lighter on
page 3-21.
T. Glovebox. SeeGlove Box on page 2-63.
3-5
Page 172 of 556
Turn and Lane Change Signals
The turn signal has two upward (for right) and two
downward (for left) positions. These positions allow you
to signal a turn or a lane change.
To signal a turn, move the lever all the way up or down.
When the turn is �nished, the lever will return
automatically.
To signal a lane change, just raise or lower the lever
until the arrow starts to �ash. Hold it there until you
complete your lane change. The lever will return by itself
when you release it.
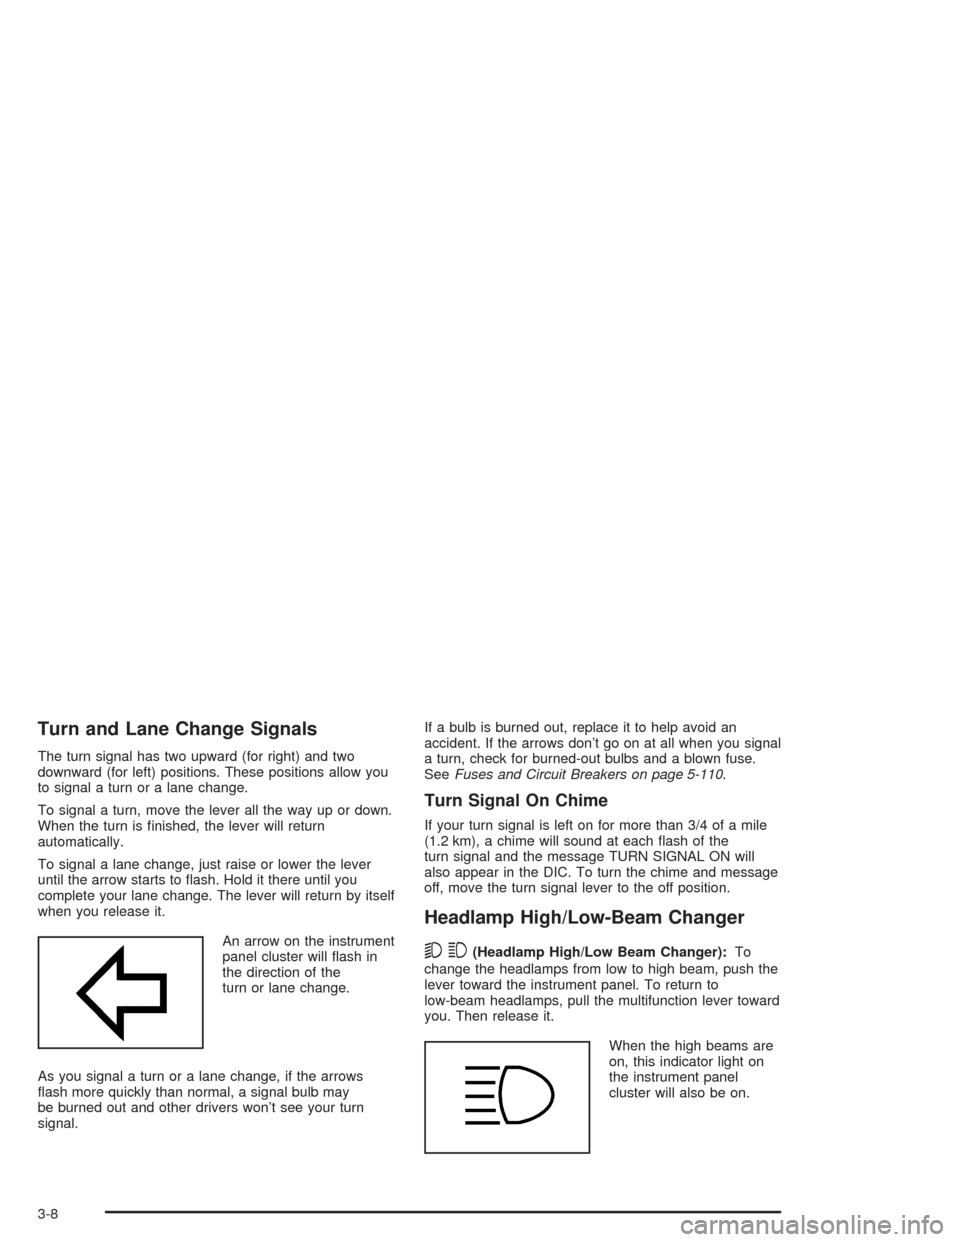
An arrow on the instrument
panel cluster will �ash in
the direction of the
turn or lane change.
As you signal a turn or a lane change, if the arrows
�ash more quickly than normal, a signal bulb may
be burned out and other drivers won’t see your turn
signal.If a bulb is burned out, replace it to help avoid an
accident. If the arrows don’t go on at all when you signal
a turn, check for burned-out bulbs and a blown fuse.
SeeFuses and Circuit Breakers on page 5-110.
Turn Signal On Chime
If your turn signal is left on for more than 3/4 of a mile
(1.2 km), a chime will sound at each �ash of the
turn signal and the message TURN SIGNAL ON will
also appear in the DIC. To turn the chime and message
off, move the turn signal lever to the off position.
Headlamp High/Low-Beam Changer
53
(Headlamp High/Low Beam Changer):To
change the headlamps from low to high beam, push the
lever toward the instrument panel. To return to
low-beam headlamps, pull the multifunction lever toward
you. Then release it.
When the high beams are
on, this indicator light on
the instrument panel
cluster will also be on.
3-8
Page 173 of 556
Flash-to-Pass
This feature lets you use your high-beam headlamps to
signal a driver in front of you that you want to pass.
It works even if your headlamps are in the automatic
position.
To use it, pull the turn signal lever toward you, then
release it.
If your headlamps are in the automatic position or on
low beam, your high-beam headlamps will turn on.
They’ll stay on as long as you hold the lever toward you.
The high-beam indicator on the instrument panel
cluster will come on. Release the lever to return to
normal operation.
Windshield Wipers
You control the windshield wipers by turning the band
with the wiper symbol on it.
8(Mist):For a single wiping cycle, turn the band to
mist. Hold it there until the wipers start. Then let go. The
wipers will stop after one wipe. If you want more
wipes, hold the band on mist longer.
N(Delay):You can set the wiper speed for a long or
short delay between wipes. This can be very useful
in light rain or snow. Turn the band to choose the delay
time. The closer to the top of the lever, the shorter
the delay.
6(Low Speed):For steady wiping at low speed,
turn the band away from you to the �rst solid band past
the delay settings. For high-speed wiping, turn the
band further, to the second solid band past the delay
settings. To stop the wipers, move the band to off.
1(High Speed):For high-speed wiping, turn
the band further, to the second solid band past the
delay settings.
9(Off):To stop the wipers, move the band to off.
Be sure to clear ice and snow from the wiper blades
before using them. If they’re frozen to the windshield,
carefully loosen or thaw them. If your blades do become
worn or damaged, get new blades or blade inserts.
3-9
Page 179 of 556
Automatic Headlamp System
When it is dark enough outside, your automatic
headlamp system will turn on your headlamps at the
normal brightness along with other lamps such as
the taillamps, sidemarker, parking lamps and the
instrument panel lights. The radio lights will also be dim.
Your vehicle is equipped with a light sensor located
on the top of the instrument panel in the defroster grille.
Be sure it is not covered, or the system will be on
whenever the ignition is on.
The system may also turn on your headlamps when
driving through a parking garage, heavy overcast
weather or a tunnel. This is normal.
There is a delay in the transition between the daytime
and nighttime operation of the Daytime Running
Lamps (DRL) and the automatic headlamp systems so
that driving under bridges or bright overhead street
lights does not affect the system. The DRL and
automatic headlamp system will only be affected when
the light sensor sees a change in lighting lasting
longer than the delay.If you start your vehicle in a dark garage, the automatic
headlamp system will come on immediately. Once
you leave the garage, it will take approximately
one minute for the automatic headlamp system to
change to DRL if it is bright enough outside. During that
delay, your instrument panel cluster may not be as
bright as usual. Make sure your instrument panel
brightness control is in the full bright position. See
“Instrument Panel Brightness Control” underInterior
Lamps on page 3-18.
To idle your vehicle with the automatic headlamp
system off, turn the control to the off position.
You may be able to turn off your Automatic Headlamp
System. See “Daytime Running Lamps (DRL)” later
in this section for more information.
Your headlamps will also stay on after you exit the
vehicle. You can program this feature using the Driver
Information Center. SeeDriver Information Center (DIC)
on page 3-56.
As with any vehicle, you should turn on the regular
headlamp system when you need them.
3-15