light CHEVROLET SUBURBAN 2010 10.G Owners Manual
[x] Cancel search | Manufacturer: CHEVROLET, Model Year: 2010, Model line: SUBURBAN, Model: CHEVROLET SUBURBAN 2010 10.GPages: 608, PDF Size: 6.53 MB
Page 7 of 608
Section 1 In Brief
Instrument Panel. . . . . . . . . . . . . . . . . . . . . . . . . . . . . . . . . . . 1-2
Initial Drive Information . . . . . . . . . . . . . . . . . . . . . . . . . . . 1-4
Remote Keyless Entry (RKE) System . . . . . . . . . . . 1-4
Remote Vehicle Start . . . . . . . . . . . . . . . . . . . . . . . . . . . 1-4
Door Locks . . . . . . . . . . . . . . . . . . . . . . . . . . . . . . . . . . . . . 1-5
Liftgate . . . . . . . . . . . . . . . . . . . . . . . . . . . . . . . . . . . . . . . . . . 1-6
Windows . . . . . . . . . . . . . . . . . . . . . . . . . . . . . . . . . . . . . . . . 1-7
Seat Adjustment . . . . . . . . . . . . . . . . . . . . . . . . . . . . . . . . 1-7
Second Row Seats . . . . . . . . . . . . . . . . . . . . . . . . . . . . 1-11
Third Row Seats . . . . . . . . . . . . . . . . . . . . . . . . . . . . . . . 1-11
Heated Seats . . . . . . . . . . . . . . . . . . . . . . . . . . . . . . . . . . 1-12
Head Restraint Adjustment . . . . . . . . . . . . . . . . . . . . 1-12
Safety Belt . . . . . . . . . . . . . . . . . . . . . . . . . . . . . . . . . . . . . 1-13
Sensing System for Passenger Airbag . . . . . . . . . 1-13
Mirror Adjustment . . . . . . . . . . . . . . . . . . . . . . . . . . . . . . 1-14
Steering Wheel Adjustment . . . . . . . . . . . . . . . . . . . . 1-15
Interior Lighting . . . . . . . . . . . . . . . . . . . . . . . . . . . . . . . . 1-16
Exterior Lighting . . . . . . . . . . . . . . . . . . . . . . . . . . . . . . . 1-16
Windshield Wiper/Washer . . . . . . . . . . . . . . . . . . . . . . 1-17
Climate Controls . . . . . . . . . . . . . . . . . . . . . . . . . . . . . . . 1-18
Transmission . . . . . . . . . . . . . . . . . . . . . . . . . . . . . . . . . . 1-19
Four-Wheel Drive . . . . . . . . . . . . . . . . . . . . . . . . . . . . . . 1-19 Vehicle Features
. . . . . . . . . . . . . . . . . . . . . . . . . . . . . . . . . . 1-21
Radio(s) . . . . . . . . . . . . . . . . . . . . . . . . . . . . . . . . . . . . . . . 1-21
Satellite Radio . . . . . . . . . . . . . . . . . . . . . . . . . . . . . . . . . 1-22
Portable Audio Devices . . . . . . . . . . . . . . . . . . . . . . . . 1-22
Steering Wheel Controls . . . . . . . . . . . . . . . . . . . . . . . 1-23
Bluetooth
®. . . . . . . . . . . . . . . . . . . . . . . . . . . . . . . . . . . . . 1-23
Navigation System . . . . . . . . . . . . . . . . . . . . . . . . . . . . . 1-23
Cruise Control . . . . . . . . . . . . . . . . . . . . . . . . . . . . . . . . . 1-24
Side Blind Zone Alert (SBZA) . . . . . . . . . . . . . . . . . . 1-24
Rear Vision Camera (RVC) . . . . . . . . . . . . . . . . . . . . 1-25
Ultrasonic Parking Assist . . . . . . . . . . . . . . . . . . . . . . 1-25
Power Outlets . . . . . . . . . . . . . . . . . . . . . . . . . . . . . . . . . 1-25
Universal Remote System . . . . . . . . . . . . . . . . . . . . . 1-25
Sunroof . . . . . . . . . . . . . . . . . . . . . . . . . . . . . . . . . . . . . . . . 1-26
Performance and Maintenance . . . . . . . . . . . . . . . . . . 1-27
StabiliTrak
®. . . . . . . . . . . . . . . . . . . . . . . . . . . . . . . . . . . . 1-27
Tire Pressure Monitor . . . . . . . . . . . . . . . . . . . . . . . . . . 1-27
Engine Oil Life System . . . . . . . . . . . . . . . . . . . . . . . . 1-28
Fuel E85 (85% Ethanol) . . . . . . . . . . . . . . . . . . . . . . . 1-28
Driving for Better Fuel Economy . . . . . . . . . . . . . . . 1-29
Roadside Assistance Program . . . . . . . . . . . . . . . . . 1-29
OnStar
®. . . . . . . . . . . . . . . . . . . . . . . . . . . . . . . . . . . . . . . 1-30
1-1
Page 9 of 608

A.Outlet Adjustment on page 4‑26.
B. Turn Signal/Multifunction Lever on page 4‑4.
C. Instrument Panel Cluster on page 4‑30.
D. Hazard Warning Flashers
on page 4‑3.
E. Shift Lever. See Automatic Transmission Operation
on page 3‑32.
F. Tow/Haul Mode
on page 3‑38(If Equipped).
G. Driver Information Center (DIC) Buttons. See Driver Information Center (DIC) on page 4‑47.
H. Audio System(s) on page 4‑80.
I. Exterior Lamps on page 4‑11.
J. Dome Lamp Override
on page 4‑15.Instrument
Panel Brightnesson page 4‑14. Fog Lampson
page 4‑13(If Equipped).
K. Hood Release on page 6‑14.
L. Integrated Trailer Brake Controller (If Equipped). Towing a Trailer on page 5‑47.
M. Automatic Transfer Case Control. (If Equipped). See Four-Wheel Drive (Two Speed Automatic
Transfer Case)
on page 3‑39or Four-Wheel Drive
(Single Speed Automatic Transfer Case)on
page 3‑44. N.
Cruise Control on page 4‑8.
O. Tilt Wheel on page 4‑3.
P. Horn on page 4‑3.
Q. Audio Steering Wheel Controls on page 4‑136.
R. Climate Control System
on page 4‑18orDual
Automatic Climate Control Systemon page 4‑20(If Equipped).
S. Accessory Power Outlet(s)
on page 4‑16.
Cigarette Lighter (If Equipped). See Ashtray(s) and
Cigarette Lighter
on page 4‑17.
T. StabiliTrak®Systemon page 5‑6(If Equipped).
Pedal Adjust Button (If Equipped). See Adjustable
Throttle and Brake Pedal
on page 3‑30. Ultrasonic
Rear Parking Assist (URPA)on page 3‑56(If Equipped). Heated Windshield Washer Fluid
Button (If Equipped). See Windshield Washeron
page 4‑6. Power Assist Stepson page 3‑17(If Equipped).
U. Glove Box on page 3‑73.
1-3
Page 18 of 608
Heated Seats
Front Seats
On vehicles with heated front seats, or heated and
cooled front seats, the controls are located on the driver
and passenger doors.
{(If Equipped):Press to cool the entire seat.
+:Press to heat the seatback only.
z:Press to heat the seat and seatback.
Continue to press the desired button to cycle through
the temperature settings: high (three indicator lights),
medium (two indicator lights), low (one indicator light),
and off (no lights).
See Heated Seats
on page 2‑8andHeated and
Cooled Seats on page 2‑9.
Rear Seats
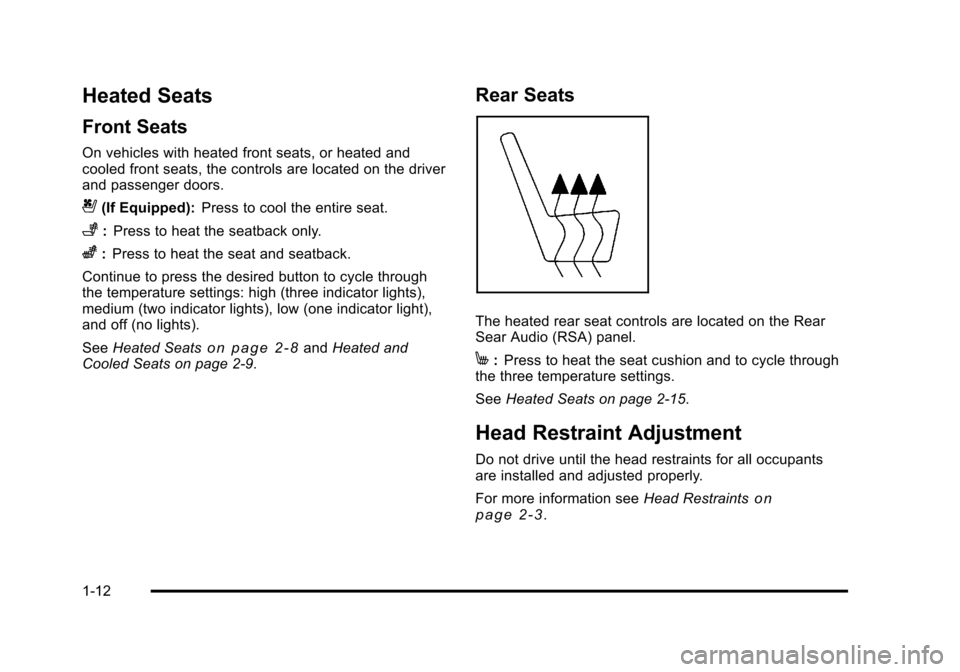
The heated rear seat controls are located on the Rear
Sear Audio (RSA) panel.
M: Press to heat the seat cushion and to cycle through
the three temperature settings.
See Heated Seats on page 2‑15.
Head Restraint Adjustment
Do not drive until the head restraints for all occupants
are installed and adjusted properly.
For more information see Head Restraints
on
page 2‑3.
1-12
Page 21 of 608
Manual Foldaway Mirrors
Manually fold the mirrors inward to prevent damage
when going through an automatic car wash. To fold,
push the mirror toward the vehicle. Push the mirror
outward, to return to its original position.
Interior Mirror
Vehicles with a manual rearview mirror can be adjusted
to see clearly behind the vehicle. Hold the mirror in the
center to move it up or down and side to side. To
reduce headlamp glare during nighttime use, push the
tab forward for daytime use and pull it for nighttime use.
Vehicles with the automatic dimming feature will
automatically reduce the glare of lights from behind
the vehicle. The dimming feature comes on and the
indicator light illuminates each time the vehicle is
started.
SeeAutomatic Dimming Rearview Mirror
on page 3‑52for more information.
Steering Wheel Adjustment
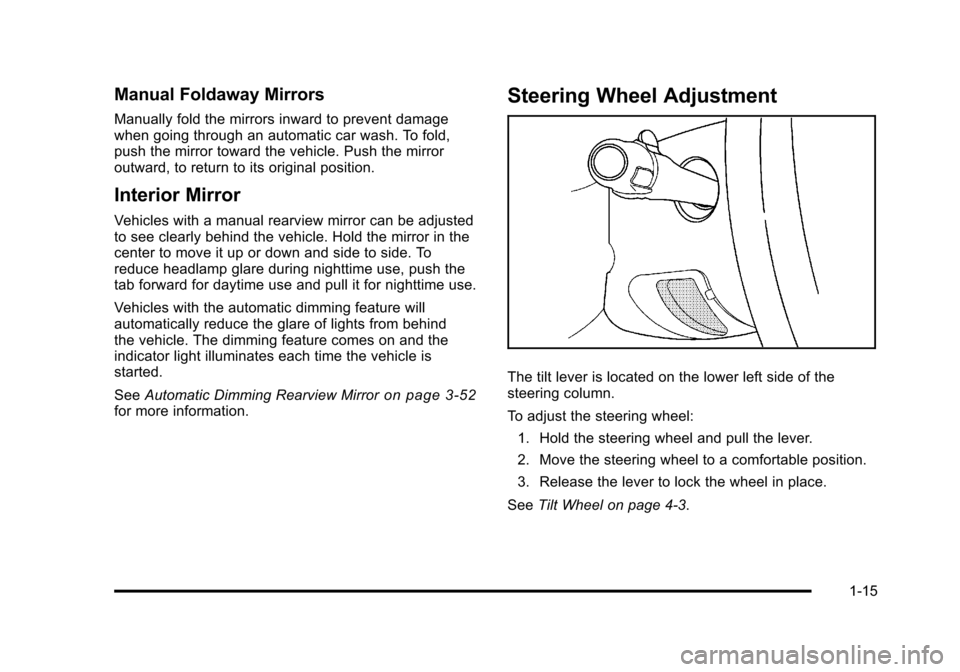
The tilt lever is located on the lower left side of the
steering column.
To adjust the steering wheel:
1. Hold the steering wheel and pull the lever.
2. Move the steering wheel to a comfortable position.
3. Release the lever to lock the wheel in place.
See Tilt Wheel on page 4‑3.
1-15
Page 22 of 608
Interior Lighting
Dome Lamps
The dome lamps come on when any door is opened.
They turn off after all the doors are closed.
The dome lamps can also be turned on by turning the
instrument panel brightness knob, located on the
instrument panel to the left of the steering column,
clockwise to the farthest position. In this position, the
dome lamps remain on whether a door is opened or
closed.
k:The dome lamp override button is located next to
the exterior lamps control.
Press the button in and the dome lamps remain off
when a door is opened. Press the button again to return
it to the extended position so that the dome lamps come
on when a door is opened.
Reading Lamps
For vehicles with reading lamps in the overhead
console, press the button located next to the lamp to
turn it on or off.
The vehicle may also have reading lamps in other
locations. The lamps cannot be adjusted. For more information about interior lamps, see:
.Dome Lamps on page 4‑14.
.Reading Lamps on page 4‑15.
.Instrument Panel Brightness on page 4‑14.
Exterior Lighting
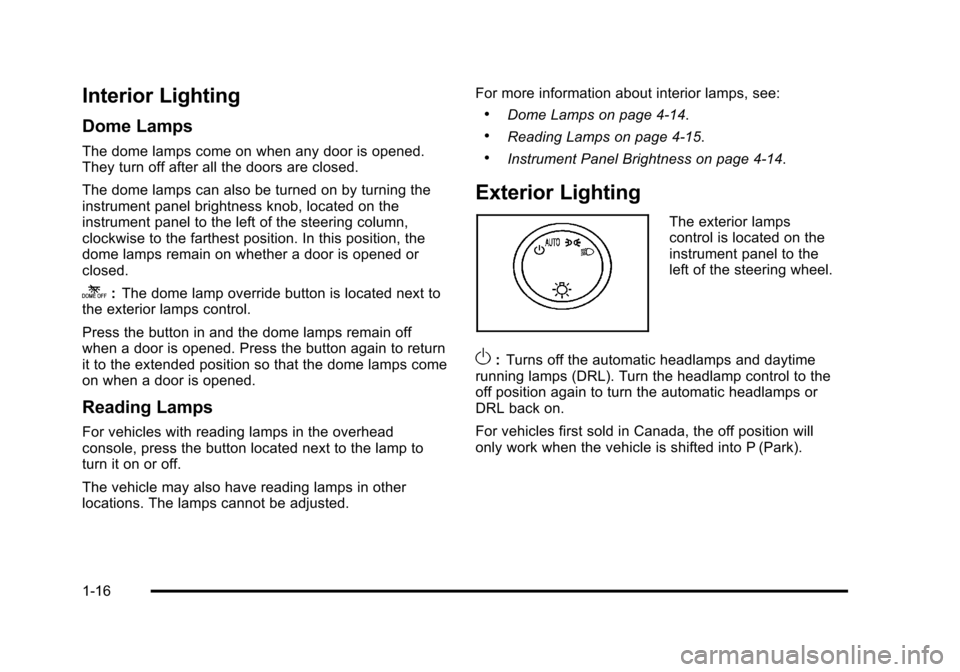
The exterior lamps
control is located on the
instrument panel to the
left of the steering wheel.
O:
Turns off the automatic headlamps and daytime
running lamps (DRL). Turn the headlamp control to the
off position again to turn the automatic headlamps or
DRL back on.
For vehicles first sold in Canada, the off position will
only work when the vehicle is shifted into P (Park).
1-16
Page 23 of 608
AUTO:Automatically turns on the headlamps, parking
lamps, taillamps, instrument panel lights, and license
plate lamps.
;: Turns on the parking lamps, taillamps, instrument
panel lights, and license plate lamps.
2: Turns on the headlamps, parking lamps, taillamps,
instrument panel lights, and license plate lamps.
For more information, see:
.Exterior Lamps on page 4‑11.
.Daytime Running Lamps (DRL) on page 4‑12.
.Fog Lamps on page 4‑13.
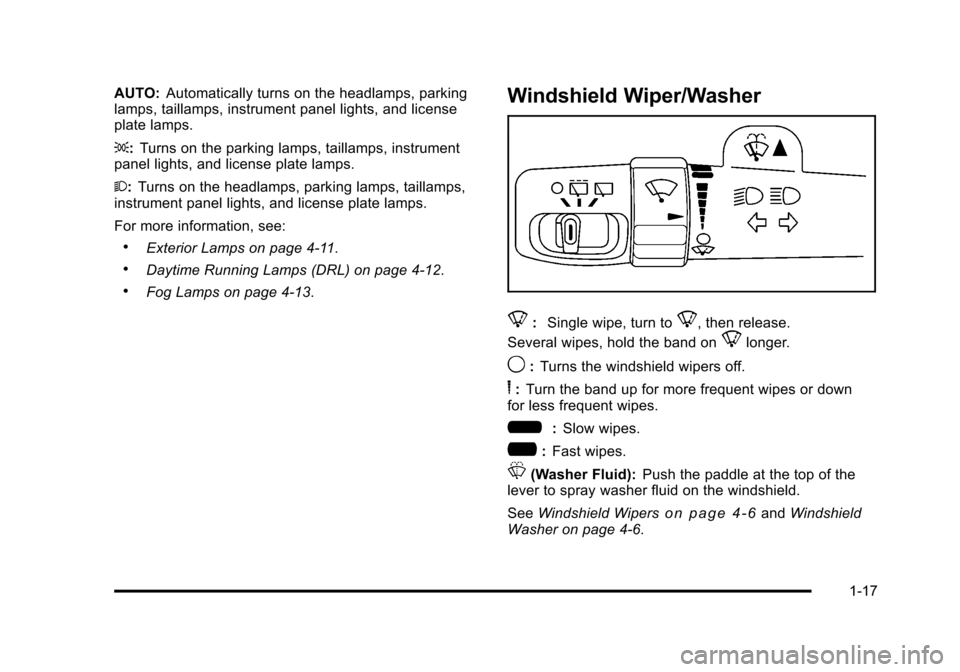
Windshield Wiper/Washer
8: Single wipe, turn to8, then release.
Several wipes, hold the band on
8longer.
9: Turns the windshield wipers off.
6:Turn the band up for more frequent wipes or down
for less frequent wipes.
6: Slow wipes.
?:Fast wipes.
L(Washer Fluid): Push the paddle at the top of the
lever to spray washer fluid on the windshield.
See Windshield Wipers
on page 4‑6andWindshield
Washer on page 4‑6.
1-17
Page 30 of 608
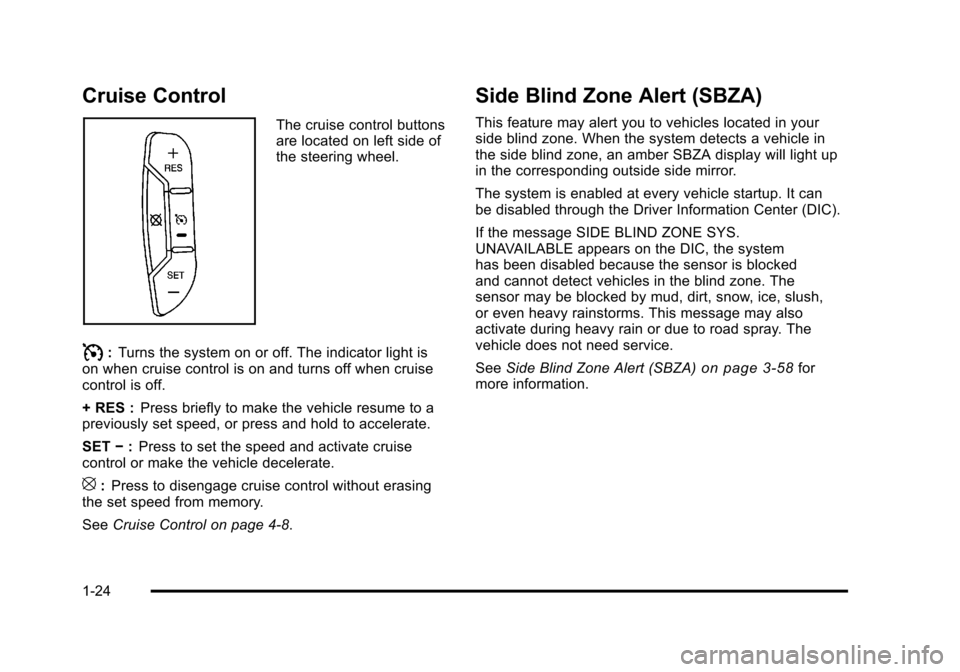
Cruise Control
The cruise control buttons
are located on left side of
the steering wheel.
I:Turns the system on or off. The indicator light is
on when cruise control is on and turns off when cruise
control is off.
+ RES : Press briefly to make the vehicle resume to a
previously set speed, or press and hold to accelerate.
SET −:Press to set the speed and activate cruise
control or make the vehicle decelerate.
[: Press to disengage cruise control without erasing
the set speed from memory.
See Cruise Control on page 4‑8.
Side Blind Zone Alert (SBZA)
This feature may alert you to vehicles located in your
side blind zone. When the system detects a vehicle in
the side blind zone, an amber SBZA display will light up
in the corresponding outside side mirror.
The system is enabled at every vehicle startup. It can
be disabled through the Driver Information Center (DIC).
If the message SIDE BLIND ZONE SYS.
UNAVAILABLE appears on the DIC, the system
has been disabled because the sensor is blocked
and cannot detect vehicles in the blind zone. The
sensor may be blocked by mud, dirt, snow, ice, slush,
or even heavy rainstorms. This message may also
activate during heavy rain or due to road spray. The
vehicle does not need service.
SeeSide Blind Zone Alert (SBZA)
on page 3‑58for
more information.
1-24
Page 33 of 608
Performance and Maintenance
StabiliTrak®
The vehicle may have a traction control system that
limits wheel spin and the StabiliTrak system that assists
with directional control of the vehicle in difficult driving
conditions. Both systems turn on automatically every
time the vehicle is started.
.To turn off traction control, press and release5on
the instrument panel.
Filluminates and the
appropriate DIC message displays. See DIC
Warnings and Messages on page 4‑61.
.To turn off both traction control and Electronic
Stability Control, press and hold
5until
Filluminates and the appropriate DIC message
displays. See DIC Warnings and Messageson
page 4‑61.
.Press and release the button again to turn on both
systems.
For more information, see StabiliTrak
®Systemon
page 5‑6.
Tire Pressure Monitor
This vehicle may have a Tire Pressure Monitor
System (TPMS).
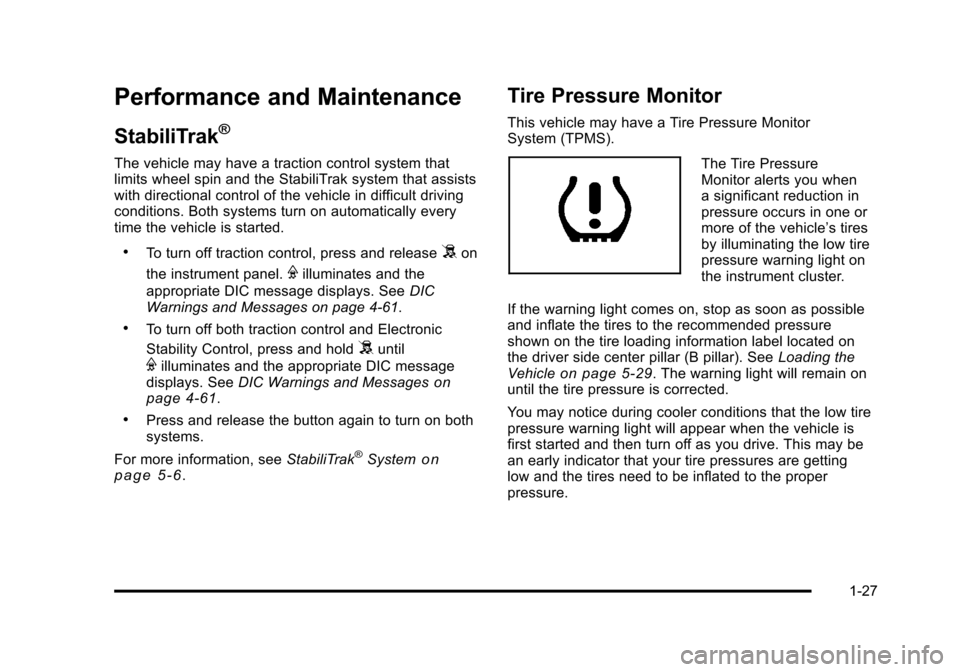
The Tire Pressure
Monitor alerts you when
a significant reduction in
pressure occurs in one or
more of the vehicle’s tires
by illuminating the low tire
pressure warning light on
the instrument cluster.
If the warning light comes on, stop as soon as possible
and inflate the tires to the recommended pressure
shown on the tire loading information label located on
the driver side center pillar (B pillar). See Loading the
Vehicle
on page 5‑29. The warning light will remain on
until the tire pressure is corrected.
You may notice during cooler conditions that the low tire
pressure warning light will appear when the vehicle is
first started and then turn off as you drive. This may be
an early indicator that your tire pressures are getting
low and the tires need to be inflated to the proper
pressure.
1-27
Page 37 of 608
![CHEVROLET SUBURBAN 2010 10.G Owners Manual The OnStar system can record and transmit vehicle
information. This information is automatically sent to an
OnStar call center when
Qis pressed,]is pressed,
or if the airbags or ACR system deploy. Thi CHEVROLET SUBURBAN 2010 10.G Owners Manual The OnStar system can record and transmit vehicle
information. This information is automatically sent to an
OnStar call center when
Qis pressed,]is pressed,
or if the airbags or ACR system deploy. Thi](/img/24/8315/w960_8315-36.png)
The OnStar system can record and transmit vehicle
information. This information is automatically sent to an
OnStar call center when
Qis pressed,]is pressed,
or if the airbags or ACR system deploy. This information
usually includes the vehicle's GPS location and, in the
event of a crash, additional information regarding the
crash that the vehicle was involved in (e.g. the direction
from which the vehicle was hit). When the virtual
advisor feature of OnStar hands-free calling is used, the
vehicle also sends OnStar the vehicle's GPS location
so they can provide services where it is located.
Location information about the vehicle is only available
if the GPS satellite signals are unobstructed and
available.
The vehicle must have a working electrical system,
including adequate battery power, for the OnStar
equipment to operate. There are other problems OnStar
cannot control that may prevent OnStar from providing
OnStar service at any particular time or place. Some
examples are damage to important parts of the vehicle
in a crash, hills, tall buildings, tunnels, weather or
wireless phone network congestion.
OnStar Steering Wheel Controls
This vehicle may have a Talk/Mute button that can be
used to interact with OnStar hands-free calling. See
Audio Steering Wheel Controls
on page 4‑136for more
information.
On some vehicles, the mute button can be used to dial
numbers into voice mail systems, or to dial phone
extensions. See the OnStar Owner's Guide for more
information.
Your Responsibility
Increase the volume of the radio if the OnStar advisor
cannot be heard.
If the light next to the OnStar buttons is red, the system
may not be functioning properly. Press
Qand request a
vehicle diagnostic. If the light appears clear (no light is
appearing), your OnStar subscription has expired and
all services have been deactivated. Press
Qto confirm
that the OnStar equipment is active.
1-31
Page 46 of 608
Heated Seats
{WARNING:
If you cannot feel temperature change or pain to
the skin, the seat heater may cause burns even
at low temperatures. To reduce the risk of burns,
people with such a condition should use care
when using the seat heater, especially for long
periods of time. Do not place anything on the seat
that insulates against heat, such as a blanket,
cushion, cover or similar item. This may cause
the seat heater to overheat. An overheated seat
heater may cause a burn or may damage
the seat.On vehicles with heated front seats, the controls are
located on the driver and passenger doors.
I
(Heated Seatback): Press to turn on the heated
seatback.
J (Heated Seat and Seatback): Press to turn on the
heated seat and seatback.
The light on the button will come on to indicate that the
feature is working. Press the button to cycle through the
temperature settings of high, medium, and low and to
turn the heat to the seat off. Indicator lights will show
the level of heat selected: three for high, two for
medium, and one for low.
The heated seats will be canceled 10 seconds after the
ignition is turned off. To use the heated seat feature
after restarting the vehicle, press the heated seat or
seatback button again.
2-8