check engine CHEVROLET TAHOE 1995 1.G Owners Manual
[x] Cancel search | Manufacturer: CHEVROLET, Model Year: 1995, Model line: TAHOE, Model: CHEVROLET TAHOE 1995 1.GPages: 486, PDF Size: 27.22 MB
Page 45 of 486
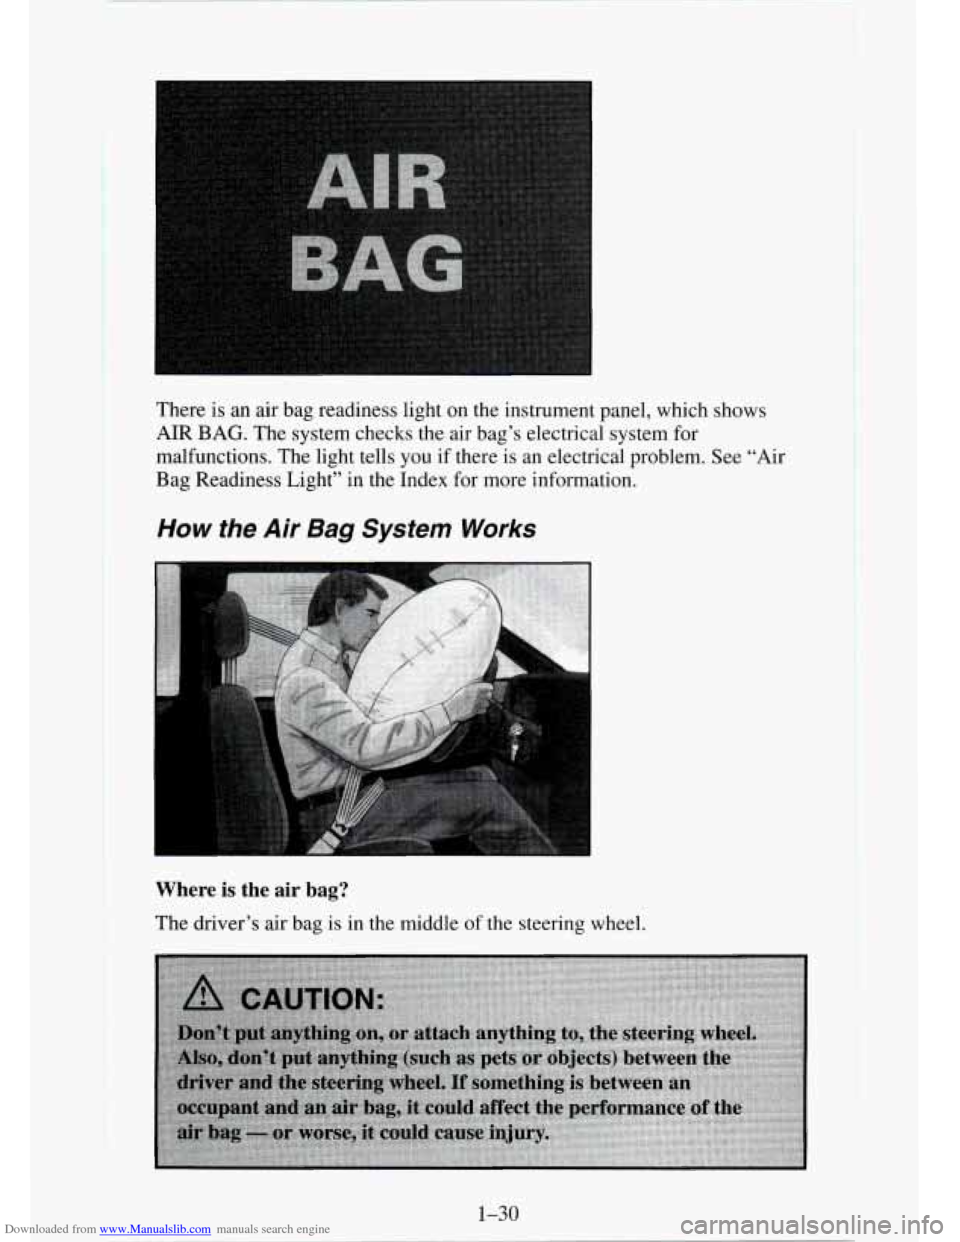
Downloaded from www.Manualslib.com manuals search engine There is an air bag readiness light on the instrument panel, which shows
AIR
BAG. The system checks the air bag’s electrical system for
malfunctions. The light tells you if there is an electrical problem. See “Air
Bag Readiness Light” in the Index for more information.
How the Air Bag System Works
Where is the air bag?
The driver’s air bag is in the middle of the steering wheel.
1-30
Page 65 of 486
Downloaded from www.Manualslib.com manuals search engine Checking Your Restraint Systems
Now and then, make sure all your belts, buckles, latch plates, retractors,
anchorages and reminder systems are working properly.
Look for any other
loose
or damaged restraint system parts. If you see anything that might keep
a restraint system from doing its job, have it repaired.
Torn or frayed belts may
not protect you in a crash. They can rip apart under
impact forces. If a belt is torn or frayed, get a new
one right away.
Replacing Seat and Restraint System Parts
After a Crash
If you’ve had a crash, do you need new belts?
After
a very minor collision, nothing may be necessary. But if the belts were
stretched, as
they would be if worn during a more severe crash, then you
need new belts.
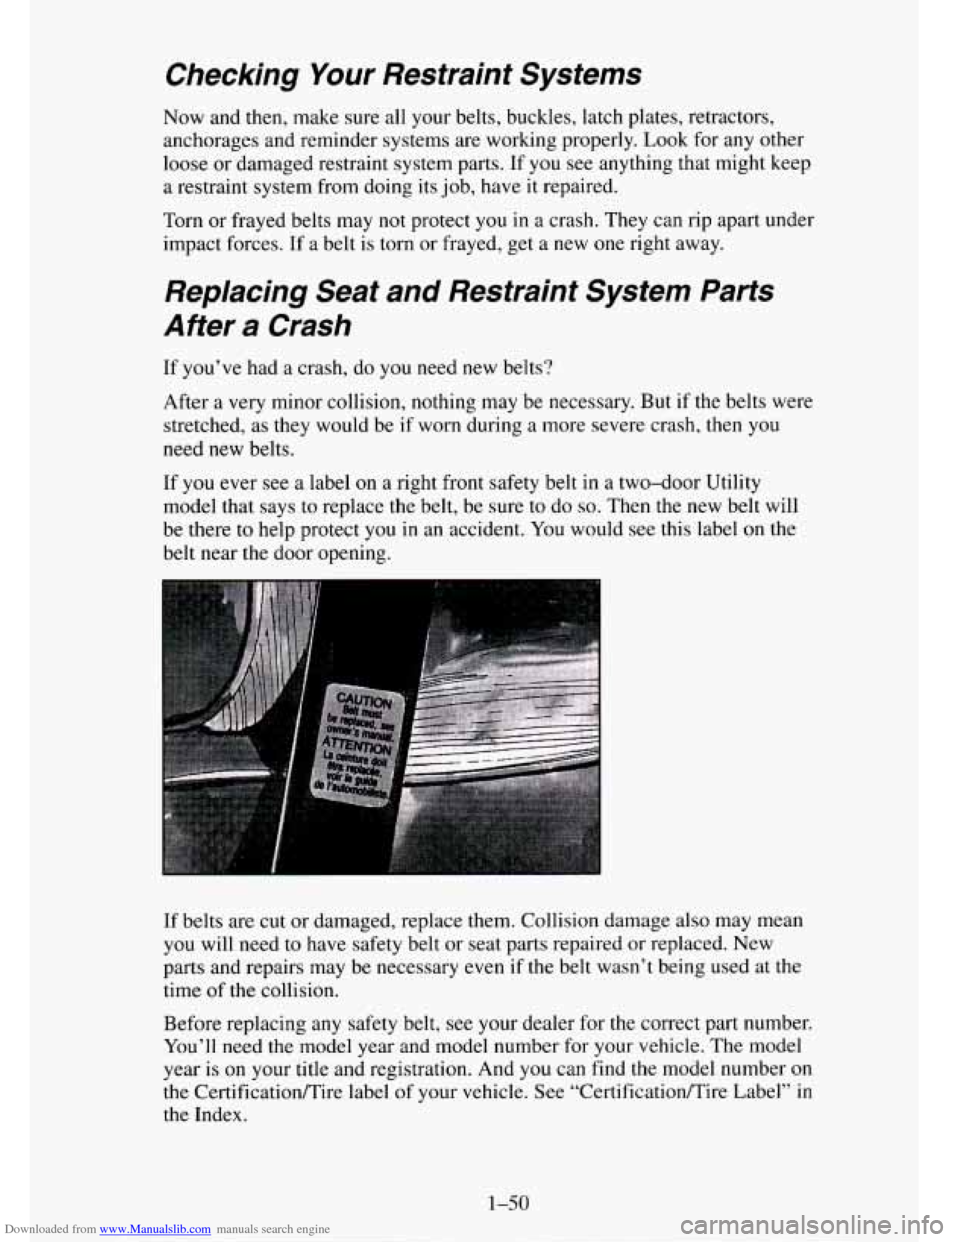
If you ever see a label
on a right front safety belt in a two-door Utility
model that says to replace the belt, be sure
to do so. Then the new belt will
be there to help protect you in an accident. You would see this label on the
belt near the door opening.
If belts are cut or damaged, replace them. Collision damage also may mean
you will need to have safety belt or seat parts repaired or replaced. New
parts and repairs may be necessary even if the belt wasn’t being used at the
time of the collision.
Before replacing any safety belt, see your dealer for the correct part number.
You’ll need the model year and model number for your vehicle. The model
year is on your title and registration. And you can find the model number on
the Certificatioflire label of your vehicle. See “CertificatiodTire Label”
in
the Index.
1-50
Page 72 of 486
Downloaded from www.Manualslib.com manuals search engine Open the tailgate by lifting up on the handle while pulling the tailgate
toward you.
Close the tailgate before closing the rear
glass. After closing, make sure the
tailgate is securely latched by pulling it toward you. After closing the rear
glass, pull up on it’s handle
to make sure it is locked.
Panel Doors
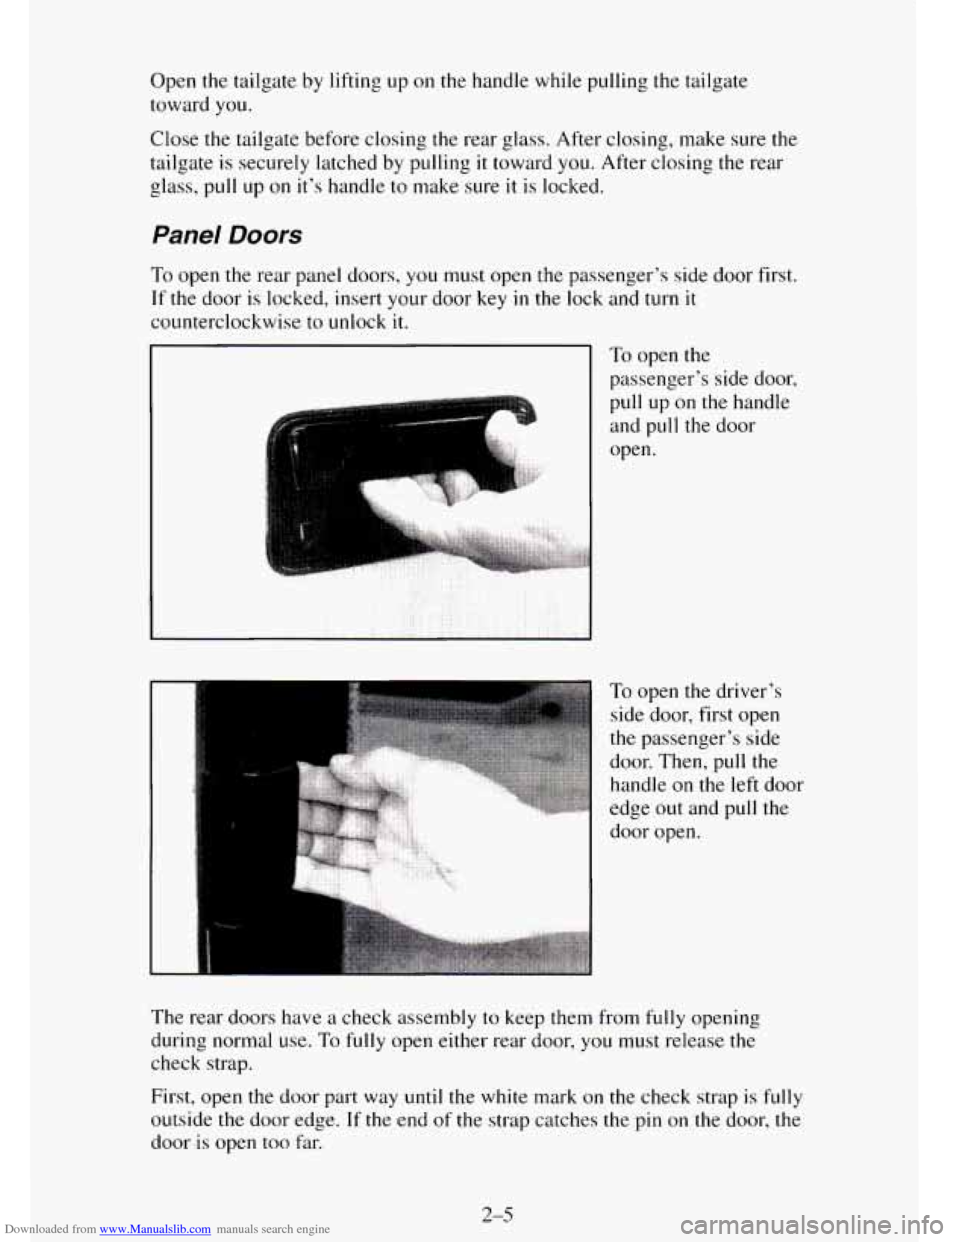
To open the rear panel doors, you must open the passenger’s side door first.
If the door is locked, insert your door key in the lock and turn it
counterclockwise to unlock it.
To open the
passenger’s side door,
pull up on the handle
and pull the door
open.
To open the driver’s
side door, first open
the passenger’s side
door. Then, pull the
handle on
the left door
edge out and pull the
door open.
The rear doors have a check assembly to keep them from
fully opening
during normal use. To fully open either rear door,
you must release the
check strap.
First, open
the door part way until the white mark on the check strap is fully
outside the door edge. If the end of the strap catches the pin on the door, the
door-is open too far.
Page 73 of 486
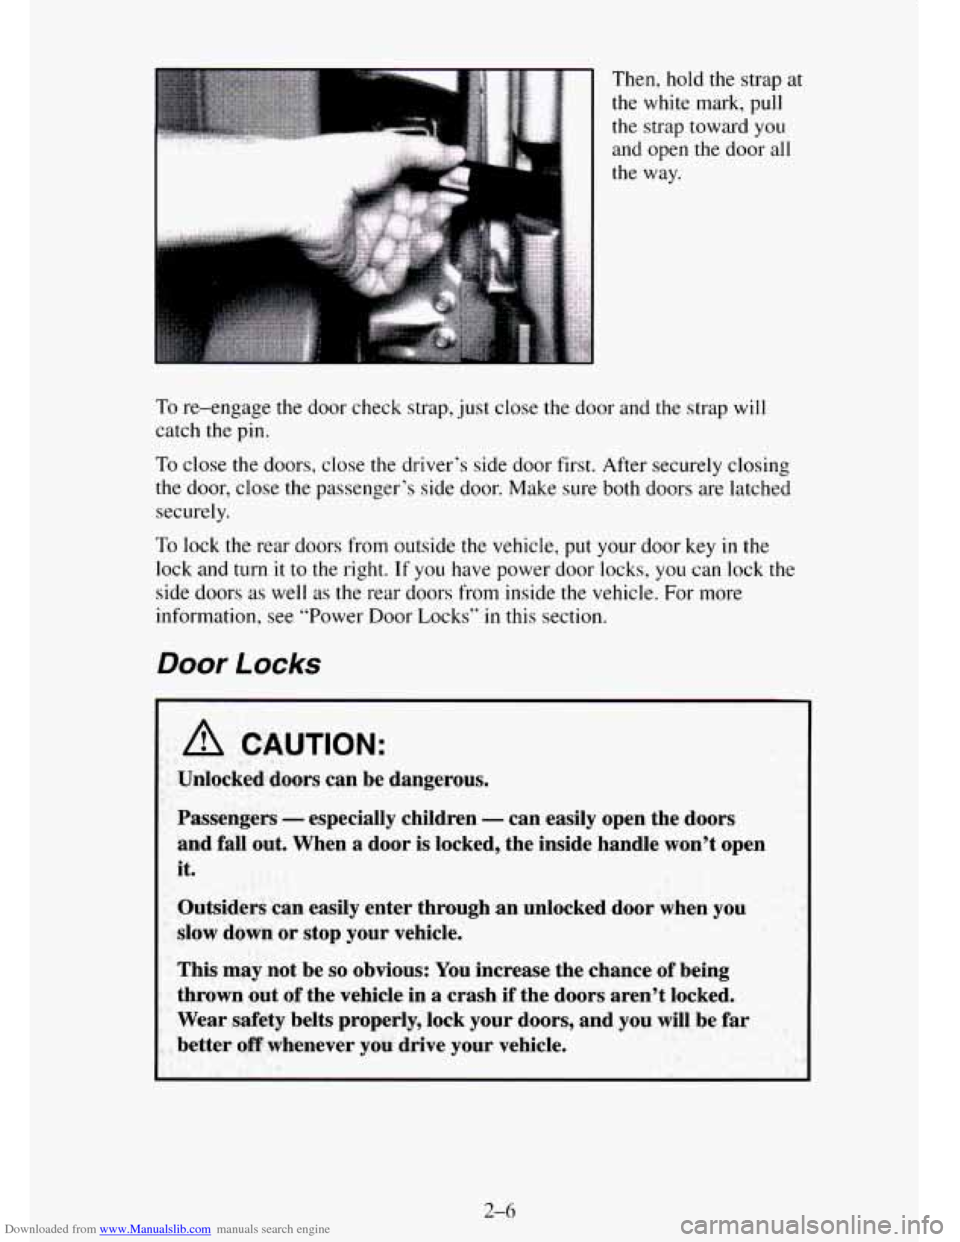
Downloaded from www.Manualslib.com manuals search engine Then, hold the strap at
the white mark, pull
the strap toward you
and open the door all
the way.
To re-engage the door check strap, just close the door and the strap will
catch
the pin.
To close the doors, close the driver’s side door first. After securely closing
the door, close the passenger’s side door. Make sure both doors are latched
securely.
To lock the rear doors from outside the vehicle, put your door key in the
lock and turn
it to the right. If you have power door locks, you can lock the
side doors
as well as the rear doors from inside the vehicle. For more
information, see “Power Door Locks”
in this section.
Door Locks
A CAUTION:
Unlocked doors can be dangerous.
Passengers
- especially children - can easily open the doors
and fall out. When
a door is locked, the inside handle won’t open
it.
Outsiders can easily enter through an unlocked door when you
slow down
or stop your vehicle.
This may not be
so obvious: You increase the chance of being
thrown out
of the vehicle in a crash if the doors aren’t locked.
Wear safety belts properly, lock your doors, and you will be
far
better off whenever you drive your vehicle.
2-6
Page 75 of 486
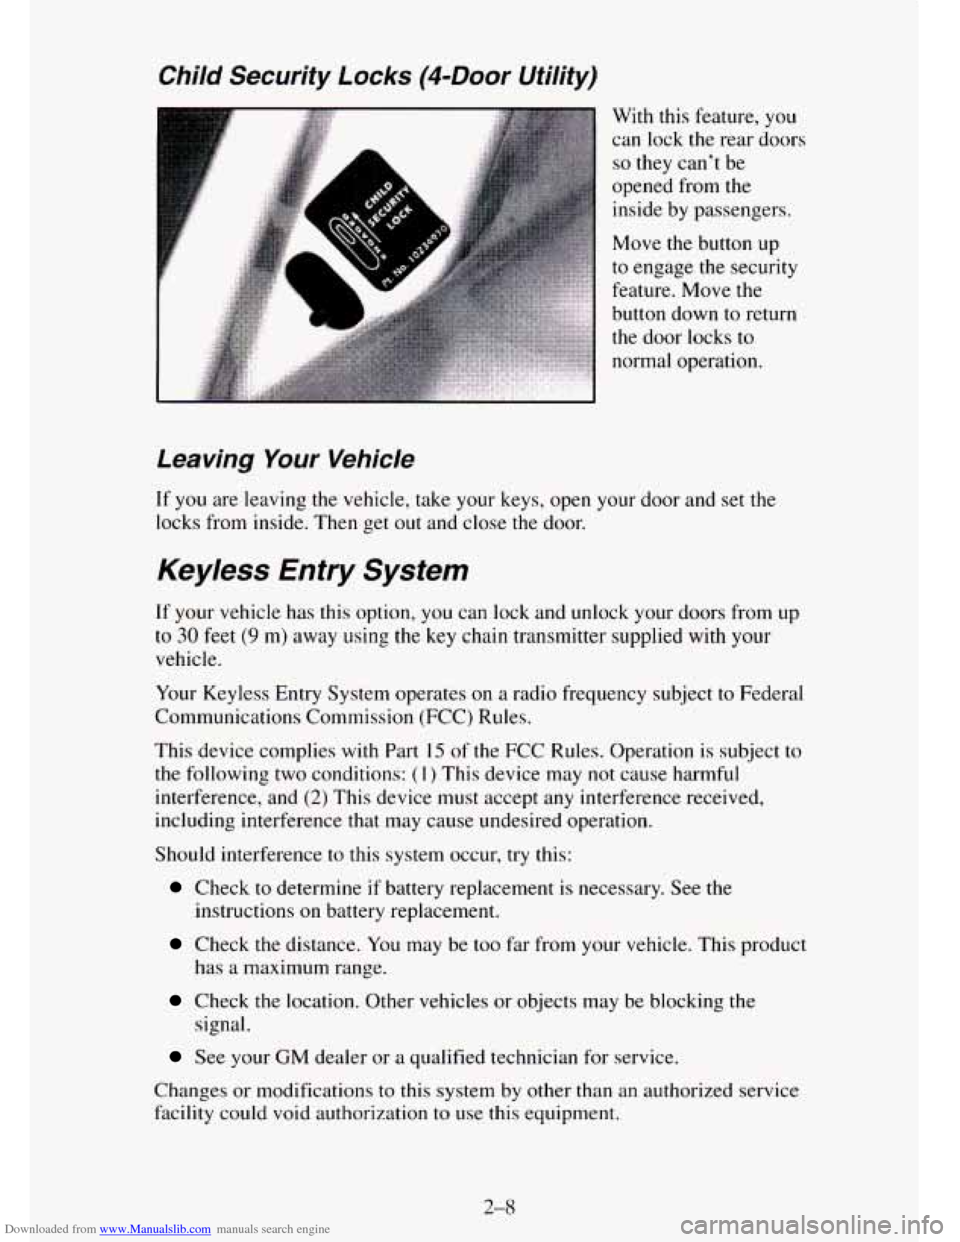
Downloaded from www.Manualslib.com manuals search engine Leaving Your Vehicie
If you are leaving the vehicle, take your keys, open your door and set the
locks from inside. Then get out and close the door.
Keyless Entry System
If your vehicle has this option, you can lock and unlock your doors from up
to 30 feet (9 m) away using the key chain transmitter supplied with your
vehicle.
Your Keyless Entry System operates
on a radio frequency subject to Federal
Communications Commission (FCC) Rules.
This device complies
with Part 15 of the FCC Rules. Operation is subject to
the following two conditions: ( 1) This device may not cause harmful
interference, and
(2) This device must accept any interference received,
including interference that may cause undesired operation.
Should interference
to this system occur, try this:
Check to determine if battery replacement is necessary. See the
instructions on battery replacement.
Check the distance. You may be too far from your vehicle. This product
has
a maximum range.
Check the location. Other vehicles or objects may be blocking the
signal.
See your GM dealer or a qualified technician for service.
Changes or modifications to this system by other than
an authorized service
facility could void authorization to use this equipment.
2-8
Page 82 of 486
Downloaded from www.Manualslib.com manuals search engine NOTICE:
Your engine is designed to work with the electronics in your
vehicle.
If you add electrical parts or accessories, you could
change the way the fuel injection system operates. Before addin\
g electrical equipment, check with your dealer.
If you don’t, your
engine might not perform properly.
If you ever have to have your vehicle towed, see the part of this
manual that tells how to do it without damaging your vehicle.
See “Towing Your Vehicle” in the Index.
Driving Through Deep Standing Water
NOTICE:
If you drive too quickly through deep puddles or standing water,
water can come in through your engine’s air intake and badl\
y
damage your engine. Never drive through water that is slightly \
lower than the underbody of your vehicle. If you can’t avoid
deep puddles
or standing water, drive through them very slowly.
Driving In Snow (Diesel Engines)
When driving in a heavy snowstorm or in swirling snow with a diesel
engine, snow can get into the air intake system.
If you keep driving in these
conditions the air cleaner may get plugged, causing black smoke and loss
of
power. In an emergency, if the air cleaner gets plugged with snow, you can
remove the air cleaner. Then, drive to
a place of safety as soon as possible
and put
the air cleaner back on.
Starting Your Diesel Engine
Your diesel engine starts differently than a gasoline engine.
1. Move your shift lever to PARK (P) or NEUTRAL (N). Your engine
won’t start
in any other position - that’s a safety feature. To restart
when you’re already moving, use NEUTRAL
(N) only.
2-1 5
Page 85 of 486
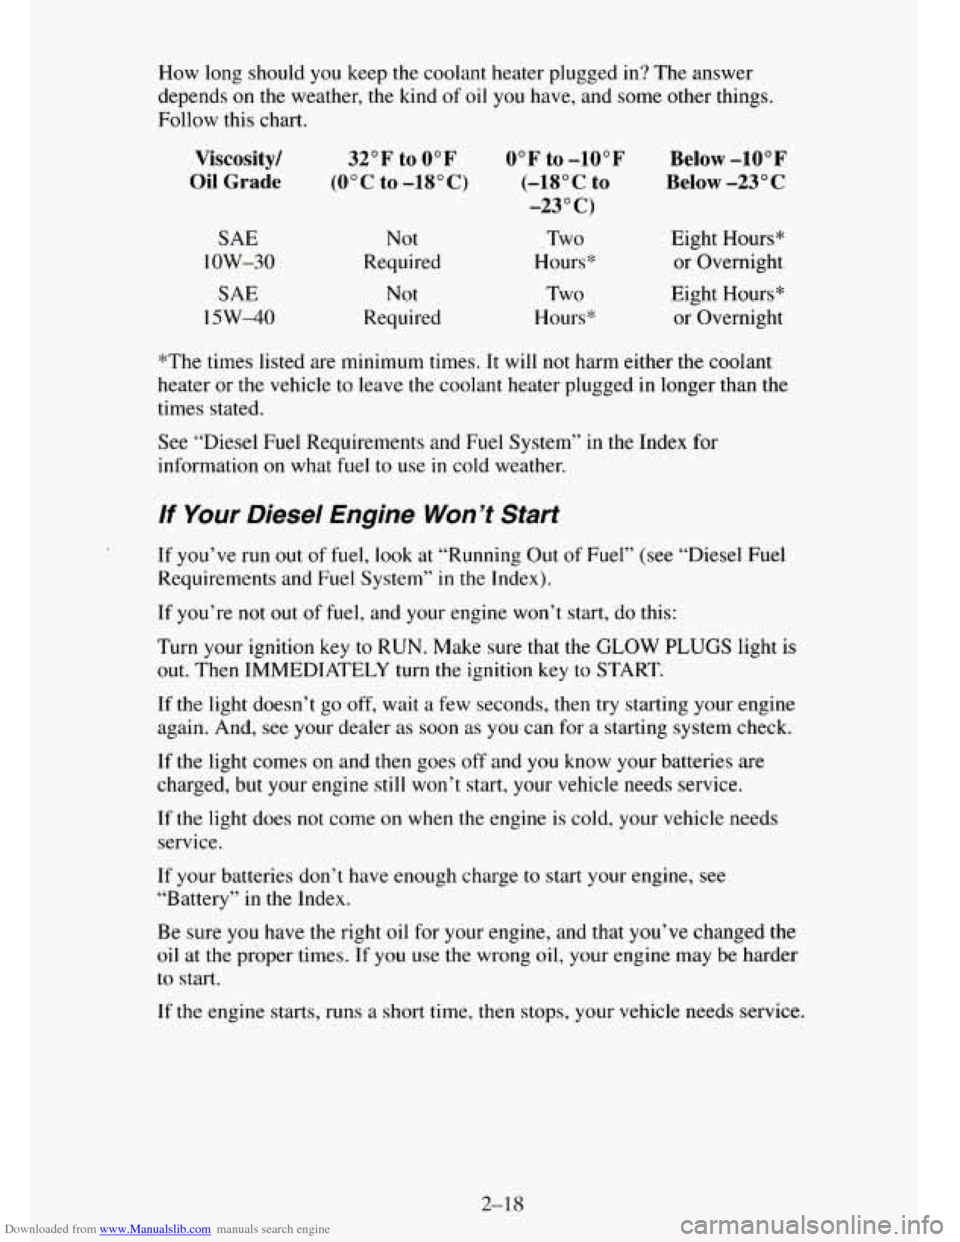
Downloaded from www.Manualslib.com manuals search engine How long should you keep the coolant heater plugged in? The answer
depends
on the weather, the kind of oil you have, and some other things.
Follow this chart.
Viscosity/
Oil Grade
SAE
low-30
SAE
15W40
32°F to 0°F
(OOC to -18OC)
Not
Required
Not
Required
0°F to -10°F
(-18” c to
-23 O C)
Two
Hours*
Two
Hours*
Below -10°F
Below
-23 O C
Eight Hours*
or Overnight
Eight Hours*
or Overnight
*The times listed are minimum times.
It will not harm either the coolant
heater or
the vehicle to leave the coolant heater plugged in longer than the
times stated.
See “Diesel Fuel Requirements and
Fuel System” in the Index for
information
on what fuel to use in cold weather.
lf Your Diesel Engine Won’t Start
If you’ve run out of fuel, look at “Running Out of Fuel” (see “Diesel Fuel
Requirements and Fuel System” in the Index).
If you’re
not out of fuel, and your engine won’t start, do this:
Turn your ignition
key to RUN. Make sure that the GLOW PLUGS light is
out. Then IMMEDIATELY
turn the ignition key to START.
If the light doesn’t go off, wait a few seconds, then try starting your engine
again. And, see your dealer
as soon as you can for a starting system check.
If the light comes
on and then goes off and you know your batteries are
charged, but your engine still
won’t start, your vehicle needs service.
If the light does
not come on when the engine is cold, your vehicle needs
service.
If your batteries don’t have enough charge to start your engine, see
“Battery”
in the Index.
Be sure you have the right oil for your engine, and that you’ve changed
the
oil at the proper times. If you use the wrong oil, your engine may be harder
to start.
If the engine starts, runs a short time, then stops, your vehicle needs service.
2-18
Page 101 of 486
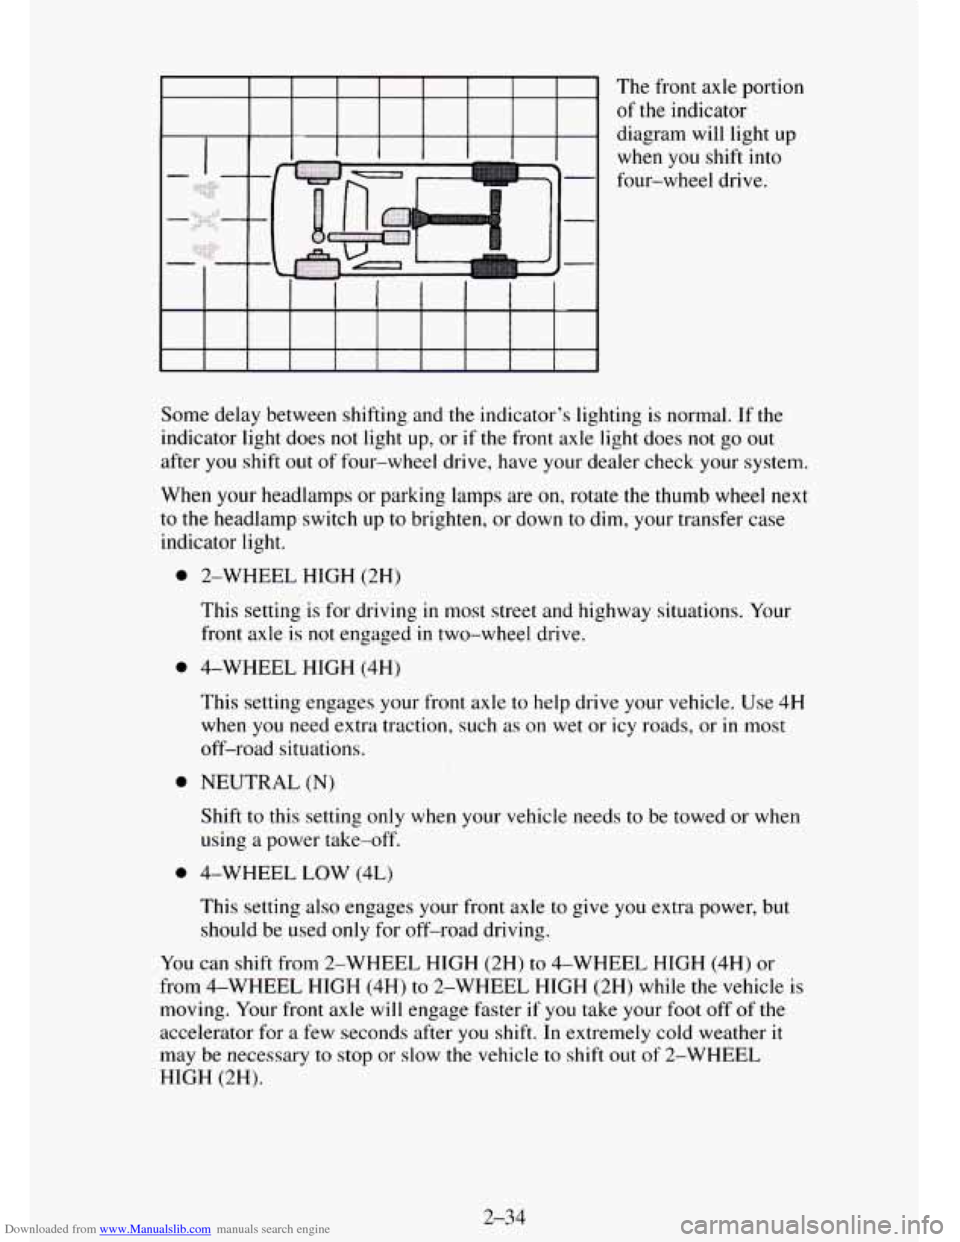
Downloaded from www.Manualslib.com manuals search engine The front axle portion
of
the indicator
diagram will light up
when you shift into
four-wheel drive.
Some delay between shifting and the indicator's lighting is normal.
If the
indicator light does
not light up, or if the front axle light does not go out
after you shift out of four-wheel drive, have your dealer check your system.
When your headlamps or parking lamps are
on, rotate the thumb wheel next
to the headlamp switch up to brighten, or down to dim, your transfer case
indicator light.
0
0
0
0
2-WHEEL HIGH (2H)
This setting
is for driving in most street and highway situations. Your
front axle
is not engaged in two-wheel drive.
4-WHEEL HIGH (4H)
This setting engages your front axle to help drive your vehicle. Use 4H
when
you need extra traction, such as on wet or icy roads, or in most
off-road situations.
NEUTRAL
(N)
Shift to this setting only when your vehicle needs to be towed or when
using
a power take-off.
4-WHEEL LOW (4L)
This setting
also engages your front axle to give you extra power, but
should be used only for off-road driving.
You can shift from 2-WHEEL HIGH (2H) to 4-WHEEL HIGH (4H) or
from 4-WHEEL HIGH (4H) to 2-WHEEL HIGH (2H) while the vehicle
is
moving. Your front axle will engage faster if you take your foot off of the
accelerator for
a few seconds after you shift. In extremely cold weather it
may be necessary to stop or slow the vehicle to shift out of 2-WHEEL
HIGH (2H).
2-34
Page 107 of 486
Downloaded from www.Manualslib.com manuals search engine Turn Signal and Lane Change lndicator
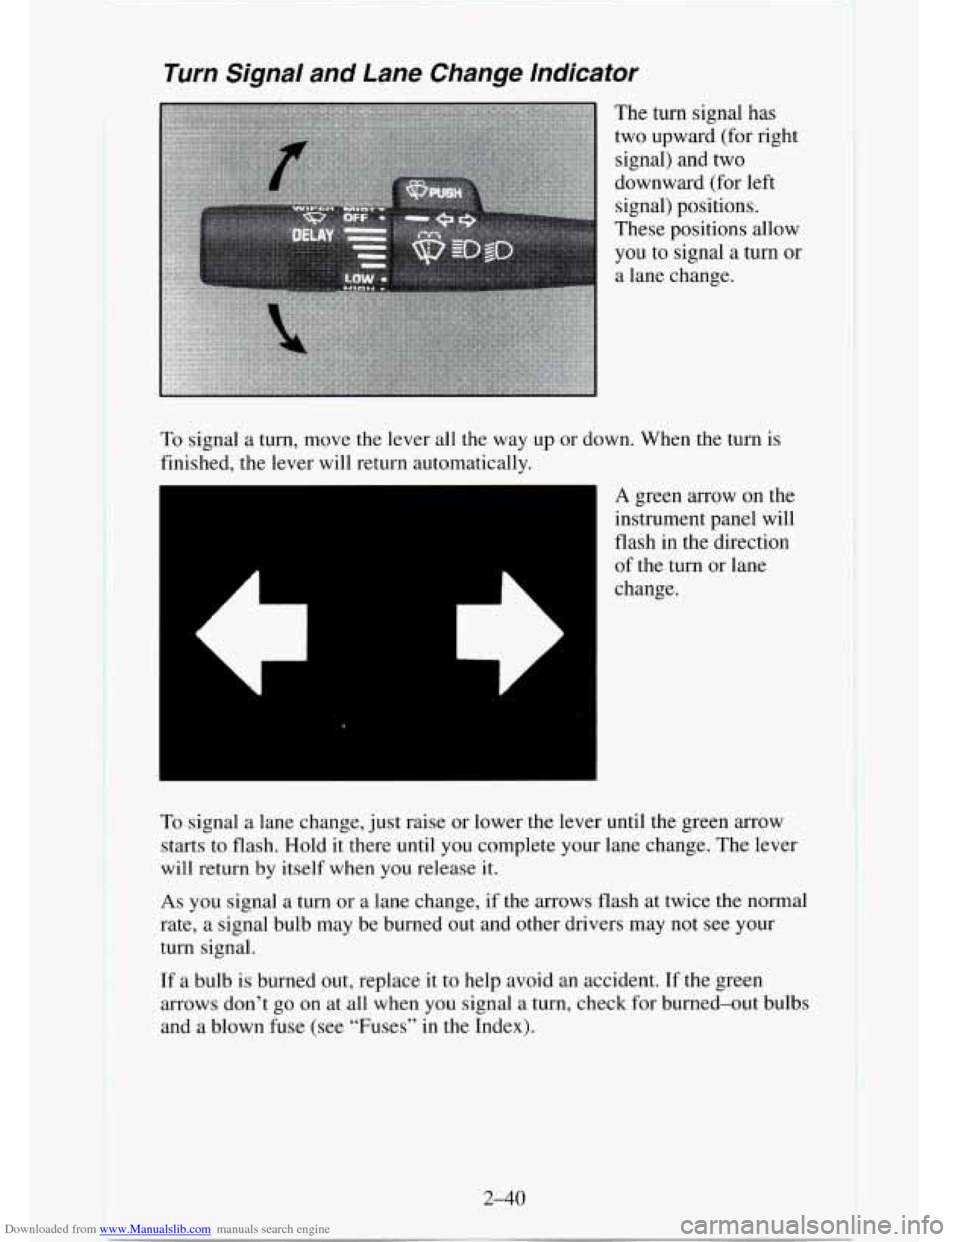
To signal a turn, move the lever all the way up or down. When the turn is
finished, the lever will return automatically.
6
A green arrow on the
instrument panel will
flash in the direction
of the turn or lane
change.
To signal a lane change, just raise or lower the lever until the green arrow
starts to flash. Hold it there until you complete your lane change. The lever
will return by itself when you release it.
As you signal a turn or a lane change, if the arrows flash at twice the normal
rate, a signal bulb may be burned out and other drivers may
not see your
turn signal.
If a bulb
is burned out, replace it to help avoid an accident. If the green
arrows don’t
go on at all when you signal a turn, check for burned-out bulbs
and a blown fuse (see “Fuses” in the Index).
2-40
Page 109 of 486
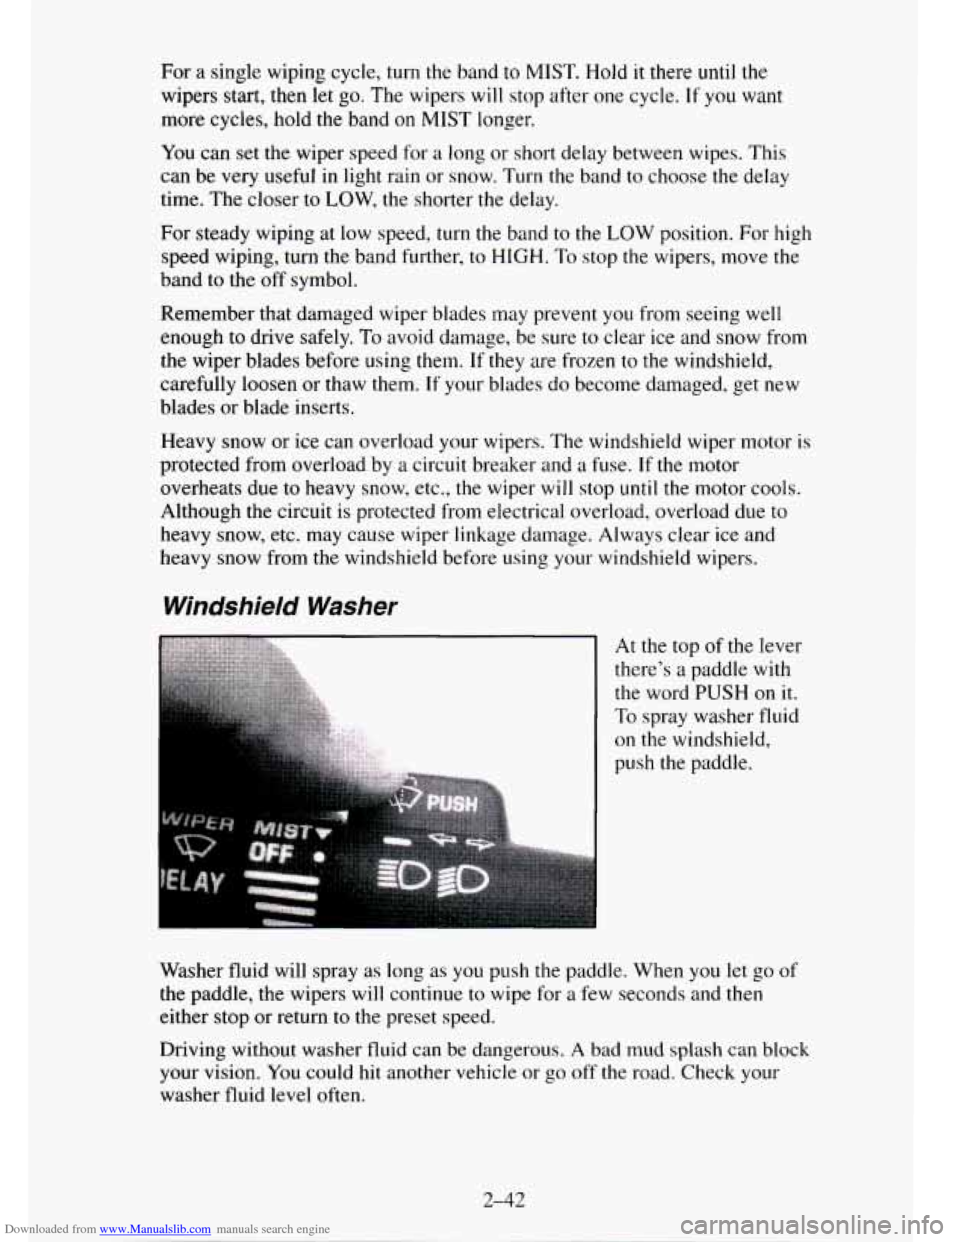
Downloaded from www.Manualslib.com manuals search engine For a single wiping cycle, turn the band to MIST. Hold it there until the
wipers start, then let go. The wipers will stop after one cycle. If you want
more cycles, hold the band
on MIST longer.
You can set the wiper speed for a long or short delay between wipes. This
can be very useful in light rain or snow. Turn the band to choose the delay
time. The closer
to LOW, the shorter the delay.
For steady wiping at low speed,
turn the band to the LOW position. For high
speed wiping, turn the band further, to
HIGH. To stop the wipers, move the
band to the off symbol.
Remember that damaged wiper blades may prevent
you from seeing well
enough to drive safely.
To avoid damage, be sure to clear ice and snow from
the wiper blades before using them.
If they are frozen to the windshield,
carefully loosen or thaw them.
If your blades do become damaged, get new
blades
or blade inserts.
Heavy snow or ice can overload your wipers. The windshield wiper motor is
protected from overload by a circuit breaker and
a fuse. If the motor
overheats due to heavy snow, etc.,
the wiper will stop until the motor cools.
Although the circuit is protected from electrical overload, overload due
to
heavy snow, etc. may cause wiper linkage damage. Always clear ice and
heavy snow from the windshield before using your windshield wipers.
Windshield Washer
At the top of the lever
there’s a paddle with
the word PUSH on it.
To spray washer fluid
on the windshield,
push the paddle.
Washer fluid will spray as long as
you push the paddle. When you let go of
the paddle, the wipers will continue to wipe for a few seconds and then
either stop or return to the preset speed.
Driving without washer fluid can be dangerous.
A bad mud splash can block
your vision. You
could hit another vehicle or go off the road. Check your
washer fluid level often.
2-42