set clock CHEVROLET TAHOE 1996 1.G User Guide
[x] Cancel search | Manufacturer: CHEVROLET, Model Year: 1996, Model line: TAHOE, Model: CHEVROLET TAHOE 1996 1.GPages: 403, PDF Size: 20.63 MB
Page 147 of 403

Downloaded from www.Manualslib.com manuals search engine Adjusting the Speakers
BAL: Press this button to remove the control from its
stored position. Turn the control clockwise to adjust
sound to the right speakers and counterclockwise
to
adjust sound to the left speakers. Press the button again
to return BAL to its stored position.
FADE: Press this button to remove the control from its
stored position. Turn the control clockwise to adjust the
sound to the front and counterclockwise for rear
speakers. Press the button again to return FADE to its
stored position.
Playing a Cassette Tape
Your tape player is built to work best with tapes that are
30 to 45 minutes long on each side. Tapes longer than
that are
so thin they may not work well in this player.
To load a cassette tape with the ignition off, press
EJECT or RECALL. Then, insert the cassette tape.
If the ignition is on but the radio is off, the tape will
begin playing.
The player automatically senses if the cassette tape is
metal
or Cr02 and adjusts for best playback sound.
For metal tapes, the double-D symbol will appear on
the display. Once the tape
is playing, use the VOL, BAL, FADE,
TREB and BASS controls just as you do for the radio.
The tape symbol and a direction arrow will be on the
display whenever a tape is being played. Anytime a tape
is inserted, the top side is selected
for play first.
PREV (1): Press the PREV or the SEEK left arrw to
search for the previous selection. A minimum
three-second blank gap is required for
the player to stop
at the beginning of the selection. The tape direction
arrow will blink during the SEEK operation.
PROG (2): Press this button to switch from one side of
the tape to the other.
NEXT (3): Press NEXT or the SEEK right arrow to
search for the next selection.
A minimum three-second
blank gap is required for the player to stop at the
beginning of the selection. The tape direction arrow will
blink during the SEEK operation.
REV (4): Press this button to rapidly reverse the tape to
the beginning of the cassette reel or until you press REV
again. The radio will play the last selected station while
reversing the tape. The tape direction arrow
will blink
during REV operation.
3-16
Page 151 of 403

Downloaded from www.Manualslib.com manuals search engine AM-FM Stereo with Compact Disc Player
and Automatic Tone Control (Option)
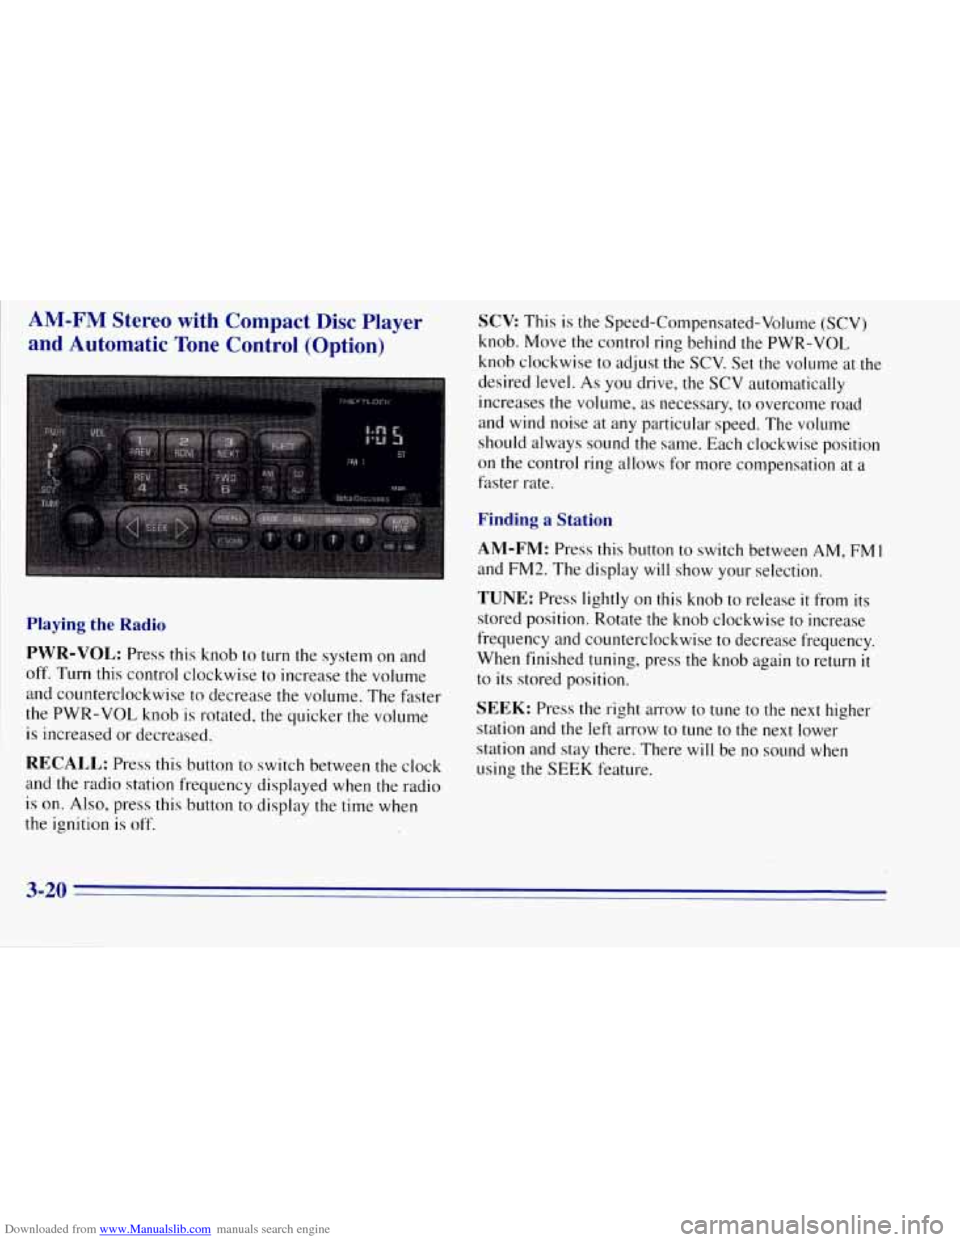
Playing the Radio
PWR-VOL:
Press this knob to turn the system on and
off. Turn this control clockwise to increase the volume
and counterclockwise to decrease the volume. The faster
the
PWR-VOL knob is rotated, the quicker the volume
is increased or decreased.
RECALL: Press this button to switch between the clock
and the radio station frequency displayed when the radio
is
on. Also, press this button to display the time when
the ignition
is off.
SCV This is the Speed-Compensated-Volume (SCV)
knob. Move the control ring behind the PWR-VOL
knob clockwise to adjust the SCV. Set the volume at the
desired level.
As you drive, the SCV automatically
increases the volume, as necessary, to overcome road
and wind noise at any particular speed. The volume
should always sound the same. Each clockwise position
on the control ring allows for more compensation at a
faster rate.
Finding a Station
AM-FM: Press this button to switch between AM, FMI
and EM2. The display will show your selection.
TUNE: Press lightly on this knob to release it from its
stored position. Rotate the knob clockwise to increase
frequency and counterclockwise to decrease frequency.
When finished tuning, press the knob again to return
it
to its stored position.
SEEK: Press the right arrow to tune to the next higher
station and the left arrow to tune to the next lower
station and stay there. There will be no sound when
using the SEEK feature.
3-20
Page 153 of 403

Downloaded from www.Manualslib.com manuals search engine BASS: Press lightly on this knob to release it from its
stored position. Turn the knob clockwise to increase the
bass and counterclockwise to decrease the bass. When
the BASS control is rotated, the AUTO TONE setting
will change to MAN. Push the knob back in to its stored
position when done.
TREB: Press lightly on the TREB knob to release it
from its stored position. Turn the knob clockwise to
increase the treble and counterclockwise to decrease the
treble. When the TREB control is rotated, the AUTO
TONE setting will change to MAN. Push the knob back
in
to its stored position when done.
Adjusting the Speakers
BAL: Press this button to remove the control from its
stored position. Turn the control clockwise
to adjust
sound to the right speakers and counterclockwise to
adjust sound to the
left speakers. Press the button again
to return BAL to its stored position.
FADE: Press this button to remove the control from its
stored position. Turn the control clockwise
to adjust the
sound
to the front and counterclockwise for rear
speakers. Press the button again to return FADE to its
stored position.
Playing a Compact Disc
PWR: Press this knob to turn the system on.
(Please note that you can also turn the system on
when you insert a compact disc into the player with
the ignition on.)
Insert a disc partway into the slot, label side up. The
player will pull it in. Wait a few seconds and the disc
should play. CD and a CD symbol will also appear on
the display. Anytime you are playing a CD, the letters
CD will be next to the CD symbol.
If the disc comes back out and ERR appears on the
display, it could be that:
0 You are driving on a very rough road. (The disc
should play when the road gets smoother.)
0 The disc is upside down.
0 It is dirty, scratched or wet.
It is very humid. (If so, wait about an hour and
try again.)
0 The disc player is very hot.
Press RECALL to make ERR go off the display.
3-22 P
Page 391 of 403

Downloaded from www.Manualslib.com manuals search engine Brake Adjustment
.................................. 6-34.
Fluid
....................................... 6-31
Master Cylinder .............................. 6-3 1
Parking ...................................... 2-21
PedalTravel
.................................. 6-34
Replacing System Parts
........................ 6-34
System Warning Light
......................... 2-61
Trailer
...................................... 4-49
Transmission Shift Interlock Check
...... : ........ 7-44
Wear
....................................... 6-33
Brakes, Anti-Lock
............................... 4-6
Braking
......................................... 4-5
Braking in Emergencies
........................... 4-8
Break-In, New Vehicle
........................... 2-9
Brightness Control
.............................. 2-38
BTSICheck
................................... 7-44
Bulb Replacement .............................. 6-35
Canadian Roadside Assistance
.................... 8-6
Capacities and
. Specifications ...................... 6-70
Carbon Monoxide
.................... 2.25.4.40, 4.48
Cargo Security Shade
............................ 2-48
Cargo Tie Downs
............................... 2-50
Cassette Deck Service
........................... 7-42
Cassette Tape Player
.. ' ..................... 3- 12. 3- 14
Cassette Tape Player Care
........................ 3-27
Cassette Tape Player Errors
.................. 3- 13. 3. 17
CD Player Theft-Deterrent Feature
................. 3-24
Center High-Mounted Stoplamp Bulb Replacement
.... 6-41
Center Passenger Position
........................ 1-36
CertificationEire Label
.......................... 4-41
Chains. Safety
................................. 4-48 Chains. Tire
.................................... 6-51
Changing a Flat Tire
................ .. ............. 5-19
Charging System Warning Light
................... 2-59
Check Gages Light
.............................. 2-67
Checking Your Restraint Systems
.................. 1-55
Chemical Paint Spotting
.......................... 6-58
Child Restraints
................................ 1-45
Securing in a Rear Outside Seat Position
........... 1-46
.Securing in the Center Seat Position
.............. 1-48
Securing
in the Right Front Seat Position .......... 1-50
Top Strap
.................................... 1-45
WheretoPut
................................ 1-45
Circuit Breakers and Fuses
........................ 6-62
Cleaner.Air
................................... 6-16
Cigarette Lighter
............................... 2-52
Cleaning Aluminum Wheels
............................ 6-57
Fabric
...................................... 6-52
Glass
........................................ 6-55
Inside
of Your Vehicle ......................... 6-52
Instrument Panel
.............................. 6-54
Leather
..................................... 6-54
Outside of Your Vehicle
........................ 6-56
Special Problems
............................. 6-53
Stains
...................................... 6-53
Tires
........................................ 6-57
Vinyl
....................................... 6-54
Wheels
..................................... 6-57
Windshield and Wiper Blades
................... 6-55
Climate Control, Optional
......................... 3-2
Climate Control, Standard
......................... 3-1
Climate Control System
........................... 3-1
Clock, Setting the
................................ 3-10
Comfort Controls
................................ 3-1
9-2