battery CHEVROLET TAHOE 1996 1.G Owners Manual
[x] Cancel search | Manufacturer: CHEVROLET, Model Year: 1996, Model line: TAHOE, Model: CHEVROLET TAHOE 1996 1.GPages: 403, PDF Size: 20.63 MB
Page 6 of 403
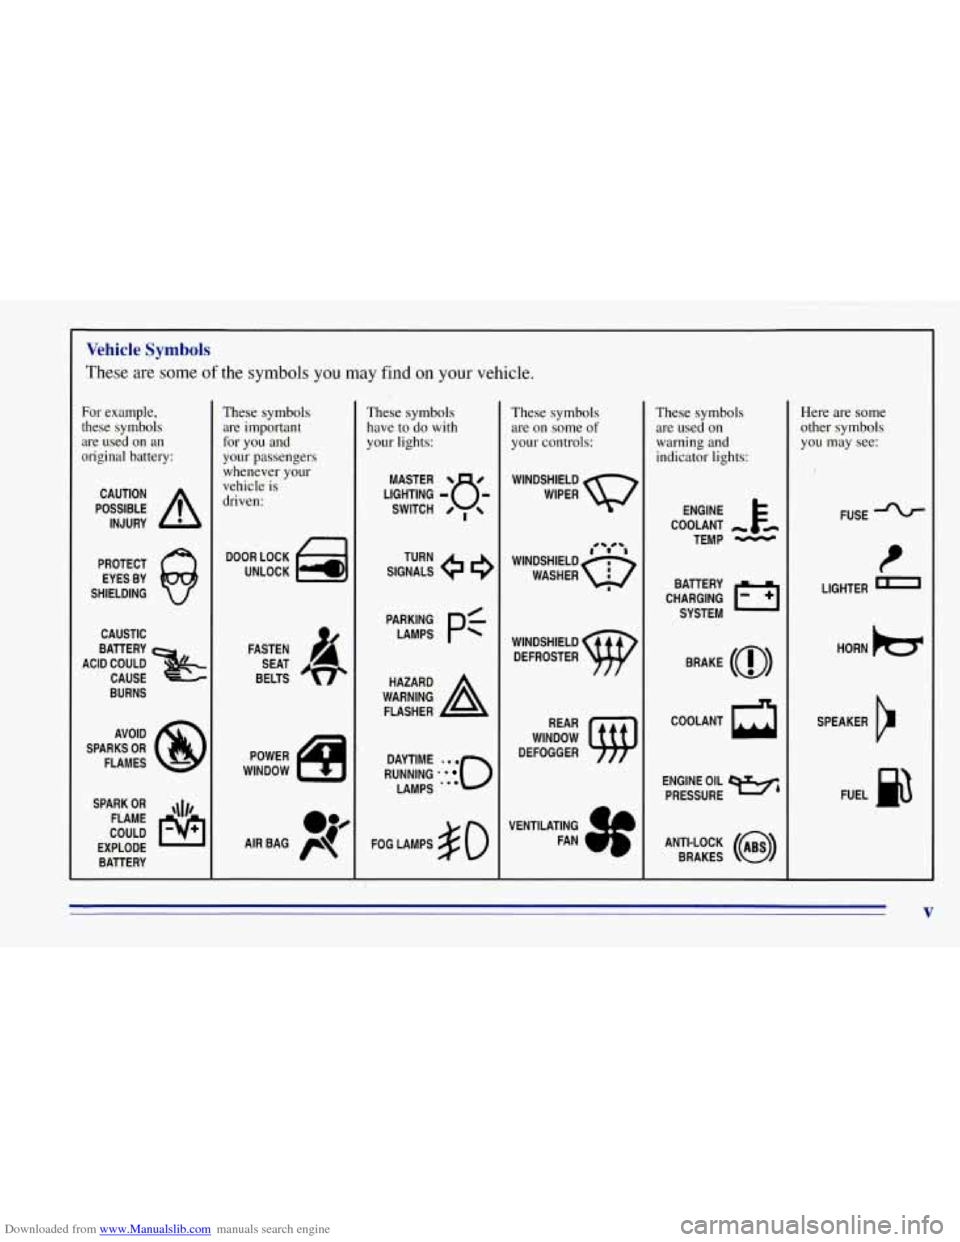
Downloaded from www.Manualslib.com manuals search engine Vehicle Symbols
These are some of the symbols you may find on your vehicle.
For example,
these symbols are used on an
original battery:
POSSIBLE A
CAUTION
INJURY
PROTECT EYES BY
SHIELDING
CAUSTIC
ACID COULD BATTERY
CAUSE
BURNS
SPARK
OR ,\I/,
COULD FLAME
EXPLODE BATTERY
These symbols
are important
for you and
your passengers
whenever your
vehicle
is
driven:
DOOR LOCK
UNLOCK
These symbols have to do with
your lights:
SIGNALS e e
TURN
WARNING
A
HAZARD
FLASHER
RUNNING
* ' 0
DAYTIME -. e
LAMPS ' **
FOG LAMPS $0
These symbols
are on some of
your controls:
WINDSHIELD
DEFROSTER
VENTILATING
a*
FAN -d
These symbols are used on
warning and
indicator lights:
COOLANT -
TEMP -
CHARGING BATTERY
SYSTEM
BRAKE
(0)
COOLANT a
ENGINE OIL w,
PRESSURE
ANTI-LOCK
(a)
BRAKES
Here are some
other symbols you may see:
FUSE
t
LIGHTER n
HORN )tr
SPEAKER
b
FUEL p3
V
Page 41 of 403
Downloaded from www.Manualslib.com manuals search engine Servicing Your Air Bag-Equipped Vehicle
The air bag affects how your vehicle should be serviced.
There are parts
of the air bag system in several places
around your vehicle. You don’t want the system to
inflate while someone is working on your vehicle. Your
GM dealer and the service manual have information
about servicing your vehicle and the air bag system.
To purchase a service, manual, see “Service and Owner
Publications” in the Index.
For up to two minutes after the ignition key is
turned
off and the battery is disconnected, an air
bag can still inflate during improper service. You
can be injured if you are close to an air bag when
it inflates. Avoid wires wrapped with yellow tape,
or yellow connectors. They are probably part of
the air bag system. Be sure to follow proper
service procedures, and make sure the person
performing work for you is qualified to do
so.
The air bag system does not need regular maintenance.
Adding Equipment to Your Air
Bag-Equipped Vehicle
Q.’ If I add a push bumper or a bicycle rack to the
front of my vehicle, will it keep the air bag from
working properly?
A: As long as the push bumper or bicycle rack is
attached
to your vehicle so that the vehicle’s basic
structure isn’t changed, it’s not likely to keep the
air bags from working properly in a crash.
What if I add a snow plow? Will it keep the air
bag from working properly?
A: We’ve designed our air bag systems to work
properly under a wide range
of conditions,
including snow plowing with vehicles equipped
with the optional Snow Plow Prep Package
(RPO VYU). But don’t change or defeat the snow
plow’s “tripping mechanism.” If you do, it can
damage your snow plow and your vehicle, and it
may cause an air bag inflation.
1-34
Page 67 of 403
Downloaded from www.Manualslib.com manuals search engine Keyless Entry System (Option)
If your vehicle has this option, you can lock and unlock
your doors or your tailgate from up to
30 feet (9 m)
away using the key chain transmitter supplied with
your vehicle.
Your Keyless Entry System operates on a radio
frequency subject to Federal Communications
Commission (FCC) Rules.
This device complies with Part
15 of the FCC Rules.
Operation is subject to the following two conditions:
(1) This device may not cause harmful interference,
and
(2) This device must accept any interference
received, including interference that may cause
undesired operation.
Should interference to this system occur, try this:
Check to determine if battery replacement is
necessary. See the instructions
on battery replacement.
0 Check the distance. You may be too far from your
vehicle. This product has a maximum range.
Check the location. Other vehicles or objects may
be blocking the signal.
See your GM dealer or a qualified technician for service.
Changes or modifications to this system by other than an
authorized service facility could void authorization to
use this equipment.
Operation
To unlock the driver’s door, press the UNLOCK button.
If you press this button again within five seconds, all the
doors will unlock. Press the
REAR button to unlock the
rear door only, or to release the tailgate glass.
Press the LOCK button to lock all the doors.
When the UNLOCK button is pushed, the interior dome
lamps are turned on for
40 seconds or until the ignition
switch is activated.
When the LOCK button is pushed, the interior lamps
are turned on for two seconds
if the doors are closed.
If the LOCK button is pushed when a door is open, the
interior lamps will stay on for two seconds after the door
is closed.
Page 68 of 403
Downloaded from www.Manualslib.com manuals search engine Matching Transmitter(s) To Your Vehicle
Each key chain transmitter is coded to prevent another
transmitter from unlocking your vehicle. If a transmitter
is lost or stolen, a replacement can be purchased through
your dealer. Remember to bring any remaining
transmitters with
you when you go to your dealer. When
the dealer matches the replacement transmitter to your
vehicle, any remaining transmitters must also be
matched. Once the new transmitter
is coded, the lost
transmitter will not unlock your vehicle. Each vehicle
can have only two transmitters matched to
it.
Battery Replacement
Under normal use, the batteries in your key chain
transmitter should last about two years.
You can tell the batteries are weak if the transmitter
won’t work at the normal range in any location. If you
have to get close to your vehicle before the transmitter
works, it’s probably time to change the batteries.
Use two Duracell@ type
DL2016, or a similar type. To
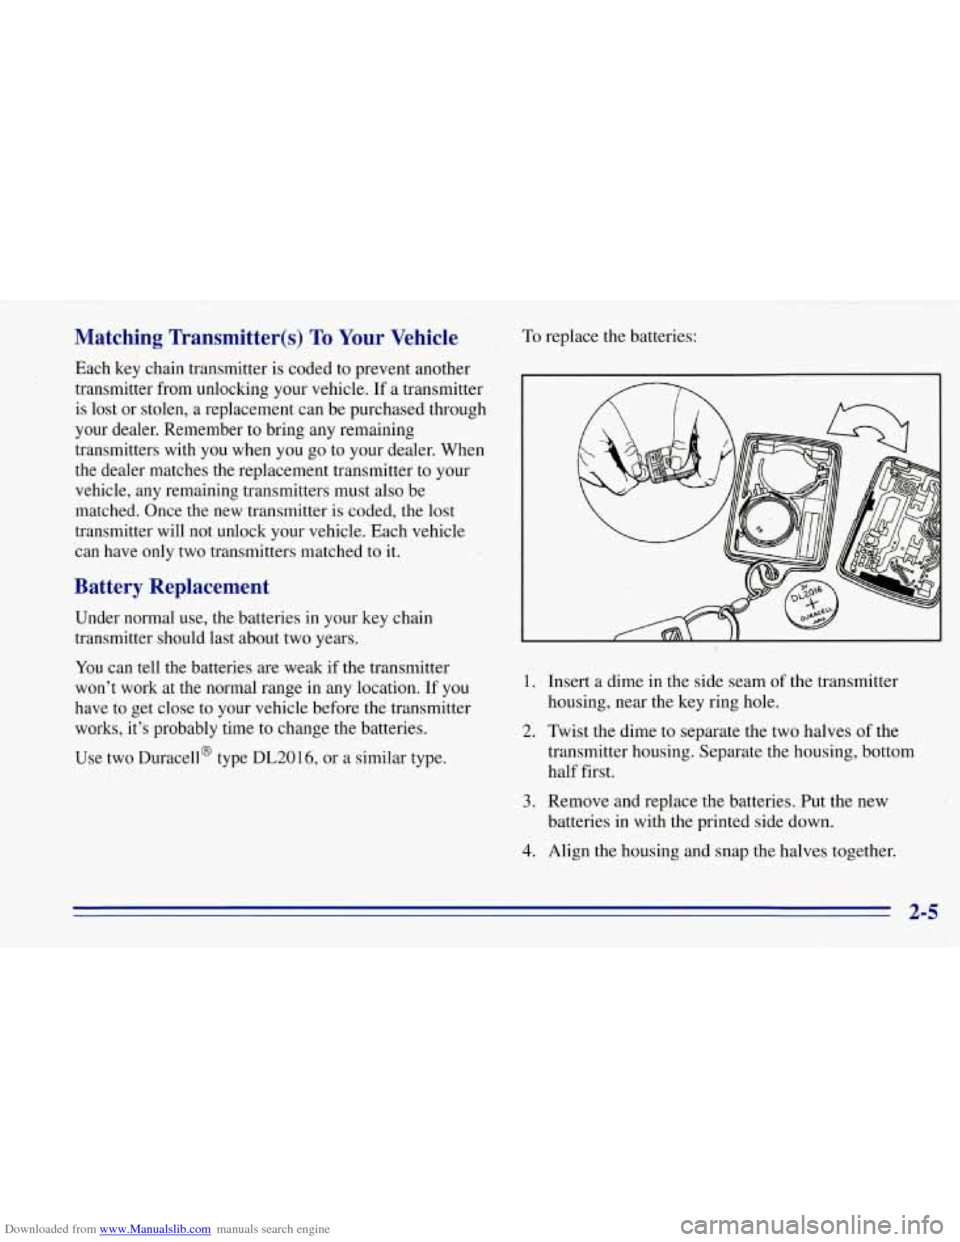
replace the batteries:
1.
2.
3.
4.
Insert a dime in the side seam of the transmitter
housing, near the key ring hole.
Twist the dime to separate the two halves of the
transmitter housing. Separate the housing, bottom
half first.
Remove and replace-the batteries.
Put the new
batteries in with the printed side down.
Align the housing and snap the halves together.
Page 74 of 403
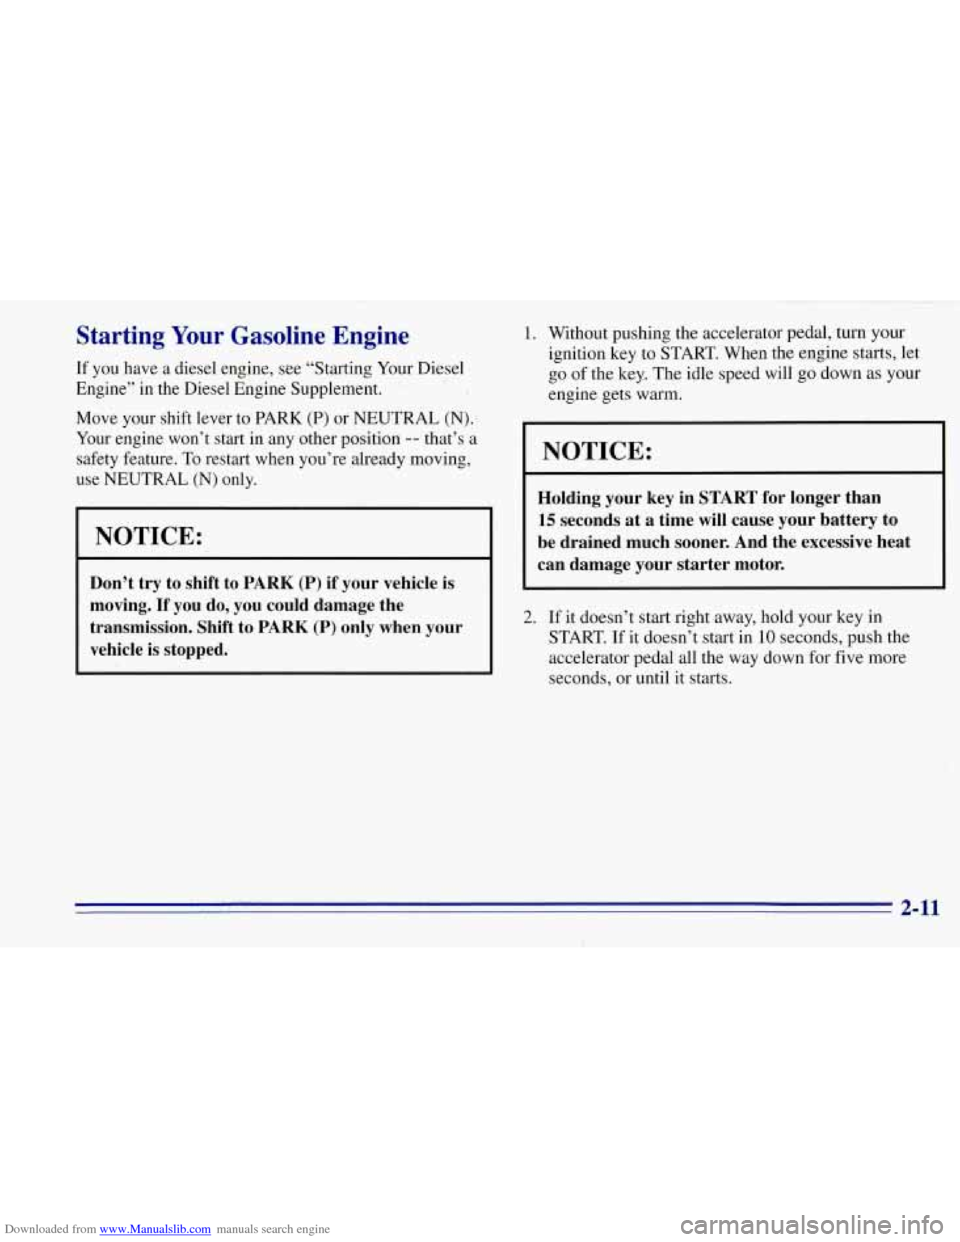
Downloaded from www.Manualslib.com manuals search engine Starting Your Gasoline Engine
If you have a diesel engine, see “Starting Your Diesel
Engine”
in the Diesel Engine Supplement. ’. -4
Move your shift lever to PARK (P) or NEUTRAL (N):
Your engine won’t
start in any other position -- that’s a
safety feature.
To restart when you’re already moving,
use NEUTRAL
(N) only.
NOTICE:
Don’t try to shift to PARK (P) if your vehicle is
moving.
If you do, you could damage the
transmission. Shift to
PARK (P) only when your
vehicle
is stopped.
1. Without pushing the accelerator pedal, turn your ignition key to START. When the engine starts, let
go of the key. The idle speed will go down as your
engine gets warm.
NOTICE:
Holding your key in START for longer than
15 seconds at a time’will cause your battery to
be drained much sooner. And the excessive heat
can damage your starter motor.
2. If it doesn’t start right away, hold your key in
START. If it doesn’t start in
10 seconds, push the
accelerator pedal all the way down for five more
seconds, or until it starts.
,. 1 . 2-11
Page 77 of 403
Downloaded from www.Manualslib.com manuals search engine Automatic Transmission Operation
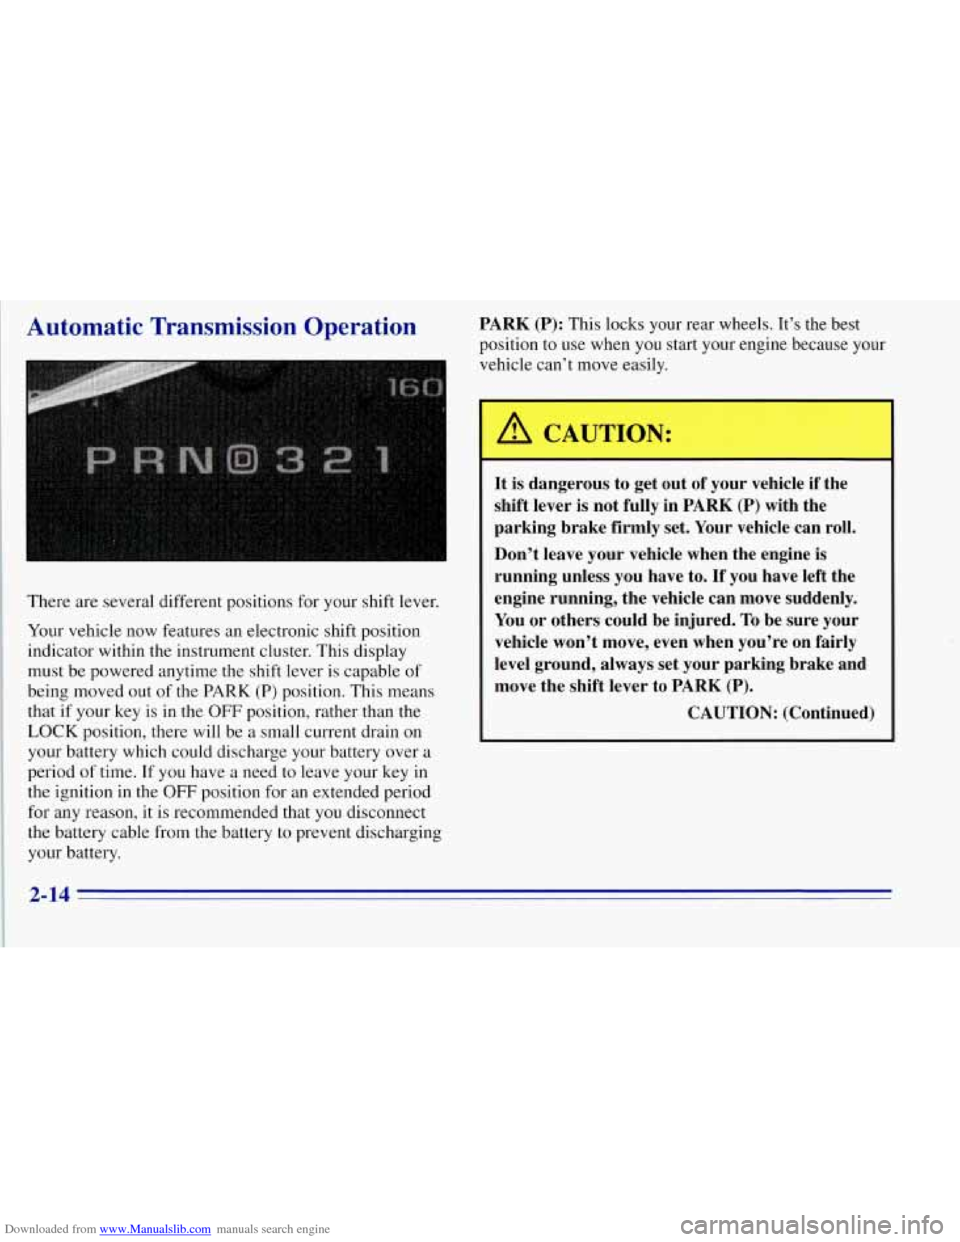
There are several different positions for your shift lever.
Your vehicle now features an electronic shift position
indicator within the instrument cluster. This display
must be powered anytime the shift lever is capable of
being moved out
of the PARK (P) position. This means
that if your key is in the
OFF position, rather than the
LOCK position, there will be a small current drain on
your battery which could discharge your battery over a
period
of time. If you have a need to leave your key in
the ignition in the
OFF position for an extended period
for any reason, it
is recommended that you disconnect
the battery cable from the battery to prevent discharging
your battery.
PARK (P): This locks your rear wheels. It’s the best
position to use when you start your engine because your
vehicle can’t move easily.
A CAUTION:
It is dangerous to get out of your vehicle if the
shift lever is not fully in PARK (P) with the
parking brake firmly set. Your vehicle can roll.
Don’t leave your vehicle when the engine is
running unless you have to.
If you have left the
engine running, the vehicle can move suddenly.
You or others could be injured. To be sure your
vehicle won’t move, even when you’re
on fairly
level ground, always set your parking brake and
move the shift lever to PARK (P).
CAUTION: (Continued)
2-14
Page 122 of 403
Downloaded from www.Manualslib.com manuals search engine Air Bag Readiness Light
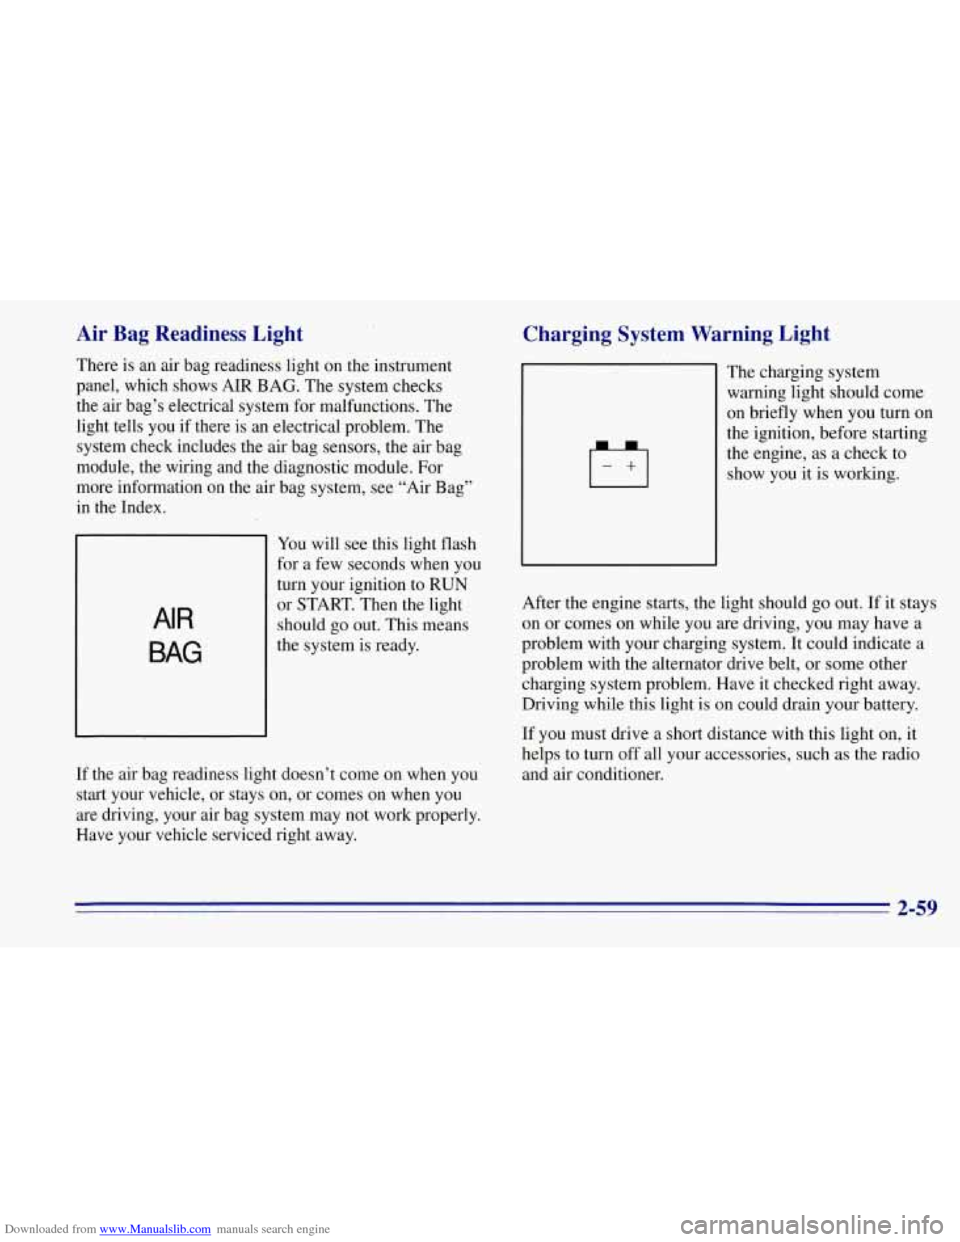
There is an air bag readiness light on the instrument
panel, which shows AIR BAG. The system checks
the air bag’s electrical system for malfunctions. The
light tells you if there is an electrical problem. The
system check includes the air bag sensors, the air bag
module, the wiring and the diagnostic module. For
more information on the air bag system, see “Air Bag”
in the Index.
AIR
BAG
You will see this light flash
for a few seconds when you
turn your ignition to
RUN
or START. Then the light
should
go out. This means
the system is ready.
If the air bag readiness light doesn’t come on when you
start your vehicle, or stays on, or comes on when you
are driving, your air bag system may not work properly.
Have your vehicle serviced right away.
Charging System Warning Light
I-+I
The charging system
warning light should come
on briefly when you turn on
the ignition, before starting
the engine, as a check to
show you it is working.
After the engine starts, the light should
go out. If it stays
on or comes on while you are driving, you may have a
problem with your charging system. It could indicate a
problem with the alternator drive belt, or some other
charging system problem. Have it checked right away.
Driving while this light is on could drain your battery.
If you must drive a short distance with this light
on, it
helps to turn off all your accessories, such as the radio
and air conditioner.
2-59
Page 123 of 403
Downloaded from www.Manualslib.com manuals search engine Voltmeter
9 19’
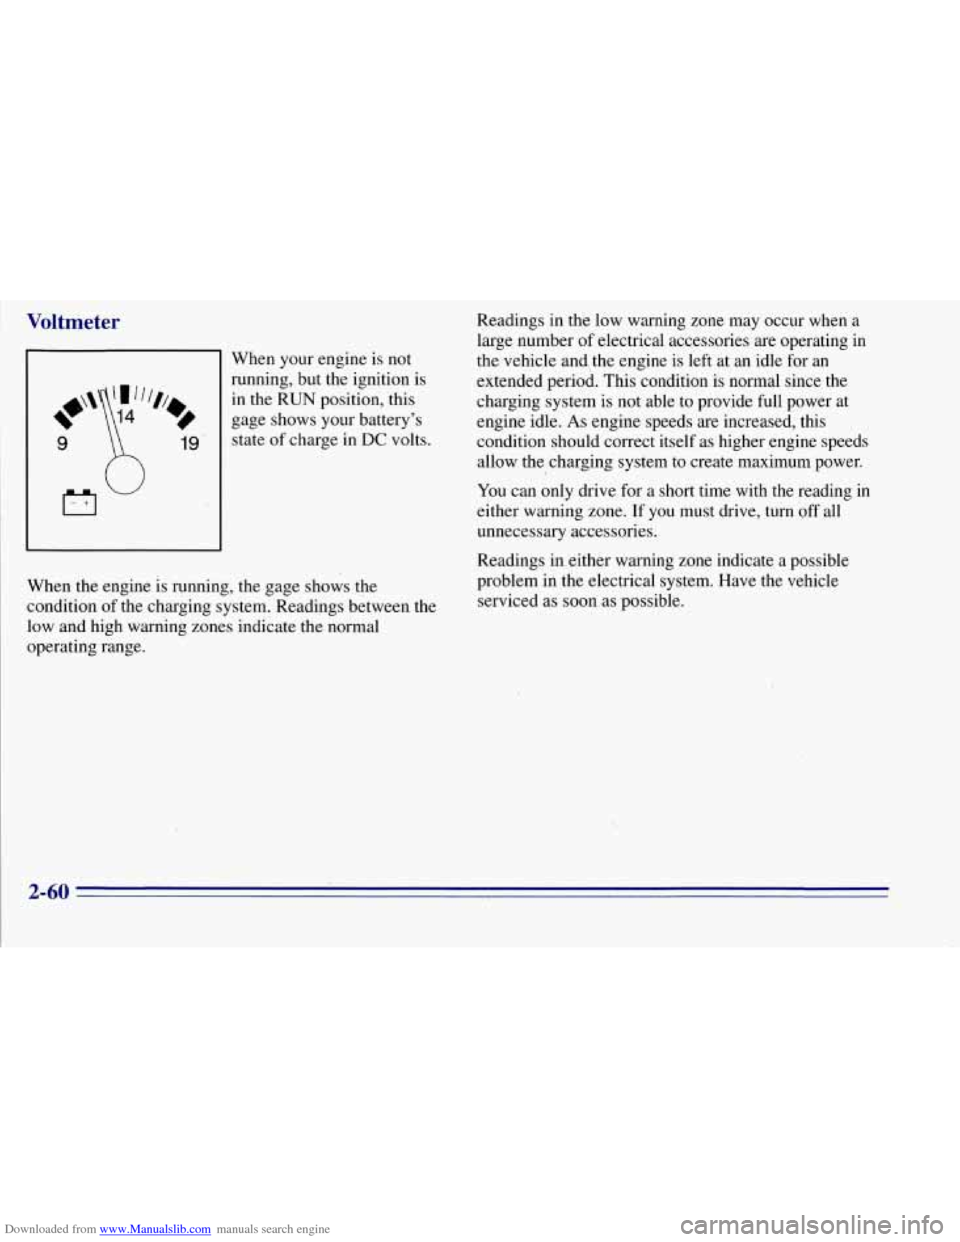
When your engine is not
running, but the ignition is
in the RUN position, this
gage shows your battery’s
state
of charge in DC volts.
When the engine
is running, the gage shows the
condition of the charging system. Readings between the
low and high warning zones indicate the normal
operating range. Readings
in the low warning zone may occur when a
large number
of electrical accessories are operating in
the vehicle and, the engine is left at an idle for an
extended period. This condition is normal since the
charging system is not able to provide full power at
engine idle.
As engine speeds are increased, this
condition should correct itself as higher engine speeds
allow the
, charging system to create maximum power.
You can only drive for a short time with the reading in
either warning zone. If you must drive, turn off all
unnecessary accessories.
Readings in either warning zone indicate a possible
problem
in the electrical system. Have the vehicle
serviced as soon as possible.
2-60
Page 155 of 403
Downloaded from www.Manualslib.com manuals search engine Theft-Deterrent Feature
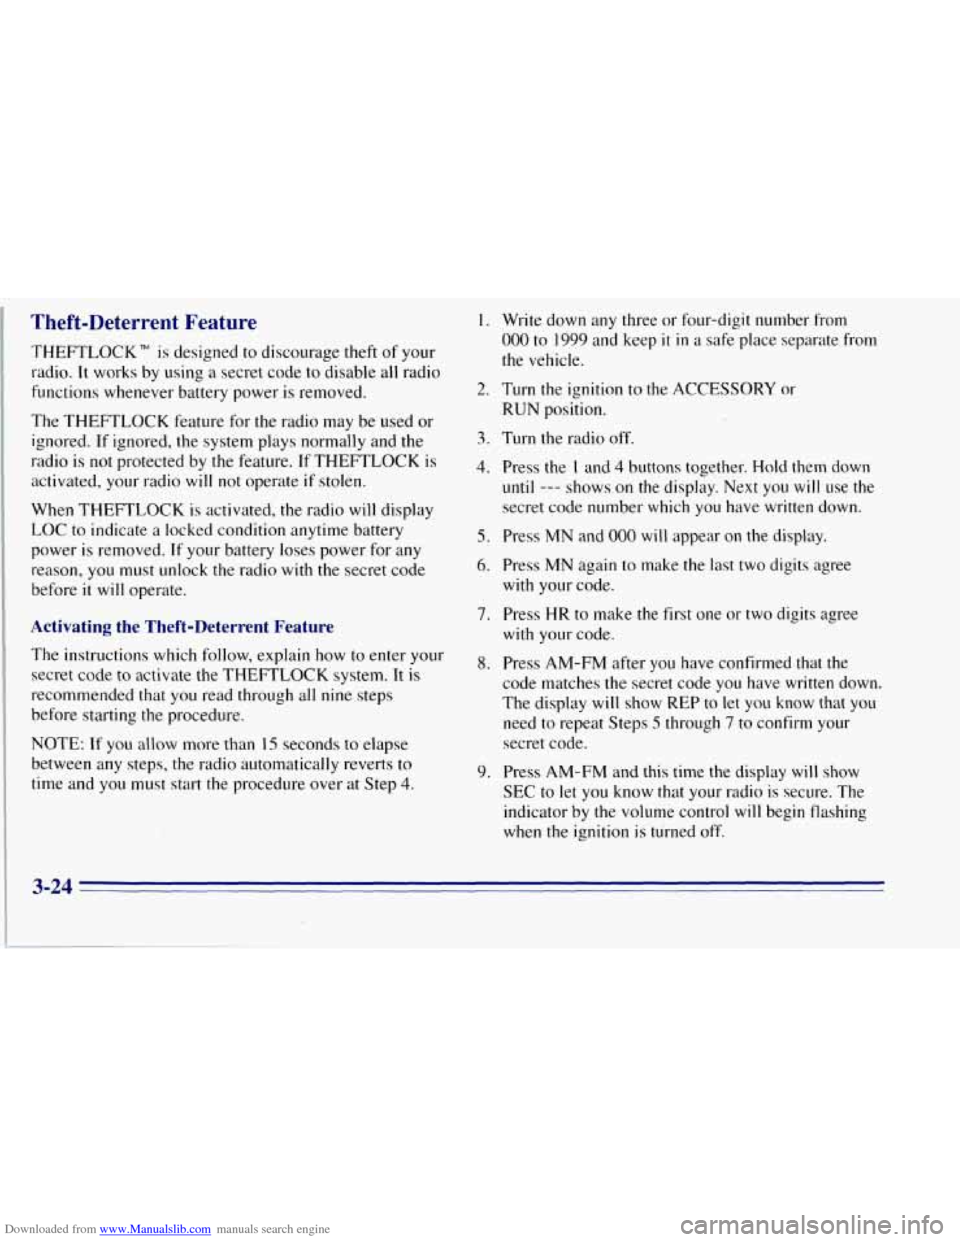
THEFTLOCK is designed to discourage theft of your
radio. It works by using a secret code to disable all radio
functions whenever battery power is removed.
The THEFTLOCK feature for the radio may be used or
ignored. If ignored, the system plays normally and the
radio is
not protected by the feature. If THEFTLOCK is
activated, your radio will
not operate if stolen.
When THEFTLOCK is activated, the radio will display
LOC
to indicate a locked condition anytime battery
power is removed. If your battery loses power for any
reason, you must unlock the radio with the secret code
before
it will operate.
Activating the Theft-Deterrent Feature
The instructions which follow, explain how to enter your
secret code to activate the THEFTLOCK system. It is
recommended that you read through all nine steps
before starting the procedure.
NOTE: If you allow more than 15 seconds to elapse
between any steps, the radio automatically reverts
to
time and you must start the procedure over at Step 4.
1.
2.
3.
4.
5.
6.
9.
Write down any three or four-digit number from
000 to 1999 and keep it in a safe place separate from
the vehicle.
Turn the ignition to the ACCESSORY or
RUN position.
Turn the radio off.
Press the
1 and 4 buttons together. Hold them down
until --- shows on the display. Next you will use the
secret code number which you have written down.
Press MN and
000 will appear on the display.
Press MN again
to make the last two digits agree
with your code.
Press
HR to make the first one or two digits agree
with your code.
Press AM-FM after you have confirmed that the
code matches
the secret code you have written down.
The display
will show REP to let you know that you
need to repeat Steps 5 through 7 to confirm your
secret code.
Press AM-FM and this time the display will show
SEC
to let you know that your radio is secure. The
indicator by the volume control will begin flashing
when the ignition
is turned off.
3-24
Page 156 of 403
Downloaded from www.Manualslib.com manuals search engine Unlocking the Theft-Deterrent Feature After a
Power Loss
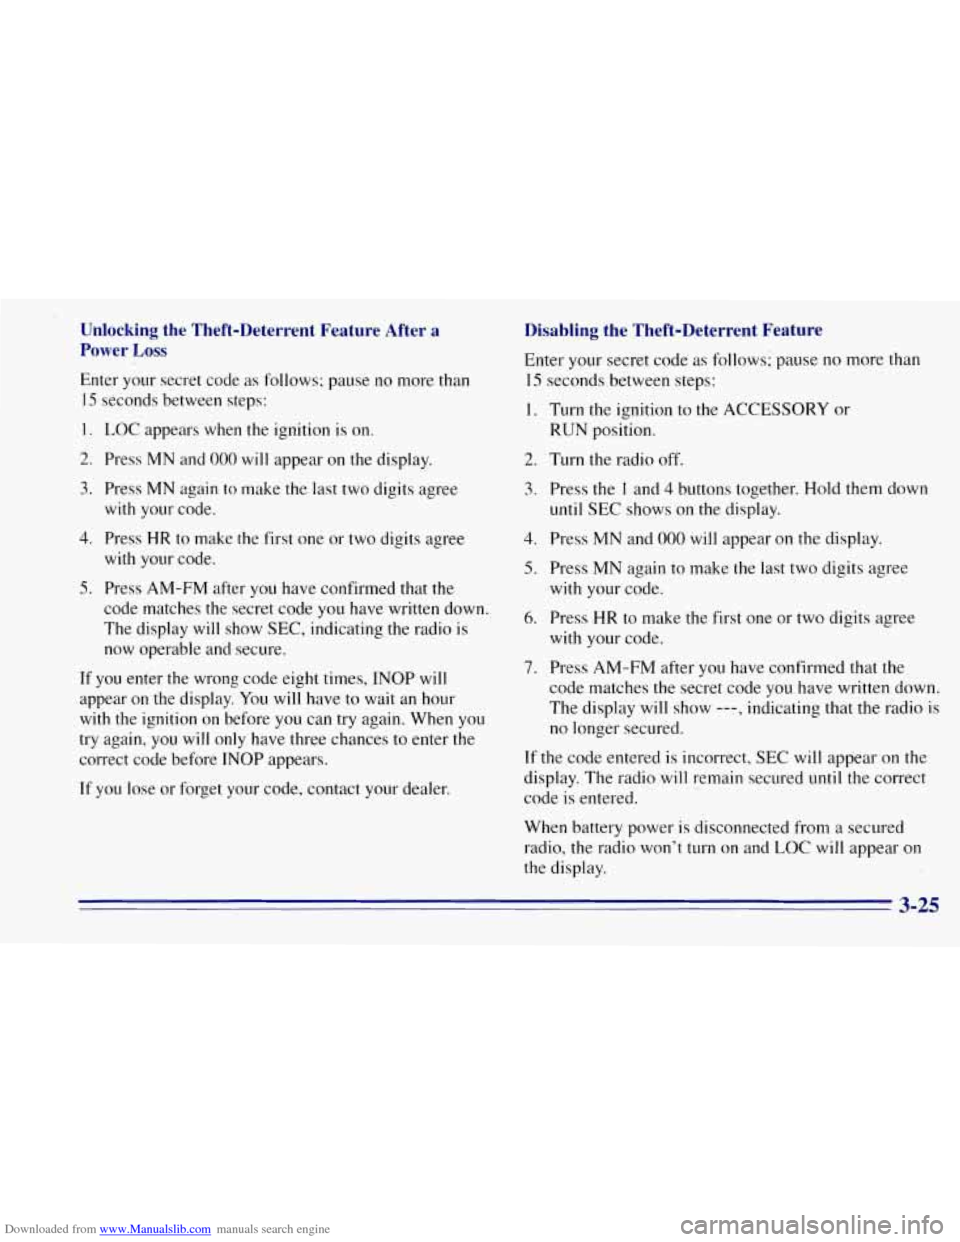
Enter your secret code as follows; pause no more than
15 seconds between steps:
1.
2.
3.
4.
5.
LOC appears when the ignition is on.
Press MN and
000 will appear on the display.
Press MN again to make the last two digits agree
with your code.
Press
HR to make the first one or two digits agree
with your code.
Press AM-FM after yod have confirmed that
the
code matches the secret code you have written down.
The display will show
SEC, indicating the radio is
now operable and secure.
If
you enter the wrong.code eight times, INOP will
appear on the display.
You will have to wait an hour
with the ignition on before
you can try again. When you
try again, you will only have three chances to enter the
correct code before INOP appears.
If you lose or forget your code, contact your dealer.
Disabling the Theft-Deterrent Feature
Enter your secret code as follows; pause no more than
15 seconds between steps:
1.
2.
3.
4.
5.
6.
7.
Turn the ignition to the ACCESSORY or
RUN position.
Turn the radio off.
Press the
1 and 4 buttons together. Hold them down
until SEC shows on the display.
Press MN and
000 will appear on the display.
Press MN again
to make the last two digits agree
with your code.
Press .HR to make the first one or two digits agree
with your code.
Press AM-FM after you have confirmed that the
code matches the secret code you have written down.
The display will show
---, indicating that the radio is
no longer secured.
If the code entered is incorrect, SEC will appear on the
display. The radio 'will remain secured until the correct
code is entered.
When battery power is disconnected from a secured
radio, the radio won't turn
on and LOC will appear on
the display.