fuel CHEVROLET TAHOE 1996 1.G Owners Manual
[x] Cancel search | Manufacturer: CHEVROLET, Model Year: 1996, Model line: TAHOE, Model: CHEVROLET TAHOE 1996 1.GPages: 403, PDF Size: 20.63 MB
Page 6 of 403
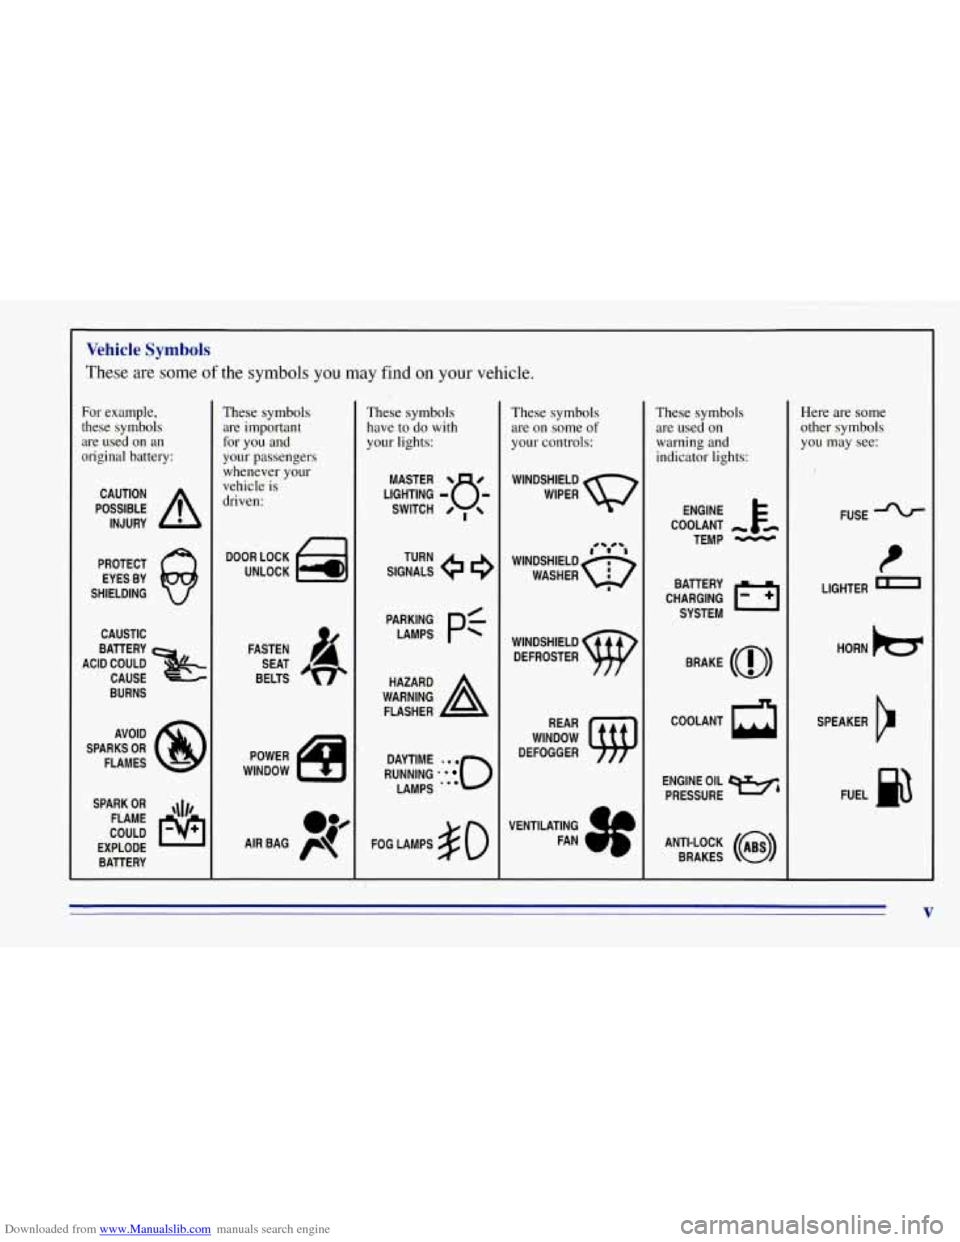
Downloaded from www.Manualslib.com manuals search engine Vehicle Symbols
These are some of the symbols you may find on your vehicle.
For example,
these symbols are used on an
original battery:
POSSIBLE A
CAUTION
INJURY
PROTECT EYES BY
SHIELDING
CAUSTIC
ACID COULD BATTERY
CAUSE
BURNS
SPARK
OR ,\I/,
COULD FLAME
EXPLODE BATTERY
These symbols
are important
for you and
your passengers
whenever your
vehicle
is
driven:
DOOR LOCK
UNLOCK
These symbols have to do with
your lights:
SIGNALS e e
TURN
WARNING
A
HAZARD
FLASHER
RUNNING
* ' 0
DAYTIME -. e
LAMPS ' **
FOG LAMPS $0
These symbols
are on some of
your controls:
WINDSHIELD
DEFROSTER
VENTILATING
a*
FAN -d
These symbols are used on
warning and
indicator lights:
COOLANT -
TEMP -
CHARGING BATTERY
SYSTEM
BRAKE
(0)
COOLANT a
ENGINE OIL w,
PRESSURE
ANTI-LOCK
(a)
BRAKES
Here are some
other symbols you may see:
FUSE
t
LIGHTER n
HORN )tr
SPEAKER
b
FUEL p3
V
Page 75 of 403
Downloaded from www.Manualslib.com manuals search engine 3. If your enginestill won’t start (or starts but then
stops), wait
15 seconds and start over.
When
the engine starts, let go of the key and the
accelerator pedal.
NOTICE:
Your engine is designed to work with the
electronics in your vehicle.
If you add electrical
parts or accessories, you could change the way
the engine operates. Before adding electrical
equipment, check with your dealer.
If you don’t,
your engine might not perform properly.
If you ever have to have your vehicle towed, see
the part of this manual that tells how to do it
without damaging your vehicle. See “Towing
Your Vehicle’’ in the Index.
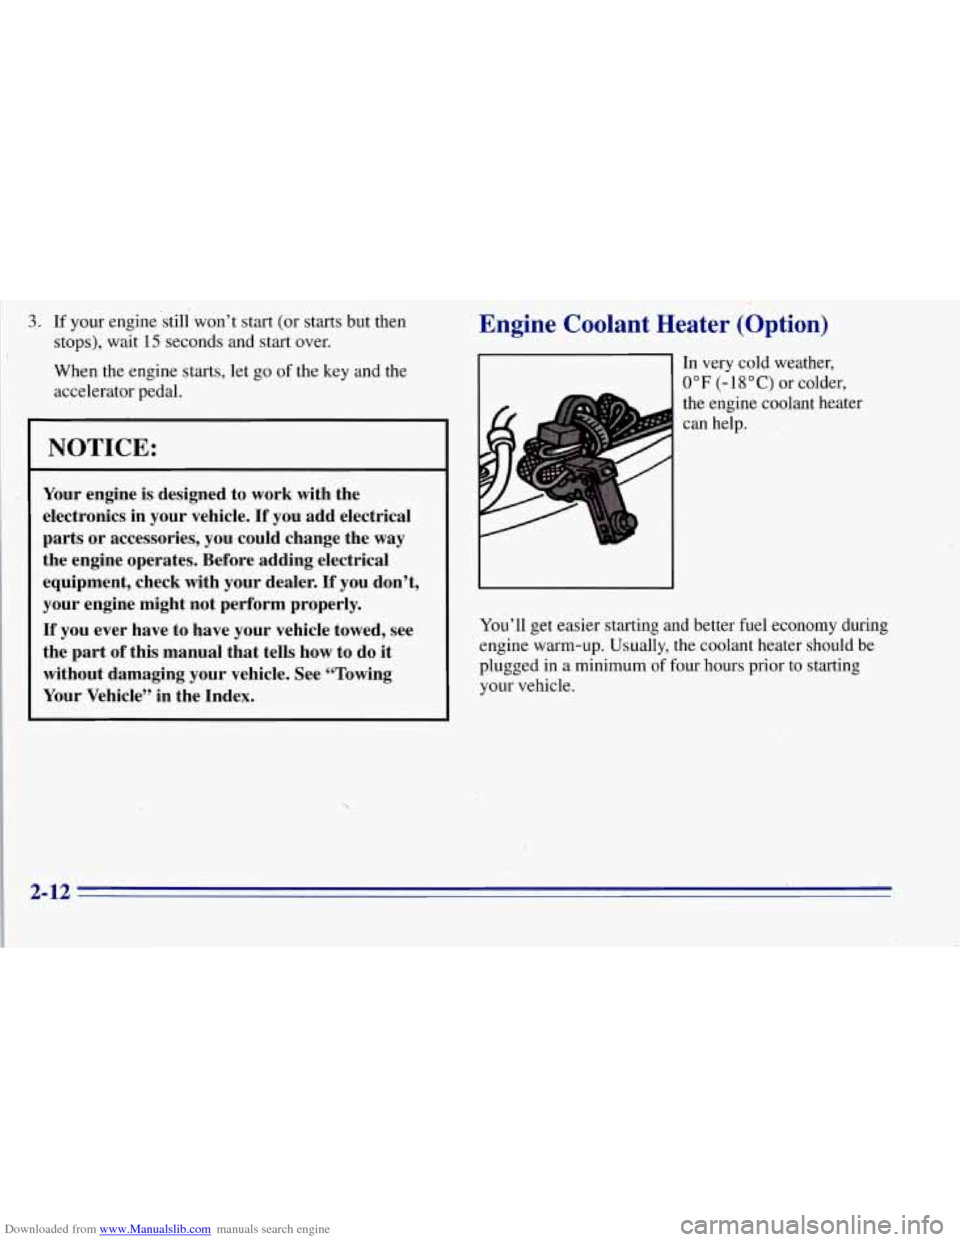
Engine Coolant Heater (Option)
c
In very cold weather,
0°F (-lS°C) or colder,
the engine coolant heater
can help.
You’ll get easier starting and better fuel economy during
engine warm-up. Usually, the coolant heater should be
plugged in a minimum of four hours prior to starting
your vehicle.
2-12
Page 79 of 403
Downloaded from www.Manualslib.com manuals search engine AUTOMATIC OVERDRIVE (@): This position is
for normal dri,ving. If you need more power for passing,
and you’re:
Going less than about 35 mph (56 M), push your
accelerator pedal about halfway down.
accelerator all the way down.
You’ll shift down to the next gear and have more power.
Going about 35 mph (56 M) or more, push the
AUTOMATIC OVERDRIVE
(@) can be used when
towing a trailer. You may want
to shift the transmission
to THIRD (3) or, if necessary, a lower gear selection if
the transmission shifts too often when carrying a heavy
load, driving on steep hills or for off-road driving.
THIRD (3): This position is also used for normal
driving, however, it offers more power and lower fuel
economy than AUTOMATIC OVERDRIVE
(@).
SECOND (2): This position gives you more power but
lower fuel economy. You can use SECOND
(2) on hills.
It can help control your speed as you
go down steep
mountain roads, but then you would also want to use
your brakes off and on. If
you manually select
SECOND (2), the transmission
will drive in second gear. You may use this feature
for reducing torque to the rear wheels when
you are
trying to start your vehicle from a stop on slippery
road surfaces.
FIRST (1): This position gives you even more power
(but lower fuel economy) than SECOND
(2). You can
use it on very steep hills, or in deep snow or mud. If the
selector lever is put in FIRST
(1) while the vehicle is
moving forward, the transmission won’t shift into first
gear until the vehicle is going slowly enough.
NOTICE:
I,
If your rear wheels can’t rotate, don’t try to
drive. This might happen if you were stuck in
very deep sand or
mud or were up against a solid
object. You could damage your transmission.
Also, if you stop when going uphill, don’t hold your vehicle there with only the accelerator pedal. This could overheat and damage the transmission.
Use your brakes or shift into PARK (P) to hold
your vehicle in position on a hill.
2-16
Page 82 of 403
Downloaded from www.Manualslib.com manuals search engine To shift into or out of 4-WHEEL LOW (4L) or
NEUTRAL (N):
1. Slow the vehicle to a roll, about 1 to 3 mph
(2 to 5 km/h) and shift the transmission into
NEUTRAL (N).
2. Shift the transfer case shift lever in one continuous
motion.
Don’t pause
in NEUTRAL (N) as you shift the
transfer case into 4-WHEEL LOW (4L), or the
gears could clash.
Remember that driving
in 4-WHEEL HIGH (4H) or
4-WHEEL LOW (4L) may reduce fuel economy. Also,
driving
in four-wheel drive on dry pavement could
cause your tires
to wear faster and make your transfer
case harder to shift.
When your headlamps or parking lamps are on, rotate the
thumb wheel next to the headlamp switch up to brighten,
and down to dim, your transfer case indicator light.
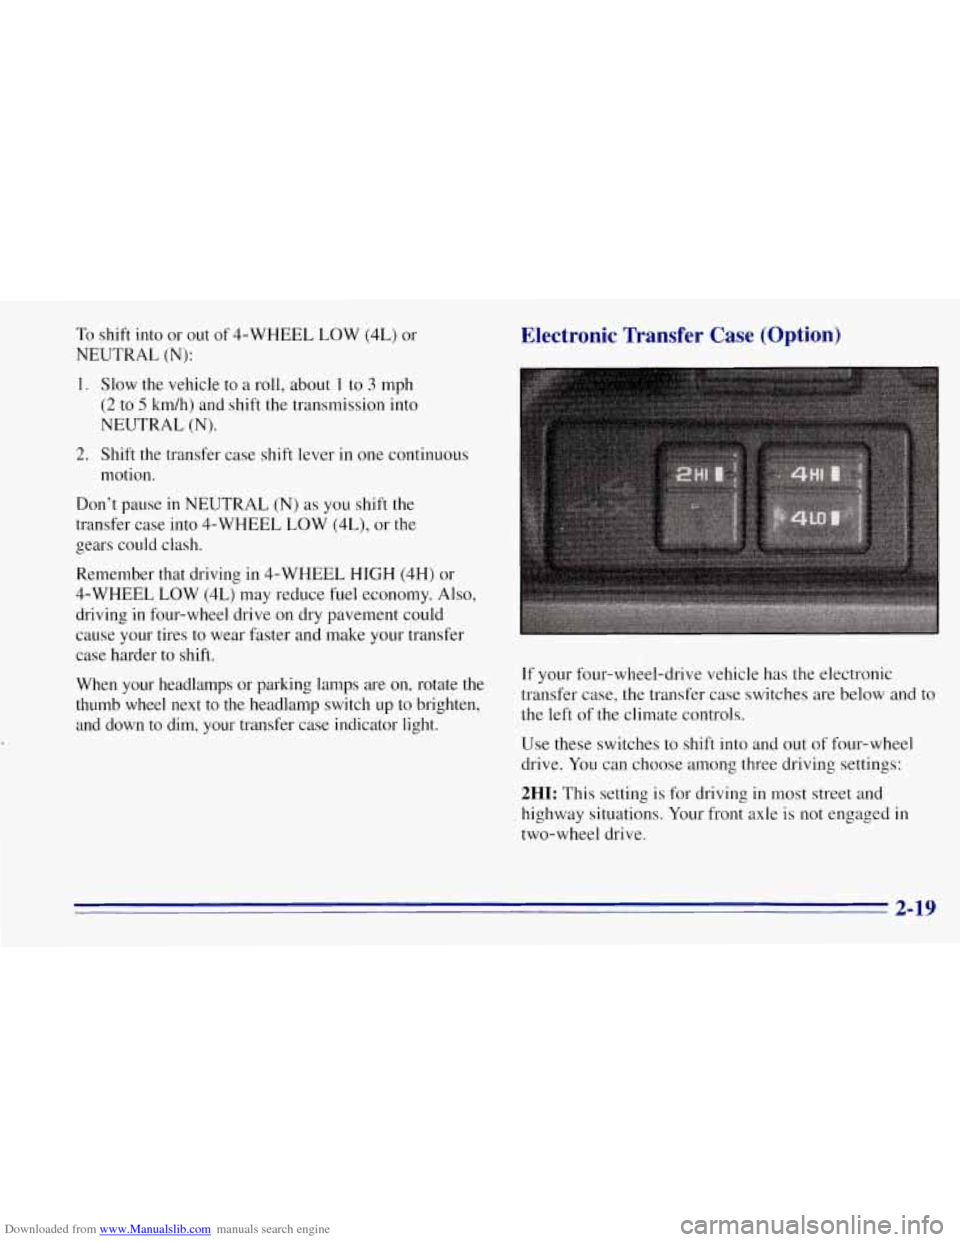
Electronic Transfer Case (Option)
If your four-wheel-drive vehicle has the electronic
transfer case, the transfer case switches are below and to
the left of the climate controls.
Use these switches to shift into and out of four-wheel
drive.
You can choose among three driving settings:
2HI: This setting is for driving in most street and
highway situations. Your front axle is not engaged
in
two-wheel drive.
2-19
Page 119 of 403
Downloaded from www.Manualslib.com manuals search engine Instrument Cluster
CHECK GAGES
SWCE ENGINE SOON
ANTI - LOCK
n
lolololol TRIP
W
MPH
loo 0 0 oolol [APPLY BRAKE TO SHIFT FROM PARK I
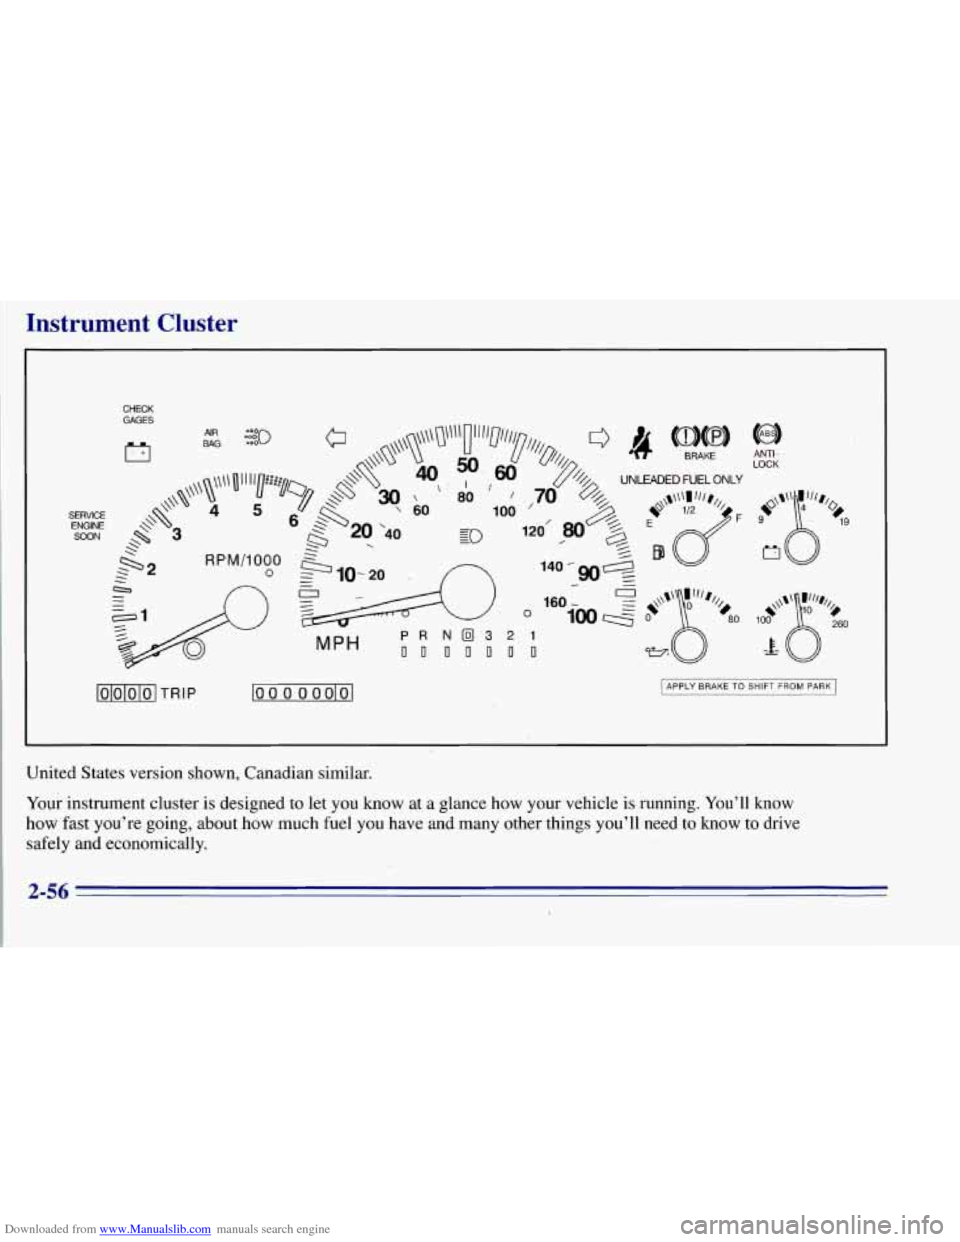
United States version shown, Canadian similar.
Your instrument cluster
is designed to let you know at a glance how your vehicle is running. You’ll know
how fast you’re going, about how much fuel you have and
many other things you’ll need to know to drive
safely and economically.
2-56
Page 126 of 403
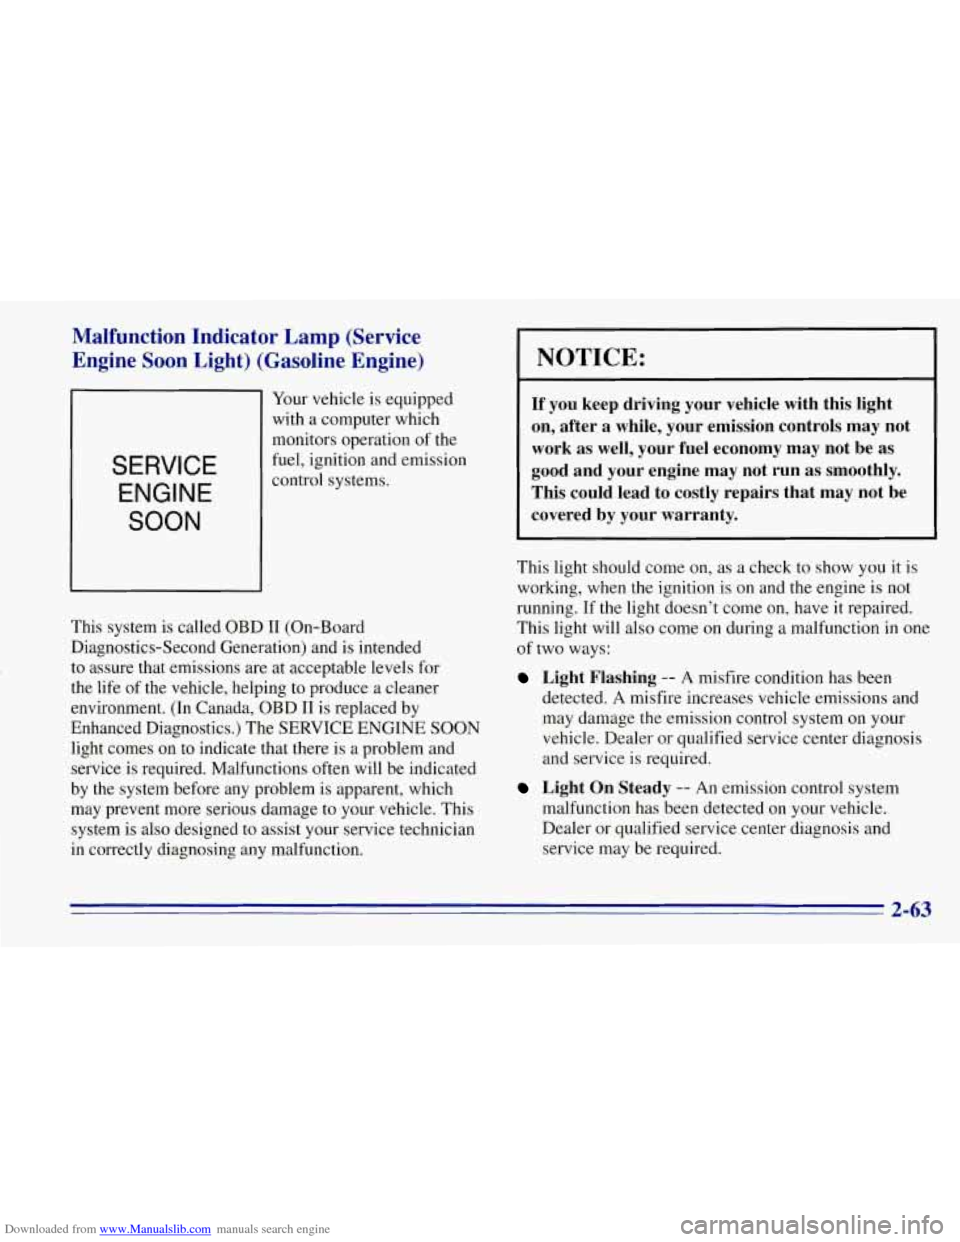
Downloaded from www.Manualslib.com manuals search engine Malfunction Indicator Lamp (Service
Engine
Soon Light) (Gasoline Engine)
SERVICE
ENGINE
SOON
Your vehicle is equipped
with a computer which
monitors operation of the
fuel, ignition and emission
control systems.
This system is called OBD I1 (On-Board
Diagnostics-Second Generation) and is intended
to assure that emissions are at acceptable levels for
the life
of the vehicle, helping to produce a cleaner
environment. (In Canada, OBD
I1 is replaced by
Enhanced Diagnostics.) The SERVICE ENGINE
SOON
light comes on to indicate that there is a problem and
service is required. Malfunctions often will be indicated
by the system before any problem is apparent, which
may prevent more serious damage to your vehicle. This
system
is also designed to assist your service technician
in correctly diagnosing any malfunction.
NOTICE:
If you keep driving your vehicle with this light
on, after a while, your emission controls may not
work as well, your fuel economy may not be as
good and your engine may not run as smoothly.
This could lead to costly repairs that may not be
covered by your warranty.
This light should come on, as a check to show you it is
working, when the ignition is
on and the engine is not
running. If the light doesn’t come on, have it repaired.
This light will also come on during a malfunction in one
of two ways:
Light Flashing -- A misfire condition has been
detected. A misfire increases vehicle emissions and
may damage
the emission control system on your
vehicle. Dealer or qualified service center diagnosis
and service is required.
Light On Steady -- An emission control system
malfunction has been detected on your vehicle.
Dealer or qualified service center diagnosis and
service may be required.
2-63
Page 127 of 403
Downloaded from www.Manualslib.com manuals search engine If the Light Is Flashing
The following may prevent more serious damage to
your vehicle:
Reduce vehicle speed.
‘ Avoid hard accelerations.
Avoid steep uphill grades.
0 If towing a trailer, reduce the amount of cargo being
hauled as soon as it is possible.
If the light stops flashing and remains on steady, see “If
the Light Is On Steady” following.
If the light continues to flash, when it is.safe to do
so,
stop the vehicle. Put your vehicle -in PARK (P). Turn the
‘key off, wait at least
10 seconds and restart the engine.
If the light remains on steady, see “If the Light Is On
Steady” following. If the light is still flashing follow the
previous steps, and drive the vehicle to your dealer
or
qualified service center for service.
If the Light Is On Steady I
You may be able to correct the emission system
malfunction by considering the following:
Did you just put
fuel into your vehicle?
If so, reinstall the fuel cap, making sure to fully install
the cap. The diagnostic system can determine if the fuel
cap has been left off
or improperly installed. This will
allow fuel to evaporate into the atmosphere. A few
driving trips should turn the light off.
.
Did you just drive through a deep puddle of water?
If
so, your electrical system may be wet. The condition
will usually be corrected when the electrical system
dries out.
A few driving trips should turn the light off.
Are you low
on fuel?
As your engine starts to run out of fuel, your engine may
not run as efficiently as designed since small amounts of
air are’sucked into the fuel line causing a misfire. The
system can detect this. Adding fuel should correct this
condition. Make sure to install the fuel cap properly. It
will take a few driving trips to turn the light off.
2-64
Page 128 of 403
Downloaded from www.Manualslib.com manuals search engine - - ~~ ~- ~~ ~~
.. .
Have you recently changed brands of fuel?
If so, be sure to fuel your vehicle with quality fuel (see
"Fuel" in the .Index). Poor fuel quality will cause your
engine not to run as efficiently as designed. You may
notice this as stalling after start-up, stalling when you
put the vehicle into gear, misfiring, hesitation
on
acceleration or stumbling on acceleration. (These
conditions may go away once the engine is warmed up.)
This will be detected by the system and cause the light
to turn on.
If you experience this condition, change the fuel brand
you use. It will require at least one full tank of the
proper fuel to turn the light
off.
If none of the above steps have made the light turn off,
have your dealer or qualified service center check the
vehicle. Your dealer has the proper test equipment and
diagnostic tools to fix any mechanical or electrical
problems that may have developed.
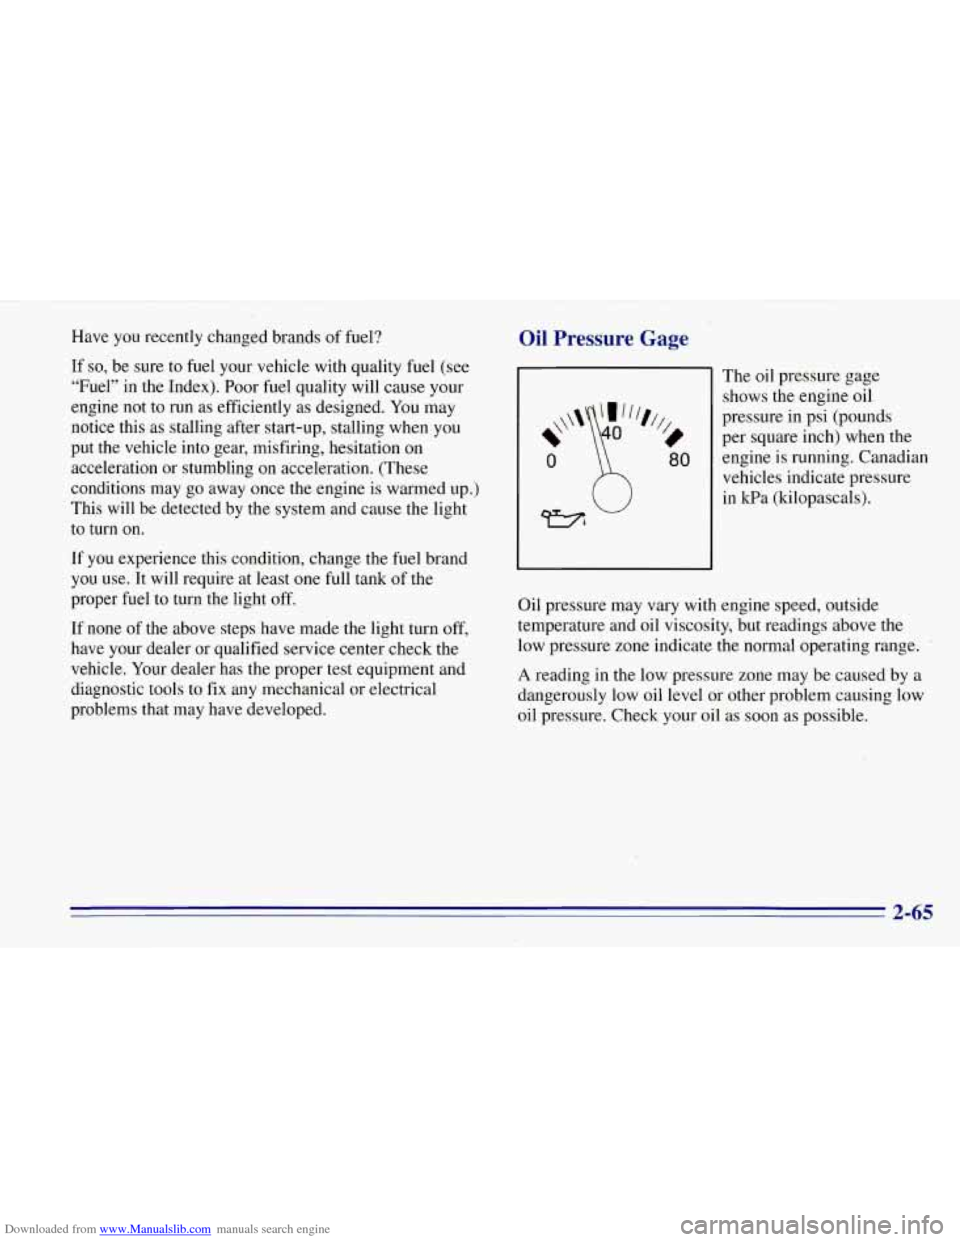
Oil Pressure Gage
0 \ 80
The oil pressure gage
shows the engine oil
pressure in psi (pounds
per square inch) when the
engine is running. Canadian
vehicles indicate pressure
in kPa (kilopascals).
Oil pressure may vary with engine speed, outside
temperature and oil viscosity, but readings above the
low pressure zone indicate the normal operating range.
A reading in the low pressure zone may be caused by a
dangerously low oil level or other problem'causing low
oil pressure. Check your oil as soon as possible.
2-65
Page 131 of 403
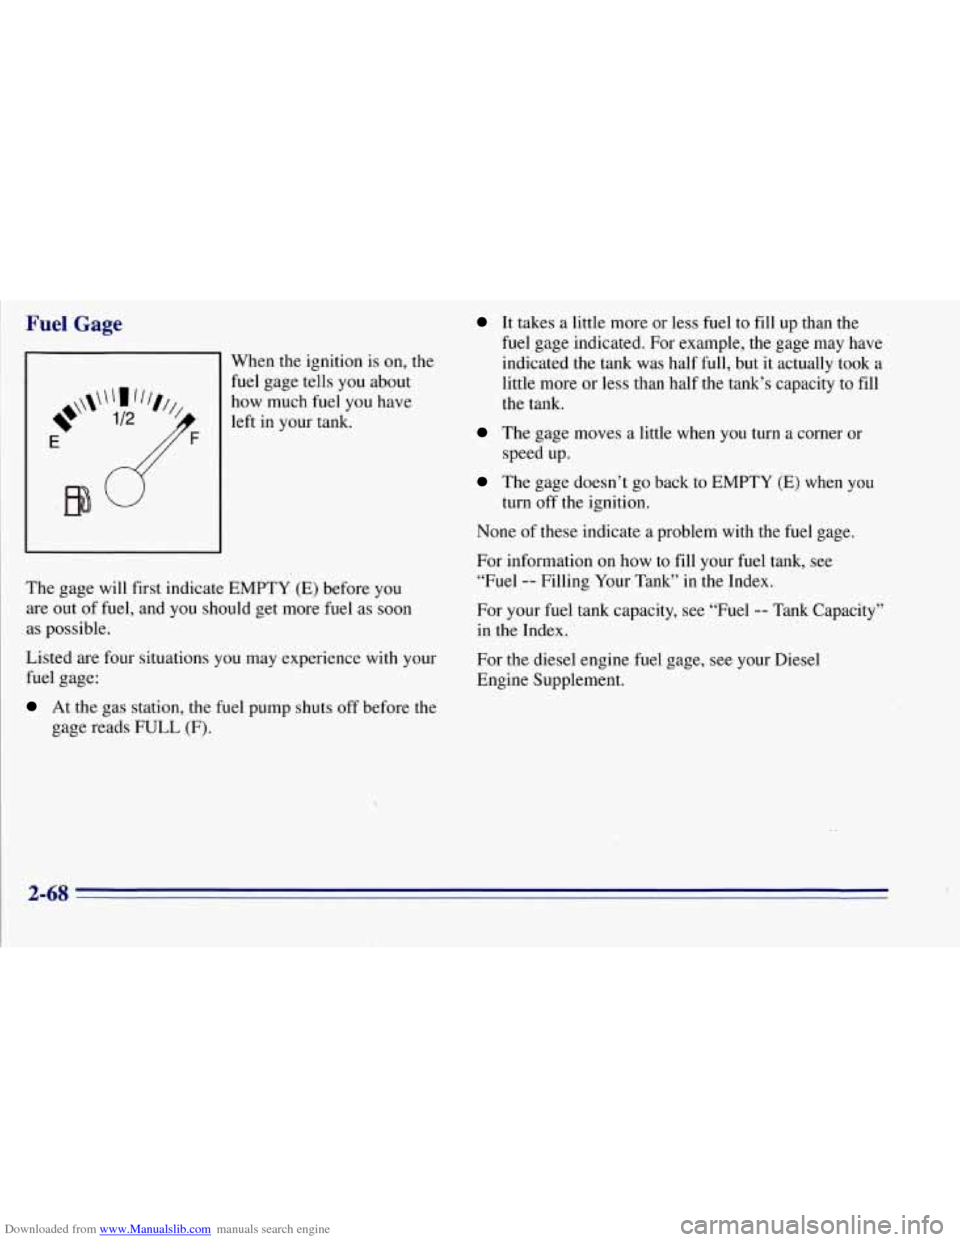
Downloaded from www.Manualslib.com manuals search engine Fuel Gage
-1 When the ignition is on, the
I
fuel gage tells you about
how much fuel you have
left in your tank.
The gage will first indicate EMPTY
(E) before you
are out of fuel, and you should get more fuel as soon
as possible.
Listed are four situations you may experience with your
fuel gage:
At the gas station, the fuel pump shuts off before the
gage reads
FULL (F).
It takes a little more or less fuel to fill up than the
fuel gage indicated. For example, the gage may have
indicated the tank was half
full, but it actually took a
little more or less than half the tank’s capacity to fill
the tank.
The gage moves a little when you turn a corner or
speed up.
The gage doesn’t go back to EMPTY (E) when you
turn
off the ignition.
None of these indicate a problem with the fuel gage.
For information
on how to fill your fuel tank, see
“Fuel -- Filling Your Tank” in the Index.
For your fuel tank capacity, see “Fuel
-- Tank Capacity”
in the Index.
For the diesel engine fuel gage, see your Diesel
Engine Supplement.
2-68
Page 137 of 403

Downloaded from www.Manualslib.com manuals search engine To regulate the airflow location, adjust the center knob
on the control panel. Turn the knob clockwise for floor
vent airflow or counterclockwise for headliner vent
airflow. Generally, the upper vents are used for air
conditioning and the floor vents for heating. The control
knob can
be set to any blend setting.
To adjust the aifflow speed, turn the fan control knob
on the left side of the control panel to the desired
blower setting.
To activate the rear control, move the fan knob on the
front control
to REAR CNTL.
Air Conditioning
On hot days, open the windows long enough to let hot
air inside escape. This reduces the time it takes for your
vehicle to cool down. Then keep your windows closed
for the air conditioner to work its best.
The recirculation button, between the fan and temperature
knobs, allows the air inside your vehicle to be
recirculated. This setting helps to maximize your air
conditioner’s performance and your vehicle’s fuel
economy. This setting also cools the air the fastest and
can be used to keep unwanted odors and/or dust from
entering the vehicle. When using the air conditioner, turn
off recirculation after the vehicle reaches a comfortable
interior temperature. When the right knob on the control
panel is between HEATER and DEFROST, the
recirculation feature will not function.
The A/C button, between the temperature and mode
knobs, allows the air coming into your vehicle to be
cooled. This setting is useful for normal cooling on hot
days. When
you use A/C with the recirculation button
pushed in, turn off recirculation as soon as the vehicle
reaches a comfortable interior temperature.
The
rear control works just like the front control. It will
allow second seat passengers to adjust the controls as
they desire.