low oil pressure CHEVROLET TAHOE 1996 1.G Owners Manual
[x] Cancel search | Manufacturer: CHEVROLET, Model Year: 1996, Model line: TAHOE, Model: CHEVROLET TAHOE 1996 1.GPages: 403, PDF Size: 20.63 MB
Page 128 of 403
Downloaded from www.Manualslib.com manuals search engine - - ~~ ~- ~~ ~~
.. .
Have you recently changed brands of fuel?
If so, be sure to fuel your vehicle with quality fuel (see
"Fuel" in the .Index). Poor fuel quality will cause your
engine not to run as efficiently as designed. You may
notice this as stalling after start-up, stalling when you
put the vehicle into gear, misfiring, hesitation
on
acceleration or stumbling on acceleration. (These
conditions may go away once the engine is warmed up.)
This will be detected by the system and cause the light
to turn on.
If you experience this condition, change the fuel brand
you use. It will require at least one full tank of the
proper fuel to turn the light
off.
If none of the above steps have made the light turn off,
have your dealer or qualified service center check the
vehicle. Your dealer has the proper test equipment and
diagnostic tools to fix any mechanical or electrical
problems that may have developed.
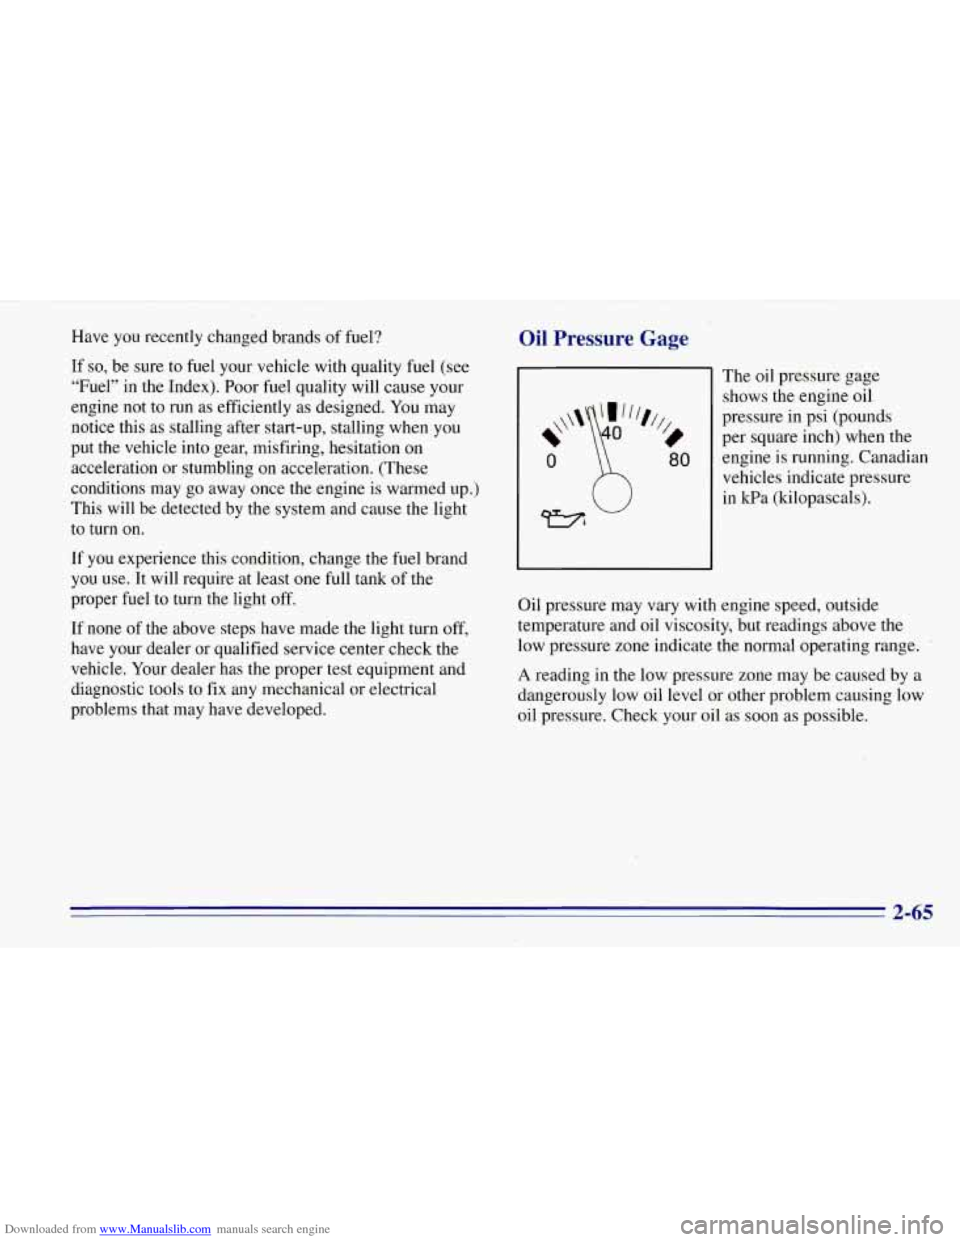
Oil Pressure Gage
0 \ 80
The oil pressure gage
shows the engine oil
pressure in psi (pounds
per square inch) when the
engine is running. Canadian
vehicles indicate pressure
in kPa (kilopascals).
Oil pressure may vary with engine speed, outside
temperature and oil viscosity, but readings above the
low pressure zone indicate the normal operating range.
A reading in the low pressure zone may be caused by a
dangerously low oil level or other problem'causing low
oil pressure. Check your oil as soon as possible.
2-65
Page 129 of 403
Downloaded from www.Manualslib.com manuals search engine 1 CAUTION:
Don't keep driving if the oil pressure is low. If
you do, your engine can become so hot that it
catches fire. You or others could be burned.
Check your oil as soon
as possible and have your
vehicle serviced.
I NOTICE:
Damage to your engine from neglected oil
problems can be costly and
is not covered by
your warranty.
Daytime Running Lamps (DRL) Indicator Light
This light will go on
whenever the
DRL are on.
When it begins to get dark, the
DRL indicator light is a
reminder
to turn on your headlamps.
2-66
Page 130 of 403
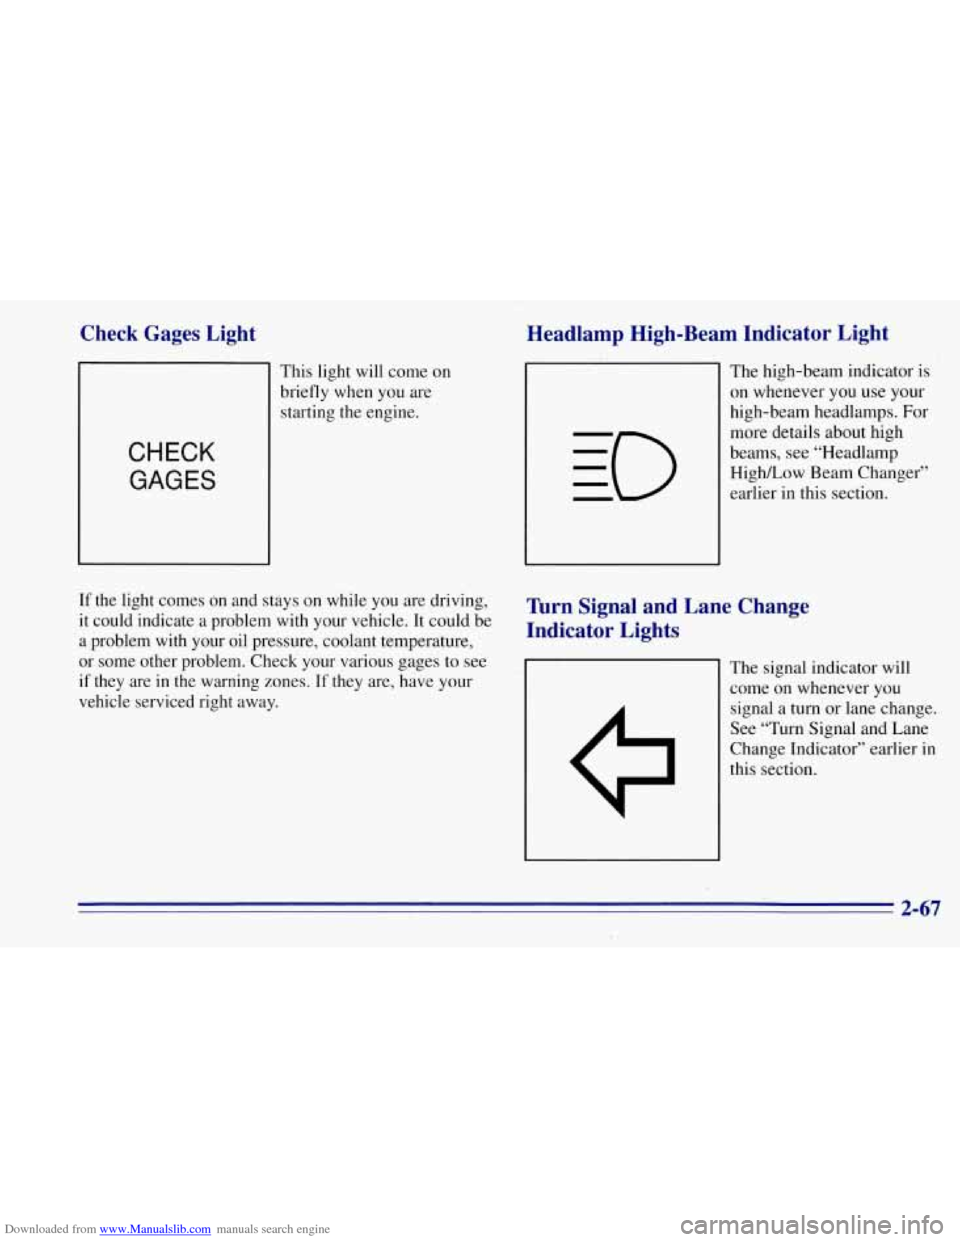
Downloaded from www.Manualslib.com manuals search engine Check Gages Light
This light will come on
briefly when you are
starting the engine.
CHECK
GAGES
If the light comes on and stays on while you are driving,
it could indicate a problem with your vehicle. It could be
a problem with your oil pressure, coolant temperature,
or some other problem. Check your various gages to see
if they are in the warning zones.
If they are, have your
vehicle serviced right away.
Headlamp High-Beam Indicator Light
The high-beam indicator is
on whenever you use your
high-beam headlamps.
For
more details about high
beams,
see “Headlamp
HighLow Beam Changer”
earlier in this section.
Turn Signal and Lane Change
Indicator Lights
The signal indicator will
come on whenever
you
signal a turn or lane change.
See “Turn Signal and Lane
Change Indicator’’ earlier in
this section.
2-67
Page 193 of 403
Downloaded from www.Manualslib.com manuals search engine The exit speed is usually posted.
Reduce your speed according to your speedometer, not
to.your sense of motion. After driving for any distance
at higher speeds, you may tend to think you are going
slower than you actually are.
Before Leaving on a Long Trip
Make sure you’re ready. Try to be well rested. If you
must start
,. when you’re not fresh -- such as after a day’s
work
-- don’t plan to make too many miles that first part
of the journey. Wear comfortable clothing and shoes you
can easily drive
in.
Is your vehicle ready for a long trip? If you keep it
serviced and maintained, it’s ready togo. If it needs
service, have it done before starting out.
Of course,
you’ll find experienced and able service experts in
GM
dealers all across North America. They’ll be ready and willing
to help if you need it. Here are some things
you can check before a trip:
0 Windshield Washer
Fluid: Is the reservoir full? Are
all windows clean inside and outside?
0 Wiper Blades: Are they in good shape?
0 Fuel, Engine Oil, Other Fluids: Have you checked
0 Lamps: Are they all working? Are the lenses clean?
Tires: They are vitally important to a safe,
all levels?
trouble-free trip.
Is the tread good enough for
long-distance driving? Are the tires all inflated
to the
recommended .pressure?
along your route? Should you delay your trip a short
time to avoid a major storm system?
0 Maps: Do you have up-to-date maps?
0 Weather Forecasts: What’s the weather outlook .
4-34
Page 306 of 403
Downloaded from www.Manualslib.com manuals search engine Using Solvent-Type Cleaner on Fabric
First, see if you have to use solvent-type cleaner at all.
Some spots and
stains will clean off better with just
water and mild soap.
If you need to use a solvent:
Gently scrape excess soil from the trim material with
a clean, dull knife or scraper. Use very little cleaner,
Iight pressure and clean cloths (preferably
cheesecloth). Cleaning should start at the outside
of
the stain, “feathering” toward the center. Keep
changing to
a clean section of the cloth.
When
you clean a stain from fabric, immediately
dry the area with a blow dryer
to help prevent a
cleaning ring.
Fabric Protection
Your vehicle has upholstery and carpet that has been
treated
with Scotchgard TM Fabric Protector, a 3M
product. It protects fabrics by repelling oil and water,
which are the carriers of
most stains. Even with this
protection, you still need
to clean your upholstery and
carpet often to keep
it looking new.
Further information
on cleaning is available by calling
1-800-433-3296 (in Minnesota, 1-800-642-6 167).
Special Cleaning Problems
Greasy or Oily Stains
Stains caused by grease, oil, butter, nm-garine, shoe
polish, coffee with cream, chewing gum, cosmetic
creams, vegetable oils, wax crayon, tar and asphalt can
be
1.
2.
3.
removed as follows:
Carefully scrape off excess stain.
Follow the solvent-type instructions described earlier.
Shoe polish, wax crayon, tar and asphalt will stain
if left on a vehicle’s seat fabric. Thcy should be
removed as soon as possible. Be careful, because
the cleaner
will dissolve them and lnay cause them
to spread.
Non-Greasy Stains
Stains caused by catsup, coffee (black), egg, fruit, fruit
juice,
milk, soft drinks, wine, vomit, urine and blood can
be removed
as follows:
1. Carefully scrape off excess stain, then sponge the
soiled area with cool water.
2. If a stain remains, follow the foam-type instructions
described earlier.
6-53
Page 369 of 403
Downloaded from www.Manualslib.com manuals search engine Part B: Owner Checks and Services
Listed below are owner checks and services which
should be performed at the intervals specified to help
ensure the safety, dependability and emission control
performance
of your vehicle.
Be sure any necessary repairs are completed at once.
Whenever any fluids
or lubricants are added to your
vehicle, make sure they are the proper ones, as shown
in Part
D.
At Each Fuel Fill
It is important for you or a service station attendant to
pe$orm these underhood checks at each fuel
fill.
Engine Oil Level Check
Check the engine oil level and add the proper oil
if necessary. See “Engine
Oil” in the Index for
further details.
Engine Coolant Level Check
Check the engine coolant level and add the proper
coolant
mix if necessary. See “Engine Coolant” in the
Index for further details.
Windshield Washer Fluid Level Check
Check the windshield washer fluid level in the
windshield washer tank and add the proper fluid if
necessary. See “Windshield Washer Fluid” in
the Index
for further details.
At Least Once a Month
Tire Inflation Check
Make sure tires are inflated to the correct pressures.
See “Tires” in the Index for further details.
Cassette Deck Service
Clean cassette deck. Cleaning should be done every
50 hours of tape play. See “Audio Systems” in the
Index for further details.
7-42