window CHEVROLET TAHOE 1997 1.G User Guide
[x] Cancel search | Manufacturer: CHEVROLET, Model Year: 1997, Model line: TAHOE, Model: CHEVROLET TAHOE 1997 1.GPages: 433, PDF Size: 22.05 MB
Page 103 of 433
Downloaded from www.Manualslib.com manuals search engine The driver’s window switch has an express down feature
that allows the window to be lowered without holding
the switch. Press and hold the side
of the window switch
marked AUTO for one second to activate the express
down mode. The express down mode can be canceled at
any time
by pressing the opposite side of the switch. To
open the window partway, lightly tap the switch until the
window is at the desired position.
If
you have a four-door vehicle and power windows, the
power window switch has a lockout feature. This feature
prevents the rear windows from operating except from
the driver’s position, when the front driver’s side switch
is in LOCK. When the switch is moved to NORM, the
rear power windows will operate again.
Electric Tailgate Glass Release
Before operating your electric tailgate glass release, see
the caution under “Your Doors and How They Work” in
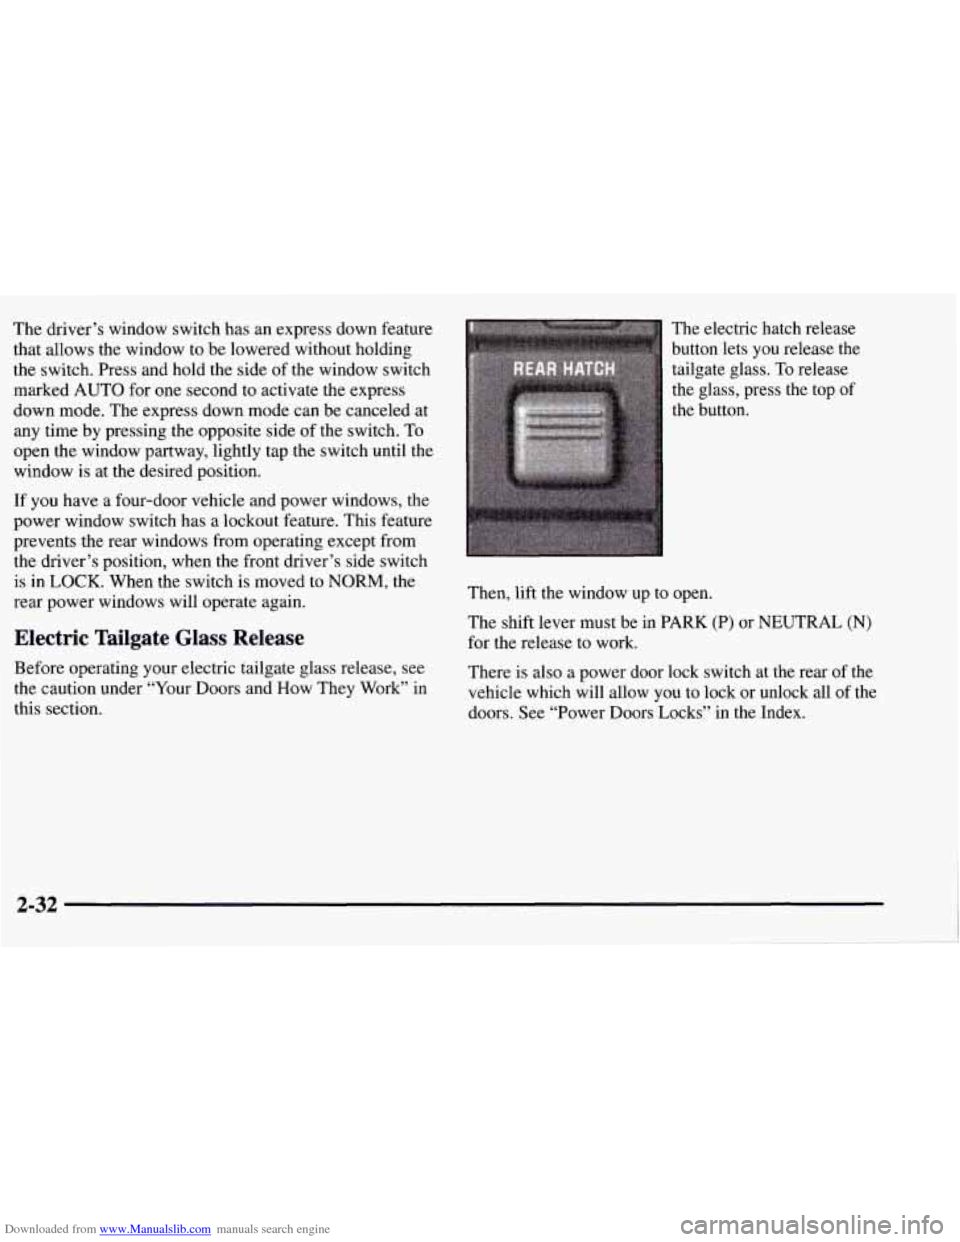
this section. The electric
hatch release
button lets you release the
tailgate glass. To release
the glass, press the top
of
the button.
Then, lift the window up to open.
The shift lever must be in PARK
(P) or NEUTRAL (N)
for the release to work.
There
is also a power door lock switch at the rear of the
vehicle which will allow you
to lock or unlock all of the
doors. See “Power Doors Locks” in the Index.
2-32
Page 107 of 433
Downloaded from www.Manualslib.com manuals search engine Rear Window Wiper and Washer
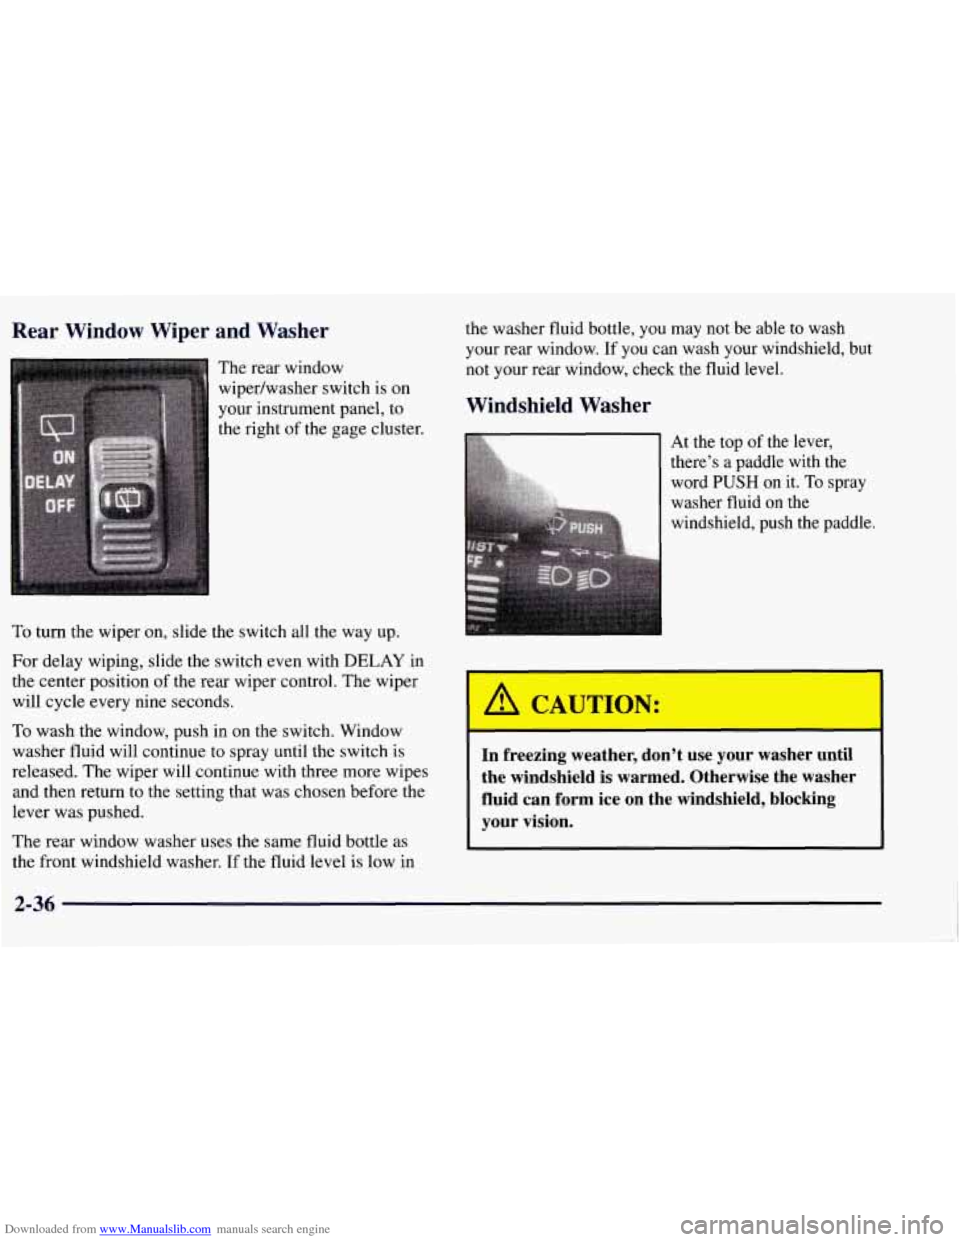
The rear window
wipedwasher switch is on
your instrument panel, to
the right of the gage cluster.
To turn the wiper on, slide the switch all the way up.
For delay wiping, slide the switch even with DELAY in
the center position of the rear wiper control. The wiper
will cycle every nine seconds.
To wash the window, push in on the switch. Window
washer fluid will continue
to spray until the switch is
released. The wiper will continue with three more wipes
and then return to the setting that was chosen before the
lever was pushed.
The rear window washer uses the same fluid bottle as
the front windshield washer. If the fluid level is low
in
the washer fluid bottle, you may not be able to wash
your rear window. If you can wash your windshield, but
not your rear window, check the fluid level.
Windshield Washer
At the top of the lever,
word
PUSH on it. To spray
washer fluid on the
windshield, push the paddle.
i there’s a paddle with the &
A CAUTION:
I
-I
In freezing weather, don’t use your washer until
the windshield is warmed. Otherwise the washer
fluid can form ice on the windshield, blocking
your vision.
Page 116 of 433
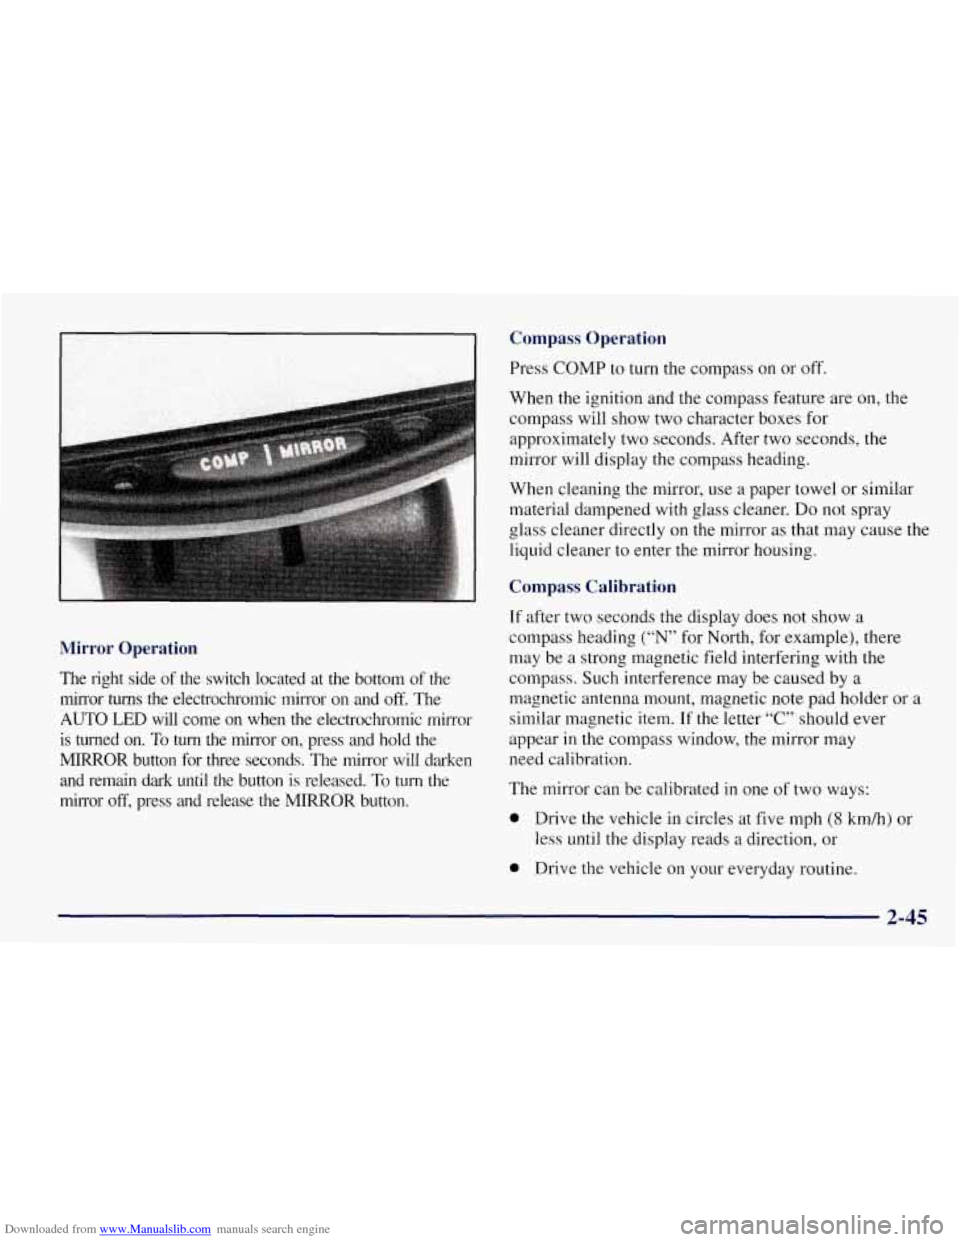
Downloaded from www.Manualslib.com manuals search engine Compass Operation
Mirror Operation
The right side of the switch located at the bottom of the
mirror turns the electrochromic mirror on and
off. The
AUTO LED will come on when the electrochromic mirror
is turned on. To
turn the mirror on, press and hold the
MIRROR button for three seconds. The mirror will darken
and remain dark until the button
is released. To turn the
mirror
off, press and release the MIRROR button. Press
COMP to turn the compass
on or off.
When the ignition and the compass feature are on, the
compass will show two character boxes for
approximately two seconds. After two seconds, the
mirror will display the compass heading.
When cleaning the mirror, use a paper towel or similar
material dampened with glass cleaner.
Do not spray
glass cleaner directly on the mirror as that may cause the
liquid cleaner to enter the mirror housing.
Compass Calibration
If after two seconds the display does not show a
compass heading
(“N” for North, for example), there
may be a strong magnetic field interfering with the
compass.
Such interference may be caused by a
magnetic antenna mount, magnetic note pad holder or
a
similar magnetic item. If the letter “C” should ever
appear in the compass window, the mirror may
need calibration.
The mirror can be calibrated
in one of two ways:
0 Drive the vehicle in circles at five mph (8 kmh) or
less until the display reads a direction,
or
0 Drive the vehicle on your everyday routine.
2-45
Page 130 of 433
Downloaded from www.Manualslib.com manuals search engine Accessory Power Outlets
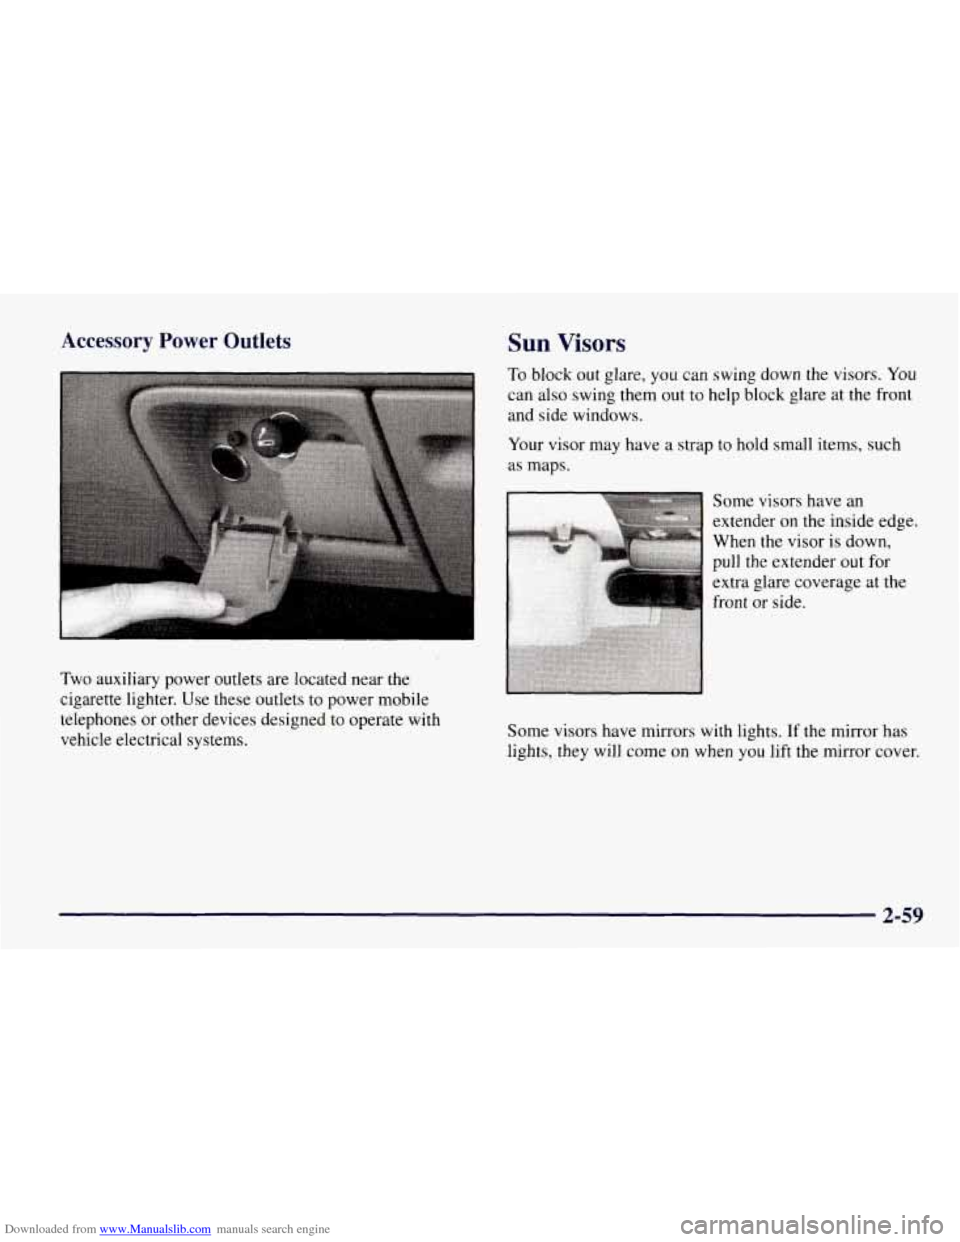
Two auxiliary power outlets are located near the
cigarette lighter. Use these outlets to power mobile
telephones or other devices designed to operate with
vehicle electrical systems.
Sun Visors
To block out glare, you can swing down the visors. You
can also swing them out to help block glare at the front
and side windows.
Your visor may have a strap to hold small items, such
as maps.
extra glare coverage at the
front or side.
Some visors have mirrors with lights.
If the mirror has
lights, they will come on when you lift the mirror cover.
2-59
Page 132 of 433
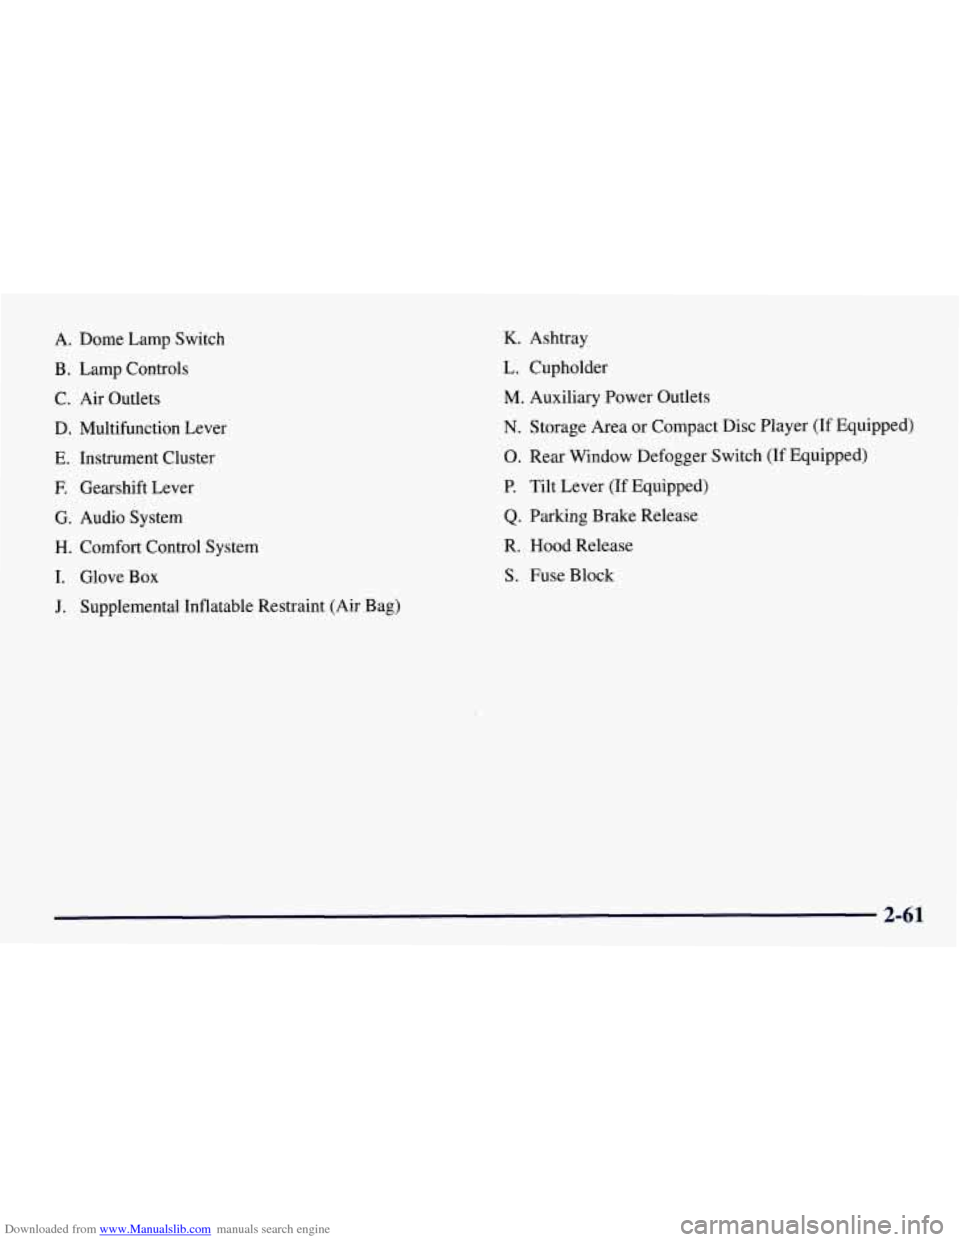
Downloaded from www.Manualslib.com manuals search engine A. Dome Lamp Switch
B. Lamp Controls
C. Air Outlets
D. Multifunction Lever
E. Instrument Cluster
F. Gearshift Lever
G. Audio System
H. Comfort Control System
I. Glove Box
J. Supplemental Inflatable Restraint (Air Bag)
K. Ashtray
L. Cupholder
M. Auxiliary Power Outlets
N. Storage Area or Compact Disc Player (If Equipped)
0. Rear Window Defogger Switch (If Equipped)
P. Tilt Lever (If Equipped)
Q. Parking Brake Release
R. Hood Release
S. Fuse Block
2-61
Page 148 of 433
Downloaded from www.Manualslib.com manuals search engine Section 3 Comfort Controls and Audio Systems
In this section, you’ll find out how to operate the comfort control and audio systems offered with your vehicle. Be
sure to read about the particular systems supplied with your vehicle.
I 3-15
3-2
3-4
3-7
3-8
3-8
3- 10
3- 10
3-11
3-11
3-11 3-11
3-13 Comfort
Controls
Rear Comfort Controls
Air Conditioning
Heating
Ventilation System
Defogging and Defrosting
Rear Window Defogger
Audio Systems Setting the Clock
AM-FM Stereo Radio
Playing the Radio
AM-FM Stereo with Cassette Tape Player
3- 19
3-20
3-24
3-26 3-28
3-28
3 -29
3-30
3-30 AM-FM
Stereo with Cassette Tape and
Automatic Tone Control
CD Adapter Kit
AM-FM Stereo with Compact Disc Player and
Automatic Tone Control
Playing a Compact Disc in the Single Remote
Disc Player
Theft-Deterrent Feature
Understanding Radio Reception
Tips About Your Audio System
Care of Your Cassette Tape Player
Care of Your Compact Discs
Fixed Mast Antenna
Page 154 of 433
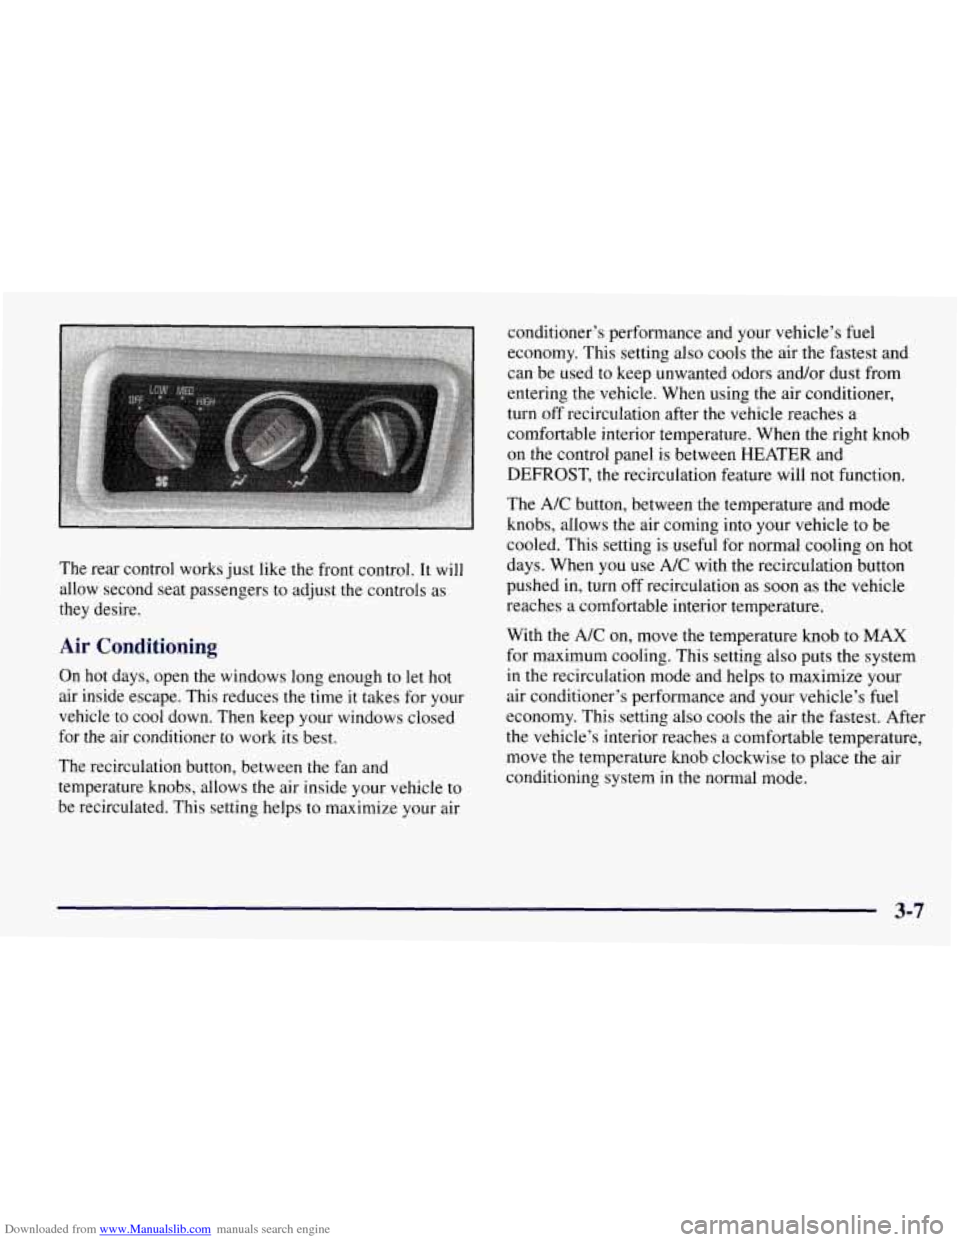
Downloaded from www.Manualslib.com manuals search engine The rear control works just like the front control. It will
allow second seat passengers to adjust the controls as
they desire.
Air Conditioning
On hot days, open the windows long enough to let hot
air inside escape. This reduces the time it takes for your
vehicle to cool down. Then keep your windows closed
for the air conditioner to work its best.
The recirculation button, between the fan and
temperature knobs, allows the air inside your vehicle to
be recirculated. This setting helps to maximize your air conditioner’s performance and your vehicle’s
fuel
economy. This setting also cools the air the fastest and
can be used to keep unwanted odors and/or dust from
entering the vehicle. When using the air conditioner,
turn off recirculation after the vehicle reaches a
comfortable interior temperature. When the right knob
on the control panel is between HEATER and
DEFROST, the recirculation feature will not function.
The A/C button, between the temperature and mode
knobs, allows the air coming into your vehicle to
be
cooled. This setting is useful for normal cooling on hot
days. When
you use A/C with the recirculation button
pushed in, turn off recirculation as soon as the vehicle
reaches a comfortable interior temperature.
With the A/C on, move the temperature knob to MAX
for maximum cooling. This setting also puts the system
in the recirculation mode and helps to maximize your
air conditioner’s performance and your vehicle’s fuel
economy. This setting also cools the air the fastest. After
the vehicle’s interior reaches a comfortable temperature,
move the temperature knob clockwise to place the air
conditioning system in the normal mode.
3-7
Page 155 of 433
Downloaded from www.Manualslib.com manuals search engine Heating Ventilation System
The heater works best if you keep your windows closed
while using it. On cold days, use the HEATER or
VENT/HEAT setting with the temperature knob in
the
red area.
If you use the engine coolant heater before starting your
engine in cold weather,
20°F (-8 O C) or lower, your
heating system will produce warmer air faster, to heat
the passenger compartment in cold weather.
The use
of an engine coolant heater also reduces the
time it takes for the engine to reach normal operating
temperature, and shortens the time it takes the heater to
reach full output. For more information, see “Engine
Coolant Heater” in the Index. For
mild outside temperatures when little heating or
cooling is needed, use VENT to direct outside air
through your vehicle. Air will flow through the
instrument panel outlets.
Your vehicle’s ventilation system supplies outside air
to the inside of your vehicle when it is moving. With
the side windows closed, air will flow into the front
air inlet grilles, through the vehicle, and out the air
exhaust valves.
Outside air will also enter the vehicle when the heater or
the air conditioning fan
is running, unless you have the
recirculation button pushed
in. For more information on
the recirculation button, see
“Air Conditioning” earlier
in this section.
Page 156 of 433
Downloaded from www.Manualslib.com manuals search engine Ventilation Tips
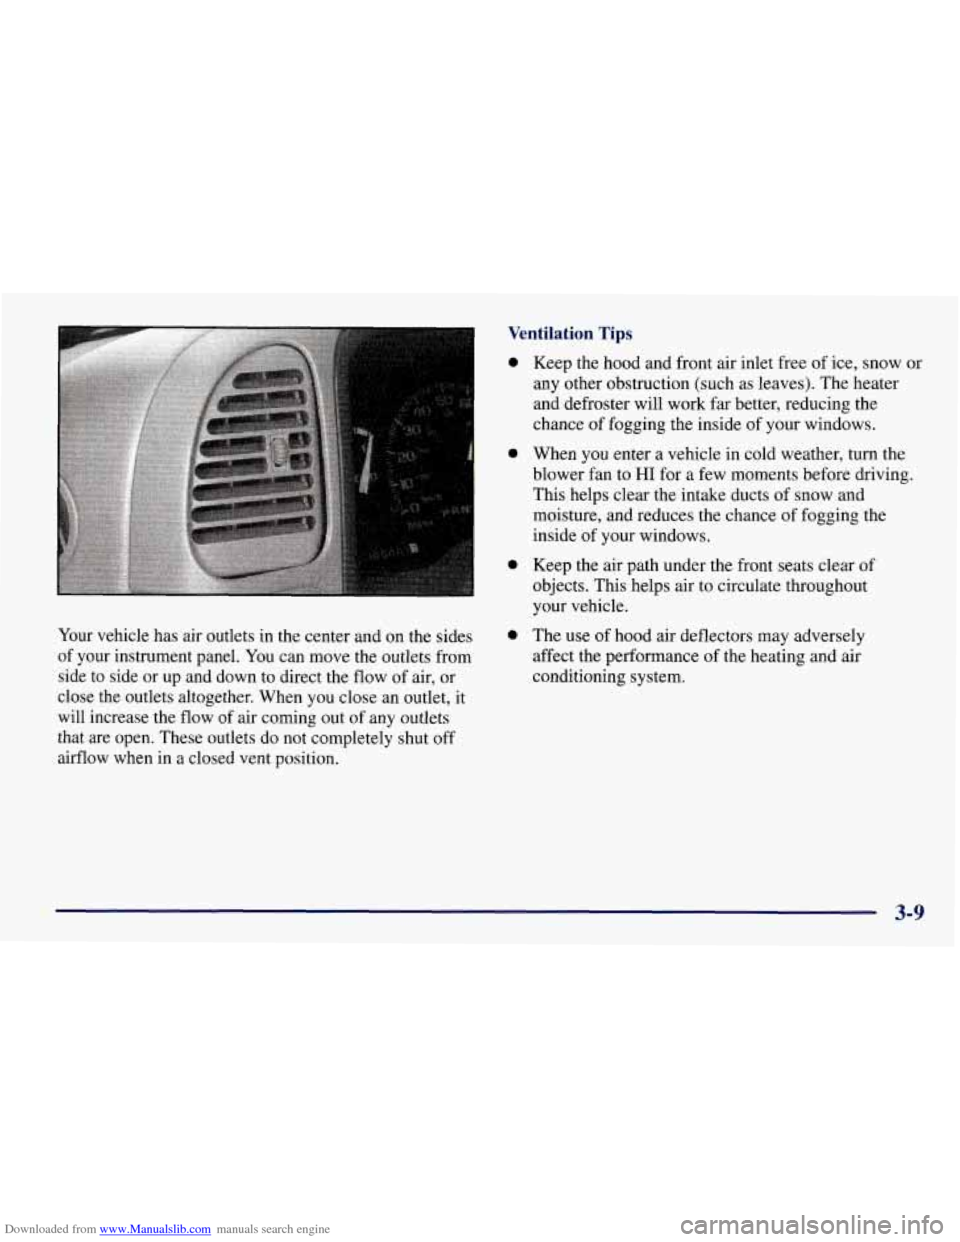
Your vehicle has air outlets in the center and on the sides
of your instrument panel. You can move the outlets from
side to side or up and down to direct the flow of air, or
close the outlets altogether. When you close
an outlet, it
will increase the flow
of air coming out of any outlets
that are open. These outlets do not completely shut off
airflow when in a closed vent position.
0
0
0
0
Keep the hood and front air inlet free of ice, snow or
any other obstruction (such as leaves). The heater
and defroster will work far better, reducing the
chance
of fogging the inside of your windows.
When you enter a vehicle in cold weather, turn the
blower fan to
HI for a few moments before driving.
This helps clear the intake ducts
of snow and
moisture, and reduces the chance
of fogging the
inside
of your windows.
Keep the air path under the front seats clear of
objects. This helps air to circulate throughout
your vehicle.
The use of hood air deflectors may adversely
affect the performance of the heating and air
conditioning system.
3-9
Page 157 of 433
Downloaded from www.Manualslib.com manuals search engine Defogging and Defrosting
On cool, humid days, use DEFOG to keep the
windshield and side windows clear. Use DEFROST to
remove fog or ice from the windshield in extremely
humid or cold conditions. Use DEFROST with the
temperature knob toward the red area and the fan control
toward HI.
Rear Window Defogger (If Equipped)
If you see lines running across the rear window, you
have a rear window defogger. The lines warm the glass.
To
turn on the rear window
defogger, press this button
next to the fan control
knob.
The rear window defogger
will only work if the ignition
switch is turned to RUN. For
best results, first clear the
window of as much snow
or ice as possible. The
defogger will shut itself off after several minutes. If
you need additional warming time, press the button
again.
You can turn the defogger off at any time by
pressing the button.
Do not attach a temporary vehicle license, tape or decals
across the defogger grid on the rear window.
NOTICE:
Don’t use a razor blade or something else sharp
on the inside
of the rear window. If you do, you
could cut or damage the warming grid, and the repairs wouldn’t be covered by your warranty.
3-10