glove box CHEVROLET TAHOE 1997 1.G Owners Manual
[x] Cancel search | Manufacturer: CHEVROLET, Model Year: 1997, Model line: TAHOE, Model: CHEVROLET TAHOE 1997 1.GPages: 433, PDF Size: 22.05 MB
Page 82 of 433
Downloaded from www.Manualslib.com manuals search engine Theft Parking at Night
Vehicle theft is big business, especially in some cities.
Although your vehicle
has a number of theft-deterrent
features, we know that nothing we put
on it can make it
impossible to steal. However, there are ways you can help.
Key in the Ignition
If you leave your vehicle with the keys inside, it’s an
easy target for joy riders or professional thieves
-- so
don’t do it.
When you park your vehicle and open the driver’s door,
you’ll hear a tone reminding you to remove your key
from the ignition and take it with you. Always do this.
Your steering wheel will be locked, and
so will your
ignition. If you have an automatic transmission, taking
your key out also locks your transmission. And
remember to lock the doors. Park in
a lighted spot, close all windows and lock your
vehicle. Remember
to keep your valuables out of sight.
Put them in a storage area, or take them with you.
Parking Lots
If you park in a lot where someone will be watching
your vehicle, it’s best to lock it up and take your keys.
But what if you have to leave your ignition key? What if
you have to leave something valuable in your vehicle?
Put your valuables in a storage area, like your
glove box.
Lock all the doors except the driver’s.
2-11
Page 119 of 433
Downloaded from www.Manualslib.com manuals search engine Storage Compartments
Your vehicle has a variety of storage compartments
designed to store small items.
Glove Box
To open your glove box, move the switch button toward
the passenger’s side and pull the door open.
Center Overhead Console (If Equipped)
Your vehicle may have an overhead console. It has
storage compartments inside it.
Garage Door Opener Compartment
If you have a garage door opener, the front overhead
compartment can be used to conveniently store
the opener.
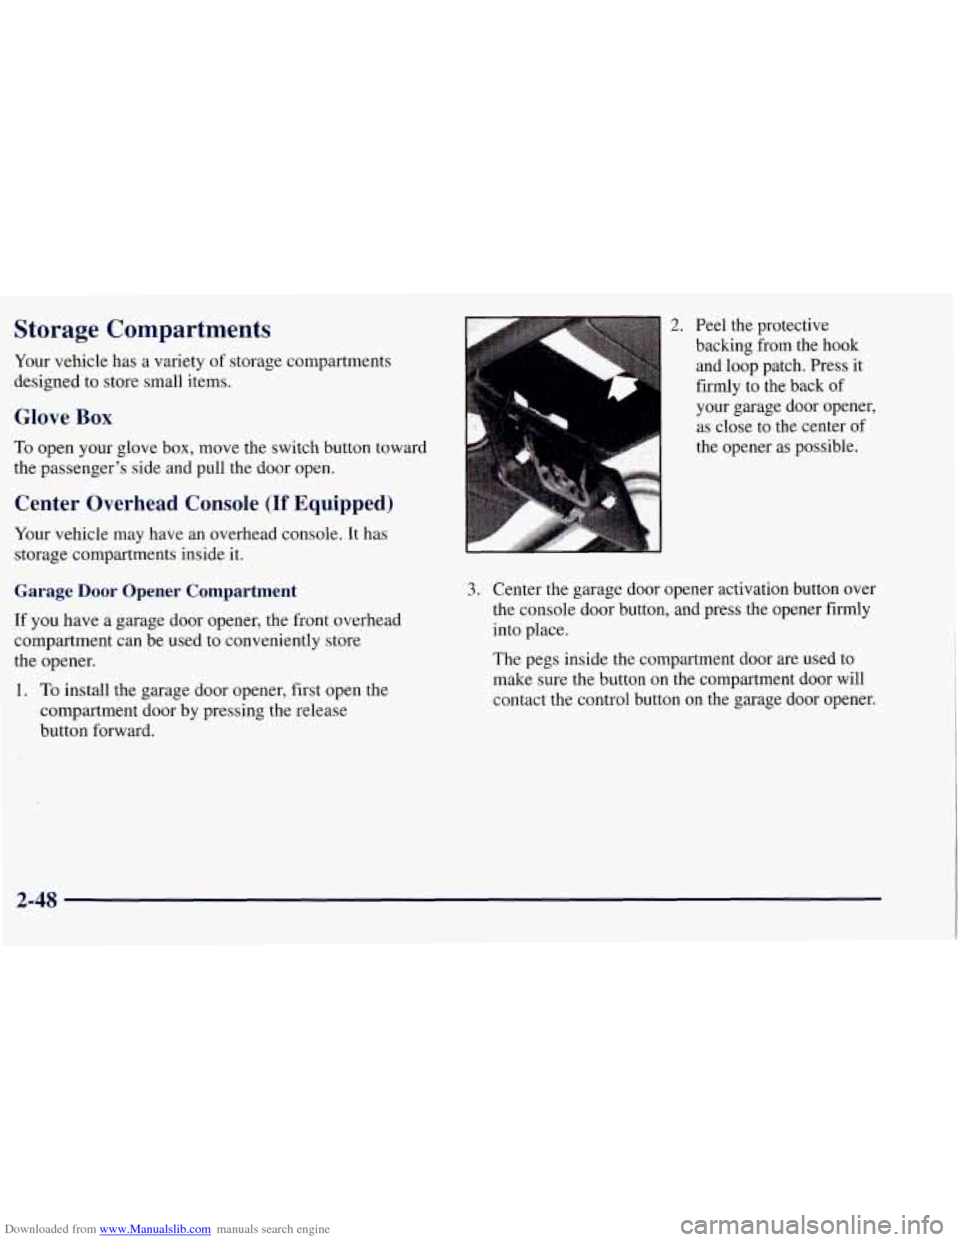
1. To install the garage door opener, first open the
compartment door by pressing the release
button forward.
2. Peel the protective
backing from the hook
and loop patch. Press it
firmly
to the back of
your garage door opener,
as close to the center of
the opener as possible.
3. Center the garage door opener activation button over
the console door button, and press the opener firmly
into place.
The pegs inside the Compartment door are used to
make sure the button on the compartment door will
contact the control button on the garage door opener.
2-48
Page 132 of 433
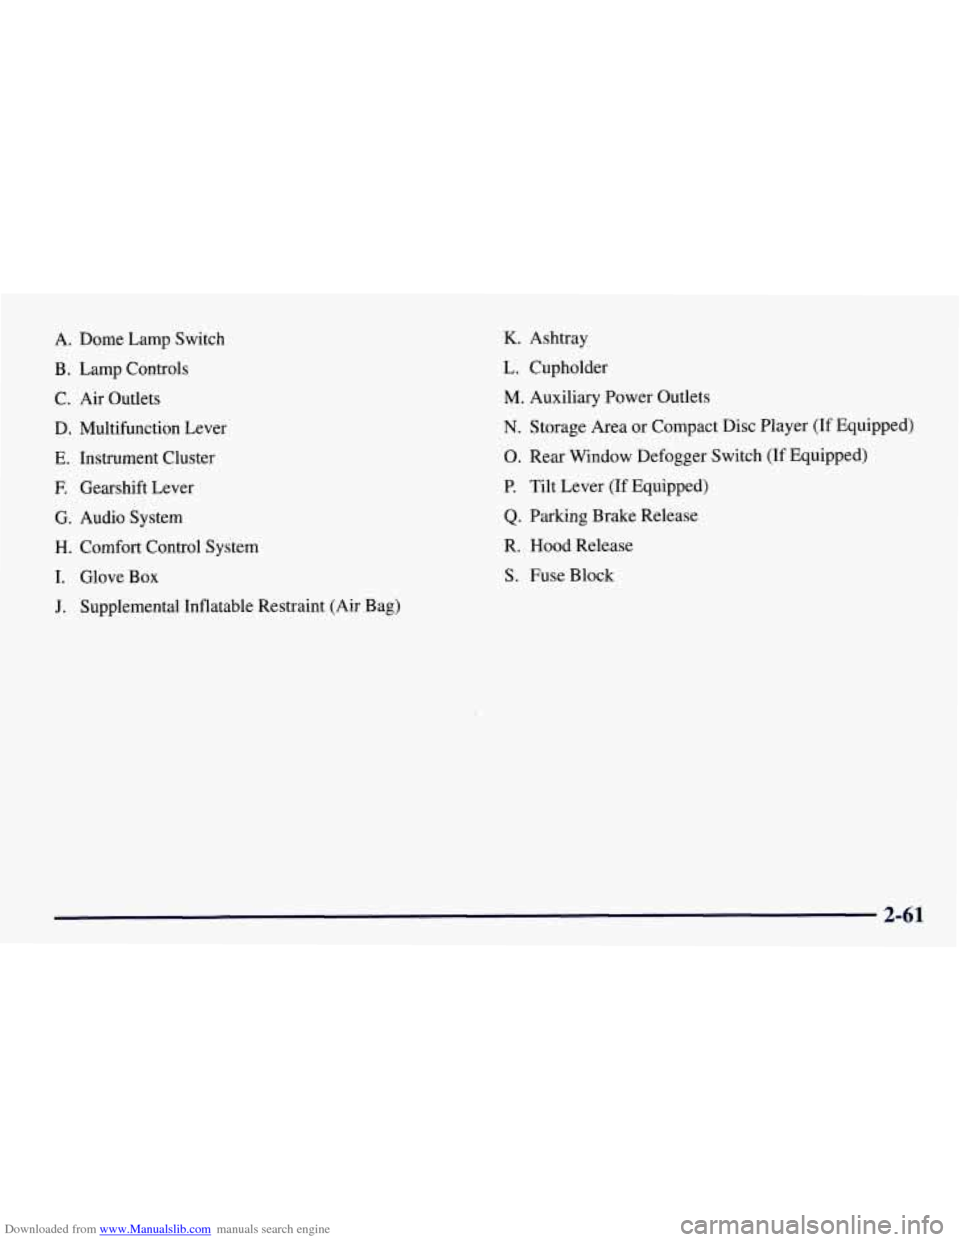
Downloaded from www.Manualslib.com manuals search engine A. Dome Lamp Switch
B. Lamp Controls
C. Air Outlets
D. Multifunction Lever
E. Instrument Cluster
F. Gearshift Lever
G. Audio System
H. Comfort Control System
I. Glove Box
J. Supplemental Inflatable Restraint (Air Bag)
K. Ashtray
L. Cupholder
M. Auxiliary Power Outlets
N. Storage Area or Compact Disc Player (If Equipped)
0. Rear Window Defogger Switch (If Equipped)
P. Tilt Lever (If Equipped)
Q. Parking Brake Release
R. Hood Release
S. Fuse Block
2-61
Page 261 of 433
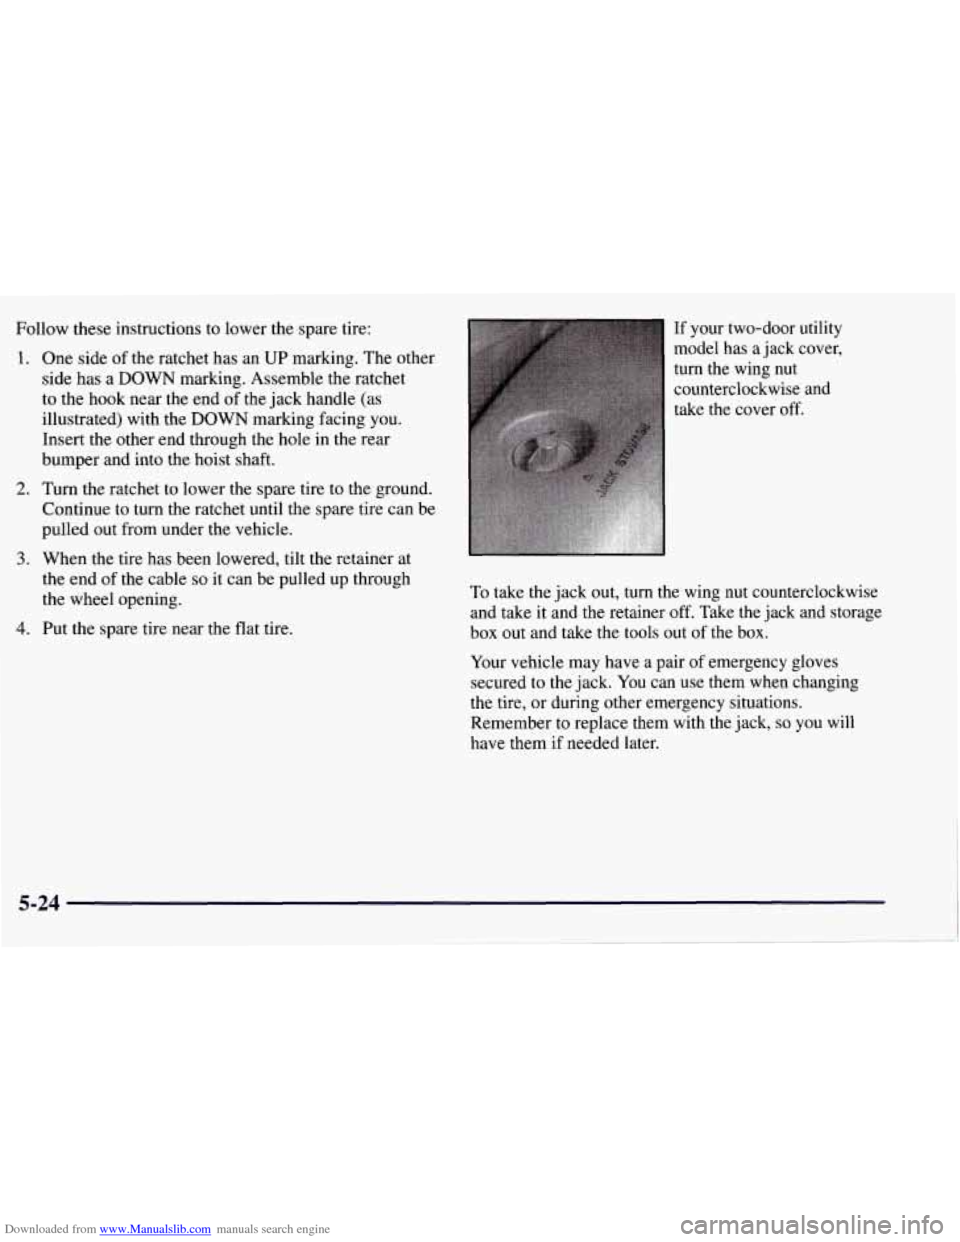
Downloaded from www.Manualslib.com manuals search engine Follow these instructions to lower the spare tire:
1. One side of the ratchet has an UP marking. The other
side has a DOWN marking. Assemble the ratchet
to the hook near the end of the jack handle (as
illustrated) with the DOWN marking facing you.
Insert the other end through the hole in the rear
bumper and into the hoist shaft.
2. Turn the ratchet to lower the spare tire to the ground.
Continue to turn the ratchet until the spare tire can be
pulled out from under the vehicle.
3. When the tire has been lowered, tilt the retainer at
the end of the cable
so it can be pulled up through
the wheel opening.
4. Put the spare tire near the flat tire. If
your two-door utility
model has a jack cover,
turn the wing nut
counterclockwise and
take the cover
off.
To take the jack out, turn the wing nut counterclockwise
and take it and the retainer off. Take the jack and storage
box out and take the tools out of the box.
Your vehicle may have a pair of emergency gloves
secured
to the jack. You can use them when changing
the tire, or during other emergency situations.
Remember to replace them with the jack,
so you will
have them
if needed later.
5-24
!
Page 262 of 433
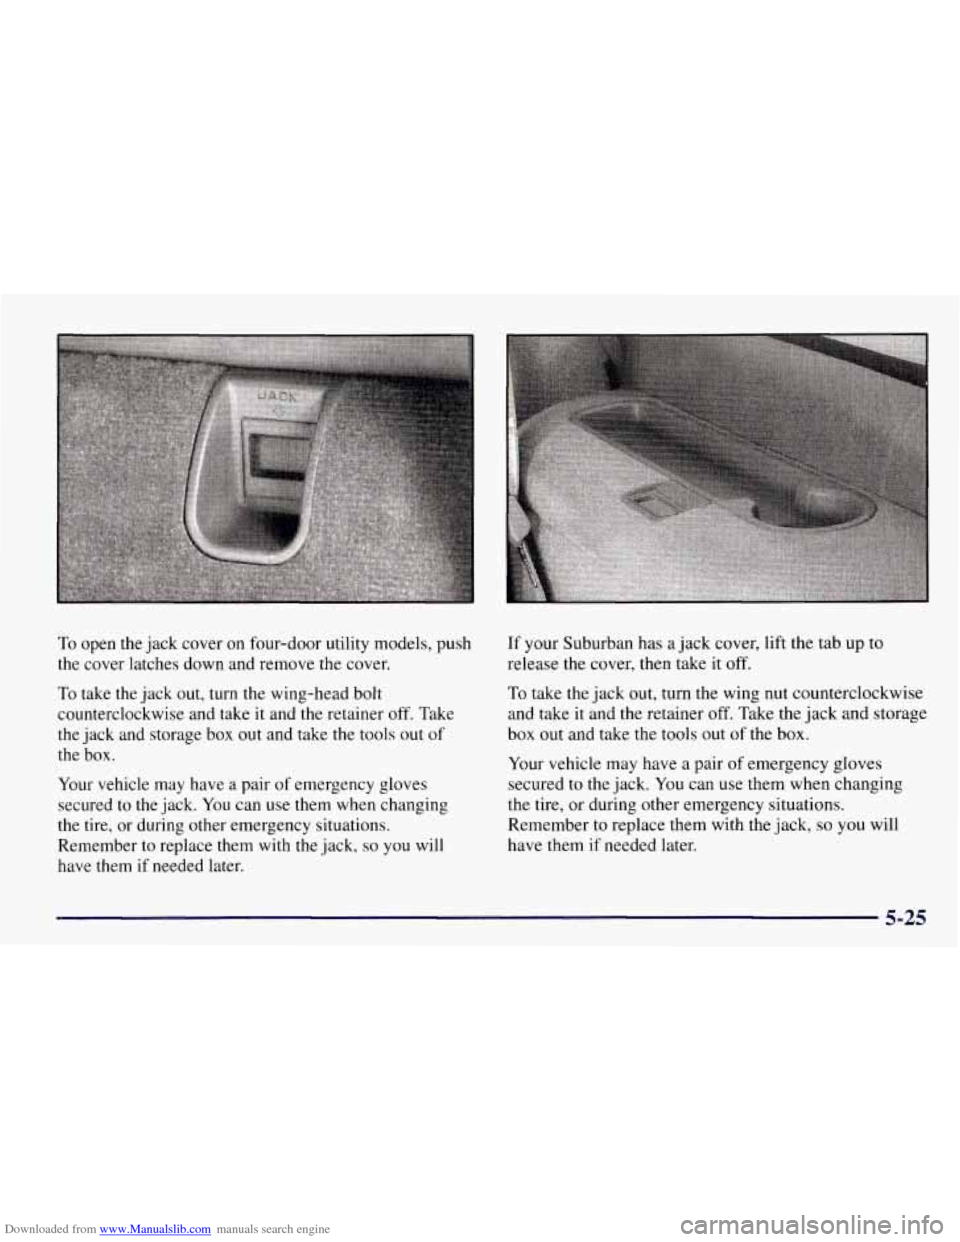
Downloaded from www.Manualslib.com manuals search engine To open the jack cover on four-door utility models, push
the cover latches down and remove the cover.
To take the jack out, turn the wing-head bolt
counterclockwise and take it and the retainer off. Take
the jack and storage box out and take the tools out of
the box.
Your vehicle may have a pair of emergency gloves
secured to the jack.
You can use them when changing
the tire, or during other emergency situations.
Remember to replace them with the jack,
so you will
have them if needed later. If
your Suburban has a jack cover,
lift the tab up to
release the cover, then take it
off.
To take the jack out, turn the wing nut counterclockwise
and take it and the retainer off. Take the jack and storage
box
out and take the tools out of the box.
Your vehicle may have a pair
of emergency gloves
secured to the jack. You can use them when changing
the tire, or during other emergency situations.
Remember to replace them with the jack,
so you will
have them
if needed later.
5-25
Page 270 of 433
Downloaded from www.Manualslib.com manuals search engine I CAU‘IWN: (Continued)
Be sure to use the correct wheel nuts. If you have
to replace them, be sure to get new
GM original
equipment wheel nuts.
Stop somewhere as soon as you can and have the
nuts tightened with a torque wrench to the
proper torque. For proper torque, see
“Capacities and Specifications” in the Index.
L
NOTICE:
Improperly tightened wheel nuts can lead to
brake pulsation and rotor damage.
To avoid
expensive brake repairs, evenly tighten the wheel
nuts
in the proper sequence and to the proper
torque specification.
11. Put the wheel trim back on. For vehicles with
plastic wheel nut caps, tighten the caps until
they
are finger tight, then tighten them an additional
one-half turn with the ratchet and wheel wrench.
Storing a Flat or Spare Tire and Tools
I I
’
C TION:
-
Storing a jack, a tire or other equipment in the
passenger compartment
of the vehicle could
cause injury. In
a sudden stop or collision, loose
equipment could strike someone. Store all these
in the proper place.
Store the flat tire where the spare tire is stored.
Put the tools into the storage box and close it tightly. Fit
the storage box on the bracket with the bolt through the
box. Put the jack onto the box. Be sure the jack is stored
as shown in the following illustrations. The jack handle
attachment point is circled in the following illustrations
to show the direction the jack should face when it is
stored properly. Secure the emergency gloves, if your
vehicle has them,
to the jack using the provided strap.
Slide the retainer over the bolt onto the jack and put the
wing nut
on it. Turn the nut clockwise until it is tight
against the retainer.
5-33
Page 340 of 433
Downloaded from www.Manualslib.com manuals search engine Vehicle Identification Number (VIN)
II I
1
- I1 11111111 1111 111 111111 111 111111 I1 111111111111 111111111 IIrn 0
@ SAMPLE4UXVM072675
CODE- MOD
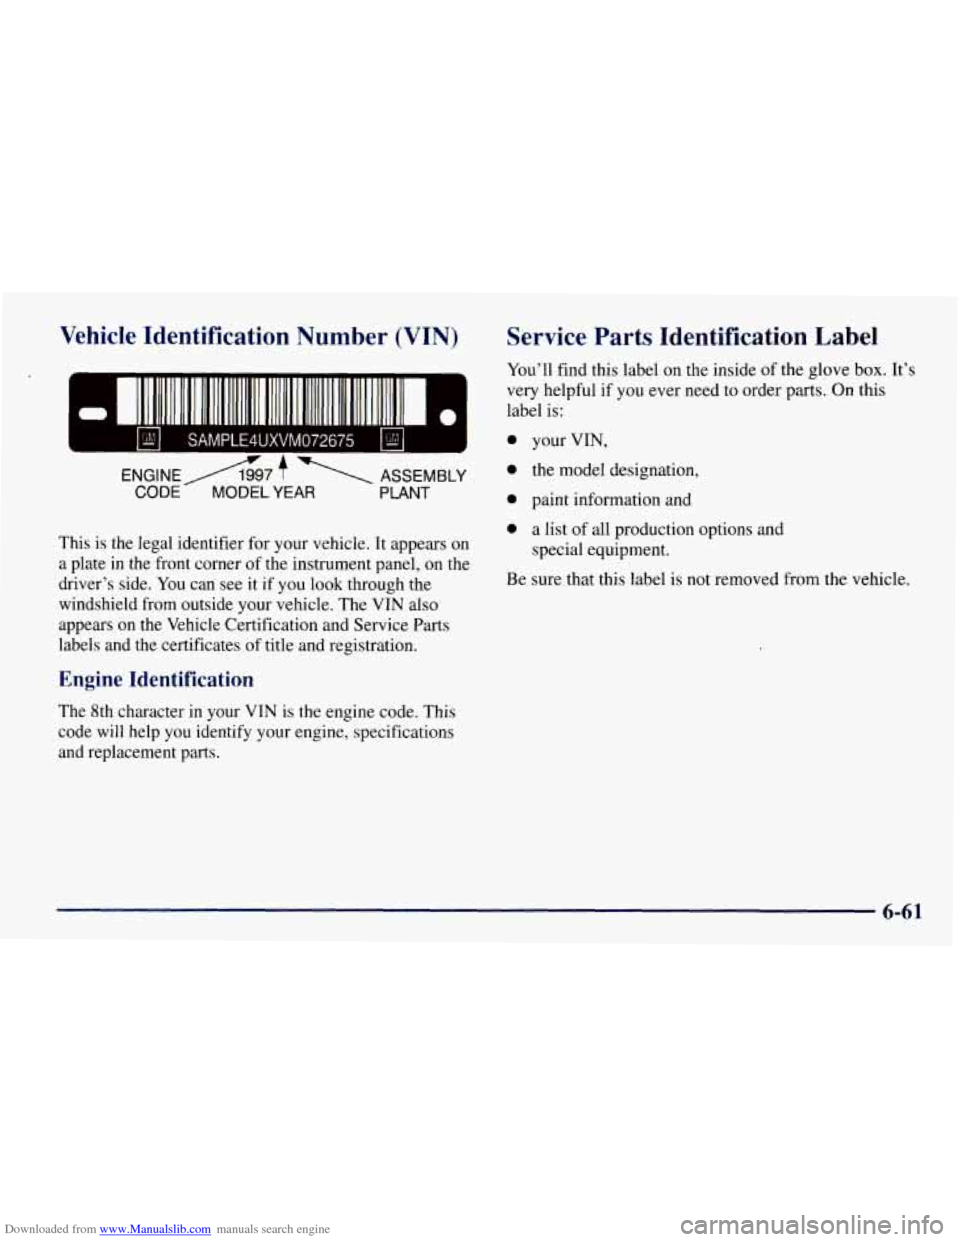
This is the legal identifier for your vehicle. It appears on
a plate in the front corner of the instrument panel, on the
driver’s side. You can see it if you look through the
windshield from outside your vehicle. The VIN also
appears on the Vehicle Certification and Service Parts
labels and the certificates
of title and registration.
Engine Identification
The 8th character in your VIN is the engine code. This
code will help
you identify your engine, specifications
and replacement parts.
Service Parts Identification Label
You’ll find this label on the inside of the glove box. It’s
very helpful if
you ever need to order parts. On this
label
is:
0 your VIN,
0 the model designation,
0 paint information and
0 a list of all production options and
Be sure that this label is not removed from the vehicle.
special equipment.
6-61
Page 343 of 433
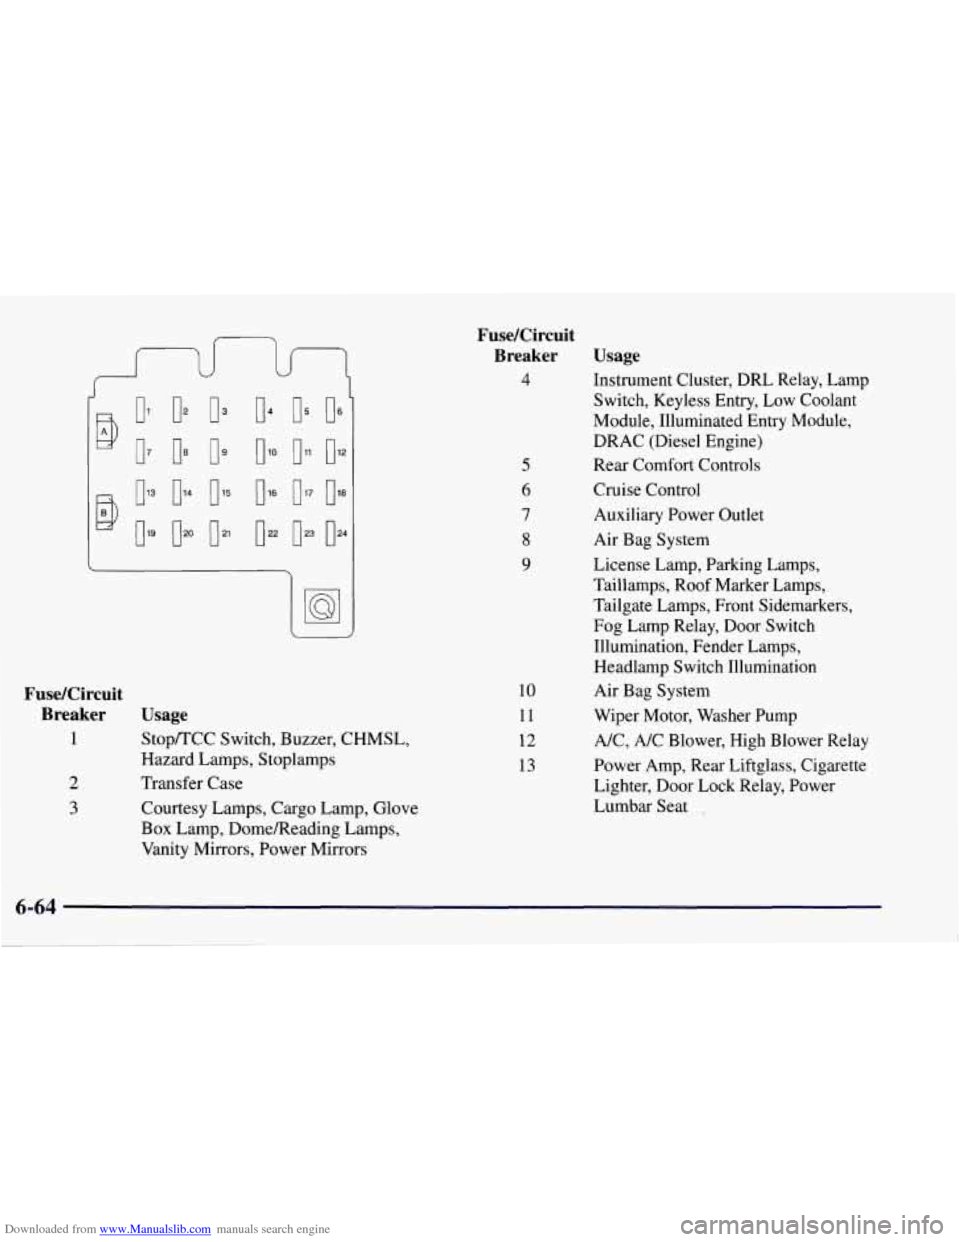
Downloaded from www.Manualslib.com manuals search engine Fuse/Circuit Breaker Usage
4
Fuse/Circuit Breaker Usage
1 Stop/TCC Switch, Buzzer, CHMSL,
2 Transfer Case
Hazard Lamps, Stoplamps
3 Courtesy Lamps, Cargo Lamp, Glove
Box Lamp, DomeReading Lamps,
Vanity Mirrors, Power Mirrors 10
11
12
13 Instrument Cluster, DRL
Relay, Lamp
Switch, Keyless Entry, Low Coolant
Module, Illuminated Entry Module,
DRAC (Diesel Engine)
Rear Comfort Controls
Cruise Control
Auxiliary Power Outlet
Air Bag System
License Lamp, Parking Lamps,
Taillamps, Roof Marker Lamps,
Tailgate Lamps, Front Sidemarkers,
Fog Lamp Relay, Door Switch
Illumination, Fender Lamps,
Headlamp Switch Illumination
Air Bag System
Wiper Motor, Washer Pump
NC, A/C Blower, High Blower Relay
Power Amp, Rear Liftglass, Cigarette
Lighter, Door Lock Relay, Power
Lumbar Seat
,
Page 426 of 433
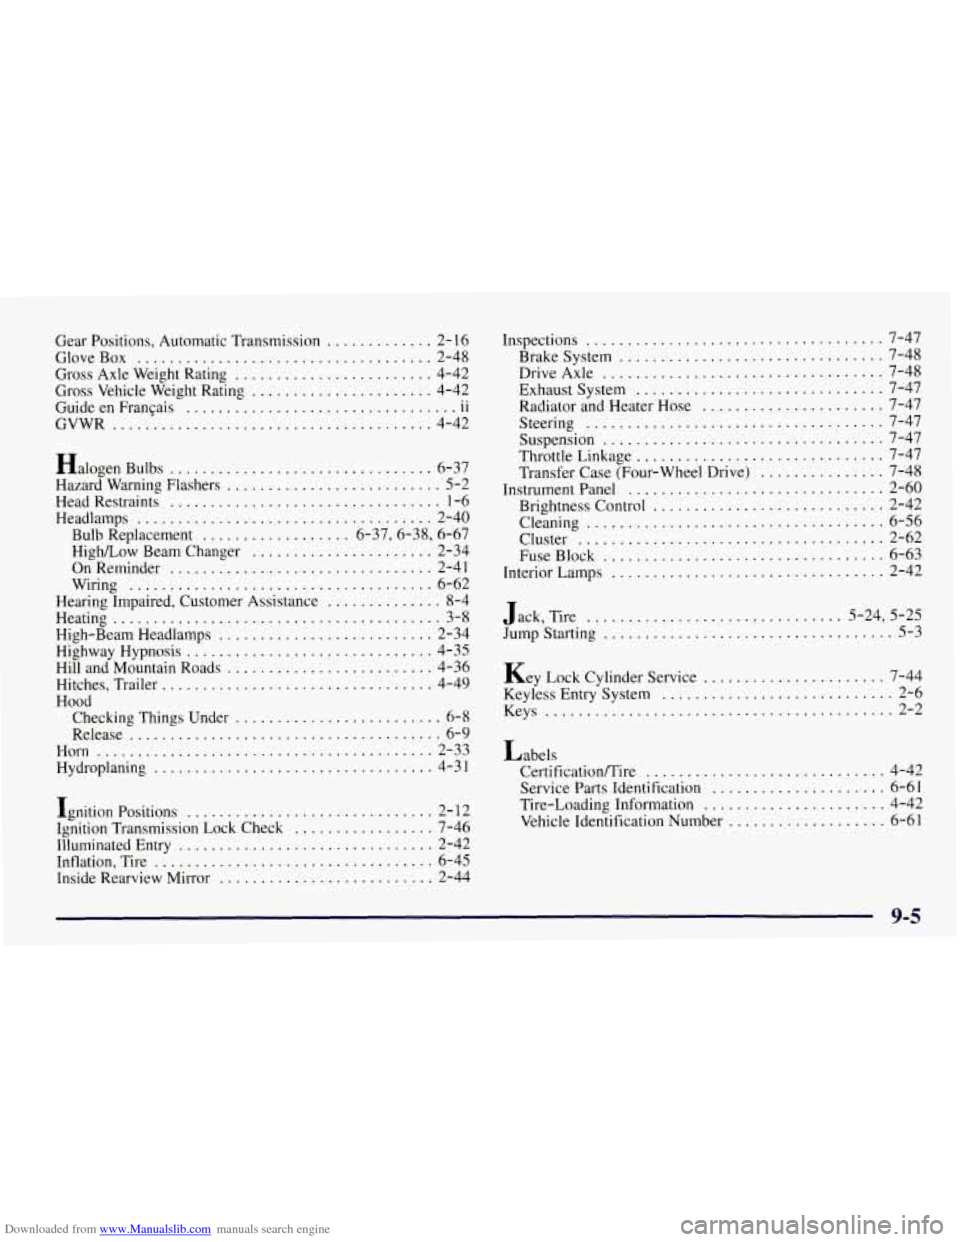
Downloaded from www.Manualslib.com manuals search engine Gear Positions. Automatic Transmission ............. 2- 16
Gross Axle Weight Rating
........................ 4-42
Gross Vehicle Weight Rating
...................... 4-42
Guide en Franqais
11
GloveBox .................................... 2-48
.. .................................
GVWR ....................................... 4-42
Halogen Bulbs
................................ 6-37
Hazard Warning Flashers
.......................... 5-2
Head Restraints
................................. 1-6
Headlamps .................................... 2-40
Bulb Replacement
.................. 6-37,6-38, 6-67
High/Low Beam Changer
...................... 2-34
On Reminder
................................ 2-41
Wiring
..................................... 6-62
Hearing Impaired, Customer Assistance
.............. 8-4
Heating
........................................ 3-8
High-Beam Headlamps
.......................... 2-34
Highway Hypnosis
.............................. 4-35
Hill and Mountain Roads
......................... 4-36
Hitches, Trailer
................................. 4-49
Hood Checking Things Under
......................... 6-8
Release
...................................... 6-9
Horn
......................................... 2-33
Hydroplaning
.................................. 4-31
Ignition Positions
.............................. 2- 12
Ignition Transmission Lock Check
................. 7-46
Illuminated Entry
............................... 2-42
Inflation, Tire
.................................. 6-45
Inside Rearview Mirror
.......................... 2-44 Inspections
.................................... 7-47
Brakesystem
................................ 7-48
DriveAxle
.................................. 7-48
Exhaust System
.............................. 7-47
Radiator and Heater Hose
...................... 7-47
Steering
.................................... 7-47
Suspension
.................................. 7-47
Throttle Linkage
.............................. 7-47
Transfer Case (Four-wheel Drive)
............... 7-48
Instrumentpanel
............................... 2-60
Brightness Control
............................ 2-42
Cleaning
.................................... 6-56
Cluster
..................................... 2-62
FuseBlock
.................................. 6-63
Interior Lamps
..................... ....... 2-42
Jack, Tire
............................... 5-24, 5-25
Jump Starting
................................... 5-3
Key Lock Cylinder Service
...................... 7-44
Keyless Entry System
............................ 2-6
Keys
............... .................... 2-2
Labels Certificatioflire
............................. 4-42
Service Parts Identification
..................... 6-61
Tire-Loading Information
...................... 4-42
Vehicle Identification Number
................... 6-61
9-5