seats CHEVROLET TAHOE 2001 2.G Owners Manual
[x] Cancel search | Manufacturer: CHEVROLET, Model Year: 2001, Model line: TAHOE, Model: CHEVROLET TAHOE 2001 2.GPages: 419, PDF Size: 3 MB
Page 4 of 419
Table of Contents
Windows
Keys and Door Locks
Keyless Entry System (If Equipped)
Liftgate
Automatic Transmission
Four-Wheel Drive (If Equipped)
Parking Brake
Tilt Wheel (If Equipped)
Turn Signal/Multifunction Lever
Windshield Wipers
Cruise ControlExterior and Interior Lamps
Mirrors
Storage Compartments
Convenience Net/Cargo Cover/Luggage Carrier (If Equipped)
Accessory Power Outlets
OnStar® System (If Equipped)
Sunroof (If Equipped)
HomeLink® Transmitter (If Equipped)
Instrument Panel, Warning Lights and Gages
Message Center Seats and Seat Controls
Safety BeltsAir Bag Systems
Restraint Systems for Children
Section
1
Section
2
Seats and Restraint Systems
Features and Controls
ii
Page 14 of 419
1-
1-1
Section 1 Seats and Restraint Systems
Here you'll find information about the seats in your vehicle and how to use your safety belts properly. You can also
learn about some things you should not do with air bags and safety belts.
1
-2 Seats and Seat Controls
1
-15 Safety Belts: They're for Everyone
1
-20 Here Are Questions Many People Ask
About Safety Belts
-- and the Answers
1
-21 How to Wear Safety Belts Properly
1
-21 Driver Position
1
-27 Safety Belt Use During Pregnancy
1
-28 Right Front Passenger Position
1
-28 Air Bag Systems
1
-37 Center Passenger Position1
-38 Rear Seat Passengers
1
-42 Rear Safety Belt Comfort Guides for
Children and Small Adults
1
-45 Children
1
-49 Restraint Systems for Children
1
-62 Older Children
1
-65 Safety Belt Extender
1
-65 Checking Your Restraint Systems
1
-65 Replacing Restraint System Parts
After a Crash
Page 15 of 419
1-2
Seats and Seat Controls
This section tells you about the seats -- how to adjust
them, and fold them up and down. It also tells you about
reclining front seatbacks and head restraints.
Manual Front Seat
CAUTION:
You can lose control of the vehicle if you try to
adjust a manual driver's seat while the vehicle is
moving. The sudden movement could startle and
confuse you, or make you push a pedal when you
don't want to. Adjust the driver's seat only when
the vehicle is not moving.
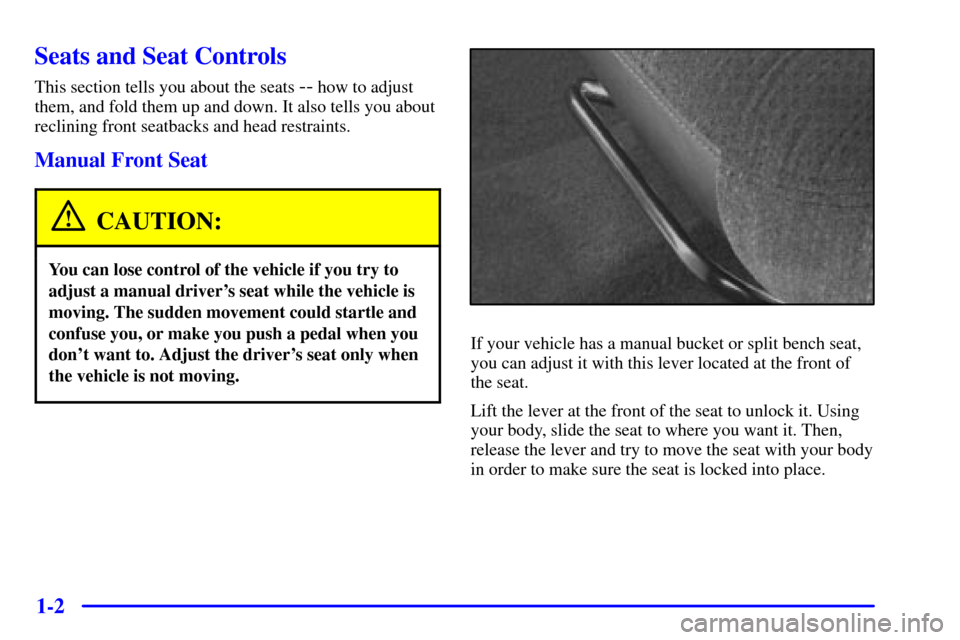
If your vehicle has a manual bucket or split bench seat,
you can adjust it with this lever located at the front of
the seat.
Lift the lever at the front of the seat to unlock it. Using
your body, slide the seat to where you want it. Then,
release the lever and try to move the seat with your body
in order to make sure the seat is locked into place.
Page 16 of 419

1-3
Manual Cushion Tilt (If Equipped)
If your vehicle has this feature, you can raise or lower
the front of the driver's or passenger's seat with this
lever located at the inside edge of the seat. To raise or
lower the front of the seat, move the lever up or down
in a continuous motion until the cushion reaches the
desired height.
Manual Lumbar Control (If Equipped)
If your vehicle has a
lumbar adjustment,
you can increase or
decrease lumbar support
in an area of the lower
seatback. The control is
located on the outboard
side of the front seats.
To increase support, turn the knob towards the front of
the vehicle. Operating effort can be reduced if you lean
forward slightly while turning the knob.
To decrease support, turn the knob towards the rear of
the vehicle.
Page 17 of 419
1-4 Power Seat(s) (If Equipped)
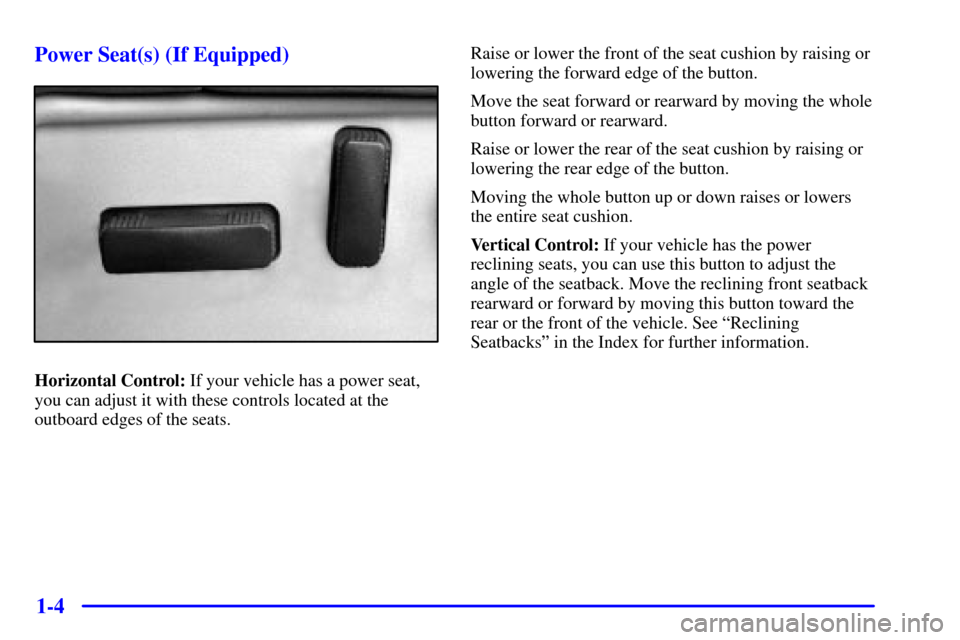
Horizontal Control: If your vehicle has a power seat,
you can adjust it with these controls located at the
outboard edges of the seats.Raise or lower the front of the seat cushion by raising or
lowering the forward edge of the button.
Move the seat forward or rearward by moving the whole
button forward or rearward.
Raise or lower the rear of the seat cushion by raising or
lowering the rear edge of the button.
Moving the whole button up or down raises or lowers
the entire seat cushion.
Vertical Control: If your vehicle has the power
reclining seats, you can use this button to adjust the
angle of the seatback. Move the reclining front seatback
rearward or forward by moving this button toward the
rear or the front of the vehicle. See ªReclining
Seatbacksº in the Index for further information.
Page 19 of 419
1-6 Heated Front Seats (If Equipped)
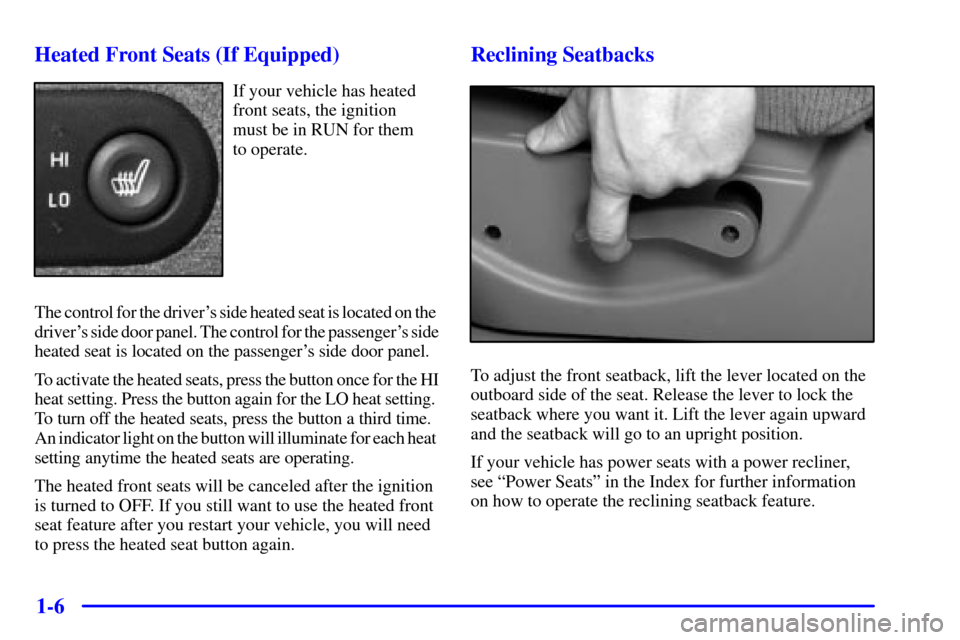
If your vehicle has heated
front seats, the ignition
must be in RUN for them
to operate.
The control for the driver's side heated seat is located on the
driver's side door panel. The control for the passenger's side
heated seat is located on the passenger's side door panel.
To activate the heated seats, press the button once for the HI
heat setting. Press the button again for the LO heat setting.
To turn off the heated seats, press the button a third time.
An indicator light on the button will illuminate for each heat
setting anytime the heated seats are operating.
The heated front seats will be canceled after the ignition
is turned to OFF. If you still want to use the heated front
seat feature after you restart your vehicle, you will need
to press the heated seat button again.
Reclining Seatbacks
To adjust the front seatback, lift the lever located on the
outboard side of the seat. Release the lever to lock the
seatback where you want it. Lift the lever again upward
and the seatback will go to an upright position.
If your vehicle has power seats with a power recliner,
see ªPower Seatsº in the Index for further information
on how to operate the reclining seatback feature.
Page 22 of 419

1-9 Rear Seats
Utility: The rear seat may have a 60/40 split seat which
may be folded down to give you more cargo space.
The rear seatbacks may be equipped with rearward
folding head restraints. When the seatback is being
folded down, the head restraint will automatically fold
rearward to allow a flat load floor for cargo or entry to
the third row seat (if equipped).
Suburban/Yukon XL: The second row rear seat of
Suburban/Yukon XL models may have a 60/40 split seat
or rear bucket seats. Either side of the rear seat may be
folded down to give you more cargo space.
On both Utility and Suburban/Yukon XL models with
60/40 split bench seats, before folding the rear seat back
down on the driver's side, insert the center occupant lap
belt latch plate into the loop provided on the underside
of the folded forward seat cushion. You may have to
adjust the location of the latch plate on the webbing so
that it reaches the loop. Stowing in this loop will reduce
the chances of damaging and soiling the belt. Remember
to remove the latch plate from the loop before the seat is
returned to the passenger position.
On Suburban/Yukon XL models with rear bucket seats,
the head restraints need to be removed in order to fold
the rear seat. To do this, lift the head restraints up until
they stop. Press in the button on the side of the head
restraint guide cap and lift up on the head restraint.
This will need to be repeated on the other cap.
The head restraint can be removed and stored in the
space provided on the folded up seat cushion.
On Suburban/Yukon XL models with bucket seats,
the seatbacks can be reclined. To adjust the seatback,
pull the lever, located at the base of the back, forward.
Release the lever to lock the seatback where you want it.
Pull the lever again and the seatback will go to an
upright position. In order to fold the back of a bucket
seat into a horizontal load floor, the back must be in its
full upright position and not reclined.
Page 23 of 419
1-10
On Suburban/Yukon XL models with 60/40 split bench
seats, before folding the rear seat on the driver's side,
insert the two buckles into the retainer in the seatback.
That way, the buckles will be out of the way when the
seat is folded and will be available for passengers to use
when the seat is returned to the passenger position.
Also, make sure that nothing is under or in front of the
seat and that the head restraints are completely lowered.
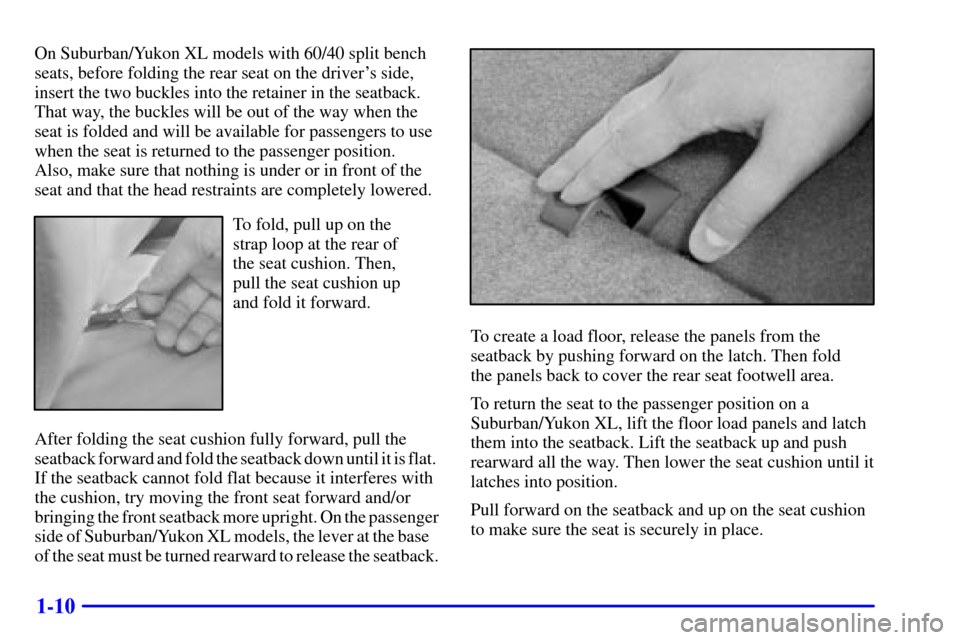
To fold, pull up on the
strap loop at the rear of
the seat cushion. Then,
pull the seat cushion up
and fold it forward.
After folding the seat cushion fully forward, pull the
seatback forward and fold the seatback down until it is flat.
If the seatback cannot fold flat because it interferes with
the cushion, try moving the front seat forward and/or
bringing the front seatback more upright. On the passenger
side of Suburban/Yukon XL models, the lever at the base
of the seat must be turned rearward to release the seatback.
To create a load floor, release the panels from the
seatback by pushing forward on the latch. Then fold
the panels back to cover the rear seat footwell area.
To return the seat to the passenger position on a
Suburban/Yukon XL, lift the floor load panels and latch
them into the seatback. Lift the seatback up and push
rearward all the way. Then lower the seat cushion until it
latches into position.
Pull forward on the seatback and up on the seat cushion
to make sure the seat is securely in place.
Page 24 of 419
1-11
Check to see that the buckles on the driver's side
seatback are accessible to the outboard and center
occupant and are not under the seat cushions.
If you have removed the head restraints to fold the rear
bucket seat, be sure to reinstall them on the seatback
after it has been returned to the normal seating position.
Be sure to return the head restraints to the upright
position on utility models.
Entry to the Third Seat
Suburban/Yukon XL: The passenger's side of the
second row 60/40 or rear bucket seats has an easy entry
feature. This makes it easy to get in and out of the
third seat, if your vehicle has one.
To operate the easy entry seat, turn the release lever,
located near the back of the seat rearward.
Tilt the seatback toward the front of the vehicle by
pulling the top of the seatback forward.
When you do, the seat bottom will release. Just pull the
seat forward until it stops.
Be sure to return the seat to the passenger position when
finished. Pull forward and push rearward on the seat to
make sure it is locked in place.Folding the Third Seat
Utility: The seatback of the third seat (if equipped) in
utility models also folds down on the floor.
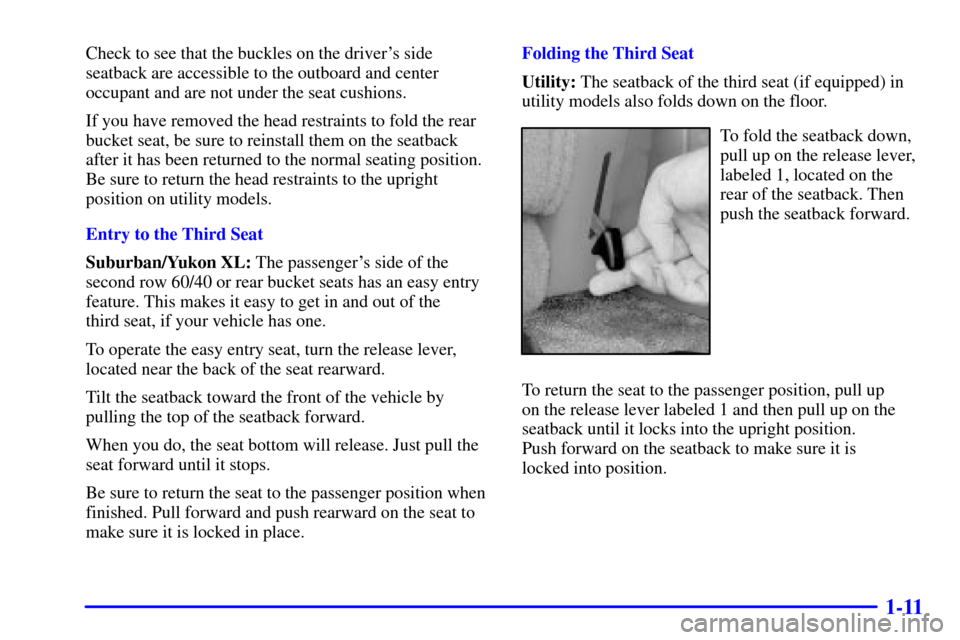
To fold the seatback down,
pull up on the release lever,
labeled 1, located on the
rear of the seatback. Then
push the seatback forward.
To return the seat to the passenger position, pull up
on the release lever labeled 1 and then pull up on the
seatback until it locks into the upright position.
Push forward on the seatback to make sure it is
locked into position.
Page 25 of 419
1-12
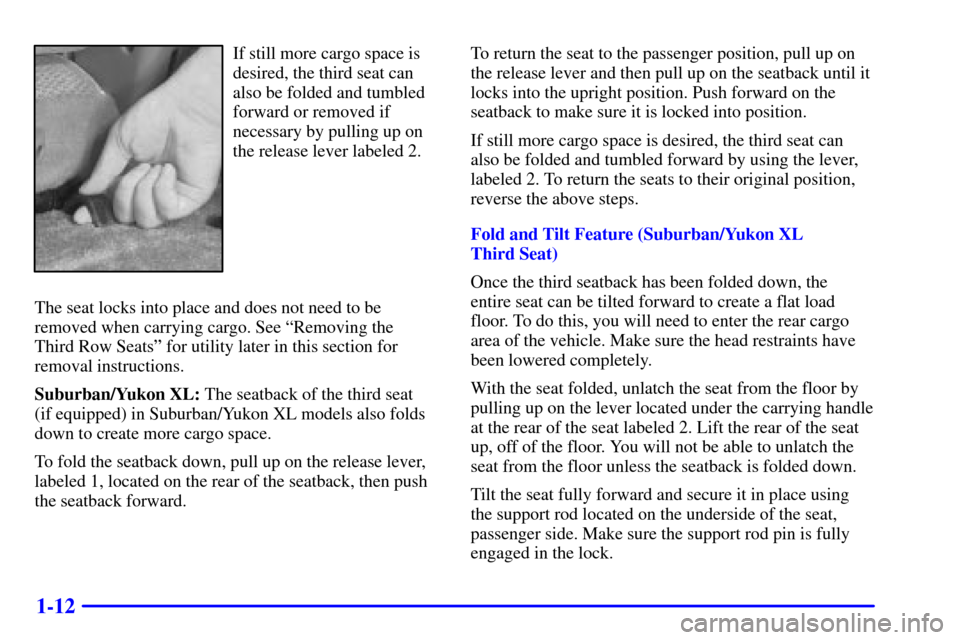
If still more cargo space is
desired, the third seat can
also be folded and tumbled
forward or removed if
necessary by pulling up on
the release lever labeled 2.
The seat locks into place and does not need to be
removed when carrying cargo. See ªRemoving the
Third Row Seatsº for utility later in this section for
removal instructions.
Suburban/Yukon XL: The seatback of the third seat
(if equipped) in Suburban/Yukon XL models also folds
down to create more cargo space.
To fold the seatback down, pull up on the release lever,
labeled 1, located on the rear of the seatback, then push
the seatback forward.To return the seat to the passenger position, pull up on
the release lever and then pull up on the seatback until it
locks into the upright position. Push forward on the
seatback to make sure it is locked into position.
If still more cargo space is desired, the third seat can
also be folded and tumbled forward by using the lever,
labeled 2. To return the seats to their original position,
reverse the above steps.
Fold and Tilt Feature (Suburban/Yukon XL
Third Seat)
Once the third seatback has been folded down, the
entire seat can be tilted forward to create a flat load
floor. To do this, you will need to enter the rear cargo
area of the vehicle. Make sure the head restraints have
been lowered completely.
With the seat folded, unlatch the seat from the floor by
pulling up on the lever located under the carrying handle
at the rear of the seat labeled 2. Lift the rear of the seat
up, off of the floor. You will not be able to unlatch the
seat from the floor unless the seatback is folded down.
Tilt the seat fully forward and secure it in place using
the support rod located on the underside of the seat,
passenger side. Make sure the support rod pin is fully
engaged in the lock.