door lock CHEVROLET TAHOE 2004 2.G Owners Manual
[x] Cancel search | Manufacturer: CHEVROLET, Model Year: 2004, Model line: TAHOE, Model: CHEVROLET TAHOE 2004 2.GPages: 556, PDF Size: 3.37 MB
Page 1 of 556

Seats and Restraint Systems........................... 1-1
Front Seats
............................................... 1-3
Rear Seats
..............................................1-10
Safety Belts
.............................................1-26
Child Restraints
.......................................1-48
Air Bag Systems
......................................1-74
Restraint System Check
............................1-89
Features and Controls..................................... 2-1
Keys
........................................................ 2-3
Doors and Locks
....................................... 2-8
Windows
.................................................2-16
Theft-Deterrent Systems
............................2-18
Starting and Operating Your Vehicle
...........2-21
Mirrors
....................................................2-45
OnStar
®System
......................................2-56
HomeLink®Transmitter
.............................2-58
Storage Areas
.........................................2-63
Sunroof
..................................................2-66
Vehicle Personalization
.............................2-67
Instrument Panel............................................. 3-1
Instrument Panel Overview
.......................... 3-4
Climate Controls
......................................3-22
Warning Lights, Gages, and Indicators
........3-39
Driver Information Center (DIC)
..................3-56
Audio System(s)
.......................................3-76Driving Your Vehicle....................................... 4-1
Your Driving, the Road, and Your Vehicle
..... 4-2
Towing
...................................................4-55
Service and Appearance Care.......................... 5-1
Service
..................................................... 5-3
Fuel
......................................................... 5-4
Checking Things Under the Hood
...............5-12
All-Wheel Drive
........................................5-50
Rear Axle
...............................................5-51
Four-Wheel Drive
.....................................5-52
Front Axle
...............................................5-53
Bulb Replacement
....................................5-54
Windshield Wiper Blade Replacement
.........5-60
Tires
......................................................5-61
Appearance Care
...................................5-100
Vehicle Identi�cation
...............................5-109
Electrical System
....................................5-110
Capacities and Speci�cations
...................5-118
Maintenance Schedule..................................... 6-1
Maintenance Schedule
................................ 6-2
Customer Assistance and Information.............. 7-1
Customer Assistance and Information
........... 7-2
Reporting Safety Defects
...........................7-10
Index................................................................ 1
2004 Chevrolet Tahoe/Suburban Owner ManualM
Page 37 of 556
Q:If I’m a good driver, and I never drive far from
home, why should I wear safety belts?
A:You may be an excellent driver, but if you’re in an
accident – even one that isn’t your fault – you and
your passengers can be hurt. Being a good
driver doesn’t protect you from things beyond your
control, such as bad drivers.
Most accidents occur within 25 miles (40 km) of
home. And the greatest number of serious injuries
and deaths occur at speeds of less than
40 mph (65 km/h).
Safety belts are for everyone.
How to Wear Safety Belts Properly
This part is only for people of adult size.
Be aware that there are special things to know about
safety belts and children. And there are different
rules for smaller children and babies. If a child will be
riding in your vehicle, seeOlder Children on page 1-48
orInfants and Young Children on page 1-50. Follow
those rules for everyone’s protection.
First, you’ll want to know which restraint systems your
vehicle has.
We’ll start with the driver position.
Driver Position
This part describes the driver’s restraint system.
Lap-Shoulder Belt
The driver has a lap-shoulder belt. Here’s how to wear
it properly.
1. Close and lock the door.
2. Adjust the seat so you can sit up straight. To see
how, see “Seats” in the Index.
1-31
Page 85 of 556
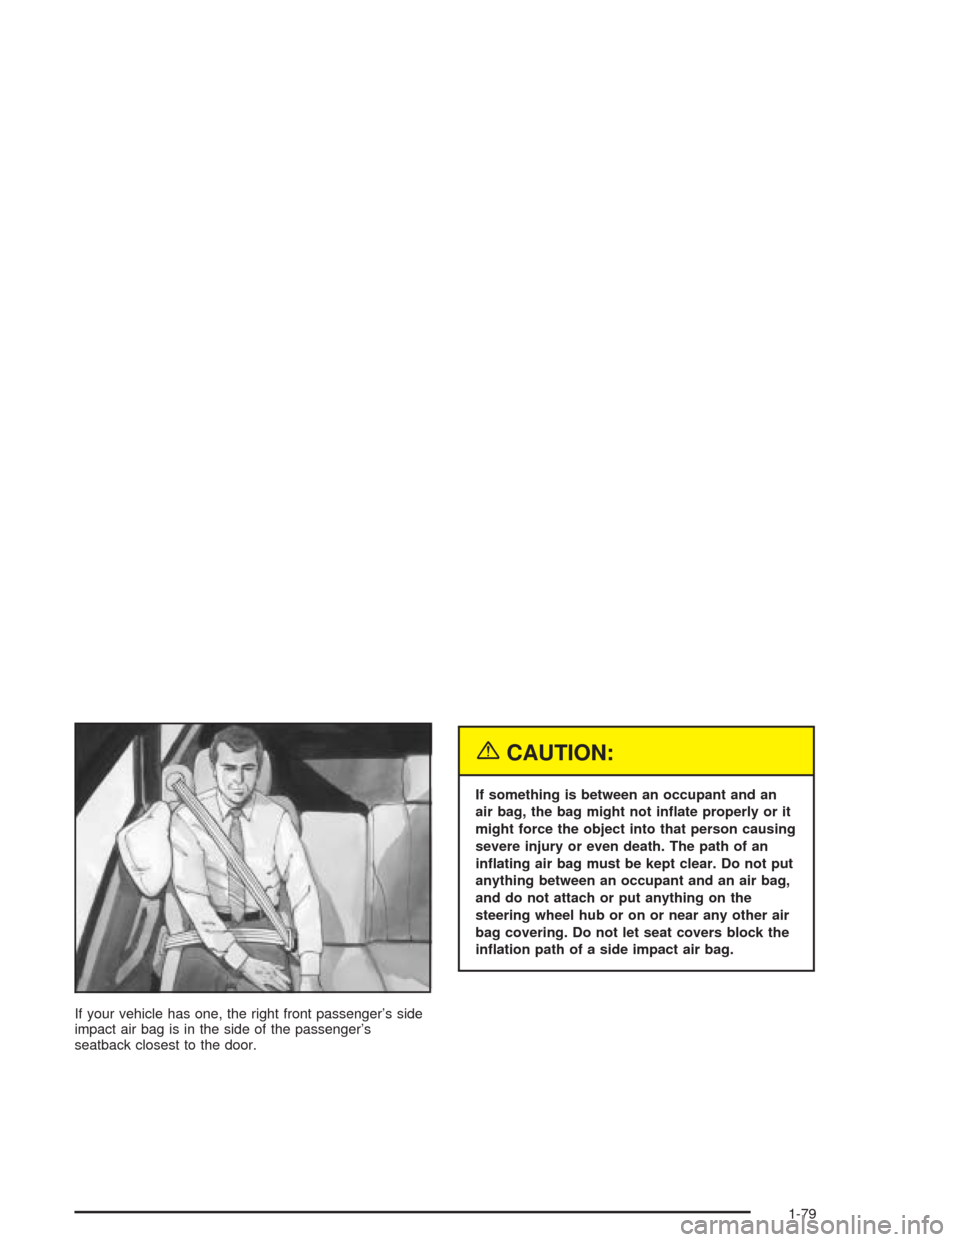
If your vehicle has one, the right front passenger’s side
impact air bag is in the side of the passenger’s
seatback closest to the door.
{CAUTION:
If something is between an occupant and an
air bag, the bag might not in�ate properly or it
might force the object into that person causing
severe injury or even death. The path of an
in�ating air bag must be kept clear. Do not put
anything between an occupant and an air bag,
and do not attach or put anything on the
steering wheel hub or on or near any other air
bag covering. Do not let seat covers block the
in�ation path of a side impact air bag.
1-79
Page 97 of 556
Keys...............................................................2-3
Remote Keyless Entry System.........................2-5
Remote Keyless Entry System Operation...........2-6
Doors and Locks.............................................2-8
Door Locks....................................................2-8
Power Door Locks..........................................2-9
Delayed Locking...........................................2-10
Programmable Automatic Door Locks..............2-11
Rear Door Security Locks..............................2-13
Lockout Protection........................................2-14
Liftgate........................................................2-14
Windows........................................................2-16
Manual Windows..........................................2-16
Power Windows............................................2-17
Sun Visors...................................................2-18
Theft-Deterrent Systems..................................2-18
Content Theft-Deterrent.................................2-18
Passlock
®....................................................2-20
Starting and Operating Your Vehicle................2-21
New Vehicle Break-In....................................2-21
Ignition Positions..........................................2-22
Starting Your Engine.....................................2-23
Adjustable Throttle and Brake Pedal................2-24
Engine Coolant Heater..................................2-24Automatic Transmission Operation...................2-26
Four-Wheel Drive..........................................2-30
All-Wheel Drive with Stabilitrak
®......................2-35
Parking Brake..............................................2-38
Shifting Into Park (P).....................................2-39
Shifting Out of Park (P).................................2-41
Parking Over Things That Burn.......................2-42
Engine Exhaust............................................2-43
Running Your Engine While You Are Parked. . . .2-44
Mirrors...........................................................2-45
Manual Rearview Mirror.................................2-45
Automatic Dimming Rearview Mirror with
OnStar
®, Compass and Temperature
Display....................................................2-45
Automatic Dimming Rearview Mirror with
Compass and Temperature Display..............2-49
Outside Manual Mirrors..................................2-51
Outside Camper-Type Mirrors.........................2-52
Outside Power Mirrors...................................2-52
Outside Power Camper-Type Mirror.................2-53
Outside Power Foldaway Mirrors.....................2-53
Outside Automatic Dimming Mirror..................2-54
Outside Curb View Assist Mirrors....................2-54
Outside Convex Mirror...................................2-55
Outside Heated Mirrors..................................2-55
Section 2 Features and Controls
2-1
Page 100 of 556
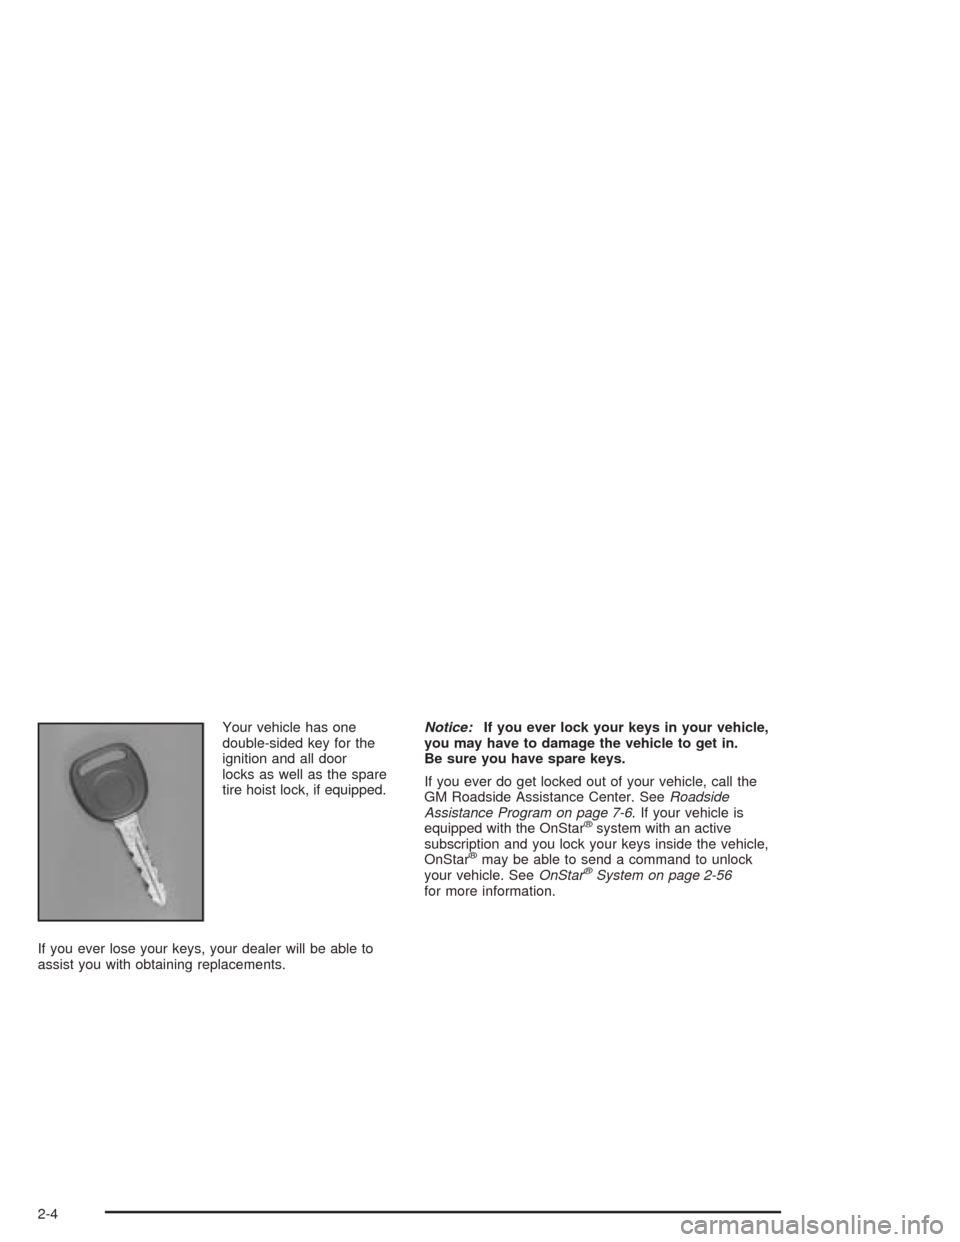
Your vehicle has one
double-sided key for the
ignition and all door
locks as well as the spare
tire hoist lock, if equipped.
If you ever lose your keys, your dealer will be able to
assist you with obtaining replacements.Notice:If you ever lock your keys in your vehicle,
you may have to damage the vehicle to get in.
Be sure you have spare keys.
If you ever do get locked out of your vehicle, call the
GM Roadside Assistance Center. SeeRoadside
Assistance Program on page 7-6. If your vehicle is
equipped with the OnStar
®system with an active
subscription and you lock your keys inside the vehicle,
OnStar
®may be able to send a command to unlock
your vehicle. SeeOnStar®System on page 2-56
for more information.
2-4
Page 102 of 556
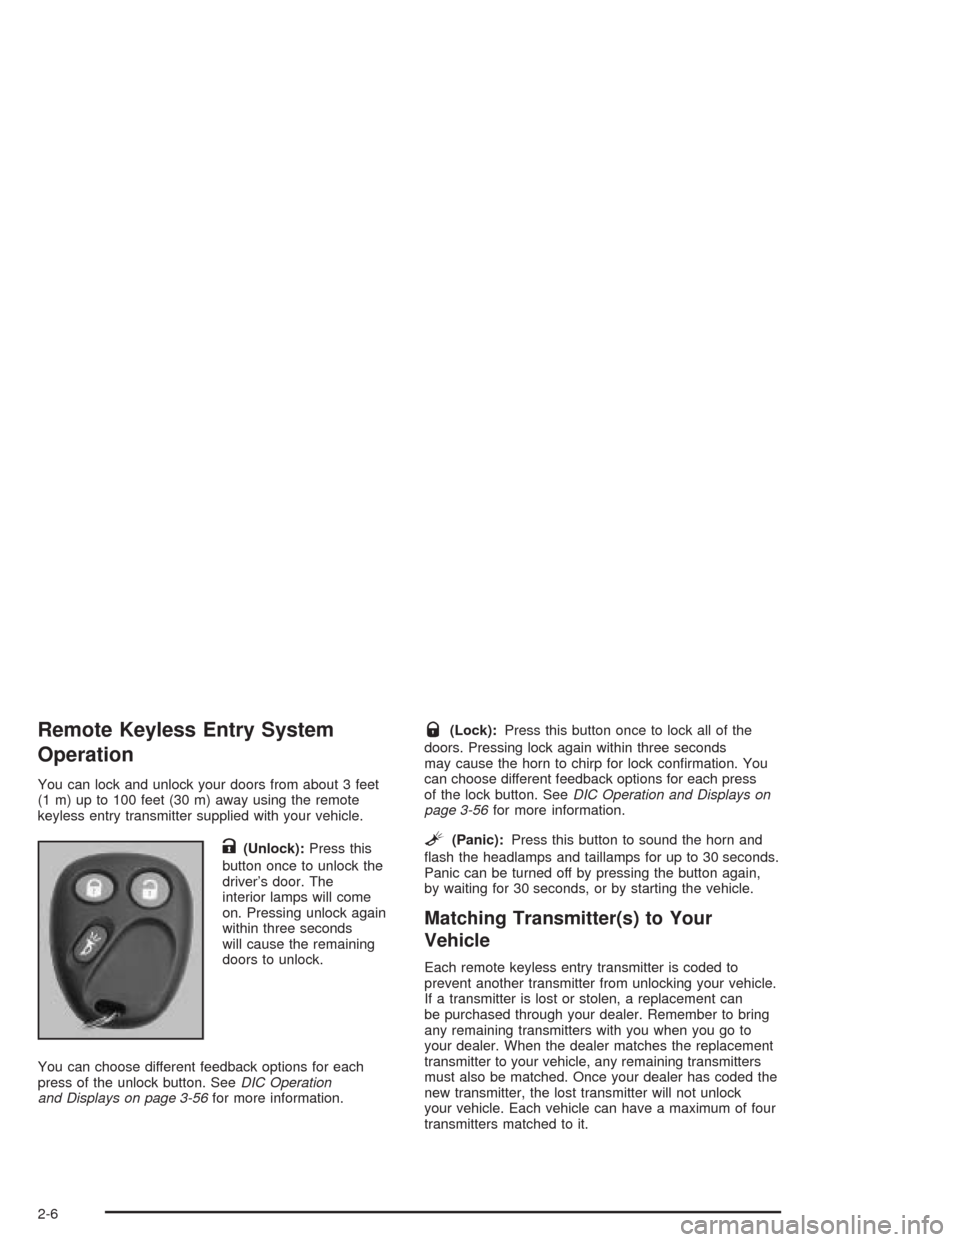
Remote Keyless Entry System
Operation
You can lock and unlock your doors from about 3 feet
(1 m) up to 100 feet (30 m) away using the remote
keyless entry transmitter supplied with your vehicle.
K(Unlock):Press this
button once to unlock the
driver’s door. The
interior lamps will come
on. Pressing unlock again
within three seconds
will cause the remaining
doors to unlock.
You can choose different feedback options for each
press of the unlock button. SeeDIC Operation
and Displays on page 3-56for more information.
Q(Lock):Press this button once to lock all of the
doors. Pressing lock again within three seconds
may cause the horn to chirp for lock con�rmation. You
can choose different feedback options for each press
of the lock button. SeeDIC Operation and Displays on
page 3-56for more information.
L(Panic):Press this button to sound the horn and
�ash the headlamps and taillamps for up to 30 seconds.
Panic can be turned off by pressing the button again,
by waiting for 30 seconds, or by starting the vehicle.
Matching Transmitter(s) to Your
Vehicle
Each remote keyless entry transmitter is coded to
prevent another transmitter from unlocking your vehicle.
If a transmitter is lost or stolen, a replacement can
be purchased through your dealer. Remember to bring
any remaining transmitters with you when you go to
your dealer. When the dealer matches the replacement
transmitter to your vehicle, any remaining transmitters
must also be matched. Once your dealer has coded the
new transmitter, the lost transmitter will not unlock
your vehicle. Each vehicle can have a maximum of four
transmitters matched to it.
2-6
Page 104 of 556
Resynchronization
Resynchronization may be necessary due to the
security method used by this system. The transmitter
does not send the same signal twice to the receiver. The
receiver will not respond to a signal that has been
sent previously. This prevents anyone from recording
and playing back the signal from the transmitter.
To resynchronize your transmitter, stand close to your
vehicle and press and hold the lock and unlock
buttons on the transmitter at the same time for
15 seconds. The door locks should cycle to con�rm
synchronization. If the locks do not cycle, see your
dealer for service.
Doors and Locks
Door Locks
{CAUTION:
Unlocked doors can be dangerous.
Passengers — especially children — can
easily open the doors and fall out of a
moving vehicle. When a door is locked, the
handle will not open it. You increase the
chance of being thrown out of the vehicle
in a crash if the doors are not locked. So,
wear safety belts properly and lock the
doors whenever you drive.
Young children who get into unlocked
vehicles may be unable to get out. A child
can be overcome by extreme heat and can
suffer permanent injuries or even death
from heat stroke. Always lock your vehicle
whenever you leave it.
Outsiders can easily enter through an
unlocked door when you slow down or stop
your vehicle. Locking your doors can help
prevent this from happening.
2-8
Page 105 of 556
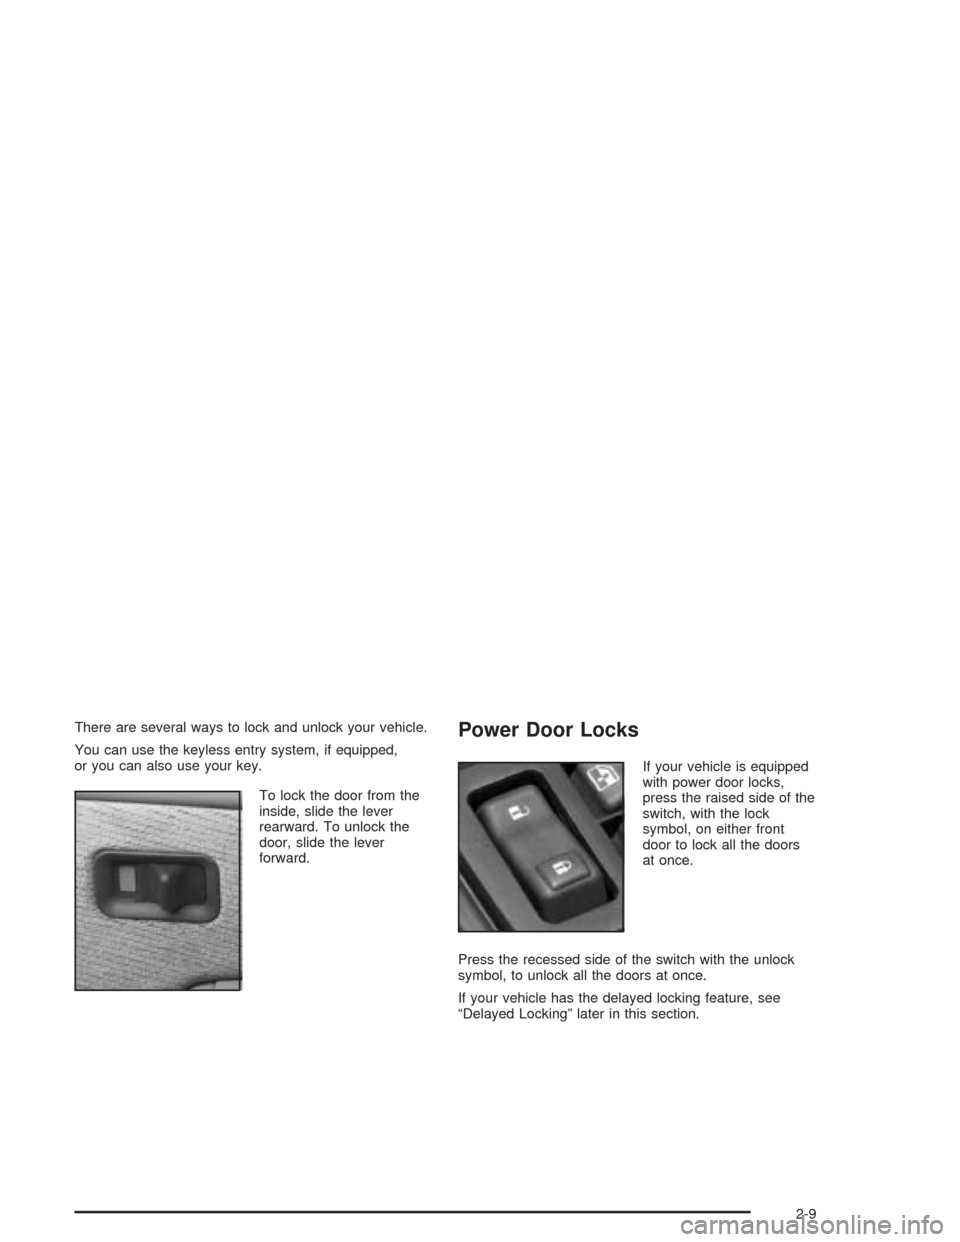
There are several ways to lock and unlock your vehicle.
You can use the keyless entry system, if equipped,
or you can also use your key.
To lock the door from the
inside, slide the lever
rearward. To unlock the
door, slide the lever
forward.Power Door Locks
If your vehicle is equipped
with power door locks,
press the raised side of the
switch, with the lock
symbol, on either front
door to lock all the doors
at once.
Press the recessed side of the switch with the unlock
symbol, to unlock all the doors at once.
If your vehicle has the delayed locking feature, see
“Delayed Locking” later in this section.
2-9
Page 106 of 556
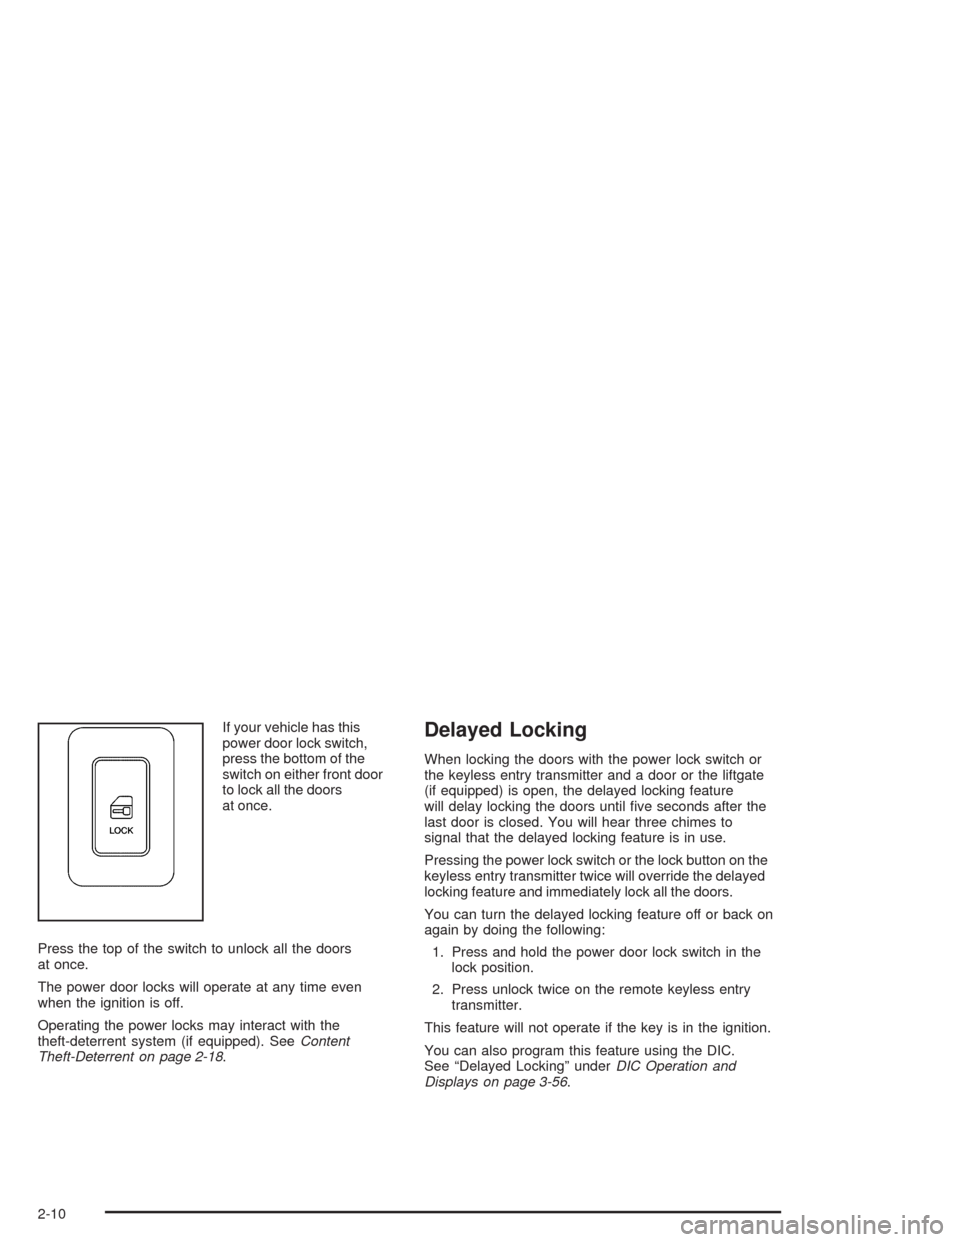
If your vehicle has this
power door lock switch,
press the bottom of the
switch on either front door
to lock all the doors
at once.
Press the top of the switch to unlock all the doors
at once.
The power door locks will operate at any time even
when the ignition is off.
Operating the power locks may interact with the
theft-deterrent system (if equipped). SeeContent
Theft-Deterrent on page 2-18.Delayed Locking
When locking the doors with the power lock switch or
the keyless entry transmitter and a door or the liftgate
(if equipped) is open, the delayed locking feature
will delay locking the doors until �ve seconds after the
last door is closed. You will hear three chimes to
signal that the delayed locking feature is in use.
Pressing the power lock switch or the lock button on the
keyless entry transmitter twice will override the delayed
locking feature and immediately lock all the doors.
You can turn the delayed locking feature off or back on
again by doing the following:
1. Press and hold the power door lock switch in the
lock position.
2. Press unlock twice on the remote keyless entry
transmitter.
This feature will not operate if the key is in the ignition.
You can also program this feature using the DIC.
See “Delayed Locking” underDIC Operation and
Displays on page 3-56.
2-10
Page 107 of 556
Programmable Automatic Door
Locks
Your vehicle is equipped with an automatic lock/unlock
feature which enables you to program your vehicle’s
power door locks. You can program this feature through
the Driver Information Center (DIC), or by the following
method.
Programmable Locking Feature
The following is the list of available programming
options:
Mode 1:All doors lock when the transmission is shifted
into gear.
Mode 2:All doors lock when the vehicle speed is
greater than 8 mph (13 km/h).
Mode 3:No automatic door locking.
The automatic door locks were pre-programmed at the
factory to lock all the doors when the transmission
is shifted into gear. The following instructions detail how
to program your door locks differently than the factory
setting. Choose one of the three programming
options listed above before entering the program mode.To enter the program mode, do the following:
1. Begin with the ignition off. Then pull the turn
signal/multifunction lever toward you and hold
it there while you perform the next step.
2. Turn the key to RUN and LOCK twice. Then, with
the key in LOCK, release the turn
signal/multifunction lever. Once you do this, you will
hear the lock switch lock and unlock, the horn
will chirp twice, and a 30 second program timer will
begin. You are now ready to program the
automatic door locks.
3. Select one of the three programming options listed
previously, and press the lock side of the power door
lock switch to cycle through the lock options. You will
have 30 seconds to begin programming. If you
exceed the 30 second limit, the locks will
automatically lock and unlock and the horn will chirp
twice to indicate that you have left the program
mode. If this occurs, repeat the procedure beginning
with Step 1 to re-enter the programming mode.
You can exit the program mode any time by turning the
ignition to RUN (the locks will automatically lock and
unlock and the horn will chirp twice to indicate that you
are leaving the program mode). If the lock/unlock
switches are not pressed while in the programming
mode, the current auto lock/unlock setting will not
be modi�ed.
See your dealer for more information.
2-11