CHEVROLET TAHOE 2005 2.G Owners Manual
Manufacturer: CHEVROLET, Model Year: 2005, Model line: TAHOE, Model: CHEVROLET TAHOE 2005 2.GPages: 536, PDF Size: 3.07 MB
Page 141 of 536
OnStar®Personal Calling
As an OnStar®subscriber, the Personal Calling
capability is an available hands-free wireless phone
that is integrated into the vehicle. Calls can be placed
nationwide using simple voice commands with no
additional contracts and no additional roaming charges.
To �nd out more about OnStar
®Personal Calling,
refer to the OnStar®user’s guide in the vehicle’s glove
box, visit www.onstar.com or www.onstarcanada.com;
or speak to an OnStar
®advisor by pressing the OnStar®
button or calling 1-888-4-ONSTAR (1-888-466-7827).
OnStar®Virtual Advisor
Virtual Advisor is a feature of OnStar®Personal Calling
that uses minutes to access up-to-date weather and
traffic reports for your area, news and sports updates,
stock quotes, entertainment, and more. Customize
your information pro�le at www.myonstar.com. See the
OnStar
®user’s guide for more information.
OnStar®Steering Wheel Controls
If your vehicle has this feature, steering wheel controls
can be used to interact with the OnStar®personal
calling feature.
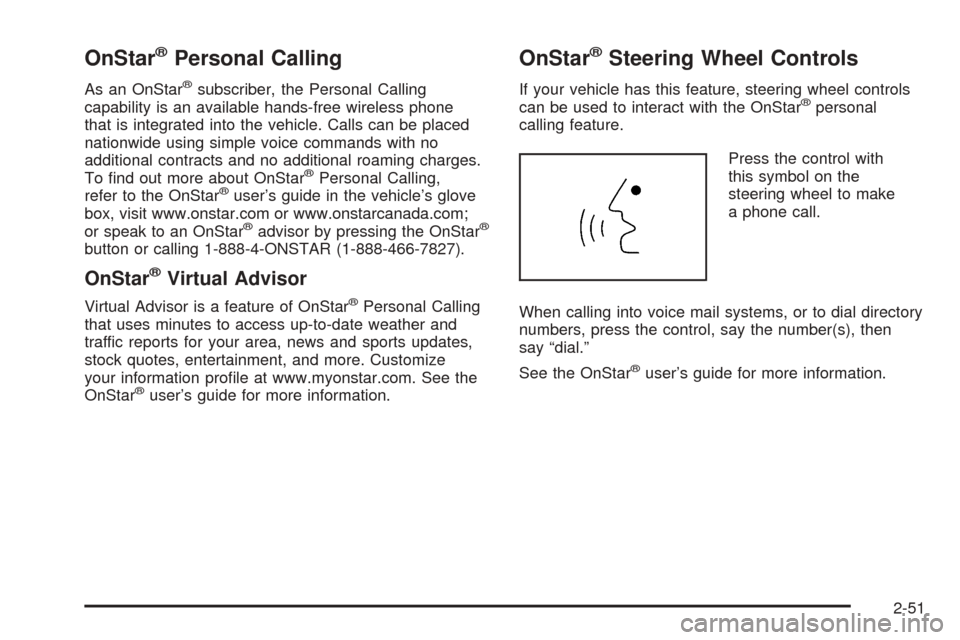
Press the control with
this symbol on the
steering wheel to make
a phone call.
When calling into voice mail systems, or to dial directory
numbers, press the control, say the number(s), then
say “dial.”
See the OnStar
®user’s guide for more information.
2-51
Page 142 of 536
HomeLink®Wireless Control
System
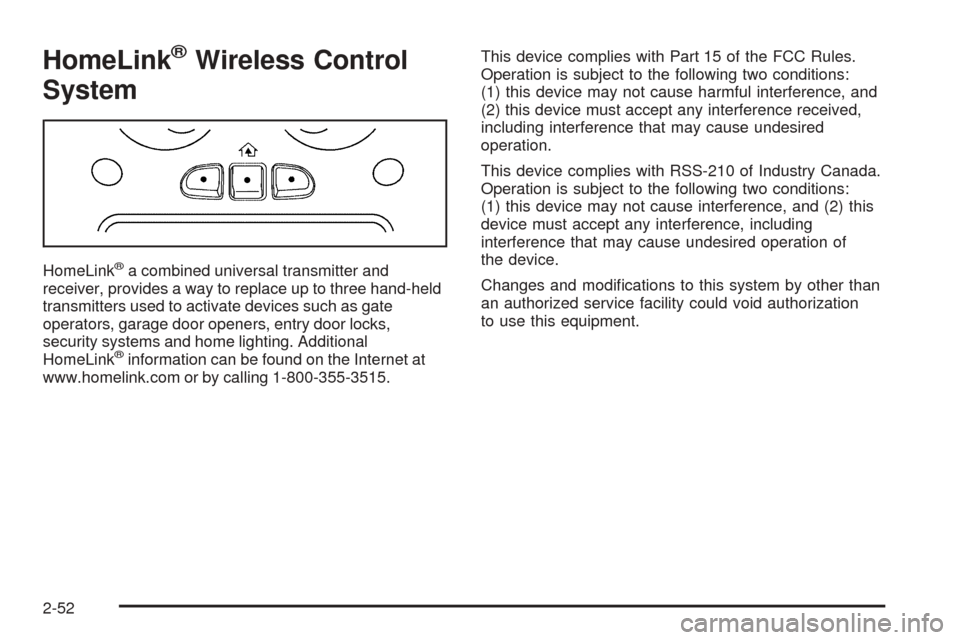
HomeLink®a combined universal transmitter and
receiver, provides a way to replace up to three hand-held
transmitters used to activate devices such as gate
operators, garage door openers, entry door locks,
security systems and home lighting. Additional
HomeLink
®information can be found on the Internet at
www.homelink.com or by calling 1-800-355-3515.This device complies with Part 15 of the FCC Rules.
Operation is subject to the following two conditions:
(1) this device may not cause harmful interference, and
(2) this device must accept any interference received,
including interference that may cause undesired
operation.
This device complies with RSS-210 of Industry Canada.
Operation is subject to the following two conditions:
(1) this device may not cause interference, and (2) this
device must accept any interference, including
interference that may cause undesired operation of
the device.
Changes and modi�cations to this system by other than
an authorized service facility could void authorization
to use this equipment.
2-52
Page 143 of 536
HomeLink®Wireless Control
System Operation
Do not use the HomeLink®Transmitter with any garage
door opener that does not have the “stop and reverse”
feature. This includes any garage door opener model
manufactured before April 1, 1982. If you have a newer
garage door opener with rolling codes, please be
sure to follow Steps 6 through 8 to complete the
programming of your HomeLink
®Transmitter.
Read the instructions completely before attempting to
program the HomeLink
®Transmitter. Because of
the steps involved, it may be helpful to have another
person available to assist you in programming the
transmitter.
Keep the original transmitter for use in other vehicles as
well as for future HomeLink
®programming. It is also
recommended that upon the sale of the vehicle,
the programmed HomeLink
®buttons should be erased
for security purposes. Refer to “Erasing HomeLink®
Buttons” or, for assistance, contact HomeLink®on
the Internet at: www.homelink.com or by calling
1-800-355-3515.Be sure that people and objects are clear of the garage
door or gate operator you are programming. When
programming a garage door, it is advised to park outside
of the garage.
It is recommended that a new battery be installed in
your hand-held transmitter for quicker and more
accurate transmission of the radio frequency.
Programming HomeLink®
Your vehicle’s engine should be turned off while
programming the transmitter. Follow these steps to
program up to three channels:
1. Press and hold down the two outside buttons,
releasing only when the indicator light begins to
�ash, after 20 seconds. Do not hold down the
buttons for longer than 30 seconds and do not
repeat this step to program a second and/or third
transmitter to the remaining two HomeLink
®buttons.
2. Position the end of your hand-held transmitter about
1 to 3 inches (3 to 8 cm) away from the HomeLink
®
buttons while keeping the indicator light in view.
2-53
Page 144 of 536
3. Simultaneously press and hold both the desired
button on HomeLink®and the hand-held transmitter
button. Do not release the buttons until Step 4
has been completed.
Some entry gates and garage door openers may
require you to substitute Step 3 with the procedure
noted in “Gate Operator and Canadian
Programming” later in this section.
4. The indicator light will �ash slowly at �rst and then
rapidly after HomeLink
®successfully receives the
frequency signal from the hand-held transmitter.
Release both buttons.
5. Press and hold the newly-trained HomeLink
®button
and observe the indicator light.
If the indicator light stays on constantly,
programming is complete and your device should
activate when the HomeLink
®button is pressed
and released.
To program the remaining two HomeLink
®buttons,
begin with Step 2 under “Programming HomeLink®.”
Do not repeat Step 1 as this will erase all of the
programmed channels.
If the indicator light blinks rapidly for two seconds
and then turns to a constant light, continue with
Steps 6 through 8 following to complete the
programming of a rolling-code equipped device
(most commonly, a garage door opener).6. Locate in the garage, the garage door opener
receiver (motor-head unit). Locate the “Learn”
or “Smart” button. This can usually be found where
the hanging antenna wire is attached to the
motor-head unit.
7. Firmly press and release the “Learn” or “Smart”
button. The name and color of the button may
vary by manufacturer.
You will have 30 seconds to start Step 8.
8. Return to the vehicle. Firmly press and hold the
programmed HomeLink
®button for two seconds,
then release. Repeat the press/hold/release
sequence a second time, and depending on the
brand of the garage door opener (or other rolling
code device), repeat this sequence a third time
to complete the programming.
HomeLink
®should now activate your rolling-code
equipped device.
To program the remaining two HomeLink
®buttons,
begin with Step 2 of “Programming HomeLink®.”
You do not want to repeat Step 1, as this will erase
all previous programming.
2-54
Page 145 of 536
Gate Operator and Canadian
Programming
Canadian radio-frequency laws require transmitter
signals to “time out” or quit after several seconds
of transmission. This may not be long enough for
HomeLink
®to pick up the signal during programming.
Similarly, some U.S. gate operators are manufactured
to “time out” in the same manner.
If you live in Canada, or you are having difficulty
programming a gate operator by using the
“Programming HomeLink
®” procedures (regardless of
where you live), replace Step 3 under “Programming
HomeLink
®” with the following:
Continue to press and hold the HomeLink
®button while
you press and release every two seconds (cycle)
your hand-held transmitter until the frequency signal
has been successfully accepted by HomeLink
®.
The indicator light will �ash slowly at �rst and then
rapidly. Proceed with Step 4 under “Programming
HomeLink
®” to complete.
Using HomeLink®
Press and hold the appropriate HomeLink®button for
at least half of a second. The indicator light will come
on while the signal is being transmitted.
Erasing HomeLink®Buttons
To erase programming from the three buttons do the
following:
1. Press and hold down the two outside buttons until
the indicator light begins to �ash, after 20 seconds.
Do not hold the two outside buttons for longer
than 30 seconds.
2. Release both buttons.
HomeLink
®is now in the train (learning) mode and
can be programmed at any time beginning with Step 2
under “Programming HomeLink
®” shown earlier in
this section.
Individual buttons cannot be erased, but they can
be reprogrammed. See “Reprogramming a Single
HomeLink
®Button” following this section.
2-55
Page 146 of 536
Reprogramming a Single HomeLink®
Button
To program a device to HomeLink®using a HomeLink®
button previously trained, follow these steps:
1. Press and hold the desired HomeLink
®button.
Do not release the button.
2. The indicator light will begin to �ash after
20 seconds. While still holding the HomeLink
®
button, proceed with Step 2 under “Programming
HomeLink®” shown earlier in this section.
Resetting Defaults
To reset HomeLink®to default settings do the following:
1. Hold down the two outside buttons for about
20 seconds until the indicator light begins to �ash.
2. Continue to hold both buttons until the HomeLink
®
indicator light turns off.
3. Release both buttons.
For questions or comments, contact HomeLink
®
at 1-800-355-3515, or on the Internet at
www.homelink.com.
Storage Areas
Glove Box
Open the glove box by pulling the bottom of the handle
upward.
Cupholder(s)
Your vehicle may have cupholders located in the front
and rear �oor console or in the fold down armrest, and in
the quarter trim.
Front Storage Area
Your vehicle may be equipped with a center armrest
storage compartment in the front bench seat.
To open it, fold down the armrest and press the latch
handle located at the front of the armrest. Then, let the
lid pop up and swing open.
The storage compartment may have a cassette/compact
disc holder.
2-56
Page 147 of 536
Center Console Storage Area
Your vehicle may have a console compartment with
cupholders between the bucket seats.
To open it, press the button and swing the console
lid open.
The rear of the console has a cupholder that swings
down for the rear seat passenger to use.
Luggage Carrier
If you have the luggage carrier, you can load things on
top of your vehicle.
The luggage carrier has slats and siderails attached to
the roof and crossrails which can be moved back
and forth to help secure cargo. Tie the load to the
siderails or siderail supports.
Notice:Loading cargo on the luggage carrier that
weighs more than 200 lbs (91 kg) or hangs over
the rear or sides of the vehicle may damage your
vehicle. Load cargo so that it rests on the slats
as far forward as possible and against the side rails,
making sure to fasten it securely.
Don’t exceed the maximum vehicle capacity when
loading your vehicle. For more information on vehicle
capacity and loading, seeLoading Your Vehicle
on page 4-52.To prevent damage or loss of cargo as you’re leaving,
check now and then to make sure the luggage and
cargo are still securely fastened.
Be sure the cargo is properly loaded.
If small heavy objects are placed on the roof, place
the load in the area over the rear wheels (behind
the rear side door on extended models). If you
need to, cut a piece of 3/8 inch plywood to �t inside
the crossrails and siderails to spread the load.
If plywood is used, tie it to the siderail supports.
Tie the load to the crossrails or the siderail supports.
Use the crossrails only to keep the load from sliding.
To move the crossrails, pull out on the latch release
handle at each end. Slide the crossrail to the desired
position balancing the force side to side. Push the
release handle back into the latched position and
slide the crossrail back and forth slightly to be sure
the latch snaps securely into place.
If you need to carry long items, move the crossrails
as far apart as they will go. Tie the load to the
crossrails and the siderails or siderail supports. Also
tie the load to the bumpers. Do not tie the load so
tightly that the crossrails or siderails are damaged.
After moving a crossrail, be sure it is securely locked
into the siderail.
2-57
Page 148 of 536
Your vehicle has a Center High-Mounted Stoplamp
(CHMSL) located above the glass or above the rear
load doors.
If items are loaded on the roof of the vehicle, care
should be taken not to block or damage the CHMSL unit.
If your vehicle has the Z71 option, your vehicle’s
luggage carrier has a roller crossrail at the rear of
the vehicle.
To load cargo, place cargo on the roller and roll the
cargo forward onto the two front crossrails.
To move the crossrails do the following:
1. Loosen the thumbscrew at each end.
2. Move crossrail to desired position.
3. Tighten the thumbscrews.
Make sure the crossrail is secured.Rear Storage Area
Your vehicle may have a storage compartment located
in the rear cargo area of the vehicle in the driver’s
side trim panel.
To open the utility compartment, press in on the release
latch and swing the compartment door open.
To open the compartment on extended models, pull the
latch to access.
Convenience Net
The convenience net (if equipped) in the rear of your
vehicle helps to keep small loads in place during sharp
turns or quick stops and starts.
The net is not designed for larger, heavier items.
To install the net, attach the hooks to the raised cargo
tie downs. Then, attach the cord loops to the button
retainers in the side trim.
You can unhook the net so that it will lie �at when
you’re not using it.
2-58
Page 149 of 536
Cargo Cover
{CAUTION:
An improperly stored cargo cover could be
thrown about the vehicle during a collision or
sudden maneuver. You or others could be
injured. If you remove the cover, always store
it in the proper storage location. When you
put it back, always be sure that it is securely
reattached.
If you have a cargo cover, you can use it to cover items
in the cargo area of your vehicle.
To use the cover, do the following:
1. Pull the cover handle toward the rear of the vehicle.
2. Latch the cover posts into the retaining sockets
on the cargo area trim panels.
To return the cover to the retracted position, do the
following:
1. Pull up on the cover handle to release the cover
posts from the retaining sockets.
2. Let the cover move forward to the full retracted
position.To remove the cover from the vehicle, do the following:
1. Let the cover go all the way into the holder.
2. Then, grasping the passenger’s side cover endcap,
push the cover endcap toward the driver’s side of
the vehicle. The endcap should lock in the
compressed position.
3. Lift the cover up on the passenger’s side, swing the
cover rearward and take it out of the vehicle.
To put the cover in the vehicle, do the following:
1. Make sure the cover slot in the holder faces
rearward with the round surface facing down.
2. Then, hold the cover at an angle and place the
cover holder tab into the slot in the driver’s side
trim panel.
3. Move the other end of the cover forward and hold it
next to the passenger’s side trim panel slot.
4. Push the button on top of the passenger’s side
endcap. This will allow the cover to extend into
the trim slot.
5. Lightly pull on the cover holder to make sure it is
secure.
On some models there are two slots. The slots
furthest forward allow the cover to be used if the
third seat is removed or folded down.
2-59
Page 150 of 536
Cargo Tie Downs
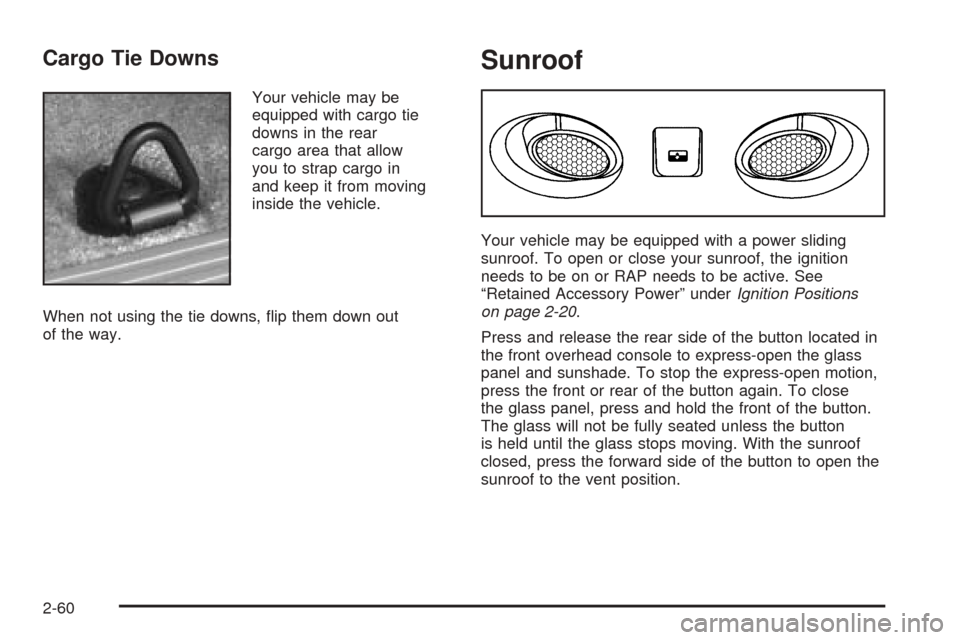
Your vehicle may be
equipped with cargo tie
downs in the rear
cargo area that allow
you to strap cargo in
and keep it from moving
inside the vehicle.
When not using the tie downs, �ip them down out
of the way.
Sunroof
Your vehicle may be equipped with a power sliding
sunroof. To open or close your sunroof, the ignition
needs to be on or RAP needs to be active. See
“Retained Accessory Power” underIgnition Positions
on page 2-20.
Press and release the rear side of the button located in
the front overhead console to express-open the glass
panel and sunshade. To stop the express-open motion,
press the front or rear of the button again. To close
the glass panel, press and hold the front of the button.
The glass will not be fully seated unless the button
is held until the glass stops moving. With the sunroof
closed, press the forward side of the button to open the
sunroof to the vent position.
2-60