door lock CHEVROLET TAHOE 2010 3.G Owners Manual
[x] Cancel search | Manufacturer: CHEVROLET, Model Year: 2010, Model line: TAHOE, Model: CHEVROLET TAHOE 2010 3.GPages: 608, PDF Size: 6.53 MB
Page 7 of 608
Section 1 In Brief
Instrument Panel. . . . . . . . . . . . . . . . . . . . . . . . . . . . . . . . . . . 1-2
Initial Drive Information . . . . . . . . . . . . . . . . . . . . . . . . . . . 1-4
Remote Keyless Entry (RKE) System . . . . . . . . . . . 1-4
Remote Vehicle Start . . . . . . . . . . . . . . . . . . . . . . . . . . . 1-4
Door Locks . . . . . . . . . . . . . . . . . . . . . . . . . . . . . . . . . . . . . 1-5
Liftgate . . . . . . . . . . . . . . . . . . . . . . . . . . . . . . . . . . . . . . . . . . 1-6
Windows . . . . . . . . . . . . . . . . . . . . . . . . . . . . . . . . . . . . . . . . 1-7
Seat Adjustment . . . . . . . . . . . . . . . . . . . . . . . . . . . . . . . . 1-7
Second Row Seats . . . . . . . . . . . . . . . . . . . . . . . . . . . . 1-11
Third Row Seats . . . . . . . . . . . . . . . . . . . . . . . . . . . . . . . 1-11
Heated Seats . . . . . . . . . . . . . . . . . . . . . . . . . . . . . . . . . . 1-12
Head Restraint Adjustment . . . . . . . . . . . . . . . . . . . . 1-12
Safety Belt . . . . . . . . . . . . . . . . . . . . . . . . . . . . . . . . . . . . . 1-13
Sensing System for Passenger Airbag . . . . . . . . . 1-13
Mirror Adjustment . . . . . . . . . . . . . . . . . . . . . . . . . . . . . . 1-14
Steering Wheel Adjustment . . . . . . . . . . . . . . . . . . . . 1-15
Interior Lighting . . . . . . . . . . . . . . . . . . . . . . . . . . . . . . . . 1-16
Exterior Lighting . . . . . . . . . . . . . . . . . . . . . . . . . . . . . . . 1-16
Windshield Wiper/Washer . . . . . . . . . . . . . . . . . . . . . . 1-17
Climate Controls . . . . . . . . . . . . . . . . . . . . . . . . . . . . . . . 1-18
Transmission . . . . . . . . . . . . . . . . . . . . . . . . . . . . . . . . . . 1-19
Four-Wheel Drive . . . . . . . . . . . . . . . . . . . . . . . . . . . . . . 1-19 Vehicle Features
. . . . . . . . . . . . . . . . . . . . . . . . . . . . . . . . . . 1-21
Radio(s) . . . . . . . . . . . . . . . . . . . . . . . . . . . . . . . . . . . . . . . 1-21
Satellite Radio . . . . . . . . . . . . . . . . . . . . . . . . . . . . . . . . . 1-22
Portable Audio Devices . . . . . . . . . . . . . . . . . . . . . . . . 1-22
Steering Wheel Controls . . . . . . . . . . . . . . . . . . . . . . . 1-23
Bluetooth
®. . . . . . . . . . . . . . . . . . . . . . . . . . . . . . . . . . . . . 1-23
Navigation System . . . . . . . . . . . . . . . . . . . . . . . . . . . . . 1-23
Cruise Control . . . . . . . . . . . . . . . . . . . . . . . . . . . . . . . . . 1-24
Side Blind Zone Alert (SBZA) . . . . . . . . . . . . . . . . . . 1-24
Rear Vision Camera (RVC) . . . . . . . . . . . . . . . . . . . . 1-25
Ultrasonic Parking Assist . . . . . . . . . . . . . . . . . . . . . . 1-25
Power Outlets . . . . . . . . . . . . . . . . . . . . . . . . . . . . . . . . . 1-25
Universal Remote System . . . . . . . . . . . . . . . . . . . . . 1-25
Sunroof . . . . . . . . . . . . . . . . . . . . . . . . . . . . . . . . . . . . . . . . 1-26
Performance and Maintenance . . . . . . . . . . . . . . . . . . 1-27
StabiliTrak
®. . . . . . . . . . . . . . . . . . . . . . . . . . . . . . . . . . . . 1-27
Tire Pressure Monitor . . . . . . . . . . . . . . . . . . . . . . . . . . 1-27
Engine Oil Life System . . . . . . . . . . . . . . . . . . . . . . . . 1-28
Fuel E85 (85% Ethanol) . . . . . . . . . . . . . . . . . . . . . . . 1-28
Driving for Better Fuel Economy . . . . . . . . . . . . . . . 1-29
Roadside Assistance Program . . . . . . . . . . . . . . . . . 1-29
OnStar
®. . . . . . . . . . . . . . . . . . . . . . . . . . . . . . . . . . . . . . . 1-30
1-1
Page 10 of 608
Initial Drive Information
This section provides a brief overview about some of
the important features that may or may not be on your
specific vehicle.
For more detailed information, refer to each of the
features which can be found later in this owner manual.
Remote Keyless Entry (RKE) System
The RKE transmitter is used to remotely lock and
unlock the doors from up to 60 m (195 feet) away from
the vehicle.
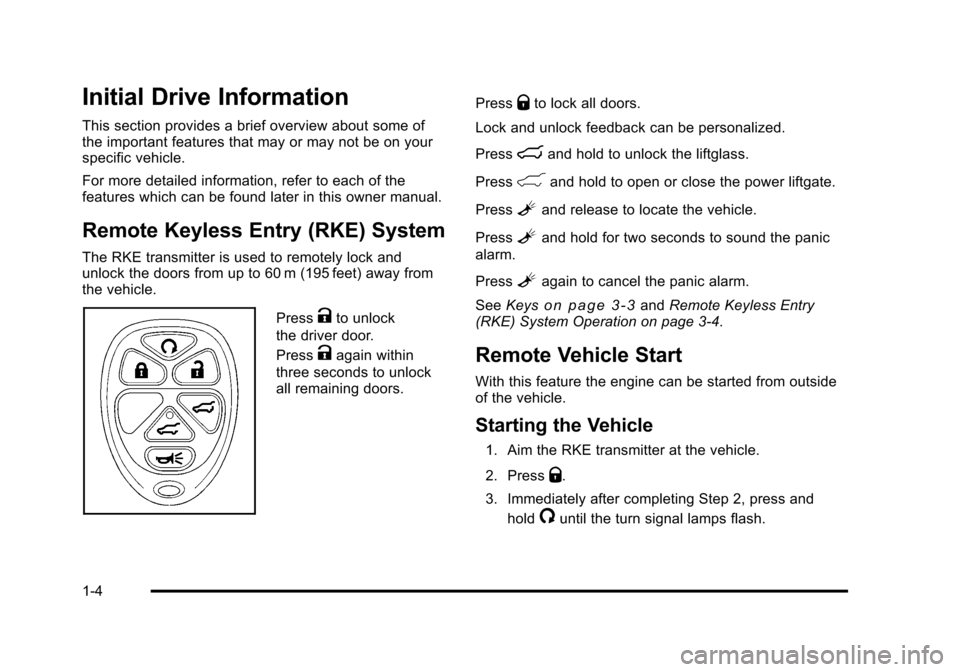
PressKto unlock
the driver door.
Press
Kagain within
three seconds to unlock
all remaining doors. Press
Qto lock all doors.
Lock and unlock feedback can be personalized.
Press
mand hold to unlock the liftglass.
Press
&and hold to open or close the power liftgate.
Press
Land release to locate the vehicle.
Press
Land hold for two seconds to sound the panic
alarm.
Press
Lagain to cancel the panic alarm.
See Keys
on page 3‑3andRemote Keyless Entry
(RKE) System Operation on page 3‑4.
Remote Vehicle Start
With this feature the engine can be started from outside
of the vehicle.
Starting the Vehicle
1. Aim the RKE transmitter at the vehicle.
2. Press
Q.
3. Immediately after completing Step 2, press and hold
/until the turn signal lamps flash.
1-4
Page 11 of 608
When the vehicle starts, the parking lamps will turn on
and remain on as long as the engine is running. The
doors will be locked and the climate control system may
come on.
The engine will continue to run for 10 minutes. Repeat
the steps for a 10-minute time extension. Remote start
can be extended only once.
Canceling a Remote Start
To cancel a remote start:
.Aim the RKE transmitter at the vehicle and press
and hold
/until the parking lamps turn off.
.Turn on the hazard warning flashers.
.Turn the ignition on and then back off.
See Remote Vehicle Start on page 3‑7.
Door Locks
There are several ways to lock and unlock the vehicle.
From outside, use the Remote Keyless Entry (RKE)
transmitter or the key in the driver door. From inside,
use the power door locks or the manual door locks.
To lock or unlock the door with the manual locks, push
down or pull up on the manual lock knob.
Power Door Locks
If available, these switches are located on the front
doors.
K:Press to unlock the doors.
Q:Remove the key from the ignition and press to lock
the doors.
For more information, see:
.Programmable Automatic Door Lockson
page 3‑11.
.Rear Door Security Locks on page 3‑11.
1-5
Page 12 of 608
Liftgate
Power Liftgate
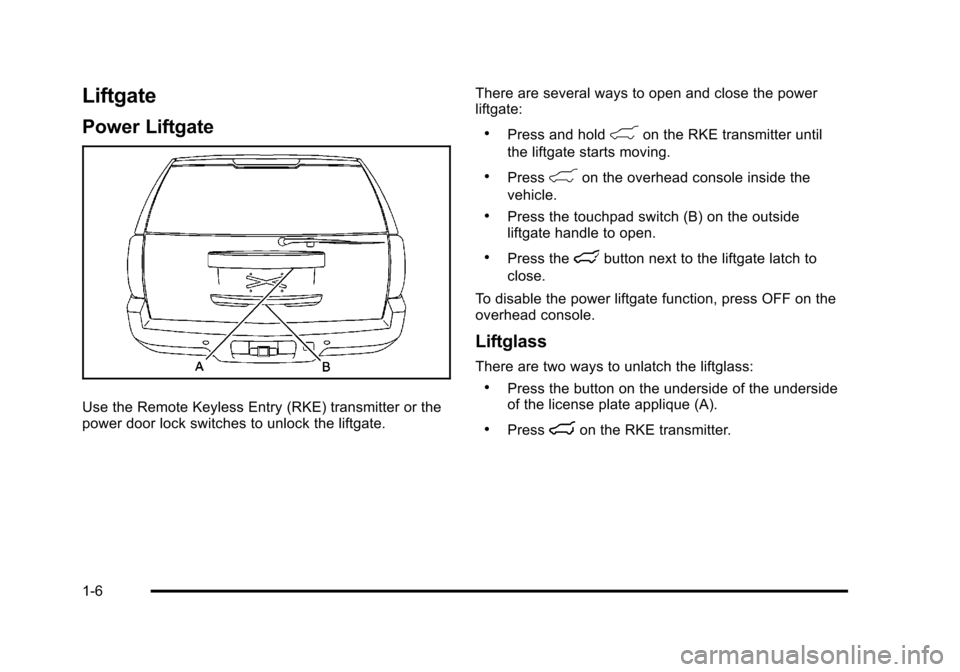
Use the Remote Keyless Entry (RKE) transmitter or the
power door lock switches to unlock the liftgate.There are several ways to open and close the power
liftgate:
.Press and hold&on the RKE transmitter until
the liftgate starts moving.
.Press&on the overhead console inside the
vehicle.
.Press the touchpad switch (B) on the outside
liftgate handle to open.
.Press thelbutton next to the liftgate latch to
close.
To disable the power liftgate function, press OFF on the
overhead console.
Liftglass
There are two ways to unlatch the liftglass:
.Press the button on the underside of the underside
of the license plate applique (A).
.Pressmon the RKE transmitter.
1-6
Page 13 of 608
Windows
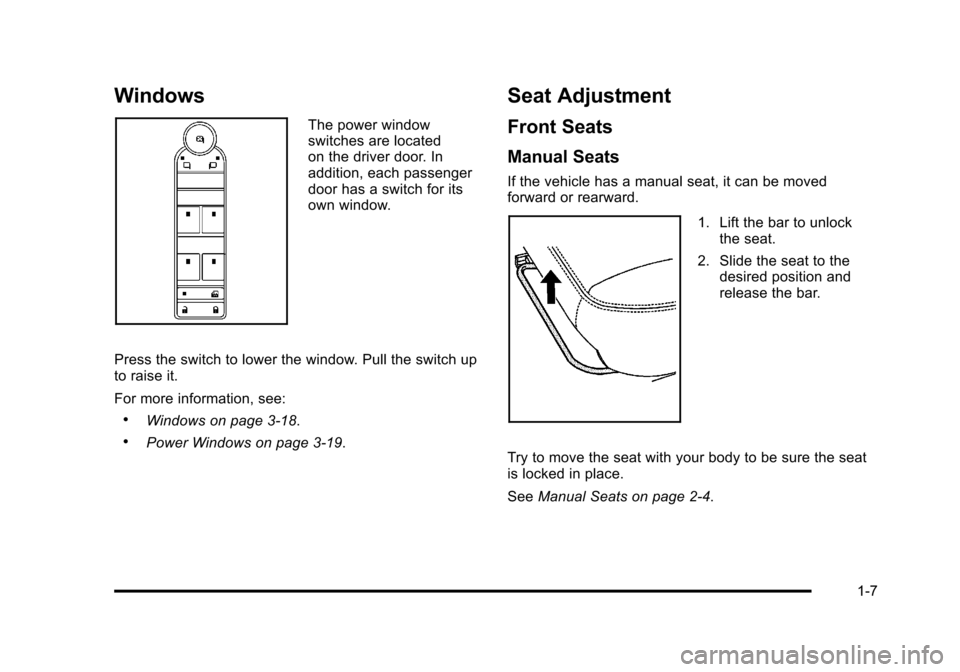
The power window
switches are located
on the driver door. In
addition, each passenger
door has a switch for its
own window.
Press the switch to lower the window. Pull the switch up
to raise it.
For more information, see:
.Windows on page 3‑18.
.Power Windows on page 3‑19.
Seat Adjustment
Front Seats
Manual Seats
If the vehicle has a manual seat, it can be moved
forward or rearward.
1. Lift the bar to unlock the seat.
2. Slide the seat to the desired position and
release the bar.
Try to move the seat with your body to be sure the seat
is locked in place.
See Manual Seats on page 2‑4.
1-7
Page 22 of 608
Interior Lighting
Dome Lamps
The dome lamps come on when any door is opened.
They turn off after all the doors are closed.
The dome lamps can also be turned on by turning the
instrument panel brightness knob, located on the
instrument panel to the left of the steering column,
clockwise to the farthest position. In this position, the
dome lamps remain on whether a door is opened or
closed.
k:The dome lamp override button is located next to
the exterior lamps control.
Press the button in and the dome lamps remain off
when a door is opened. Press the button again to return
it to the extended position so that the dome lamps come
on when a door is opened.
Reading Lamps
For vehicles with reading lamps in the overhead
console, press the button located next to the lamp to
turn it on or off.
The vehicle may also have reading lamps in other
locations. The lamps cannot be adjusted. For more information about interior lamps, see:
.Dome Lamps on page 4‑14.
.Reading Lamps on page 4‑15.
.Instrument Panel Brightness on page 4‑14.
Exterior Lighting
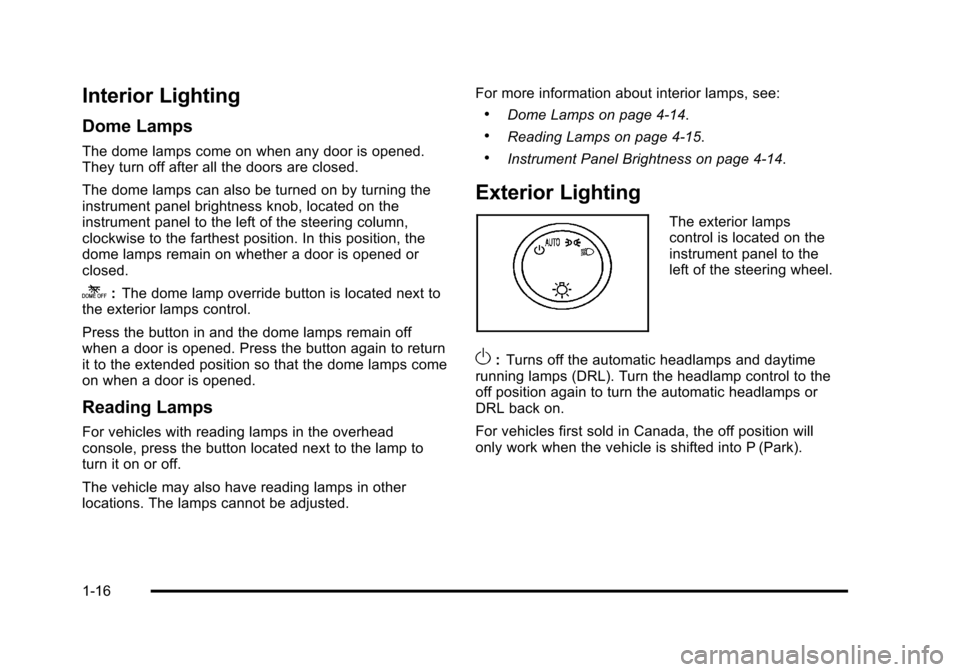
The exterior lamps
control is located on the
instrument panel to the
left of the steering wheel.
O:
Turns off the automatic headlamps and daytime
running lamps (DRL). Turn the headlamp control to the
off position again to turn the automatic headlamps or
DRL back on.
For vehicles first sold in Canada, the off position will
only work when the vehicle is shifted into P (Park).
1-16
Page 31 of 608
Rear Vision Camera (RVC)
The rear vision camera displays a view of the area
behind the vehicle when the vehicle is shifted into
R (Reverse) on the inside rear view mirror or the
navigation screen, if equipped.
To clean the camera lense, located above the license
plate, rinse it with water and wipe it with a soft cloth.
Ultrasonic Parking Assist
This feature uses sensors on the rear bumper to detect
objects while parking the vehicle. URPA comes on
automatically when the shift lever is moved into
R (Reverse) and operates at speeds less than 8 km/h
(5 mph). URPA uses audio beeps to provide distance
and system information.
Keep the sensors on the vehicle's rear bumper clean to
ensure proper operation.
The system can be disabled by pressing the rear park
aid disable button located next to the radio.
SeeUltrasonic Rear Parking Assist (URPA)
on
page 3‑56for more information.
Power Outlets
Accessory power outlets can be used to connect
auxiliary electrical equipment, such as a cellular
telephone.
There are two under the climate controls, one inside the
center floor console, one on the rear of the center floor
console and one accessory power outlet in the rear
cargo area on the passenger side.
The accessory power outlets are powered, even with
the ignition off. Continuing to use accessory power
outlets while the ignition is in LOCK/OFF may cause the
vehicle's battery to run down.
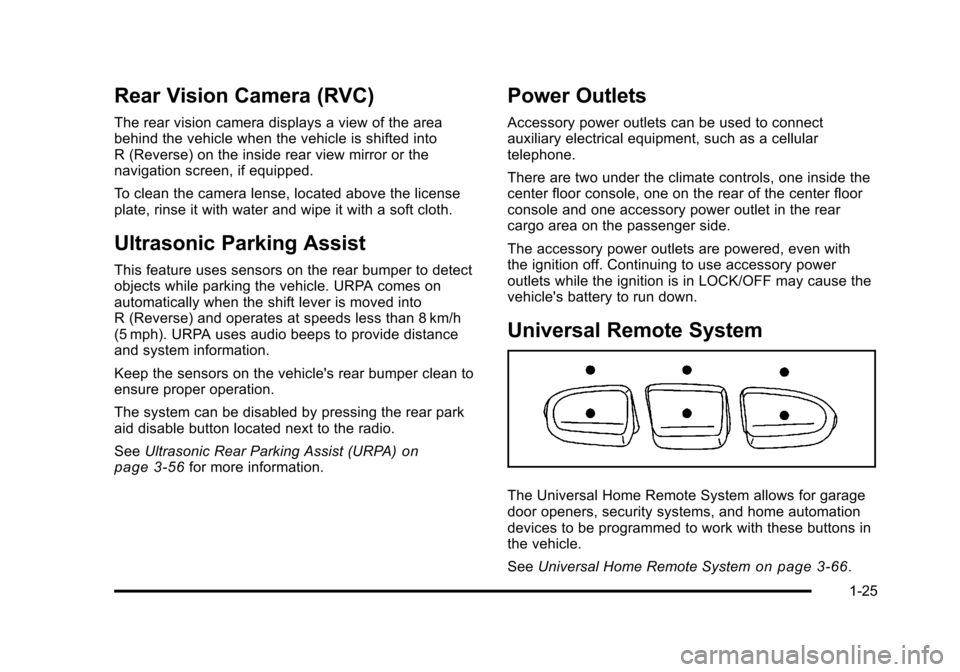
Universal Remote System
The Universal Home Remote System allows for garage
door openers, security systems, and home automation
devices to be programmed to work with these buttons in
the vehicle.
See Universal Home Remote System
on page 3‑66.
1-25
Page 36 of 608
OnStar®
OnStar®uses several innovative technologies and live
advisors to provide a wide range of safety, security,
navigation, diagnostics, and calling services.
Automatic Crash Response
In a crash, built in sensors can automatically alert an
OnStar advisor who is immediately connected to the
vehicle to see if you need help.
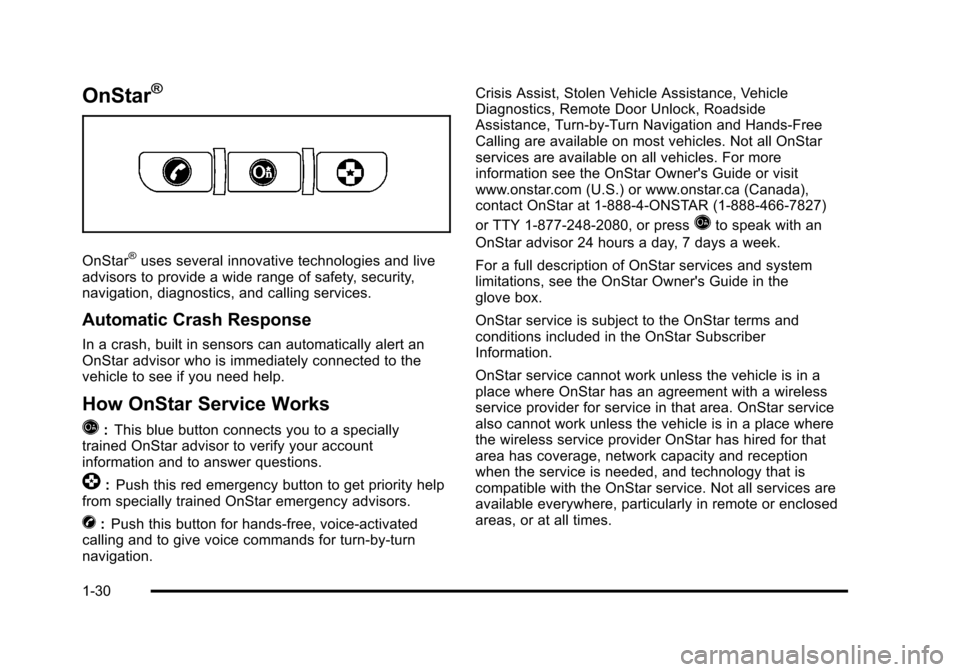
How OnStar Service Works
Q
: This blue button connects you to a specially
trained OnStar advisor to verify your account
information and to answer questions.
]: Push this red emergency button to get priority help
from specially trained OnStar emergency advisors.
X: Push this button for hands‐free, voice‐activated
calling and to give voice commands for turn‐by‐turn
navigation. Crisis Assist, Stolen Vehicle Assistance, Vehicle
Diagnostics, Remote Door Unlock, Roadside
Assistance, Turn‐by‐Turn Navigation and Hands‐Free
Calling are available on most vehicles. Not all OnStar
services are available on all vehicles. For more
information see the OnStar Owner's Guide or visit
www.onstar.com (U.S.) or www.onstar.ca (Canada),
contact OnStar at 1-888-4-ONSTAR (1‐888‐466‐7827)
or TTY 1‐877‐248‐2080, or press
Qto speak with an
OnStar advisor 24 hours a day, 7 days a week.
For a full description of OnStar services and system
limitations, see the OnStar Owner's Guide in the
glove box.
OnStar service is subject to the OnStar terms and
conditions included in the OnStar Subscriber
Information.
OnStar service cannot work unless the vehicle is in a
place where OnStar has an agreement with a wireless
service provider for service in that area. OnStar service
also cannot work unless the vehicle is in a place where
the wireless service provider OnStar has hired for that
area has coverage, network capacity and reception
when the service is needed, and technology that is
compatible with the OnStar service. Not all services are
available everywhere, particularly in remote or enclosed
areas, or at all times.
1-30
Page 49 of 608
If you use the remote keyless entry transmitter to enter
your vehicle and the remote recall memory feature is
on, automatic seat, adjustable mirror, and adjustable
pedal movements will occur. See“MEMORY SEAT
RECALL” underDIC Vehicle Customization (With DIC
Buttons)
on page 4‑71for more information.
To stop recall movement of the memory function at any
time, press one of the power seat controls, memory
buttons, power mirror buttons, or adjustable pedal
switch.
If something has blocked the driver ’s seat and/or the
adjustable pedals while recalling a memory position, the
driver ’s seat and/or the adjustable pedals recall may
stop working. If this happens, remove the obstruction
and press the appropriate control for the area that is not
responding for two seconds. Try recalling the memory
position again by pressing the appropriate memory
button. If the memory position is still not recalling, see
your dealer for service.
Easy Exit Seat
The control for this feature is located on the driver ’s
door panel between buttons 1 and 2.
With the vehicle in P (Park), the driver's seat exit
position can be recalled by pressing the exit button.
You will hear a single beep, and the driver ’s seat will
move back approximately 8 cm (3 in). To move the seat
back further, press the exit button again until the seat is
all the way back.
If the easy exit seat feature is programmed in the Driver
Information Center (DIC), automatic seat movement will
occur when the key is removed from the ignition. See
“EASY EXIT SEAT” underDIC Vehicle Customization
(With DIC Buttons)
on page 4‑71for more information.
The memory seat and easy exit features can also be
programmed using the DIC.
For programming information, see DIC Vehicle
Customization (With DIC Buttons) on page 4‑71.
2-11
Page 58 of 608
Folding and Tumbling the Second Row
Seat(s) from the Third Row Seats or
Outside
{WARNING:
Using the third row seating position while the
second row is folded, or folded and tumbled, could
cause injury in a sudden stop or crash. Be sure to
return the seat to the passenger seating position.
Push and pull on the seat to make sure it is
locked into place.
To fold and tumble the seat from the third row seats,
if your vehicle has them: 1. Make sure that there is nothing under, in front of, or on the seat.
Notice: Folding a rear seat with the safety belts
still fastened may cause damage to the seat or the
safety belts. Always unbuckle the safety belts and
return them to their normal stowed position before
folding a rear seat.
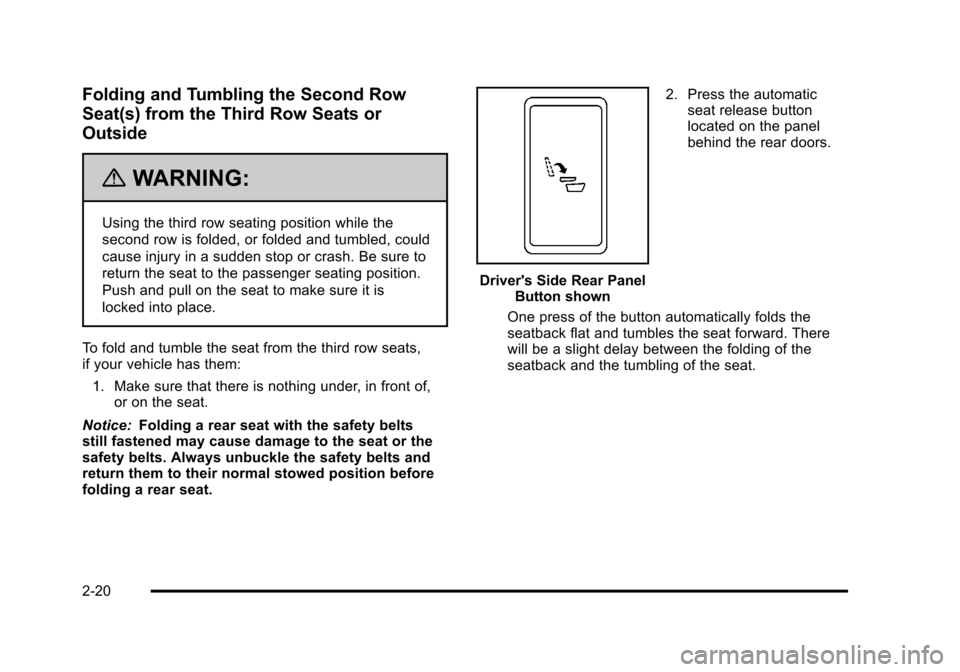
Driver's Side Rear Panel Button shown 2. Press the automatic
seat release button
located on the panel
behind the rear doors.
One press of the button automatically folds the
seatback flat and tumbles the seat forward. There
will be a slight delay between the folding of the
seatback and the tumbling of the seat.
2-20