change time CHEVROLET TRACKER 1995 Owners Manual
[x] Cancel search | Manufacturer: CHEVROLET, Model Year: 1995, Model line: TRACKER, Model: CHEVROLET TRACKER 1995Pages: 354, PDF Size: 18.24 MB
Page 3 of 354
GENERAL MOTORS, GM and the GM Emblem,
CHEVROLET and the Chevrolet Emblem, Geo and the
Geo Emblem are registered trademarks
of General
Motors Corporation.
This manual includes
the latest information at the time it
was printed. We reserve the right to make changes
in the
product after that time without further notice. For
vehicles first sold in Canada, substitute the name
“General Motors
of Canada Limited” for Chevrolet
Motor Division whenever it appears in this manual.
Please keep this manual in your Geo,
so it will be there
if
you ever need it when you’re on the road. If you sell
the vehicle, please leave this manual in it so the new
owner can use
it.
Litho in U.S.A.
Part No. 10258592 B First Edition
WE SUPPORT
VOLUNTARY TECHNICIAN
CERTIFICATION THROUGH
AUTOMOTIVE National Institute for
EXCELLENCE SERVICE
We
support voluntary
technician certification.
For Canadian Owners Who Prefer a
French Language Manual:
Aux propribtaires canadiens: Vous pouvez vous procurer
un exemplaire de ce guide en franGais chez votre
concessionaire
ou au DGN Marketing Services Ltd.,
1500 Bonhill Rd., Mississauga, Ontario L5T 1C7.
@Copyright General Motors Corporation 1994
All Rights Reserved
ii -
ProCarManuals.com
Page 53 of 354
To start your 1.6 Liter engine:
1. Without pushing the accelerator pedal, turn your
ignition key to
START. When the engine starts, let
go
of the key.
NOTICE:
Holding your key in START for longer than
15 seconds at a time will cause your battery to be
drained much sooner. And the excessive heat can
damage your starter motor.
2. If it doesn’t start right away, hold your key in
START for about three seconds at a time until your
engine
starts. Wait about 15 seconds between each
try
to help avoid draining your battery.
If your engine still won’t start, call your dealer for help.
I
~ NOTICE:
~
Your engine is designed to work with the
electronics in your vehicle.
If you add electrical
parts or accessories, you could change the
way
the fuel injection system operates. Before adding
electrical equipment, check with your dealer.
If
you don’t, your engine might not perform
properly.
If you ever have to have your vehicle towed, see
the part
of this manual that tells how to do it
1 without damaging your vehicle. See “Towing
Your Vehicle” in the Index.
i
ProCarManuals.com
Page 118 of 354
Setting the Tone To Play a Cassette Tape
Your tape player is built to work best with tapes that are
30 to 45 minutes long on each side. Tapes longer than
that are
so thin they may not work well in this player.
The longer side with the tape visible should face to the
right.
If you hear nothing or hear just a garbled sound, it
may not be in squarely. Press STOP or EJECT to
remove the tape
and start over.
TREB: Turn this knob to the right to hear more treble.
BASS: Turn this control behind the TREB knob to the
right
to hear more bass.
TONE SELECT Press this button to choose preset
treble and bass equalization settings designed for
ROCK, NEWS, POP, JAZZ and CLASSICAL.
ROCK will appear when you first press TONE SELECT.
Each time you press it, another setting will appear on the
display. If you press it one more
time after CLASSICAL
appears on
the display, tone control will be back to the
treble and bass
knob.
Adjusting the Speakers
FADE:
Turn this knob to move the sound between the
front and rear speakers.
BAL: Turn this control behind the FADE knob to move
the sound between the right and
left speakers.
Recall
RCL: Press RCL v A to see the station being played
for
a moment. Or, press it if you want to see the time
when the ignition is off. Once
the tape is playing,
use the knobs for volume, fade
and balance, just as you do for the radio. The lighted
arrows
show which side of the tape is playing.
MTL: Your bias is set automatically. MTL will appear
on the display
when a metal or chrome tape is inserted.
FF: Press this button to advance rapidly to another part
of the tape. Press
FF, RCL v A or STOP to return to
playing speed.
If you press RCL 7 A, the tape will also
change sides.
REW. Press this button to reverse the tape rapidly. Press
REW, RCL
v A or STOP to return to playing speed. If
you press RCL
A, the tape will also change sides.
NXT Press this button to go forward to the beginning of
the next selection. Press NXT again or press RCL v A
or STOP to cancel this function. If you press RCL v A,
the tape will also change sides.
8 3-13
- ~ ProCarManuals.com
Page 120 of 354
Track Number and Playing Time: Press RCL A to
see which track is playing. Press
it again within five
seconds to see how long
it has been playing.
The track number
also appears when the disc is inserted
or you change the volume.
PRV: Press this button to hear a track again. If you hold
this button or press
it more than once, the disc will
return to previous tracks.
NXT Press this button to hear the next track now
(instead of waiting
until the present track is finished).
If you hold this button, or press
it more than once, the
disc will advance further.
REW Press and hold this button to return rapidly to a
favorite passage. Release it to play the passage.
FF: Press and hold this button to fast forward or
advance quickly within a track. Release
it to resume
playing.
COMP: Press this button to make soft and loud
passages more nearly equal in volume.
RPT Press this button once to hear a selection over
again.
RDM: Pressing this button will cause the CD player to
play the tracks back
in random order. To cancel the
random feature, press RDM or RPT.
STOP: Press this button or AM-FM to stop playing the
disc and switch to radio. Press STOP again to restart the
disc
at the point where it stopped.
CD-TP: Press this button to switch between playing a
tape and a CD when both are inserted.
EJECT: Press this button to eject the disc and the radio
will play. The disc will start playing at track 1 when you
reinsert
it.
Theft-Deterrent Feature
The theft-deterrent feature for the AM/FM stereo with
cassette tape and compact disc player can be used or
ignored.
If ignored, the system plays normally. If it is
used, your system won't be usable
if it's ever stolen
because
LOC will appear on the display when battery
power
is lost.
Setting Your Security Code
The following instructions will tell you how to enter a
security code into the system. If your vehicle loses
battery power for any reason, you must enter the
security code again before the system will
turn on.
ProCarManuals.com
Page 132 of 354
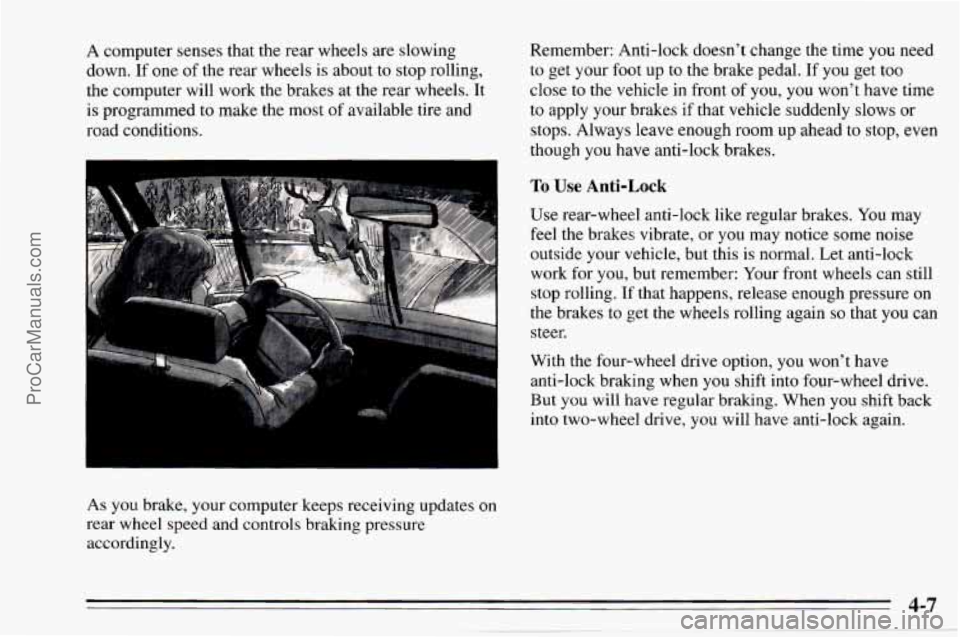
A computer senses that the rear wheels are slowing
down.
If one of the rear wheels is about to stop rolling,
the computer will work the brakes at the rear wheels. It
is programmed to make the most
of available tire and
road conditions.
As you brake, your computer keeps receiving updates
on
rear wheel speed and controls braking pressure
accordingly. Remember:
Anti-lock doesn’t change the time you need
to get your foot up to the brake pedal. If you get too
close to the vehicle in front of you,
you won’t have time
to apply your brakes if that vehicle suddenly slows or
stops. Always leave enough room up ahead to stop, even
though
you have anti-lock brakes.
To Use Anti-Lock
Use rear-wheel anti-lock like regular brakes. You may
feel the brakes; vibrate, or you may notice some noise
outside your vehicle, but this is normal. Let anti-lock
work for
you, but remember: Your front wheels can still
stop rolling.
If that happens, release enough pressure on
the brakes to get the wheels rolling again
so that you can
steer.
With the four-wheel drive option, you won’t have
anti-lock brak.ing when
you shift into four-wheel drive.
But
you will have regular braking. When you shift back
into two-wheel drive,
you will have anti-lock again.
4-7
ProCarManuals.com
Page 133 of 354
Braking in Emergencies
At some time, nearly every driver gets into a situation
that requires hard braking.
You have the rear-wheel anti-lock braking system. Your
front wheels can stop rolling when
you brake very hard.
Once they do, the vehicle can’t respond to your steering.
Momentum will carry it in whatever direction it was
headed when the front wheels stopped rolling. That
could be
off the road, into the very thing you were trying
to avoid, or into traffic.
So, use a “squeeze” braking technique. This will give
you maximum braking while maintaining steering
control. You
do this by pushing on the brake pedal with
steadily increasing pressure. When
you do, it will help
maintain steering control.
In many emergencies, steering
can help you more than even the very best braking.
Steering
Power Steering
If you lose power steering assist because the engine
stops or the system is not functioning, you
can steer but
it will take much more effort.
Steering Tips
Driving on Curves
It’s important to take curves at a reasonable speed.
A lot of the “driver lost control” accidents mentioned on
the news happen on curves. Here’s why:
Experienced driver or beginner, each
of us is subject to
the same laws
of physics when driving on curves. The
traction
of the tires against the road surface makes it
possible for the vehicle
to change its path when you turn
the front wheels.
If there’s no traction, inertia will keep
the vehicle going in the same direction.
If you’ve ever
tried
to steer a vehicle on wet ice, you’ll understand this.
The traction you can get in
a curve depends on the
condition of your tires and the road surface, the angle at
which the curve is banked, and your speed. While
you’re
in a curve, speed is the one factor you can
control.
ProCarManuals.com
Page 137 of 354

Check your mirrors, glance over your shoulder, and
start your left lane change signal before moving out
of the right lane to pass. When you are far enough
ahead
of the passed vehicle to see its front in your
inside mirror, activate your right lane change signal
and move back into the right lane. (Remember that
your right outside mirror is convex. The vehicle
you
just passed may seem to be farther away from you
than it really is.)
Try not to pass more than one vehicle at a time on
two-lane roads. Reconsider before passing the
next
vehicle.
0 Don’t overtake a slowly moving vehicle too rapidly.
Even though the brake lamps are not flashing, it may
be slowing down
or starting to turn.
following driver to get ahead
of you. Perhaps you
can ease a little to the right.
If you’re being passed, make it easy for the
Loss of Control
Let’s review what driving experts say about what
happens when the three control systems (brakes, steering
and acceleration) don’t have enough friction where the
tires meet the road to do what the driver has asked.
In any emergency, don’t give up. Keep trying to steer
and constantly seek an escape route or area
of less
danger.
Skidding
In a skid, a driver can lose control of the vehicle.
Defensive drivers avoid most skids by taking reasonable
care suited to existing conditions, and by not
“overdriving” those conditions. But skids are always
possible.
The three types
of skids correspond to your Geo’s three
control systems. In the braking skid your wheels aren’t
rolling. In the steering or cornering skid, too much speed
or steering in a curve causes tires to slip
and lose
cornering force. And in the acceleration skid too much
throttle causes the driving wheels to spin.
A cornering skid and an acceleration skid are best
handled by easing your foot off the accelerator pedal.
ProCarManuals.com
Page 141 of 354
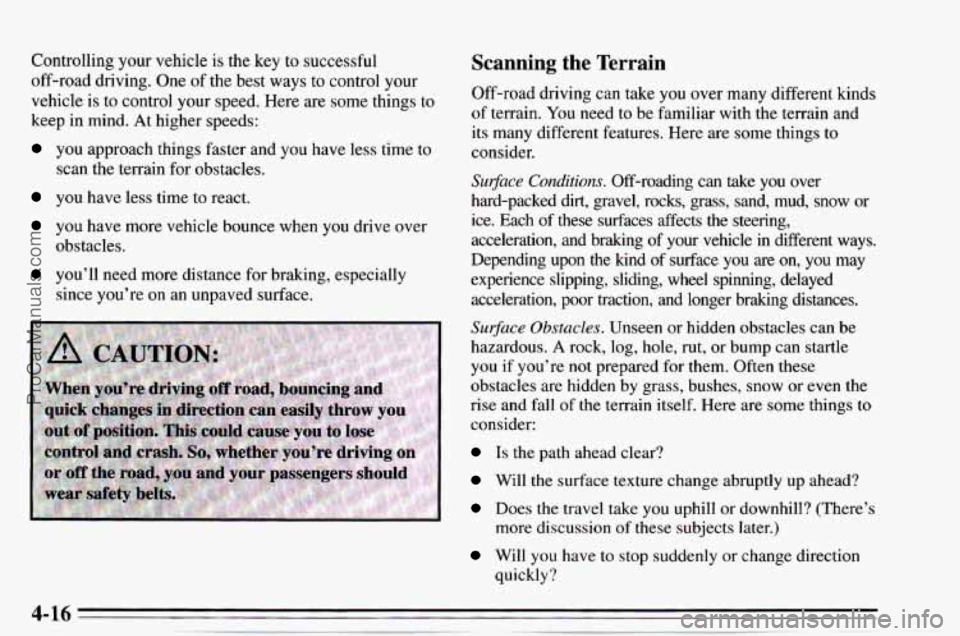
Controlling your vehicle is the key to successful
off-road driving. One of the best ways to control your
vehicle is to control your speed.
Here are some things to
keep in mind. At higher speeds:
you approach things faster and you have less time to
scan the terrain for obstacles.
you have less time to react.
you have more vehicle bounce when you drive over
obstacles.
you’ll need more distance for braking, especially
since you’re on an unpaved surface.
Scanning the Terrain
Off-road driving can take you over many different kinds
of terrain. You need
to be familiar with the terrain and
its many different features. Here are some things to
consider.
Sugace Conditions. Off-roading can take you over
hard-packed dirt, gravel, rocks, grass, sand, mud, snow or
ice. Each
of these surfaces affects the steering,
acceleration, and braking of your vehicle in different ways.
Depending upon the kind of surface
you are on, you may
experience slipping, sliding, wheel spinning, delayed
acceleration, poor traction, and longer braking distances.
Surjke Obstacles. Unseen or hidden obstacles can be
hazardous. A rock, log,
hole, rut, or bump can startle
you if you’re not prepared for them. Often these
obstacles are hidden by grass, bushes, snow or even the
rise and fall of the terrain itself. Here are some things to
consider:
Is the path ahead clear?
Will the surface texture change abruptly up ahead?
Does the travel take you uphill or downhill? (There’s
more discussion of these subjects later.)
Will you have to stop suddenly or change direction
quickly?
ProCarManuals.com
Page 170 of 354
Your vehicle can tow a trailer. To identify what the
vehicle trailering capacity
is for your vehicle, you
should read the information in “Weight of the Trailer”
that
appears later in this section. But trailering is
different than just driving your vehicle by itself.
Trailering means changes in handling, durability, and
fuel economy. Successful, safe trailering takes correct
equipment, and it has to be used properly.
That’s the reason for this section. In it are many
time-tested, important trailering tips and safety rules.
Many
of these are important for your safety and that of
your passengers.
So please read this section carefully
before you pull a trailer.
Load-pulling components such as the engine,
transmission, wheel assemblies, and tires are forced
to
work harder against the drag of the added weight. The
engine
is required to operate at relatively higher speeds
and under greater loads, generating extra heat. What’s
more, the trailer adds considerably
to wind resistance,
increasing the pulling requirements.
If You Do Decide To Pull A Trailer
If you do, here are some important points.
0
0
0
0
There are many different laws, including speed limit
restrictions, having
to do with trailering. Make sure
your rig will
be legal, not only where you live but
also where
you’ll be driving. A good source for this
information can be state or provincial police.
Consider using a sway control. You
can ask a hitch
dealer about sway controls.
Don’t tow a trailer at all during the first
500 miles
(800 km) your new vehicle is driven. Your engine,
axle or other parts could be damaged.
Then, during the first
500 miles (800 km) that you
tow a trailer, don’t drive over
50 mph (80 km/h) and
don’t make starts at full throttle. This helps your
engine and other parts of your vehicle wear
in at the
heavier loads.
If
you have an automatic transmission, you should use
DRIVE (D) (or, as
you need to, a lower gear) when
towing
a trailer. Operating your vehicle in DRIVE (D)
when towing a trailer will minimize heat build-up and
extend the
life of your transmission. If you have a
manual transmission and
you are towing a trailer, it’s
better
not to use FIFTH (5) gear. Just drive in
FOURTH (4) gear (or, as you need to, a lower gear).
ProCarManuals.com
Page 230 of 354
Automatic Transmission Fluid
When to Check and Change
A good time to check your automatic transmission fluid
level is when the engine oil is changed. Refer to the
Maintenance Schedule to determine
when to change
your fluid. See “Scheduled Maintenance Services”
in the
Index.
How to Check
Because this operation can be a little difficult, you may
choose to have this done at your Chevrolet/Geo dealer
Service Department.
If you do it yourself, be sure to follow all the
instructions here, or you could get a false reading on the
dipstick.
NOTICE:
Too much or too little fluid can damage your
transmission.
Too much can mean that some of
the fluid could come out and fall on hot engine
parts or exhaust system parts, starting a fire. Be sure to get an accurate reading if you check your
transmission fluid.
Wait at least 30 minutes before checking the
transmission fluid level if you have been driving:
0 When outside temperatures are above 90°F (32°C).
At high speed for quite a while.
0 In heavy traffic -- especially in hot weather.
0 While pulling a trailer.
To get the right reading, the fluid should be at normal
operating temperature, which is
180” F to 200” F
(82°C to 93°C).
ProCarManuals.com