hood open CHEVROLET TRACKER 1995 Owners Manual
[x] Cancel search | Manufacturer: CHEVROLET, Model Year: 1995, Model line: TRACKER, Model: CHEVROLET TRACKER 1995Pages: 354, PDF Size: 18.24 MB
Page 180 of 354
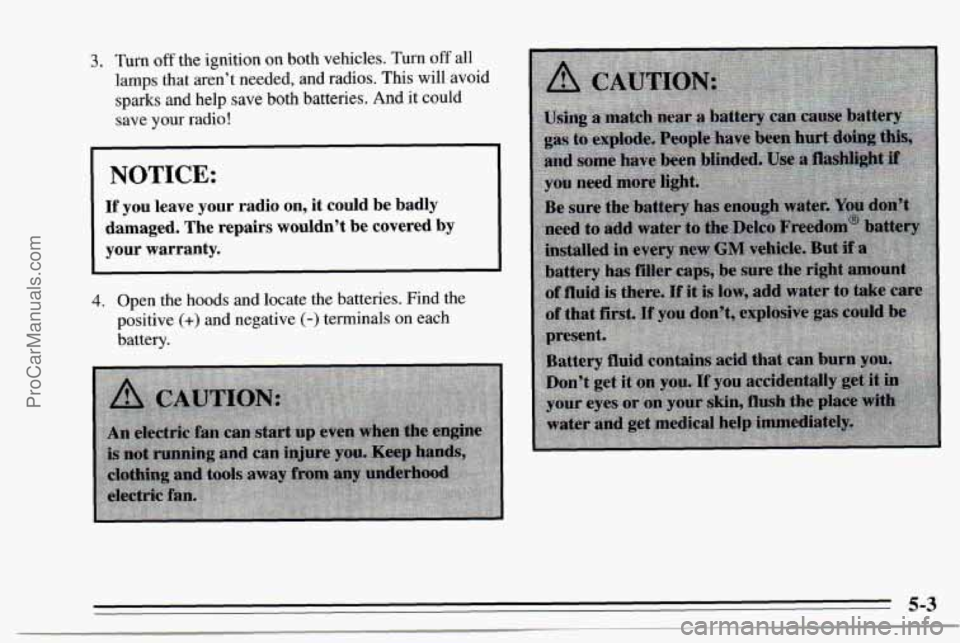
3. Turn off the ignition on both vehicles. Turn off all
lamps that aren’t needed, and radios. This will avoid
sparks and help save both batteries. And it could
save
your radio!
NOTICE:
If you leave your radio on, it could be badly
damaged. The repairs wouldn’t be covered by your warranty.
4.
Open the hoods and locate the batteries. Find the
positive
(+) and negative (-) terminals on each
battery.
ProCarManuals.com
Page 217 of 354
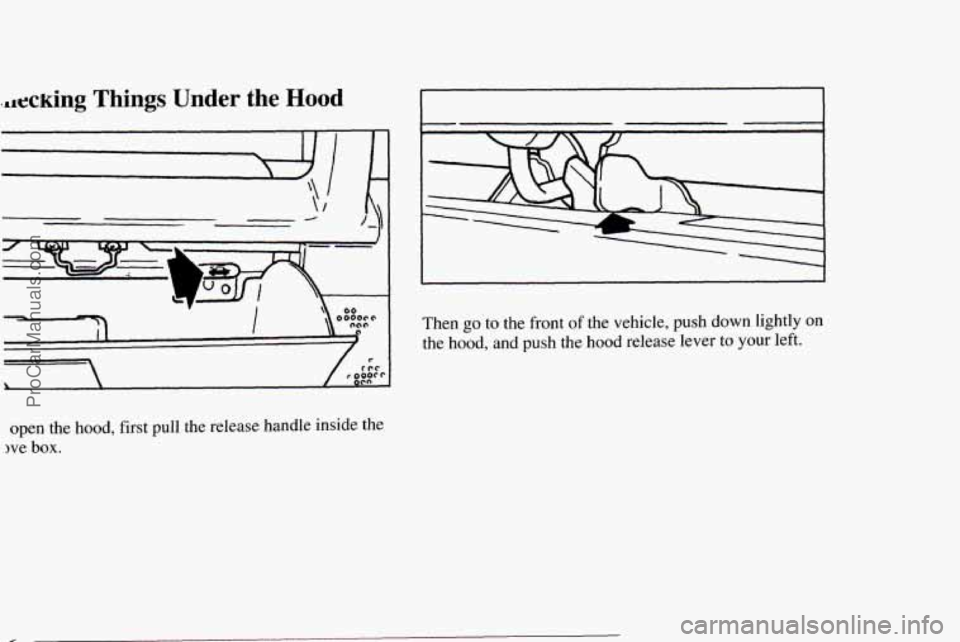
..lecking Things Under the Hood
open the hood, first pull the release handle inside the
we box.
Then go to the front of the vehicle, push down lightly on
the hood, and push the hood release lever to your left.
ProCarManuals.com
Page 220 of 354
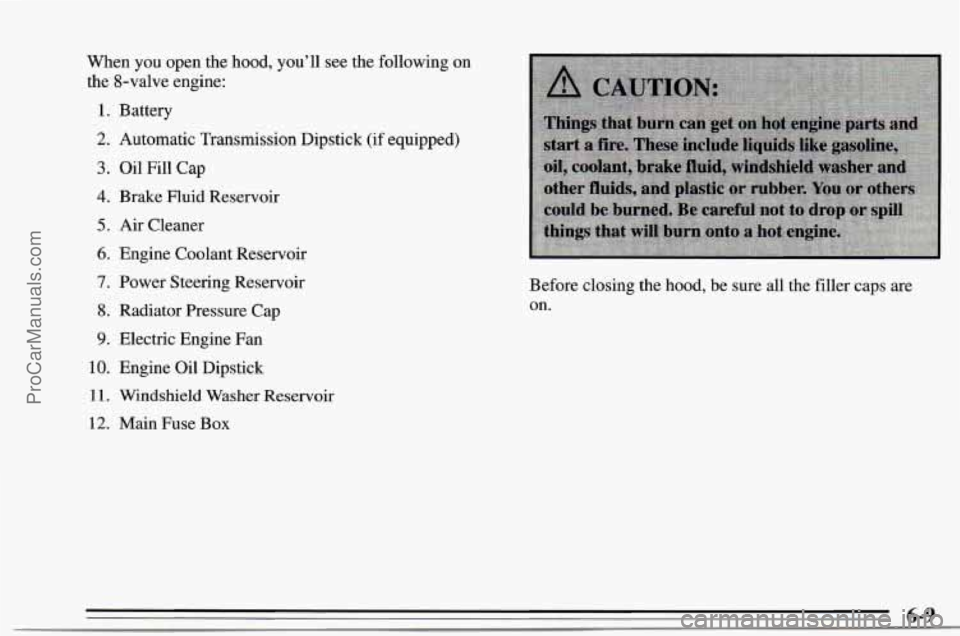
When you open the hood, you’ll see the following on
the 8-valve engine:
1. Battery
2. Automatic Transmission Dipstick (if equipped)
3. Oil Fill Cap
4. Brake Fluid Reservoir
5. Air Cleaner
6. Engine Coolant Reservoir
7. Power Steering Reservoir
8. Radiator Pressure Cap
9. Electric Engine Fan
10. Engine Oil Dipstick
1 1. Windshield Washer Reservoir
12. Main Fuse Box Before
closing the hood, be sure all the filler caps are
on.
6-9
ProCarManuals.com
Page 222 of 354
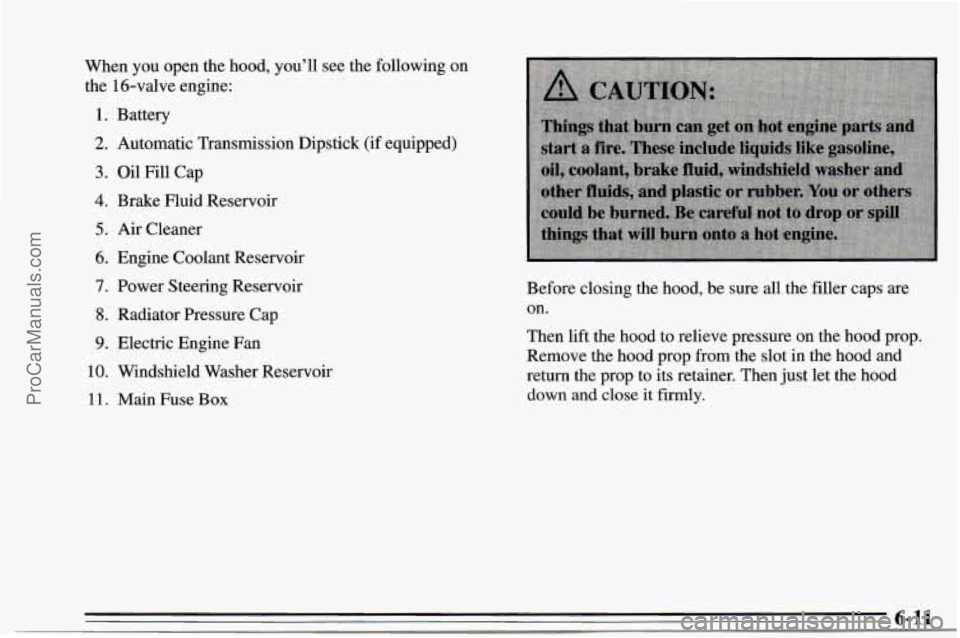
When you open the hood, you’ll see the following on
the 16-valve engine:
1. Battery
2. Automatic Transmission Dipstick (if equipped)
3. Oil Fill Cap
4. Brake muid Reservoir
5. Air Cleaner
6. Engine Coolant Reservoir
7. Power Steering Reservoir
8. Radiator Pressure Cap
9. Electric Engine Fan
10. Windshield Washer Reservoir
11. Main Fuse Box Before
closing the hood, be sure all the filler caps are
on.
Then lift the hood to relieve pressure on the hood prop.
Remove the hood prop from the slot in the hood and
return the prop to its retainer. Then just let the hood
down and close it firmly.
6-11 ProCarManuals.com
Page 246 of 354
Halogen Bulbs Headlamps
Bulb Replacement
See “Replacement Bulbs” in the Index to check the size
and type
of bulb you need to use.
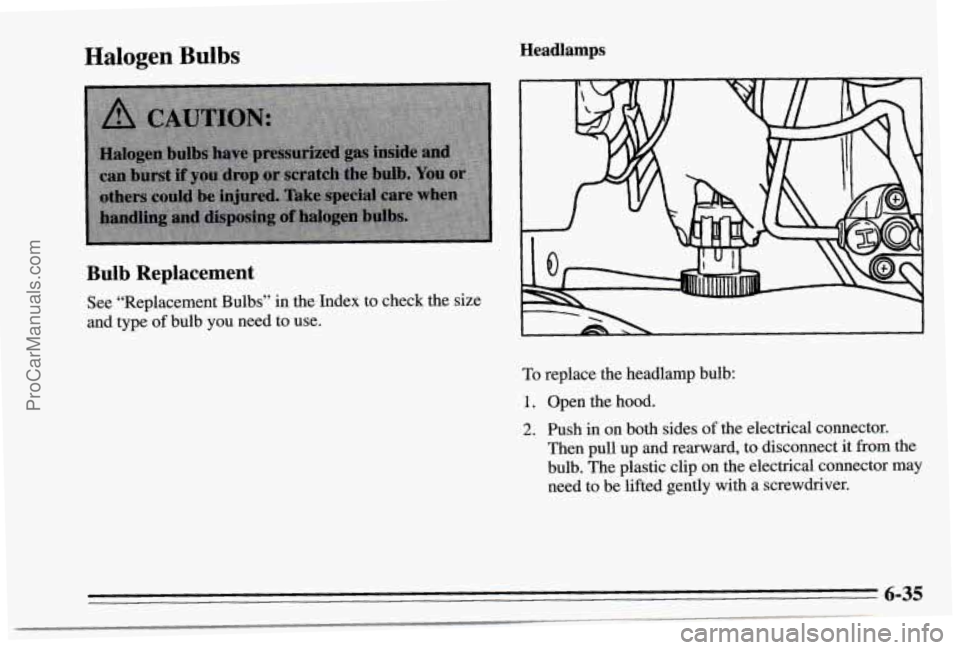
To replace the headlamp bulb:
1. Open the hood.
2. Push in on both sides of the electrical connector.
Then pull up and rearward, to disconnect it from the
bulb. The plastic clip on
the electrical connector may
need to be lifted gently with a screwdriver.
6-35
ProCarManuals.com
Page 248 of 354
Front Parking and Turn Signal Lamps
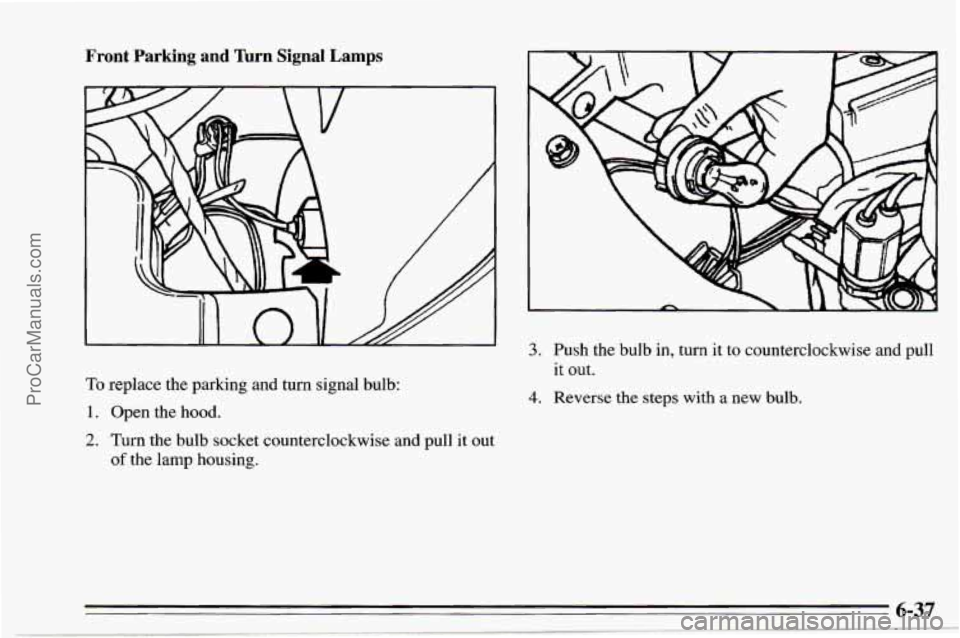
To replace the parking and turn signal bulb:
1. Open the hood.
2. Turn the bulb socket counterclockwise and pull it out
of the lamp housing.
3. Push the bulb in, turn it to counterclockwise and pull
it out.
4. Reverse the steps with a new bulb.
6-37
ProCarManuals.com
Page 325 of 354
Part B: Owner Checks and Services
Listed below are owner checks and services which
should be performed at the intervals specified to help
ensure the safety, dependability and emission control
performance
of your vehicle.
Be sure any necessary repairs are completed at once.
Whenever any fluids or lubricants are added
to your
vehicle, make sure they are the proper ones, as shown in
Part
D.
At Each Fuel Fill
It is important for you or a service station attendant to
per3cot-m these underhood checks at each fuel fill.
Engine Oil Level
Check the engine oil level and add the proper oil if
necessary. See “Engine Oil” in the Index for further
details.
Engine Coolant Level
Check the engine coolant level and add the proper
coolant mix if necessary. See “Coolant” in the Index for
further details.
Windshield Washer Fluid Level
Check the windshield washer fluid level in the
windshield washer tank and add the proper fluid if
necessary. See “Windshield Washer Fluid” in the Index
for further details.
Hood Latch Operation
Pull the primary hood latch release handle inside the
vehicle. The secondary latch should keep the hood from
opening all
the way when the primary latch is released.
Make sure the hood closes firmly. See “Hood Release”
in the Index for further details.
At Least Once a Month
Tire Inflation
Check tire inflation. Make sure tires are inflated to the
pressures specified on the Tire-Loading Information
label located on the driver’s door lock pillar. See “Tires”
in the Index for further details.
Cassette Deck
Clean cassette deck. Cleaning should be done every
50 hours of tape play. See “Audio Systems” in the Index
for further details.
ProCarManuals.com