warning CHEVROLET TRACKER 1995 Owners Manual
[x] Cancel search | Manufacturer: CHEVROLET, Model Year: 1995, Model line: TRACKER, Model: CHEVROLET TRACKER 1995Pages: 354, PDF Size: 18.24 MB
Page 4 of 354
How to Use This Manual
Many people read their owner’s manual from beginning
to end when they first receive their
new vehicle. This
will help you learn about the features and controls for
your vehicle. In this manual, you’ll find that pictures
and words work together to explain things quickly.
Index
A good place to look for what you need is in the Index
in the back
of the manual. It’s an alphabetical list of all
that’s in the manual, and the page number where you’ll find it.
Safety Warnings and Symbols
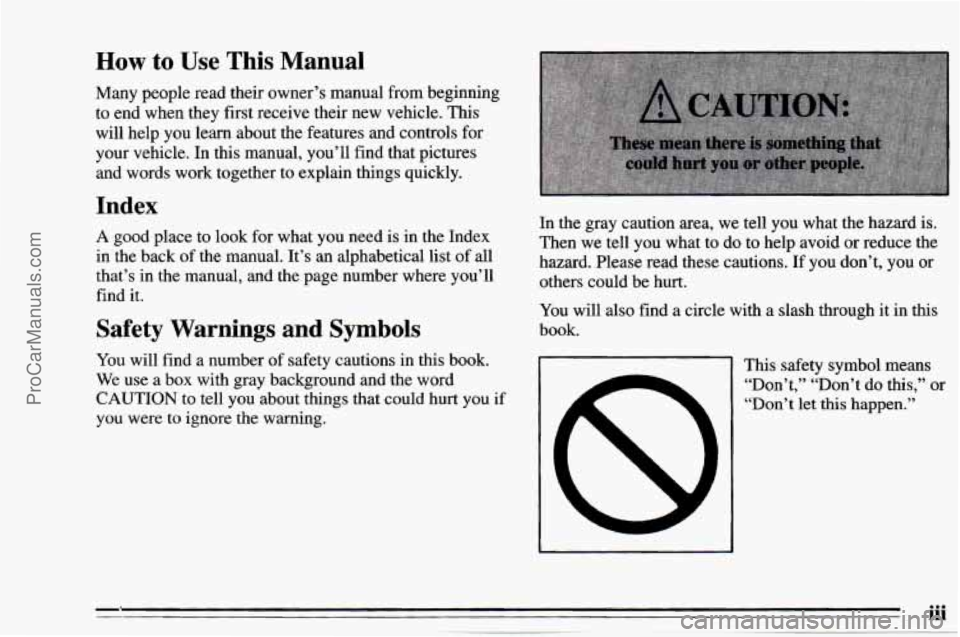
You will find a number of safety cautions in this book.
We use a box with gray background and the word
CAUTION to tell you about things that could hurt you if
you were to ignore the warning. In the gray caution area,
we tell you what the hazard is.
Then we tell you what to do to help avoid
or reduce the
hazard. Please read these cautions. If you don’t, you or
others could be hurt.
You will also find a circle with a slash through it in this
book.
This safety symbol means “Don’t,” “Don’t do
this,’’ or
“Don’t
let this happen.”
ProCarManuals.com
Page 5 of 354
Vehicle Damage Warnings
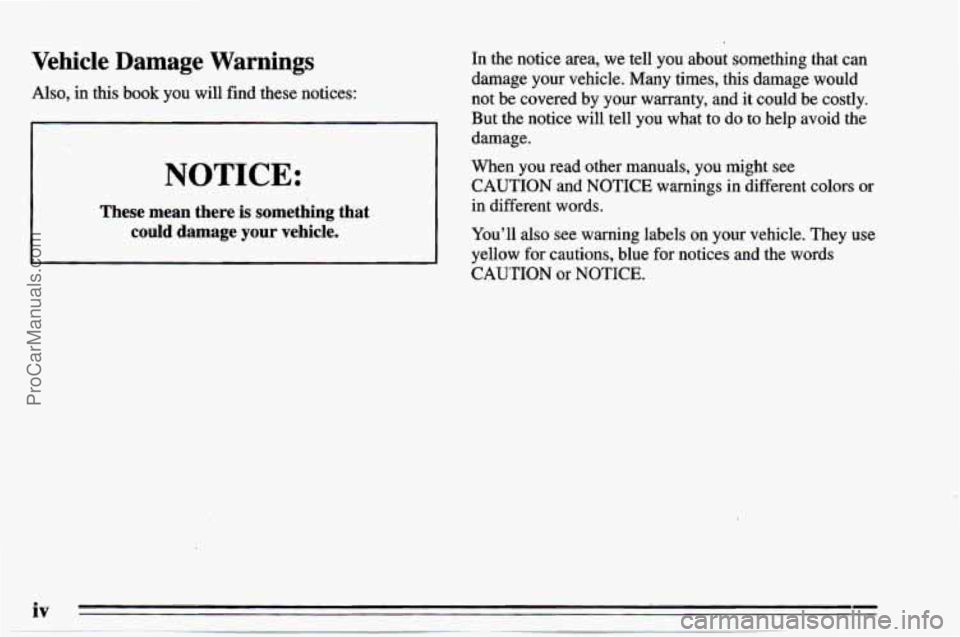
Also, in this book you will find these notices:
NOTICE:
These mean there is something that
could damage your vehicle.
In the notice area, we tell you about something that can
damage your vehicle. Many times, this damage would
not be covered by your warranty, and it could be costly.
But the notice will tell you what to do to help avoid the
damage.
When you read other manuals, you might see CAUTION and NOTICE warnings in different colors or
in different words.
You’ll also see warning labels on your vehicle. They use
yellow for cautions, blue for notices and the words
CAUTION or NOTICE.
ProCarManuals.com
Page 6 of 354
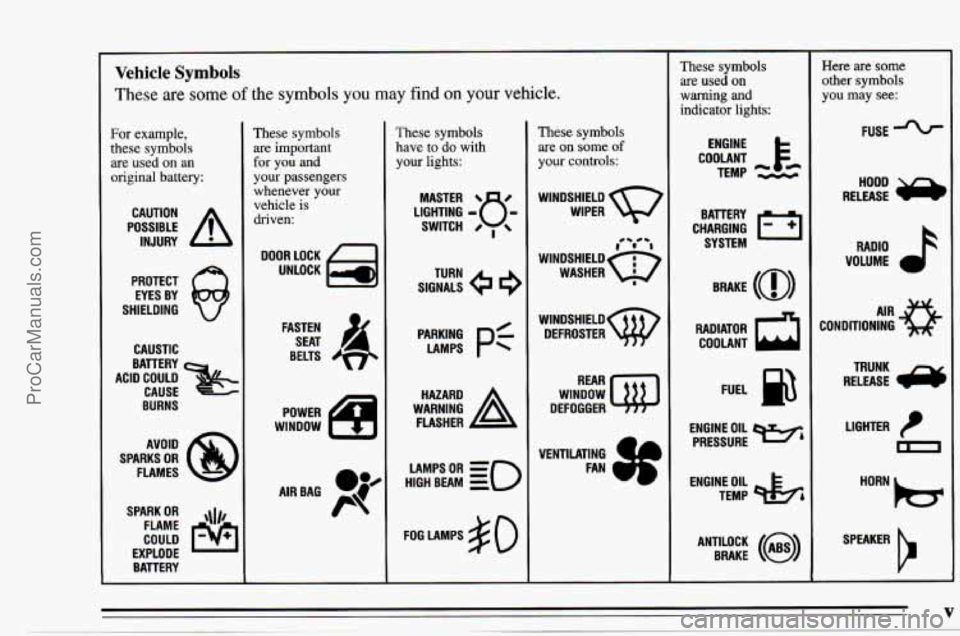
~~ Vehicle Symbols
These are some of the symbols you may find on your vehicle.
For example,
these symbols
are used on an
original battery:
POSSIBLE A
CAUTION
INJURY
PROTECT EYES BY
SHIELDING
CAUSTIC
ACID COULD BATTERY
CAUSE
BURNS
SPARK
OR ,\(I,
COULD FLAME
EXPLODE BAVERY
These symbols are important
for
you and
your passengers
whenever your
vehicle
is
driven:
DOOR LOCK
UNLOCK
FASTEN SEAT
&,
BELTS
POWER
WINDOW
LR
AIRBAG P@K
These symbols
have to
do with
your
lights:
SIGNALS e
TURN
PyN;
pf
WARNING A
HAZARD
FLASHER
HIGH
LAMPSoR BEAM = =o
FOG LAMPS $0
These symbols
are on some of
your controls:
WINDSHIELD
WIPER
,-/ 'I
WINDSHIELDQ
WASHER 8
wlNDSHIELDw DEFROSTER
WINDOW
DEFOGGER
These symbols are used on
warning and
indicator lights:
COOLANT F-
TEMP --
ENGINE
CHARGING
I-1
BATTERY SYSTEM
BRAKE
(a)
RADIATOR a
COOLANT
FUEL
ENGINE OIL
e,
PRESSURE
TEMP
OIL pk;
ANTIU)CK BRAKE (i)
~
Here are some
other symbols
you may see:
FUSE -%-
RADIO h
VOLUME a
CONDITIONING AIR 43
LIGHTER
m
SPEAKER
b
V
. ~ ProCarManuals.com
Page 44 of 354
G - D Section 2 Features and Controls
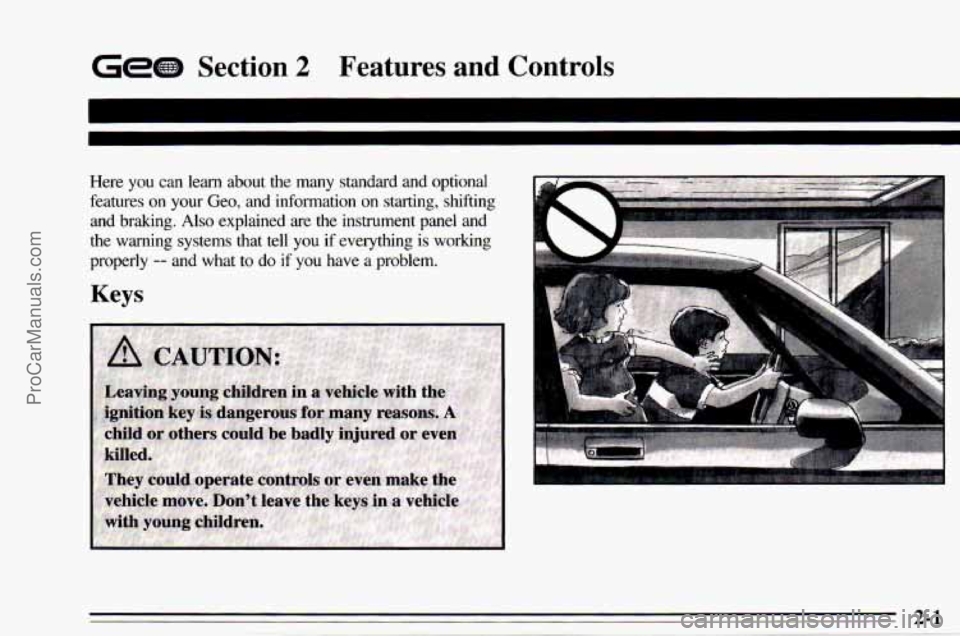
Here you can learn about the many standard and optional
features
on your Geo, and information on starting, shifting
and braking.
Also explained are the instrument panel and
the warning systems that tell
you if everything is working
properly
-- and what to do if you have a problem.
Keys
I
2-1 ProCarManuals.com
Page 51 of 354
Ignition Switch
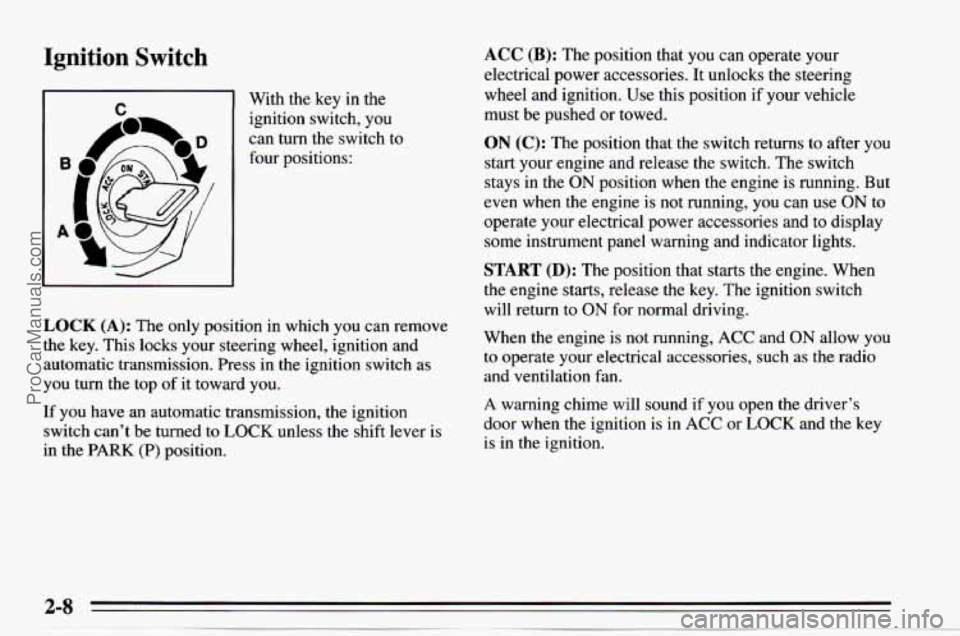
I n 1 With the key in the
ignition switch, you
can turn the switch to
four positions:
I I
LOCK (A): The only position in which you can remove
the key. This locks your steering wheel, ignition and
automatic transmission. Press in the ignition switch as
you turn the top
of it toward you.
If you have an automatic transmission, the ignition
switch can't be turned
to LOCK unless the shift lever is
in the
PARK (P) position.
ACC (B): The position that you can operate your
electrical power accessories.
It unlocks the steering
wheel and ignition. Use this position if
your vehicle
must be pushed
or towed.
ON (C): The position that the switch returns to after you
start your engine and release the switch. The switch
stays in the
ON position when the engine is running. But
even when the engine is not running, you can use
ON to
operate your electrical power accessories and to display
some instrument panel warning and indicator lights.
START (D): The position that starts the engine. When
the engine starts, release the key. The ignition switch
will return to
ON for normal driving.
When the engine is not running,
ACC and ON allow you
to operate your electrical accessories, such as the radio
and ventilation fan.
A warning chime will sound if you open the driver's
door when the ignition is in
ACC or LOCK and the key
is in the ignition.
ProCarManuals.com
Page 63 of 354
You can shift from TWO-WHEEL HIGH (2H) to
FOUR-WHEEL HIGH (4H) or from FOUR-WHEEL
HIGH
(4H) to TWO-WHEEL HIGH (2H) at any speed
if your hubs are locked and your wheels are straight
ahead. Your front axle will engage faster if
you take
your foot
off the accelerator pedal for a few seconds as
you shift.
To shift into or out of FOUR-WHEEL LOW (4L):
1. Stop your vehicle and shift your transmission to
2. Shift the
transfer case in one continuous motion.
NEUTRAL (N).
Don’t pause in NEUTRAL (N) as you shift into
FOUR-WHEEL HIGH (4H), or your gears could clash.
Parking Brake
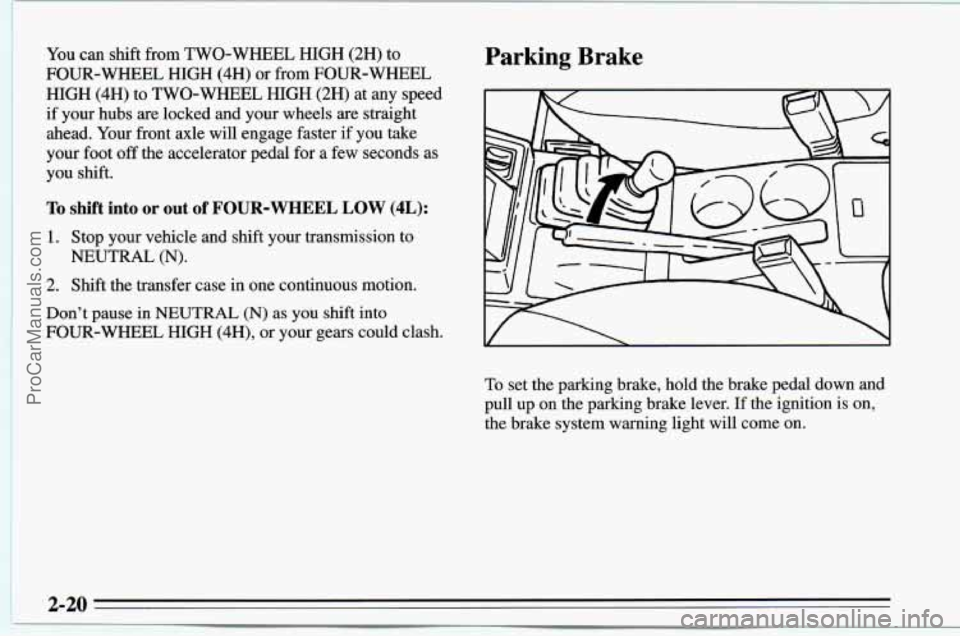
To set the parking brake, hold the brake pedal down and
pull up on the parking brake lever. If the ignition is on,
the brake system warning light will come
on.
2-20
ProCarManuals.com
Page 82 of 354
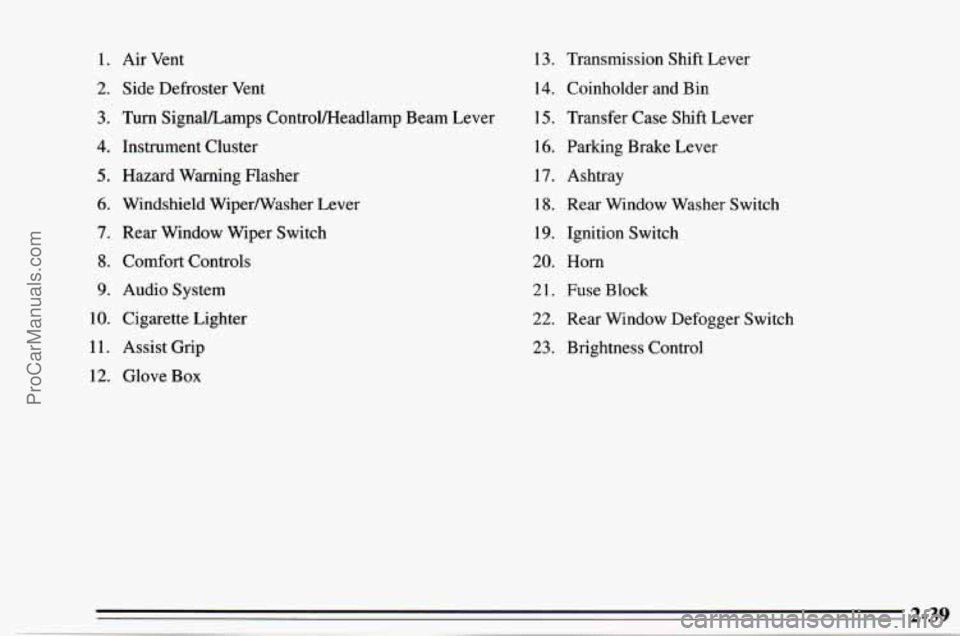
1.
2.
3.
4.
5.
6.
7.
8.
9.
10.
11.
12.
Air Vent
Side Defroster Vent
Turn SignalLamps ControlM[eadlamp Beam Lever
Instrument Cluster
Hazard Warning Flasher
Windshield WiperNasher Lever
Rear Window Wiper Switch
Comfort Controls
Audio System
Cigarette Lighter
Assist Grip Glove Box 13. Transmission
Shift Lever
14. Coinholder and Bin
15. Transfer Case Shift Lever
16. Parking Brake Lever
17. Ashtray
18. Rear Window Washer Switch
19. Ignition Switch
20. Horn
2 1. Fuse Block
22. Rear Window Defogger Switch
23. Brightness Control
ProCarManuals.com
Page 86 of 354
Warning Lights, Gages and Indicators
This part describes the warning lights and gages that
may be on your vehicle. The pictures will help you
locate them.
Warning lights and gages can signal that something is
wrong before it becomes serious enough to cause an
expensive repair or replacement. Paying attention to
your warning lights and gages could also save you or
others from injury.
Warning lights come on when there may be or is
a
problem with one of your vehicle’s functions. As you
will see in the details on the next few pages, some
warning lights come on briefly when you start the
engine just to let you know they’re working. If you are
familiar with this
section, you should not be alarmed
when this happens. Gages
can indicate when there may be or is a problem
with one of your vehicle’s functions. Often gages and
warning lights work together to let you
know when
there’s a problem with your vehicle.
When one of the warning lights comes on and stays on
when you are driving, or
when one of the gages shows
there may be a problem, check the section that tells you
what to do about it. Please follow this manual’s advice.
Waiting to do repairs can be costly
-- and even
dangerous.
So please get to know your warning lights
and gages. They’re a big help.
ProCarManuals.com
Page 88 of 354
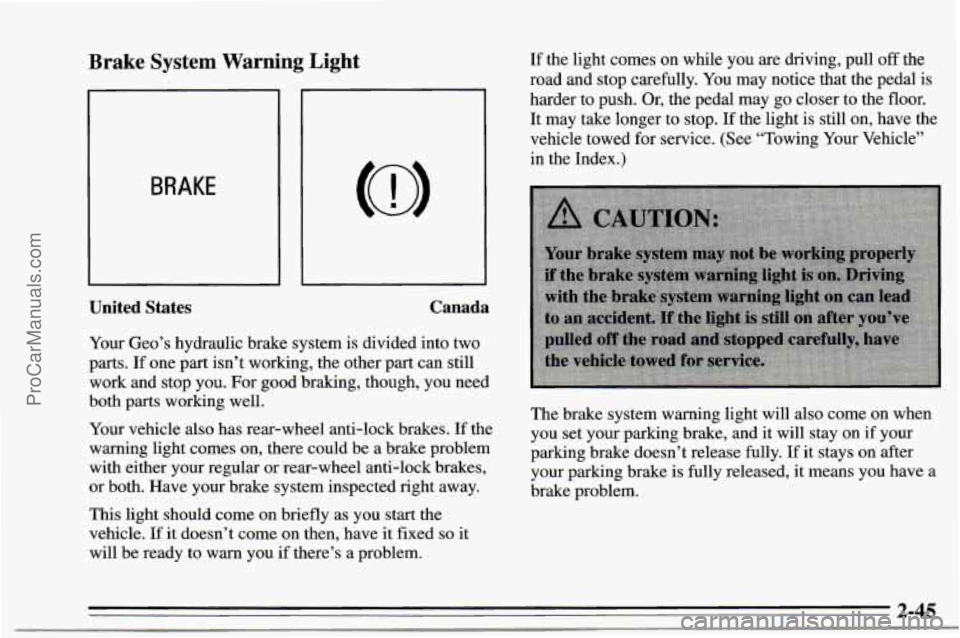
Brake System Warning Light
BRAKE
United States Canada
Your Geo’s
hydraulic brake system is divided into two
parts. If one part isn’t working, the other part can still
work and stop you. For good braking, though, you need
both
parts working well.
Your vehicle also has rear-wheel anti-lock brakes. If the
warning light comes on, there could be a brake problem
with either your regular or rear-wheel anti-lock brakes,
or both. Have your brake system inspected right away.
This light should come on briefly as you start the
vehicle.
If it doesn’t come on then, have it fixed so it
will be ready to warn you if there’s a problem. If
the light comes on while you are driving, pull
off the
road and stop carefully.
You may notice that the pedal is
harder to push. Or, the pedal may
go closer to the floor.
It may take longer to stop.
If the light is still on, have the
vehicle towed
for service. (See “Towing Your Vehicle”
in the Index.)
The brake system warning light will also come on when
you set your parking brake, and it will stay on if your
parking brake doesn’t release fully. If it stays on after
your parking brake is fully released, it means you have
a
brake problem.
~ ..
2-45
ProCarManuals.com
Page 138 of 354
If your vehicle starts to slide, ease your foot off the
accelerator pedal and quickly steer the way you want the
vehicle to go. If you start steering quickly enough, your
vehicle may straighten
out. Always be ready for a
second skid if it occurs.
Of course, traction is reduced when water, snow, ice,
gravel, or other material is on the road. For safety,
you’ll
want to slow down and adjust your driving to these
conditions. It is important to slow down on slippery
surfaces because stopping distance will be longer and
vehicle control more limited.
While driving
on a surface with reduced traction, try
your best to avoid sudden steering, acceleration, or
braking (including engine braking by shifting to a lower
gear). Any sudden changes could cause the tires to slide.
You may not realize the surface
is slippery until your
vehicle is skidding. Learn
to recognize warning
clues
-- such as enough water, ice or packed snow on
the road to make a “mirrored surface” -- and slow
down when you have any doubt.
Remember: The rear-wheel anti-lock braking system
(RWAL) helps avoid only a rear braking skid.
In a
braking skid (where the front wheels are no longer
rolling), release enough pressure
on the brakes to get the front
wheels rolling again. This restores steering control.
Push the brake pedal down steadily when you have to
stop suddenly. As long as the front wheels are rolling,
you will have steering control.
Driving Guidelines
This multipurpose passenger vehicle is defined as a
utility vehicle
in Consumer Information Regulations
issued by the National Highway Traffic Safety
Administration (NHTSA) of the United States
Department of Transportation, Utility vehicles have
higher ground clearance and a narrower track to make
them capable of performing in a wide variety
of off-road
applications. Specific design characteristics give them
a
higher center of gravity than ordinary cars. An
advantage
of the higher ground clearance is a better
view
of the road allowing you to anticipate problems.
They are
not designed for cornering at the same speeds
as conventional 2-wheel drive vehicles any more than
low-slung sports cars are designed
to perform
satisfactorily under off-road conditions. If at all
possible, avoid sharp turns or abrupt maneuvers.
As with
other vehicles of this type, failure
to operate this vehicle
correctly may result in loss of control or vehicle
rollover.
ProCarManuals.com