climate control CHEVROLET TRACKER 1997 Owners Manual
[x] Cancel search | Manufacturer: CHEVROLET, Model Year: 1997, Model line: TRACKER, Model: CHEVROLET TRACKER 1997Pages: 388, PDF Size: 20.12 MB
Page 127 of 388
Section 3 Comfort Controls and Audio Systems
In this section, you’ll find out how to operate the comfort control and audio systems offered with your Geo. Be sure
to read about the particular systems supplied with your
. v-e. ..
3-2 Climate Controls 3-1 1
3-3 Air
Conditioning
3-4 Heating
3-18
3-5 Rear Window Defogger 3-
17
3-5 Tips for Defogging and Defrosting 3-17
3-4 Ventilation System and Tips 3-
15
3-6 Setting the
Clock
3-19
3-8 AM-FM Stereo with Cassette Tape Player 3-
19
3
-7 AM-FM Stereo 3-18 AM-FM
Stereo with Cassette Tape and
Compact Disc Player
Theft-Deterrent Feature Understanding Radio Reception
Tips About Your Audio System
Adding Sound Equipment to Your Vehicle
Care of Your Cassette Tape Player
Care of Your Compact Discs
Antenna
3-1
ProCarManuals.com
Page 128 of 388
Comfort Controls
With this system, you can control the heating and
ventilation in your Geo.
If you have the air conditioning
option, you can also control cooling.
Your vehicle also has the flow-through ventilation
system described later in this section.
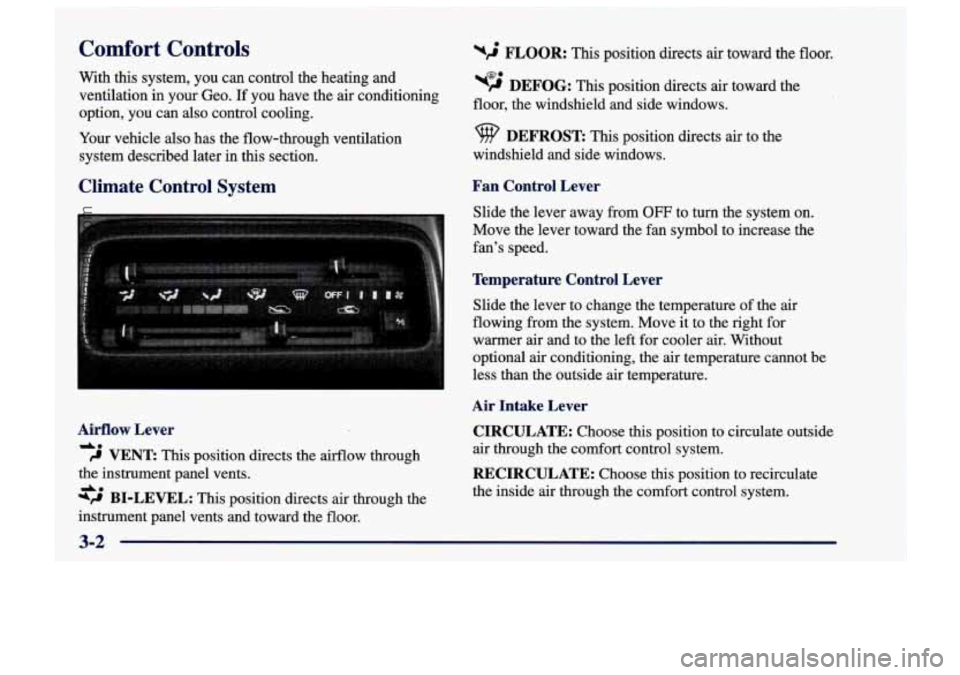
Climate Control System
Airflow Lever
de
9 VENT This position directs the airflow through
the instrument panel vents.
49 BI-LEVEL: This position directs air through the
instrument panel vents and toward the floor.
A.
%$ FLOOR: This position directs air toward the floor.
w> DEFOG: This position directs air toward the
floor, the windshield and side windows.
9 DEFROST This position directs air to the
windshield and side windows.
Fan Control Lever
Slide the lever away from OFF to turn the system on.
Move the lever toward the fan symbol to increase the
fan’s speed.
Temperature Control Lever
Slide the lever to change the temperature of the air
flowing from the system. Move it to the right for
warmer air and to the left for cooler
air. Without
optional air conditioning, the
air temperature cannot be
less than the outside air temperature.
Air Intake Lever
CIRCULATE:
Choose this position to circulate outside
air through the comfort control system.
RECIRCULATE: Choose this position to recirculate
the inside
air through the comfort control system.
3-2
ProCarManuals.com
Page 129 of 388
Air Conditioner Controls (Option)
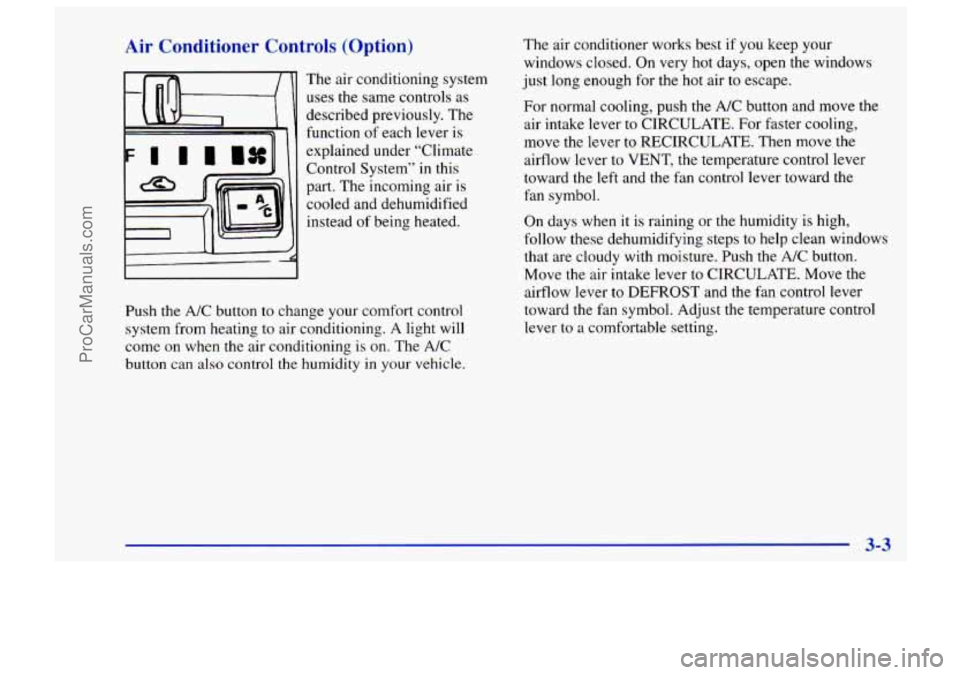
The air conditioning system
uses the same controls as
described previously. The
function
of each lever is
explained under “Climate
Control System” in this
part. The incoming air is
cooled and dehumidified
instead of being heated.
Push the
A/C button to change your comfort control
system from heating to air conditioning.
A light will
come
on when the air conditioning is on. The A/C
button can also control the humidity in your vehicle.
The air conditioner works best if you keep your
windows closed. On very hot days, open the windows
just long enough for the hot air to escape.
For normal cooling, push the
A/C button and move the
air intake lever to CIRCULATE. For faster cooling,
move the lever to RECIRCULATE. Then move the
airflow lever to VENT, the temperature control lever
toward the left and the fan control lever toward the
fan symbol.
On days when
it is raining or the humidity is high,
follow these dehumidifying steps to help clean windows
that are cloudy with moisture. Push the A/C button.
Move the air intake lever to CIRCULATE. Move the
airflow lever to DEFROST and
the fan control lever
toward the fan symbol. Adjust
the temperature control
lever to
a comfortable setting.
3-3
ProCarManuals.com
Page 283 of 388
Uniform Tire Quality Grading
The following information relates to the system
developed by the United States National Highway
Traffic Safety Administration, which grades tires by
treadwear, traction and temperature performance.
(This applies only to vehicles sold in the United States.)
The grades are molded on the sidewalls of most
passenger car tires. The Uniform Tire Quality Grading
system does not apply to deep tread, winter-type snow
tires, space-saver or temporary use spare tires, tires with
nominal rim diameters of
10 to 12 inches (25 to 30 cm),
or to some limited-production tires.
While the tires available on General Motors passenger
cars and light trucks may vary with respect to these
grades, they must also conform to Federal safety
requirements and additional General Motors Tire
Performance Criteria (TPC) standards.
Treadwear
The treadwear grade is a comparative rating based on
the wear rate of the tire when tested under controlled
conditions on
a specified government test course. For
example, a tire graded
150 would wear one and a half
( 1 1/2) times as well on the government course as a tire
graded
100. The relative performance of tires depends
upon the actual conditions of their use, however, and
may depart significantly from the norm due to variations
in driving habits, service practices and differences in
road characteristics and climate.
Traction -- A, B, C
The traction grades, from highest to lowest, are A, B, and
C, and they represent the tire’s ability to stop on wet
pavement as measured under controlled conditions on
specified government test surfaces of asphalt and concrete.
A tire marked C may have poor traction performance.
Warning: The traction grade assigned to this tire
is based
on braking (straight ahead) traction tests and does not
include cornering (turning) traction.
6-45
ProCarManuals.com
Page 376 of 388
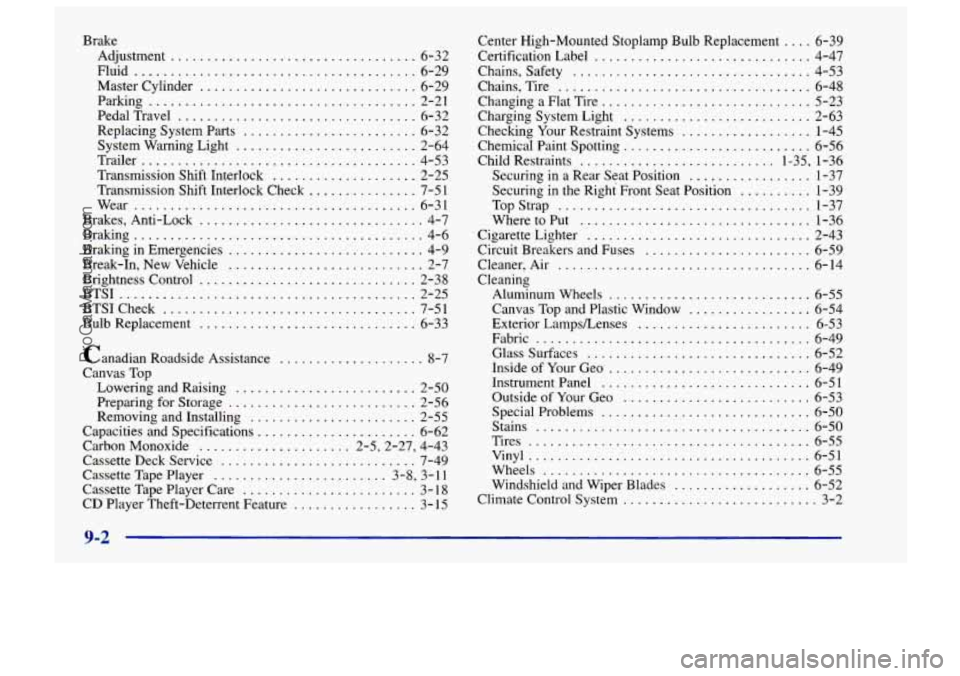
Brake Adjustment
.................................. 6-32
Fluid
....................................... 6-29
Master Cylinder
.............................. 6-29
Parking
..................................... 2-21
PedalTravel
................................. 6-32
Replacing System
Parts ........................ 6-32
System Warning Light
......................... 2-64
Trailer
...................................... 4-53
Transmission Shift Interlock
.................... 2-25
Transmission Shift Interlock Check
............... 7-5 1
Wear
....................................... 6-31
Brakes, Anti-Lock
............................... 4-7
Braking
........................................ 4-6
Braking
in Emergencies ........................... 4-9
Break-In, New Vehicle
........................... 2-7
Brightness Control
.............................. 2-38
BTSI
......................................... 2-25
BTSICheck
................................... 7-51
Bulb Replacement
.............................. 6-33
Canadian Roadside Assistance
.................... 8-7
Canvas Top Lowering and Raising
......................... 2-50
Preparing for Storage
.......................... 2-56
Removing and Installing
....................... 2-55
Capacities and Specifications
...................... 6-62
Carbon Monoxide
..................... 2-5,2-27, 4-43
Cassette Deck Service
........................... 7-49
Cassette Tape Player
........................ 3-8, 3-11
Cassette Tape Player Care
........................ 3- 1 8
CD Player Theft-Deterrent Feature ................. 3 - 15 Center
High-Mounted Stoplamp Bulb Replacement
.... 6-39
Certification Label
.............................. 4-47
Chains. Safety
................................. 4-53
Chains. Tire
................................... 6-48
Changing a Flat Tire
............................. 5-23
Charging System Light
.......................... 2-63
Checking Your Restraint Systems
.................. 1-45
Chemical Paint Spotting
.......................... 6-56
Child Restraints
........................... 1-35. 1-36
Securing in a Rear Seat Position
................. 1-37
Securing in the Right Front Seat Position
.......... 1-39
TopStrap
................................... 1-37
WheretoPut
................................ 1-36
Circuit Breakers and Fuses
....................... 6-59
Cleaner. Air
................................... 6-14
Cleaning Aluminum Wheels
............................ 6-55
Canvas Top and Plastic Window
................. 6-54
Exterior LampsLenses
........................ 6-53
Fabric
...................................... 6-49
Glass Surfaces
............................... 6-52
Inside of Your Ceo
............................ 6-49
Instrument Panel
............................. 6-51
Outside of Your Geo .......................... 6-53
Stains
...................................... 6-50
Tires
....................................... 6-55
Vinyl
....................................... 6-51
Wheels
..................................... 6-55
Cigarette Lighter
............................... 2-43
Special Problems
............................. 6-50
Windshield and Wiper Blades
................... 6-52
Climate Control System
........................... 3-2
9-2
ProCarManuals.com