remote start CHEVROLET TRACKER 2003 2.G Owners Manual
[x] Cancel search | Manufacturer: CHEVROLET, Model Year: 2003, Model line: TRACKER, Model: CHEVROLET TRACKER 2003 2.GPages: 372, PDF Size: 2.65 MB
Page 69 of 372

Keys...............................................................2-2
Remote Keyless Entry System.........................2-4
Remote Keyless Entry System Operation...........2-5
Doors and Locks.............................................2-8
Door Locks....................................................2-8
Power Door Locks..........................................2-9
Rear Door Security Locks..............................2-10
Leaving Your Vehicle....................................2-11
Tailgate.......................................................2-11
Windows........................................................2-12
Manual Windows..........................................2-13
Power Windows............................................2-13
Sun Visors...................................................2-14
Starting and Operating Your Vehicle................2-14
New Vehicle Break-In....................................2-14
Ignition Positions..........................................2-15
Starting Your Engine.....................................2-16
Engine Coolant Heater..................................2-17
Automatic Transmission Operation...................2-19
Manual Transmission Operation......................2-23
Four-Wheel Drive..........................................2-25
Parking Brake..............................................2-27
Shifting Into Park (P).....................................2-28Shifting Out of Park (P).................................2-30
Parking Your Vehicle.....................................2-31
Parking Over Things That Burn.......................2-31
Engine Exhaust............................................2-32
Running Your Engine While You Are Parked.......2-32
Mirrors...........................................................2-34
Manual Rearview Mirror.................................2-34
Outside Manual Mirrors..................................2-34
Outside Power Mirrors...................................2-34
Outside Convex Mirror...................................2-35
Storage Areas................................................2-35
Glove Box...................................................2-35
Cupholder(s)................................................2-35
Coinholder(s)................................................2-35
Luggage Carrier...........................................2-36
Convenience Net..........................................2-37
Cargo Cover................................................2-38
Sunroof.........................................................2-38
Opening and Closing the Sunroof...................2-38
Convertible Top..............................................2-40
Removing and Installing the Rear Window........2-40
Removing and Installing the Side Window........2-41
Lowering and Raising the Canvas Top.............2-43
Section 2 Features and Controls
2-1
Page 266 of 372

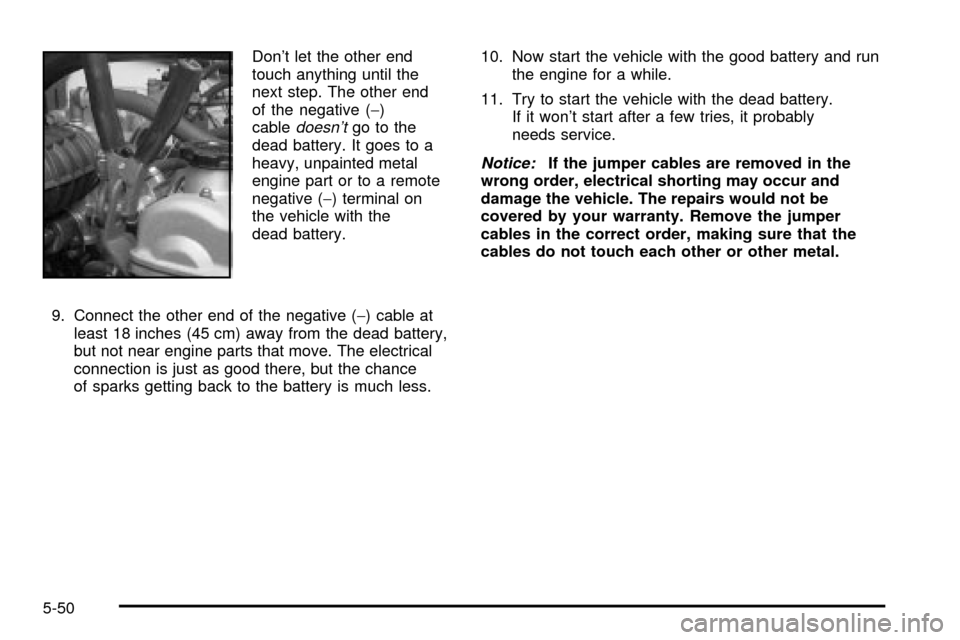
Don't let the other end
touch anything until the
next step. The other end
of the negative (-)
cable
doesn'tgo to the
dead battery. It goes to a
heavy, unpainted metal
engine part or to a remote
negative (-) terminal on
the vehicle with the
dead battery.
9. Connect the other end of the negative (-) cable at
least 18 inches (45 cm) away from the dead battery,
but not near engine parts that move. The electrical
connection is just as good there, but the chance
of sparks getting back to the battery is much less.10. Now start the vehicle with the good battery and run
the engine for a while.
11. Try to start the vehicle with the dead battery.
If it won't start after a few tries, it probably
needs service.
Notice:If the jumper cables are removed in the
wrong order, electrical shorting may occur and
damage the vehicle. The repairs would not be
covered by your warranty. Remove the jumper
cables in the correct order, making sure that the
cables do not touch each other or other metal.
5-50