window CHEVROLET TRAIL BLAZER 2004 1.G User Guide
[x] Cancel search | Manufacturer: CHEVROLET, Model Year: 2004, Model line: TRAIL BLAZER, Model: CHEVROLET TRAIL BLAZER 2004 1.GPages: 448, PDF Size: 2.98 MB
Page 83 of 448
Notice:If your key seems stuck in LOCK and you
can not turn it, be sure you are using the correct
key; if so, is it all the way in? Turn the key only with
your hand. Using a tool to force it could break the
key or the ignition switch. If none of these works,
then your vehicle needs service.
B (ACCESSORY):This position lets you use things like
the radio and the windshield wipers when the engine
is off.
Notice:Lengthy operation of features such as the
radio in the accessory ignition position may
drain the battery and prevent your vehicle from
starting. Do not operate your vehicle in the
accessory ignition position for a long period
of time.
C (RUN):This is the position for driving.
D (START):This position starts the engine.Retained Accessory Power (RAP)
Your vehicle is equipped with a Retained Accessory
Power (RAP) feature which will allow certain features of
your vehicle to continue to work up to 20 minutes
after the ignition key is turned to LOCK.
Your radio, power windows, sunroof (option) and
overhead console will work when the ignition key is in
RUN or ACCESSORY. Once the key is turned from
RUN to LOCK, these features will continue to work for
up to 20 minutes or until a door is opened.
2-19
Page 96 of 448
Engine Exhaust
{CAUTION:
Engine exhaust can kill. It contains the gas
carbon monoxide (CO), which you can not see
or smell. It can cause unconsciousness and
death.
You might have exhaust coming in if:
Your exhaust system sounds strange or
different.
Your vehicle gets rusty underneath.
Your vehicle was damaged in a collision.
Your vehicle was damaged when driving
over high points on the road or over road
debris.
Repairs were not done correctly.
Your vehicle or exhaust system had been
modied improperly.
If you ever suspect exhaust is coming into
your vehicle:
Drive it only with all the windows down to
blow out any CO; and
Have your vehicle xed immediately.
Running Your Engine While You
Are Parked
It is better not to park with the engine running. But if
you ever have to, here are some things to know.
{CAUTION:
Idling the engine with the climate control
system off could allow dangerous exhaust into
your vehicle. See the earlier Caution under
Engine Exhaust on page 2-32.
Also, idling in a closed-in place can let deadly
carbon monoxide (CO) into your vehicle even if
the climate control fan is at the highest setting.
One place this can happen is a garage.
Exhaust — with CO — can come in easily.
NEVER park in a garage with the engine
running.
Another closed-in place can be a blizzard. See
Winter Driving on page 4-37.
2-32
Page 98 of 448
Mirrors
Automatic Dimming Rearview Mirror
with OnStar
®and Compass
Your vehicle may have an automatic-dimming rearview
mirror with a compass and the OnStar®system.
There are three additional buttons for the OnStar
®
system. See your dealer for more information on the
system and how to subscribe to OnStar®. SeeOnStar®
System on page 2-37for more information about the
services OnStar®provides.
Mirror Operation
When turned on, this mirror automatically dims to the
proper level to minimize glare from any headlamps
behind you after dark.
O(On/Off): This is the on/off button for the automatic
dimming feature and compass. Press the far left button,
located below the the mirror face, for up to three
seconds to turn the feature on and off. A light on the
mirror will be lit while the feature is turned on.
Compass Operation
Press the on/off button once to turn the compass on
or off.There is a compass display in the window in the upper
right corner of the mirror face. The compass displays
a maximum of two characters. For example, “NE”
is displayed for north-east.
Compass Calibration
Press and hold the on/off button down for nine seconds
to activate the compass calibration mode. CAL will
be displayed in the compass window on the mirror.
The compass can be calibrated by driving the vehicle in
circles at 5 mph (8 km/h) or less until the display
reads a direction.
Compass Variance
Compass variance is the difference between earth’s
magnetic north and true geographic north. The mirror is
set to zone eight upon leaving the factory. It will be
necessary to adjust the compass to compensate
for compass variance if you live outside zone eight.
Under certain circumstances, such as during a
long distance cross-country trip, it will be necessary to
adjust for compass variance. If not adjusted to
account for compass variance, your compass could give
false readings.
2-34
Page 99 of 448
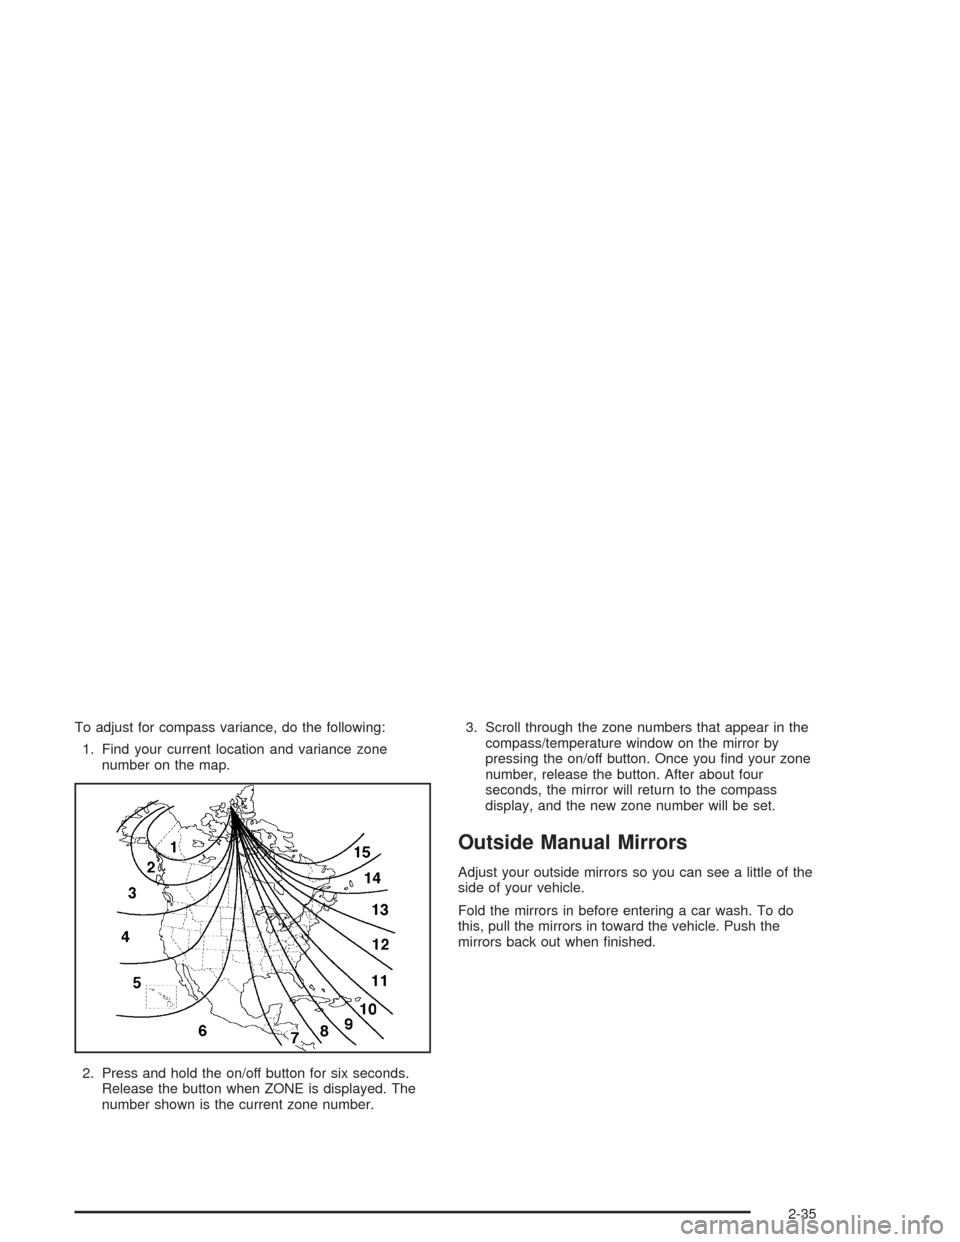
To adjust for compass variance, do the following:
1. Find your current location and variance zone
number on the map.
2. Press and hold the on/off button for six seconds.
Release the button when ZONE is displayed. The
number shown is the current zone number.3. Scroll through the zone numbers that appear in the
compass/temperature window on the mirror by
pressing the on/off button. Once you nd your zone
number, release the button. After about four
seconds, the mirror will return to the compass
display, and the new zone number will be set.
Outside Manual Mirrors
Adjust your outside mirrors so you can see a little of the
side of your vehicle.
Fold the mirrors in before entering a car wash. To do
this, pull the mirrors in toward the vehicle. Push the
mirrors back out when nished.
2-35
Page 101 of 448
Outside Convex Mirror
A convex mirror’s surface is curved so you can see
more from the driver’s seat.
{CAUTION:
A convex mirror can make things (like other
vehicles) look farther away than they really are.
If you cut too sharply into the right or left lane,
you could hit a vehicle. Check your inside
mirror or glance over your shoulder before
changing lanes.
Outside Heated Mirrors
Your vehicle may have this feature.
When you operate the rear window defogger, a defogger
also warms the heated driver’s and passenger’s
outside rearview mirrors to help clear them of ice, snow
and condensation.
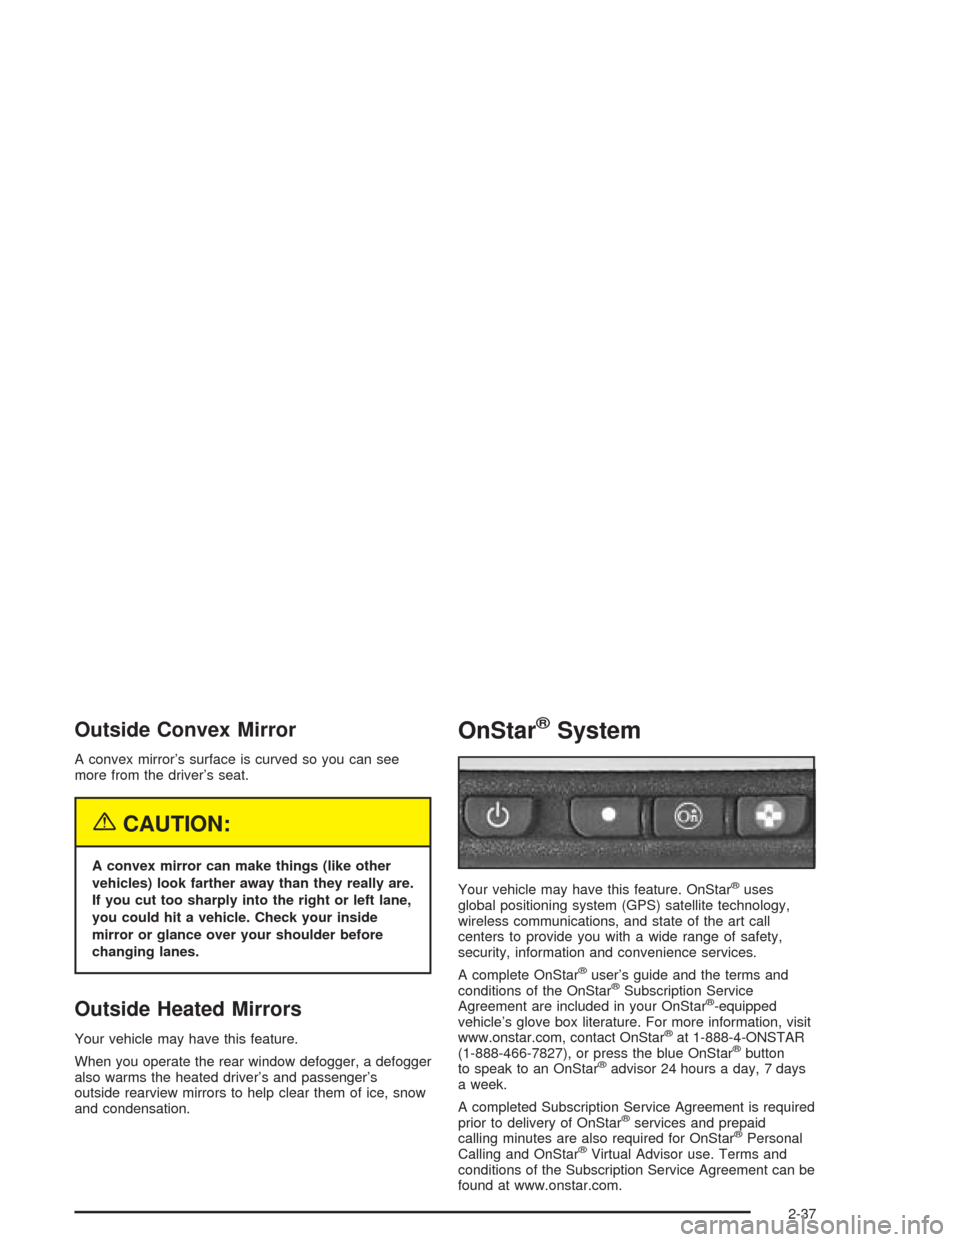
OnStar®System
Your vehicle may have this feature. OnStar®uses
global positioning system (GPS) satellite technology,
wireless communications, and state of the art call
centers to provide you with a wide range of safety,
security, information and convenience services.
A complete OnStar
®user’s guide and the terms and
conditions of the OnStar®Subscription Service
Agreement are included in your OnStar®-equipped
vehicle’s glove box literature. For more information, visit
www.onstar.com, contact OnStar
®at 1-888-4-ONSTAR
(1-888-466-7827), or press the blue OnStar®button
to speak to an OnStar®advisor 24 hours a day, 7 days
a week.
A completed Subscription Service Agreement is required
prior to delivery of OnStar
®services and prepaid
calling minutes are also required for OnStar®Personal
Calling and OnStar®Virtual Advisor use. Terms and
conditions of the Subscription Service Agreement can be
found at www.onstar.com.
2-37
Page 107 of 448
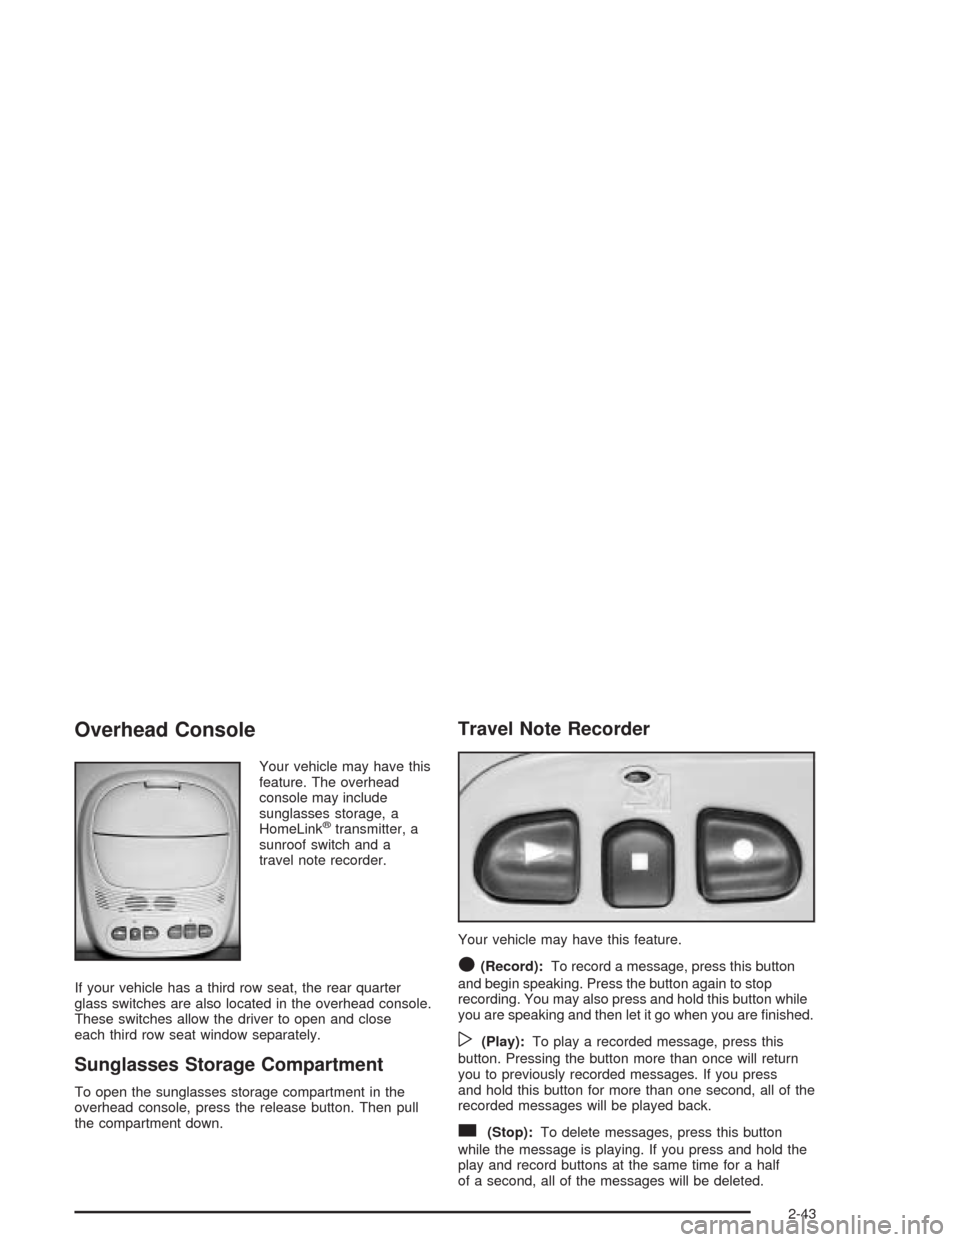
Overhead Console
Your vehicle may have this
feature. The overhead
console may include
sunglasses storage, a
HomeLink
®transmitter, a
sunroof switch and a
travel note recorder.
If your vehicle has a third row seat, the rear quarter
glass switches are also located in the overhead console.
These switches allow the driver to open and close
each third row seat window separately.
Sunglasses Storage Compartment
To open the sunglasses storage compartment in the
overhead console, press the release button. Then pull
the compartment down.
Travel Note Recorder
Your vehicle may have this feature.
O(Record):To record a message, press this button
and begin speaking. Press the button again to stop
recording. You may also press and hold this button while
you are speaking and then let it go when you are nished.
w(Play):To play a recorded message, press this
button. Pressing the button more than once will return
you to previously recorded messages. If you press
and hold this button for more than one second, all of the
recorded messages will be played back.
c(Stop):To delete messages, press this button
while the message is playing. If you press and hold the
play and record buttons at the same time for a half
of a second, all of the messages will be deleted.
2-43
Page 121 of 448
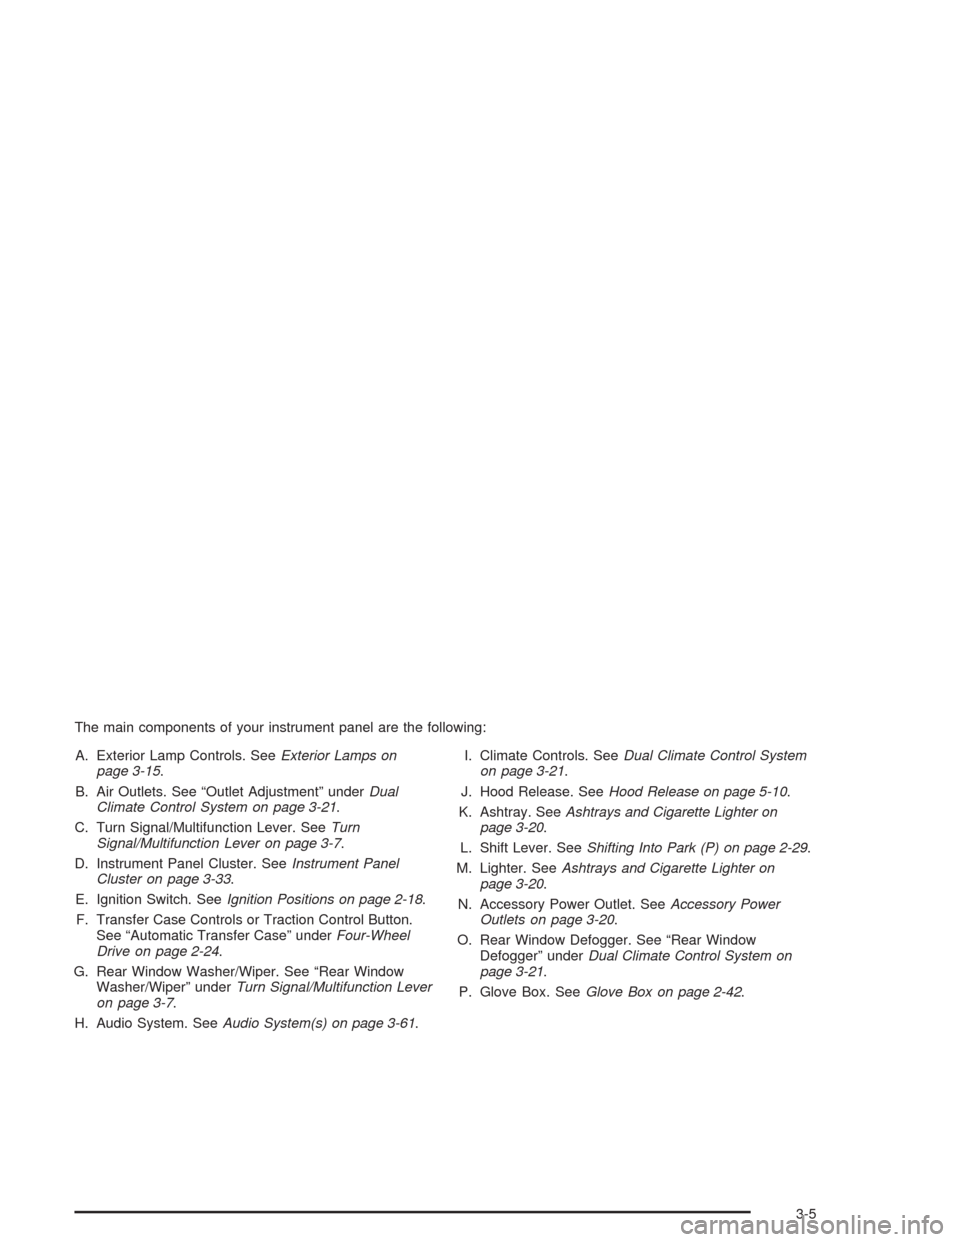
The main components of your instrument panel are the following:
A. Exterior Lamp Controls. SeeExterior Lamps on
page 3-15.
B. Air Outlets. See “Outlet Adjustment” underDual
Climate Control System on page 3-21.
C. Turn Signal/Multifunction Lever. SeeTurn
Signal/Multifunction Lever on page 3-7.
D. Instrument Panel Cluster. SeeInstrument Panel
Cluster on page 3-33.
E. Ignition Switch. SeeIgnition Positions on page 2-18.
F. Transfer Case Controls or Traction Control Button.
See “Automatic Transfer Case” underFour-Wheel
Drive on page 2-24.
G. Rear Window Washer/Wiper. See “Rear Window
Washer/Wiper” underTurn Signal/Multifunction Lever
on page 3-7.
H. Audio System. SeeAudio System(s) on page 3-61.I. Climate Controls. SeeDual Climate Control System
on page 3-21.
J. Hood Release. SeeHood Release on page 5-10.
K. Ashtray. SeeAshtrays and Cigarette Lighter on
page 3-20.
L. Shift Lever. SeeShifting Into Park (P) on page 2-29.
M. Lighter. SeeAshtrays and Cigarette Lighter on
page 3-20.
N. Accessory Power Outlet. SeeAccessory Power
Outlets on page 3-20.
O. Rear Window Defogger. See “Rear Window
Defogger” underDual Climate Control System on
page 3-21.
P. Glove Box. SeeGlove Box on page 2-42.
3-5
Page 126 of 448
Rainsense™ Wipers
Your vehicle may be equipped with
Rainsense™ windshield wipers. When active, these
wipers are able to detect moisture on the windshield and
automatically turn on the wipers.
The moisture sensor is located next to the inside
rearview mirror and is mounted on the windshield.
To turn on the Rainsense™ feature, the wipers must be
set to one of the ve delay settings on the multifunction
lever. Each of the ve settings adjusts the sensitivity
of the rainsensor. For more wipes, select the higher
settings; for fewer wipes, select the lower settings
located closer to off on the multifunction lever.
The rainsensor will automatically control the frequency
of the wipes from off to high speed according to the
weather conditions. The wipers can be left in a
rainsense mode even when it is not raining.
Notice:If you do not turn off the windshield wipers
when driving through an automatic car wash, you
could damage the wipers. Always turn off the
windshield wipers before entering an automatic
car wash.
Windshield Washer
L
(Windshield Washer):To spray washer uid on the
windshield, press the windshield washer paddle. The
wipers will clear the window and then either stop
or return to your preset speed.
{CAUTION:
In freezing weather, do not use your washer
until the windshield is warmed. Otherwise the
washer uid can form ice on the windshield,
blocking your vision.
3-10
Page 127 of 448
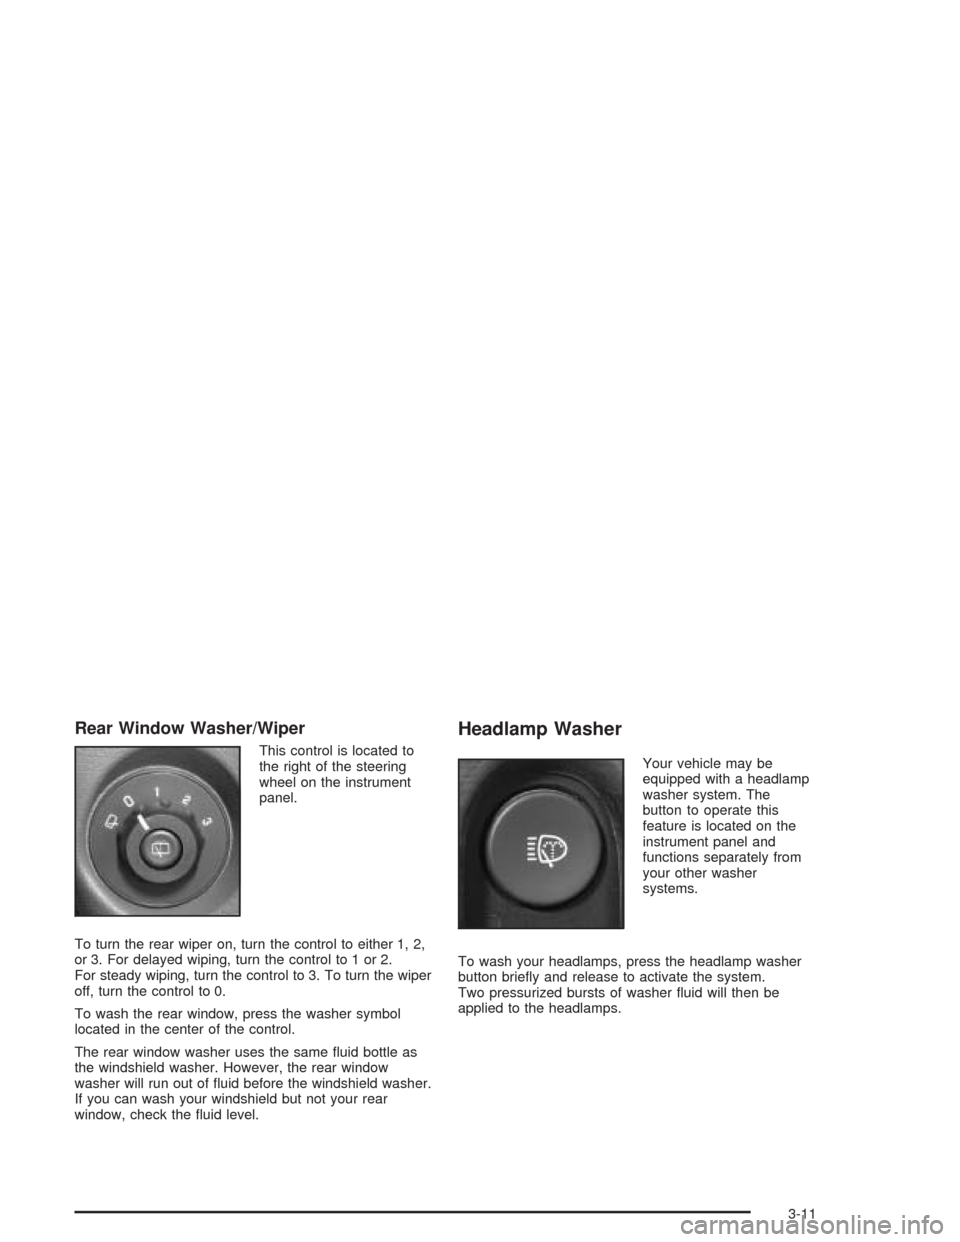
Rear Window Washer/Wiper
This control is located to
the right of the steering
wheel on the instrument
panel.
To turn the rear wiper on, turn the control to either 1, 2,
or 3. For delayed wiping, turn the control to 1 or 2.
For steady wiping, turn the control to 3. To turn the wiper
off, turn the control to 0.
To wash the rear window, press the washer symbol
located in the center of the control.
The rear window washer uses the same uid bottle as
the windshield washer. However, the rear window
washer will run out of uid before the windshield washer.
If you can wash your windshield but not your rear
window, check the uid level.
Headlamp Washer
Your vehicle may be
equipped with a headlamp
washer system. The
button to operate this
feature is located on the
instrument panel and
functions separately from
your other washer
systems.
To wash your headlamps, press the headlamp washer
button briey and release to activate the system.
Two pressurized bursts of washer uid will then be
applied to the headlamps.
3-11
Page 137 of 448
Climate Controls
Dual Climate Control System
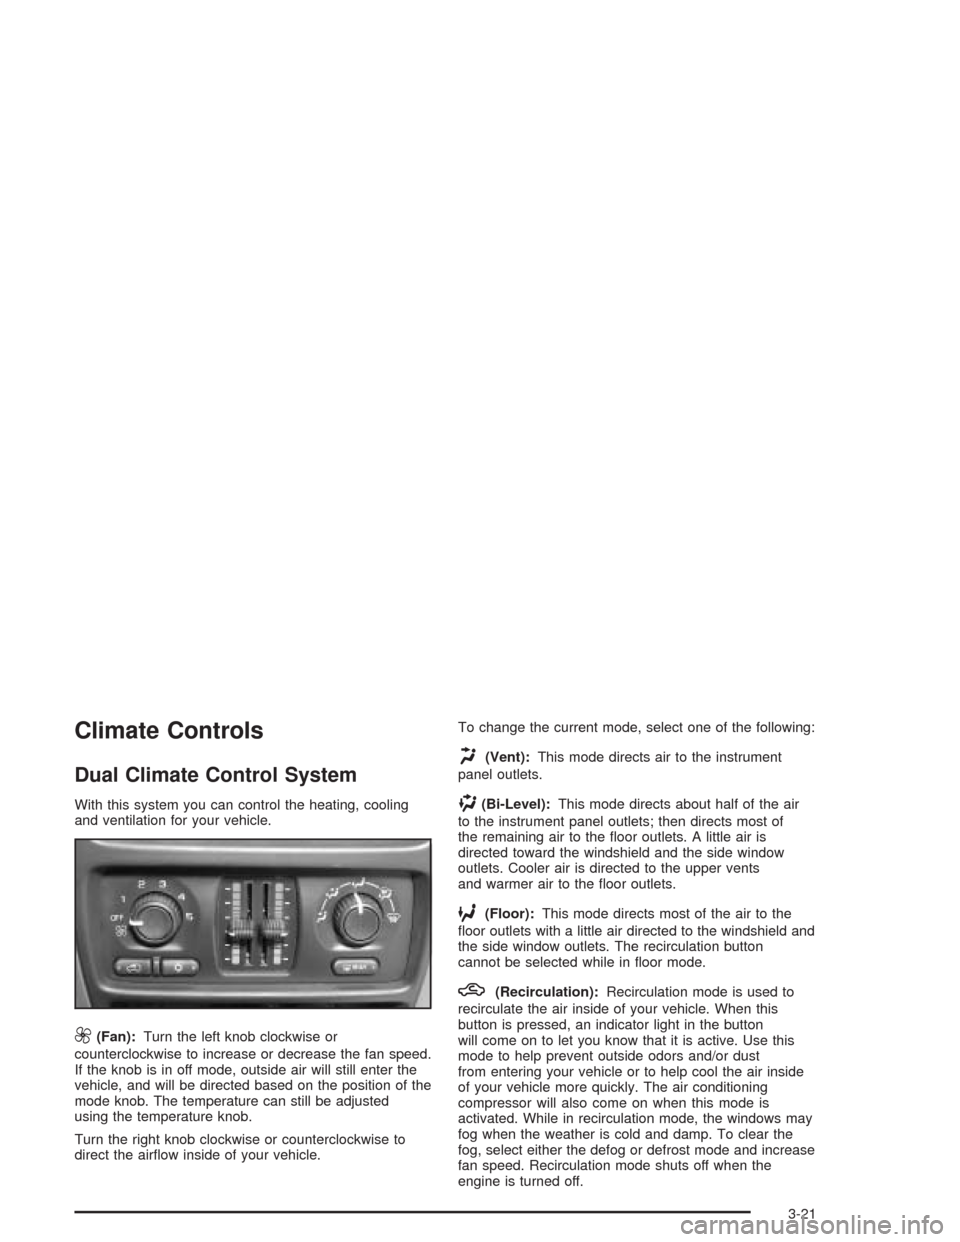
With this system you can control the heating, cooling
and ventilation for your vehicle.
9(Fan):Turn the left knob clockwise or
counterclockwise to increase or decrease the fan speed.
If the knob is in off mode, outside air will still enter the
vehicle, and will be directed based on the position of the
mode knob. The temperature can still be adjusted
using the temperature knob.
Turn the right knob clockwise or counterclockwise to
direct the airow inside of your vehicle.To change the current mode, select one of the following:
H(Vent):This mode directs air to the instrument
panel outlets.
)(Bi-Level):This mode directs about half of the air
to the instrument panel outlets; then directs most of
the remaining air to the oor outlets. A little air is
directed toward the windshield and the side window
outlets. Cooler air is directed to the upper vents
and warmer air to the oor outlets.
6(Floor):This mode directs most of the air to the
oor outlets with a little air directed to the windshield and
the side window outlets. The recirculation button
cannot be selected while in oor mode.
h(Recirculation):Recirculation mode is used to
recirculate the air inside of your vehicle. When this
button is pressed, an indicator light in the button
will come on to let you know that it is active. Use this
mode to help prevent outside odors and/or dust
from entering your vehicle or to help cool the air inside
of your vehicle more quickly. The air conditioning
compressor will also come on when this mode is
activated. While in recirculation mode, the windows may
fog when the weather is cold and damp. To clear the
fog, select either the defog or defrost mode and increase
fan speed. Recirculation mode shuts off when the
engine is turned off.
3-21