park assist CHEVROLET TRAIL BLAZER 2006 1.G Owners Manual
[x] Cancel search | Manufacturer: CHEVROLET, Model Year: 2006, Model line: TRAIL BLAZER, Model: CHEVROLET TRAIL BLAZER 2006 1.GPages: 534, PDF Size: 2.91 MB
Page 101 of 534
Starting the Engine
Move your shift lever to PARK (P) or NEUTRAL (N).
Your engine will not start in any other position — that is
a safety feature. To restart when you are already
moving, use NEUTRAL (N) only.
Notice:Do not try to shift to PARK (P) if your
vehicle is moving. If you do, you could damage the
transmission. Shift to PARK (P) only when your
vehicle is stopped.
1. With your foot off the accelerator pedal, turn the
ignition key to START. When the engine starts,
let go of the key. The idle speed will go down as
your engine gets warm.
Your vehicle has a Computer-Controlled Cranking
System. This feature assists in starting the
engine and protects the electrical system. If the
ignition key is turned to the START position,
and then released when the engine begins cranking,the engine will continue cranking until the vehicle
starts or until it exceeds the maximum cranking time
allowed, approximately 15 seconds to prevent
cranking motor damage. To prevent gear damage,
this system also prevents cranking if the engine
is already running. The engine cranking can
be stopped by turning the ignition switch to the
ACCESSORY or LOCK position.
Notice:Holding your key in START for longer than
15 seconds at a time will cause your battery to
be drained much sooner. And the excessive heat
can damage your starter motor. Wait about
15 seconds between each try to help avoid draining
your battery or damaging your starter.
2. If it does not start within 10 seconds, push the
accelerator pedal all the way to the �oor, while you
hold the ignition key in START. When the engine
starts, let go of the key and let up on the accelerator
pedal. Wait about 15 seconds between each try.
2-21
Page 128 of 534
Outside Power Mirrors
Your vehicle may have this feature. The power mirror
control is located on the driver’s door.
Turn the knob counterclockwise or clockwise to adjust
the driver’s or passenger’s mirror so that you can see a
little of the side of your vehicle. After adjusting the
position of the mirrors, turn the knob to the center
position so that the mirrors cannot move.
If the travel position in any direction of the mirror is
reached, it will enter a ratcheting mode. This action is
harmless. It is a warning that the mirror can go no
further. To stop this action, back the mirror up by moving
the knob in the opposite direction.
The mirrors can be manually folded inward to prevent
damage when going through an automatic car wash. To
fold, push the mirror toward the vehicle. To return the
mirror to its original position, push outward. Be sure
to return both mirrors to their original unfolded position
before driving.
Outside Curb View Assist Mirror
If the vehicle has this feature, the passenger’s outside
mirror will adjust to a preset tilt position while the vehicle
is in REVERSE (R) gear. Curb view assist may be
useful when you are parallel parking. The mirror
will return to normal position when the vehicle is shifted
out of REVERSE (R) gear. Automatic mirror movement
in either direction will follow a short delay.
You may be able to turn this feature on or off through
the Driver Information Center (DIC). SeeDIC Vehicle
Customization on page 3-61.
2-48
Page 133 of 534
Universal Home Remote System
Operation
Do not use the Universal Home Remote with any
garage door opener that does not have the stop and
reverse feature. This includes any garage door opener
model manufactured before April 1, 1982. If you
have a newer garage door opener with rolling codes,
please be sure to follow Steps 6 through 8 to complete
the programming of your Universal Home Remote
Transmitter.
Read the instructions completely before attempting to
program the Universal Home Remote. Because of
the steps involved, it may be helpful to have another
person available to assist you in the programming steps.
Keep the original hand-held transmitter for use in
other vehicles as well as for future Universal Home
Remote programming. It is also recommended that upon
the sale of the vehicle, the programmed Universal
Home Remote buttons should be erased for security
purposes. See “Erasing Universal Home Remote
Buttons” later in this section or, for assistance, see
Customer Assistance Offices on page 7-4.Be sure that people and objects are clear of the garage
door or gate operator you are programming. When
programming a garage door, it is advised to park outside
of the garage.
It is recommended that a new battery be installed in
your hand-held transmitter for quicker and more
accurate transmission of the radio-frequency signal.
Programming Universal Home Remote
Follow these steps to program up to three channels:
1. Press and hold down the two outside Universal
Home Remote buttons, releasing only when the
Universal Home Remote indicator light begins
to �ash, after 20 seconds. Do not hold down the
buttons for longer than 30 seconds and do not
repeat this step to program a second and/or third
hand-held transmitter to the remaining two Universal
Home Remote buttons.
2. Position the end of your hand-held transmitter
about 1 to 3 inches (3 to 8 cm) away from the
Universal Home Remote buttons while keeping the
indicator light in view.
2-53
Page 209 of 534
SEAT RECALL: ON REMOTE:The driver’s memory
seat, mirrors, and adjustable pedals position you saved
will be recalled when you unlock the vehicle with the
remote keyless entry transmitter.
Choose one of the available options and press the
customization button while it is displayed on the DIC to
select it and move on to the next feature. For more
information on the memory seat feature, seeMemory
Seat on page 2-63.
Curb View
Press the customization button until CURB VIEW: OFF
appears in the display. To select your preference for
curb view, press the select button while CURB VIEW:
OFF is displayed on the DIC. Pressing the select button
will scroll through the following choices:
CURB VIEW: OFF (default):The passenger’s outside
mirror will not be tilted down when the vehicle is
shifted into REVERSE (R).
CURB VIEW: PASSENGER:The passenger’s outside
mirror will be tilted down when the vehicle is shifted
into REVERSE (R).
When the vehicle is placed in PARK (P) or in any
forward gear, the mirror will return to the normal driving
position, following a short delay.Choose one of the available options and press the
customization button while it is displayed on the DIC to
select it and move on to the next feature. For more
information on tilt mirror in reverse, seeOutside Curb
View Assist Mirror on page 2-48.
Alarm Warning
Press the customization button until ALARM WARNING:
BOTH appears in the display. To select your preference
for alarm warning, press the select button while
ALARM WARNING: BOTH is displayed on the DIC.
Pressing the select button will scroll through the
following choices:
ALARM WARNING: BOTH (default):The headlamps
will �ash and the horn will chirp when the alarm is active.
ALARM WARNING: HORN:The horn will chirp when
the alarm is active.
ALARM WARNING: LAMPS:The headlamps will �ash
when the alarm is active.
ALARM WARNING: OFF:There will be no alarm
warning on activation.
Choose one of the available options and press the
customization button while your choice is displayed on
the DIC to select it and move on to the next feature.
For more information on alarm warning type, see
Content Theft-Deterrent on page 2-17.
3-65
Page 516 of 534
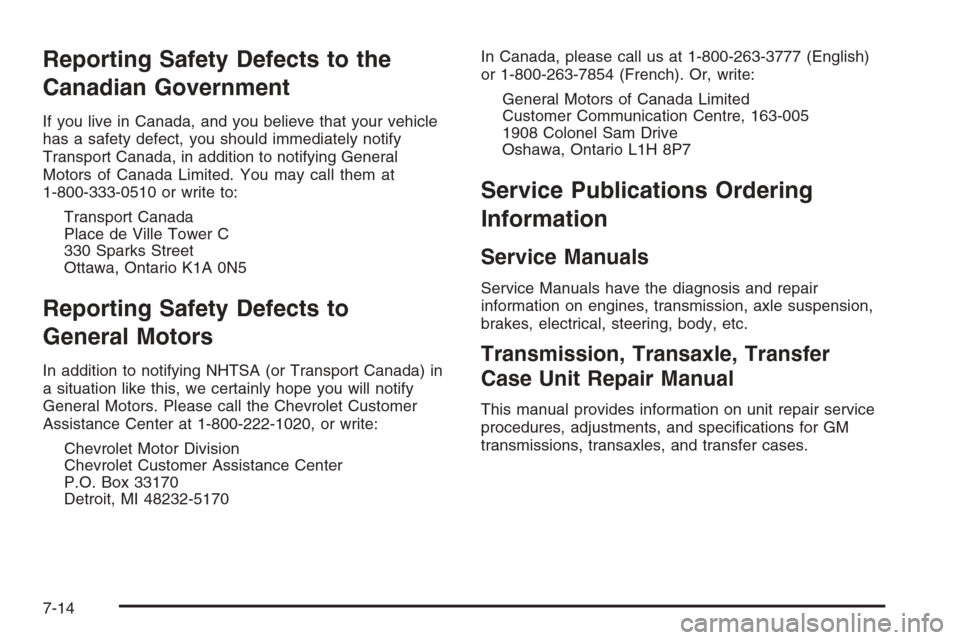
Reporting Safety Defects to the
Canadian Government
If you live in Canada, and you believe that your vehicle
has a safety defect, you should immediately notify
Transport Canada, in addition to notifying General
Motors of Canada Limited. You may call them at
1-800-333-0510 or write to:
Transport Canada
Place de Ville Tower C
330 Sparks Street
Ottawa, Ontario K1A 0N5
Reporting Safety Defects to
General Motors
In addition to notifying NHTSA (or Transport Canada) in
a situation like this, we certainly hope you will notify
General Motors. Please call the Chevrolet Customer
Assistance Center at 1-800-222-1020, or write:
Chevrolet Motor Division
Chevrolet Customer Assistance Center
P.O. Box 33170
Detroit, MI 48232-5170In Canada, please call us at 1-800-263-3777 (English)
or 1-800-263-7854 (French). Or, write:
General Motors of Canada Limited
Customer Communication Centre, 163-005
1908 Colonel Sam Drive
Oshawa, Ontario L1H 8P7
Service Publications Ordering
Information
Service Manuals
Service Manuals have the diagnosis and repair
information on engines, transmission, axle suspension,
brakes, electrical, steering, body, etc.
Transmission, Transaxle, Transfer
Case Unit Repair Manual
This manual provides information on unit repair service
procedures, adjustments, and speci�cations for GM
transmissions, transaxles, and transfer cases.
7-14
Page 528 of 534
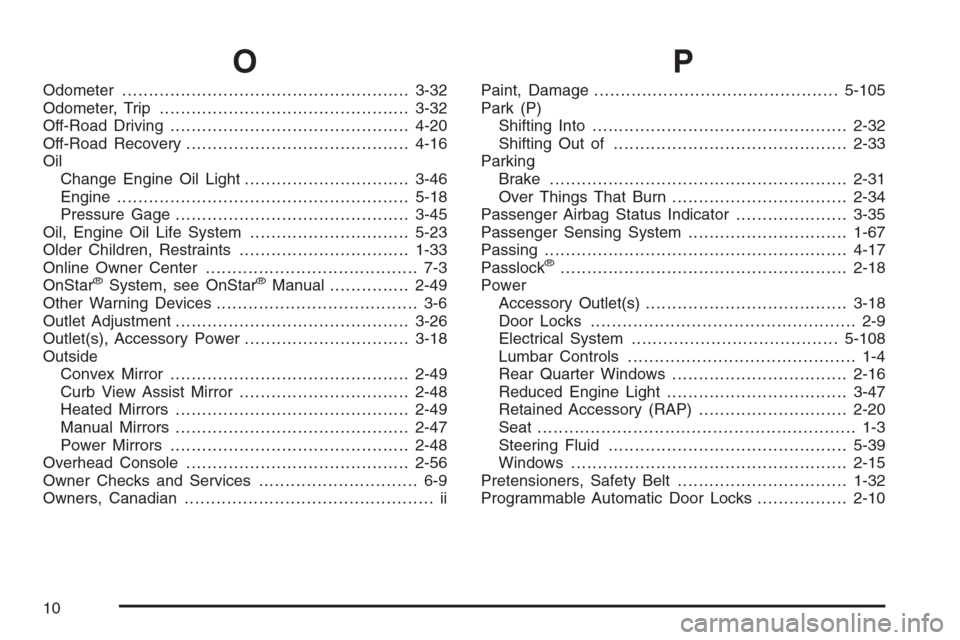
O
Odometer......................................................3-32
Odometer, Trip...............................................3-32
Off-Road Driving.............................................4-20
Off-Road Recovery..........................................4-16
Oil
Change Engine Oil Light...............................3-46
Engine.......................................................5-18
Pressure Gage............................................3-45
Oil, Engine Oil Life System..............................5-23
Older Children, Restraints................................1-33
Online Owner Center........................................ 7-3
OnStar
®System, see OnStar®Manual...............2-49
Other Warning Devices...................................... 3-6
Outlet Adjustment............................................3-26
Outlet(s), Accessory Power...............................3-18
Outside
Convex Mirror.............................................2-49
Curb View Assist Mirror................................2-48
Heated Mirrors............................................2-49
Manual Mirrors............................................2-47
Power Mirrors.............................................2-48
Overhead Console..........................................2-56
Owner Checks and Services.............................. 6-9
Owners, Canadian............................................... ii
P
Paint, Damage..............................................5-105
Park (P)
Shifting Into................................................2-32
Shifting Out of............................................2-33
Parking
Brake........................................................2-31
Over Things That Burn.................................2-34
Passenger Airbag Status Indicator.....................3-35
Passenger Sensing System..............................1-67
Passing.........................................................4-17
Passlock
®......................................................2-18
Power
Accessory Outlet(s)......................................3-18
Door Locks.................................................. 2-9
Electrical System.......................................5-108
Lumbar Controls........................................... 1-4
Rear Quarter Windows.................................2-16
Reduced Engine Light..................................3-47
Retained Accessory (RAP)............................2-20
Seat............................................................ 1-3
Steering Fluid.............................................5-39
Windows....................................................2-15
Pretensioners, Safety Belt................................1-32
Programmable Automatic Door Locks.................2-10
10
Page 530 of 534
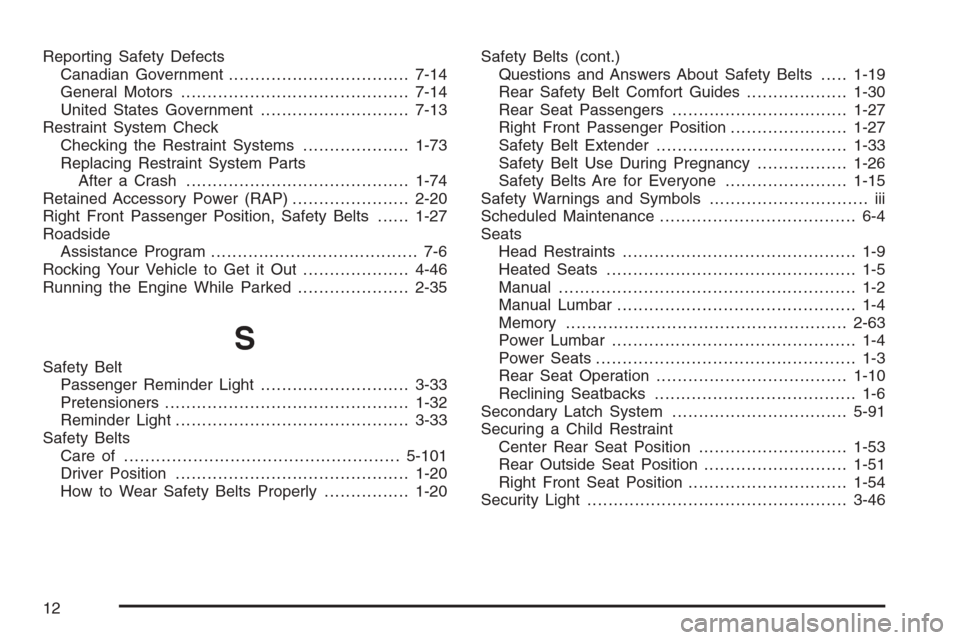
Reporting Safety Defects
Canadian Government..................................7-14
General Motors...........................................7-14
United States Government............................7-13
Restraint System Check
Checking the Restraint Systems....................1-73
Replacing Restraint System Parts
After a Crash..........................................1-74
Retained Accessory Power (RAP)......................2-20
Right Front Passenger Position, Safety Belts......1-27
Roadside
Assistance Program....................................... 7-6
Rocking Your Vehicle to Get it Out....................4-46
Running the Engine While Parked.....................2-35
S
Safety Belt
Passenger Reminder Light............................3-33
Pretensioners..............................................1-32
Reminder Light............................................3-33
Safety Belts
Care of ....................................................5-101
Driver Position............................................1-20
How to Wear Safety Belts Properly................1-20Safety Belts (cont.)
Questions and Answers About Safety Belts.....1-19
Rear Safety Belt Comfort Guides...................1-30
Rear Seat Passengers.................................1-27
Right Front Passenger Position......................1-27
Safety Belt Extender....................................1-33
Safety Belt Use During Pregnancy.................1-26
Safety Belts Are for Everyone.......................1-15
Safety Warnings and Symbols.............................. iii
Scheduled Maintenance..................................... 6-4
Seats
Head Restraints............................................ 1-9
Heated Seats............................................... 1-5
Manual........................................................ 1-2
Manual Lumbar............................................. 1-4
Memory .....................................................2-63
Power Lumbar .............................................. 1-4
Power Seats................................................. 1-3
Rear Seat Operation....................................1-10
Reclining Seatbacks...................................... 1-6
Secondary Latch System.................................5-91
Securing a Child Restraint
Center Rear Seat Position............................1-53
Rear Outside Seat Position...........................1-51
Right Front Seat Position..............................1-54
Security Light.................................................3-46
12