service indicator CHEVROLET TRAIL BLAZER 2007 1.G Owners Manual
[x] Cancel search | Manufacturer: CHEVROLET, Model Year: 2007, Model line: TRAIL BLAZER, Model: CHEVROLET TRAIL BLAZER 2007 1.GPages: 574, PDF Size: 2.94 MB
Page 1 of 574
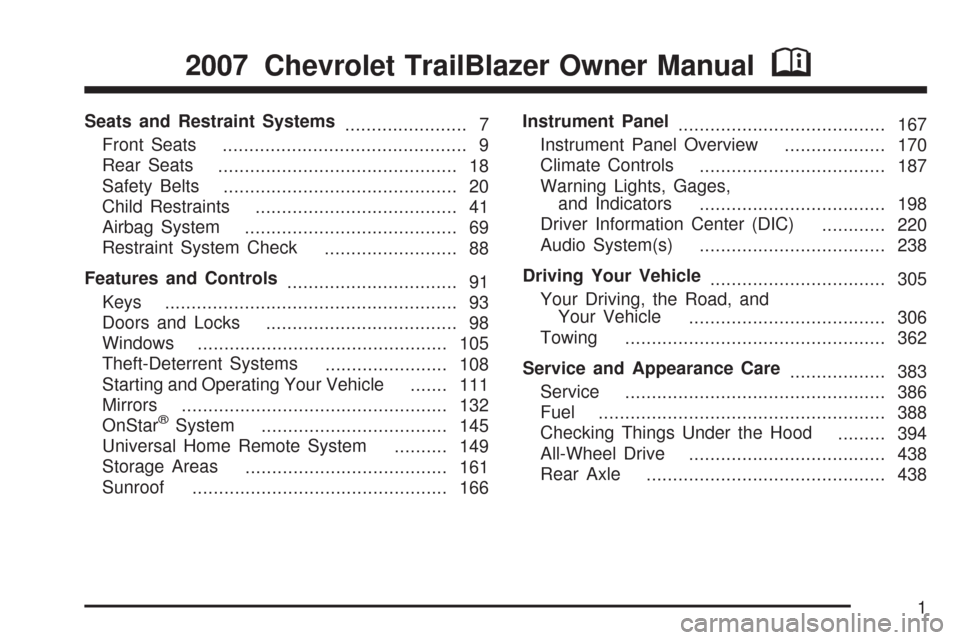
Seats and Restraint Systems
....................... 7
Front Seats
.............................................. 9
Rear Seats
............................................. 18
Safety Belts
............................................ 20
Child Restraints
...................................... 41
Airbag System
........................................ 69
Restraint System Check
......................... 88
Features and Controls
................................ 91
Keys
....................................................... 93
Doors and Locks
.................................... 98
Windows
............................................... 105
Theft-Deterrent Systems
....................... 108
Starting and Operating Your Vehicle
....... 111
Mirrors
.................................................. 132
OnStar
®System
................................... 145
Universal Home Remote System
.......... 149
Storage Areas
...................................... 161
Sunroof
................................................ 166Instrument Panel
....................................... 167
Instrument Panel Overview
................... 170
Climate Controls
................................... 187
Warning Lights, Gages,
and Indicators
................................... 198
Driver Information Center (DIC)
............ 220
Audio System(s)
................................... 238
Driving Your Vehicle
................................. 305
Your Driving, the Road, and
Your Vehicle
..................................... 306
Towing
................................................. 362
Service and Appearance Care
.................. 383
Service
................................................. 386
Fuel
...................................................... 388
Checking Things Under the Hood
......... 394
All-Wheel Drive
..................................... 438
Rear Axle
............................................. 438
2007 Chevrolet TrailBlazer Owner ManualM
1
Page 123 of 574
{CAUTION:
Shifting the transfer case to NEUTRAL can
cause your vehicle to roll even if the
transmission is in PARK (P). You or
someone else could be seriously injured.
Be sure to set the parking brake before
placing the transfer case in NEUTRAL.
SeeParking Brake on page 126.
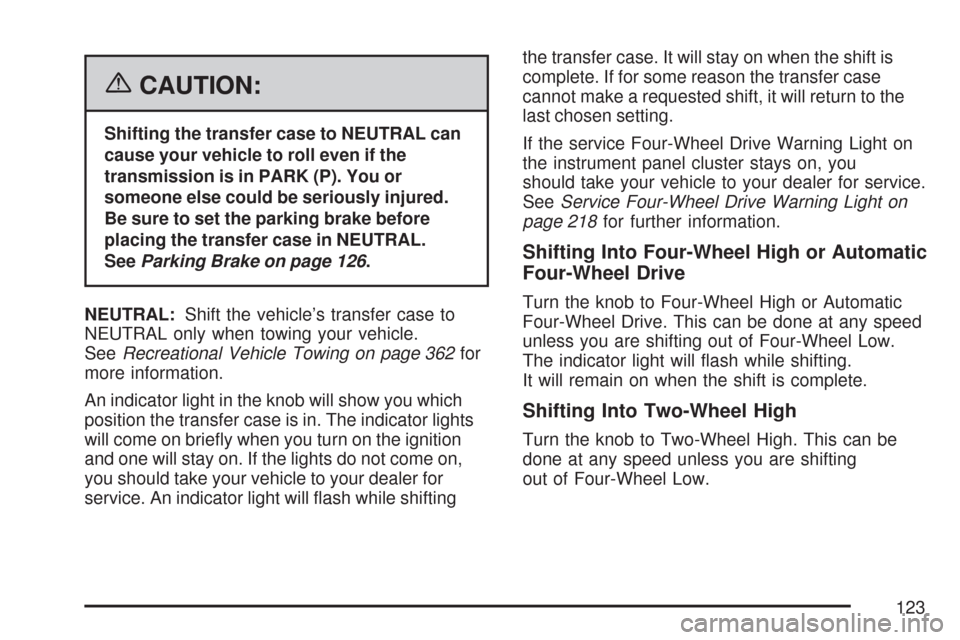
NEUTRAL:Shift the vehicle’s transfer case to
NEUTRAL only when towing your vehicle.
SeeRecreational Vehicle Towing on page 362for
more information.
An indicator light in the knob will show you which
position the transfer case is in. The indicator lights
will come on brie�y when you turn on the ignition
and one will stay on. If the lights do not come on,
you should take your vehicle to your dealer for
service. An indicator light will �ash while shiftingthe transfer case. It will stay on when the shift is
complete. If for some reason the transfer case
cannot make a requested shift, it will return to the
last chosen setting.
If the service Four-Wheel Drive Warning Light on
the instrument panel cluster stays on, you
should take your vehicle to your dealer for service.
SeeService Four-Wheel Drive Warning Light on
page 218for further information.
Shifting Into Four-Wheel High or Automatic
Four-Wheel Drive
Turn the knob to Four-Wheel High or Automatic
Four-Wheel Drive. This can be done at any speed
unless you are shifting out of Four-Wheel Low.
The indicator light will �ash while shifting.
It will remain on when the shift is complete.
Shifting Into Two-Wheel High
Turn the knob to Two-Wheel High. This can be
done at any speed unless you are shifting
out of Four-Wheel Low.
123
Page 133 of 574
Mirror Operation
While sitting in a comfortable driving position,
adjust the rearview mirror so you can see clearly
behind your vehicle. Grip it in the center to
move it up or down and side to side. The day/night
control, located at the bottom of the mirror,
adjusts the mirror to reduce headlamp glare from
behind during evening or dark conditions.
Move the control to the right for night conditions.
Return it to the center for daytime use.
Automatic Dimming Rearview Mirror
with OnStar
®and Compass
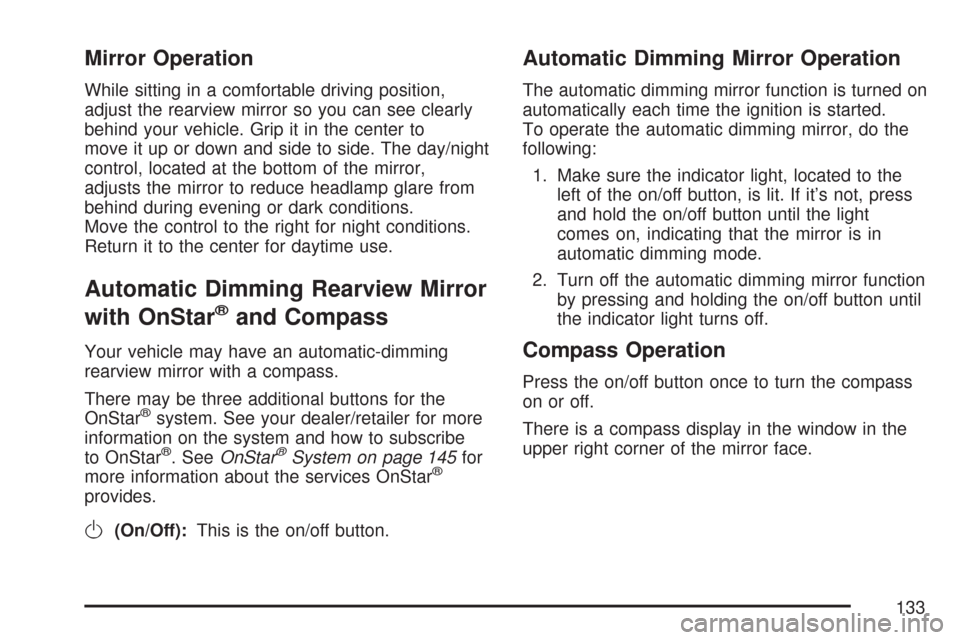
Your vehicle may have an automatic-dimming
rearview mirror with a compass.
There may be three additional buttons for the
OnStar
®system. See your dealer/retailer for more
information on the system and how to subscribe
to OnStar
®. SeeOnStar®System on page 145for
more information about the services OnStar®
provides.
O(On/Off):This is the on/off button.
Automatic Dimming Mirror Operation
The automatic dimming mirror function is turned on
automatically each time the ignition is started.
To operate the automatic dimming mirror, do the
following:
1. Make sure the indicator light, located to the
left of the on/off button, is lit. If it’s not, press
and hold the on/off button until the light
comes on, indicating that the mirror is in
automatic dimming mode.
2. Turn off the automatic dimming mirror function
by pressing and holding the on/off button until
the indicator light turns off.
Compass Operation
Press the on/off button once to turn the compass
on or off.
There is a compass display in the window in the
upper right corner of the mirror face.
133
Page 150 of 574
Universal Home Remote System
The Universal Home Remote System provides
a way to replace up to three hand-held
Radio-Frequency (RF) transmitters used to
activate devices such as garage door openers,
security systems, and home lighting.
This device complies with Part 15 of the FCC
Rules. Operation is subject to the following
two conditions:
1. This device may not cause harmful
interference.
2. This device must accept any interference
received, including interference that may
cause undesired operation.
This device complies with RSS-210 of Industry
Canada. Operation is subject to the following
two conditions:
1. This device may not cause interference.
2. This device must accept any interference
received, including interference that may
cause undesired operation of the device.
Changes or modi�cations to this system by other
than an authorized service facility could void
authorization to use this equipment.
Universal Home Remote System
Operation (With One Triangular LED)
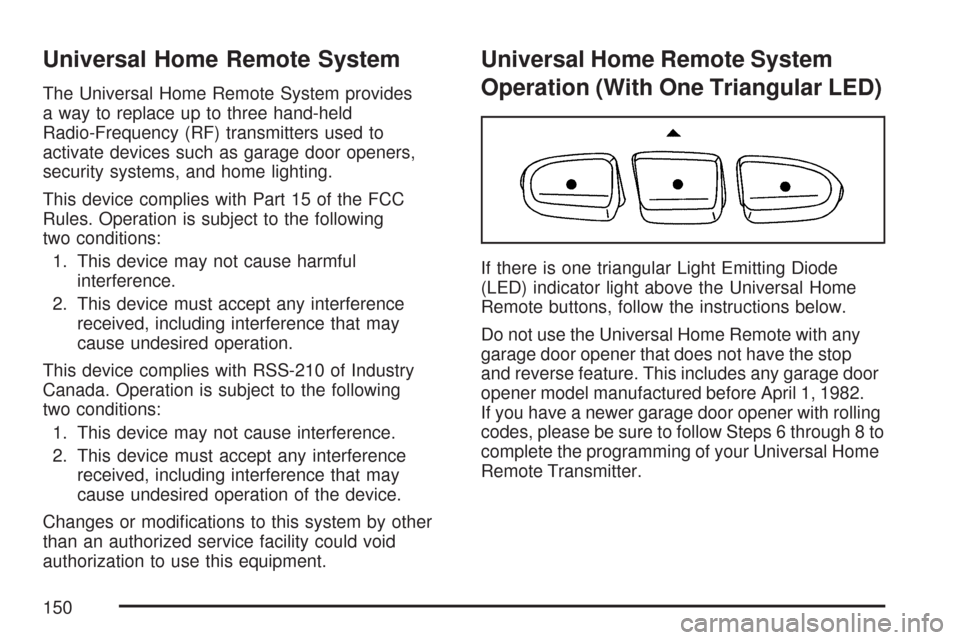
If there is one triangular Light Emitting Diode
(LED) indicator light above the Universal Home
Remote buttons, follow the instructions below.
Do not use the Universal Home Remote with any
garage door opener that does not have the stop
and reverse feature. This includes any garage door
opener model manufactured before April 1, 1982.
If you have a newer garage door opener with rolling
codes, please be sure to follow Steps 6 through 8 to
complete the programming of your Universal Home
Remote Transmitter.
150
Page 167 of 574
Instrument Panel Overview........................ 170
Hazard Warning Flashers.......................... 172
Other Warning Devices............................. 172
Horn.......................................................... 172
Tilt Wheel.................................................. 173
Turn Signal/Multifunction Lever.................. 173
Turn and Lane-Change Signals................. 174
Headlamp High/Low-Beam Changer.......... 175
Flash-to-Pass............................................ 175
Windshield Wipers..................................... 175
Windshield Washer.................................... 176
Rear Window Wiper/Washer...................... 176
Cruise Control........................................... 177
Headlamps................................................ 180
Headlamps on Reminder........................... 181
Daytime Running Lamps (DRL)................. 181
Automatic Headlamp System..................... 182
Fog Lamps................................................ 183
Instrument Panel Brightness...................... 183
Dome Lamps............................................. 183
Dome Lamp Override................................ 184
Entry Lighting............................................ 184
Exit Lighting.............................................. 184
Reading Lamps......................................... 184Electric Power Management...................... 185
Battery Run-Down Protection..................... 186
Accessory Power Outlet(s)........................ 186
Ashtray(s) and Cigarette Lighter................ 187
Climate Controls......................................... 187
Dual Climate Control System..................... 187
Dual Automatic Climate Control System....... 190
Outlet Adjustment...................................... 195
Rear Climate Control System.................... 196
Warning Lights, Gages, and Indicators..... 198
Instrument Panel Cluster........................... 199
Speedometer and Odometer...................... 200
Trip Odometer........................................... 200
Tachometer............................................... 201
Safety Belt Reminder Light........................ 201
Passenger Safety Belt Reminder Light....... 202
Airbag Readiness Light............................. 202
Passenger Airbag Status Indicator............. 203
Charging System Light.............................. 206
Voltmeter Gage......................................... 207
Brake System Warning Light..................... 208
Anti-Lock Brake System Warning Light...... 209
StabiliTrak
®Service Light........................... 210
Section 3 Instrument Panel
167
Page 168 of 574
StabiliTrak®Indicator Light......................... 210
Engine Coolant Temperature Gage............ 211
Tire Pressure Light.................................... 211
Malfunction Indicator Lamp........................ 212
Oil Pressure Gage..................................... 215
Change Engine Oil Light........................... 216
Security Light............................................ 216
Cruise Control Light.................................. 217
Reduced Engine Power Light.................... 217
Highbeam On Light................................... 217
Service Four-Wheel Drive Warning Light...... 218
Check Gages Warning Light...................... 218
Gate Ajar Light.......................................... 218
Fuel Gage................................................. 219
Low Fuel Warning Light............................ 219
Check Gas Cap Light................................ 219
Driver Information Center (DIC).................. 220
DIC Operation and Displays...................... 221
DIC Warnings and Messages.................... 224
DIC Vehicle Customization........................ 231Audio System(s)......................................... 238
Setting the Time........................................ 239
Radio with CD (Base)............................... 240
Radio with CD (MP3)................................ 250
Radio with Six-Disc CD............................. 260
Using an MP3........................................... 274
XM Radio Messages................................. 280
Navigation/Radio System........................... 284
Rear Seat Entertainment System............... 284
Rear Seat Audio (RSA)............................. 298
Theft-Deterrent Feature............................. 300
Audio Steering Wheel Controls.................. 300
Radio Reception........................................ 301
Care of Your CDs and DVDs.................... 302
Care of the CD and DVD Player............... 302
Fixed Mast Antenna.................................. 303
XM™ Satellite Radio Antenna System....... 303
Chime Level Adjustment............................ 303
Section 3 Instrument Panel
168
Page 203 of 574
{CAUTION:
If the airbag readiness light stays on after
you start your vehicle, it means the airbag
system may not be working properly. The
airbags in your vehicle may not in�ate in
a crash, or they could even in�ate without
a crash. To help avoid injury to yourself
or others, have your vehicle serviced right
away if the airbag readiness light stays on
after you start your vehicle.
If the airbag readiness light stays on after you
start the vehicle or comes on when you are driving,
your airbag system may not work properly.
Have your vehicle serviced right away.
The airbag readiness light should �ash for a few
seconds when you turn the ignition key to RUN.
If the light does not come on then, have it �xed so
it will be ready to warn you if there is a problem.
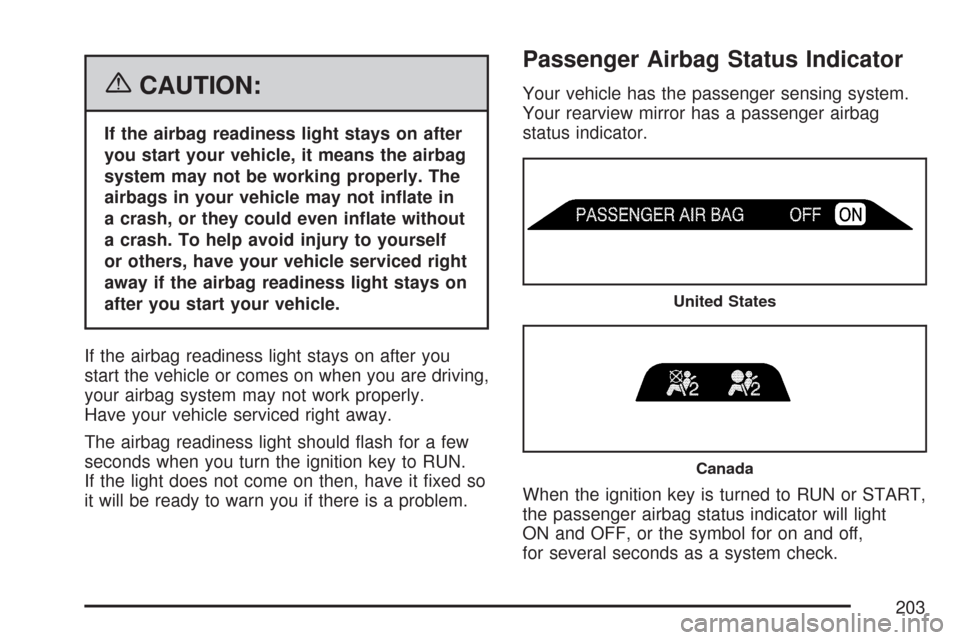
Passenger Airbag Status Indicator
Your vehicle has the passenger sensing system.
Your rearview mirror has a passenger airbag
status indicator.
When the ignition key is turned to RUN or START,
the passenger airbag status indicator will light
ON and OFF, or the symbol for on and off,
for several seconds as a system check.
United States
Canada
203
Page 206 of 574
If, after several seconds, all status indicator lights
remain on, or if there are no lights at all, there
may be a problem with the lights or the passenger
sensing system. See your dealer for service.
{CAUTION:
If the off indicator and the airbag
readiness light ever come on together,
it means that something may be wrong
with the airbag system. If this ever
happens, have the vehicle serviced
promptly, because an adult-size person
sitting in the right front passenger seat
may not have the protection of the frontal
airbag. SeeAirbag Readiness Light
on page 202.
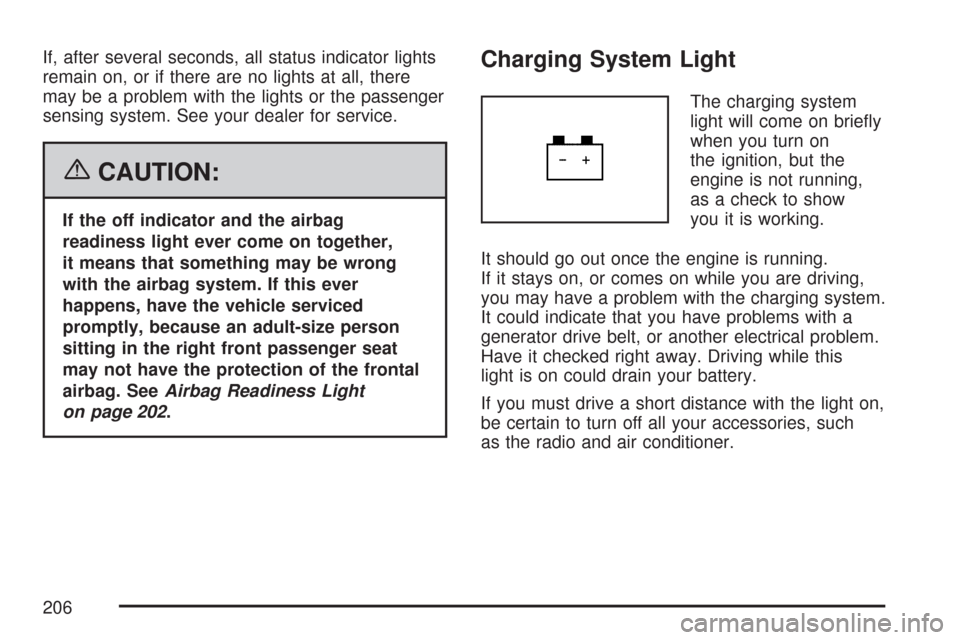
Charging System Light
The charging system
light will come on brie�y
when you turn on
the ignition, but the
engine is not running,
as a check to show
you it is working.
It should go out once the engine is running.
If it stays on, or comes on while you are driving,
you may have a problem with the charging system.
It could indicate that you have problems with a
generator drive belt, or another electrical problem.
Have it checked right away. Driving while this
light is on could drain your battery.
If you must drive a short distance with the light on,
be certain to turn off all your accessories, such
as the radio and air conditioner.
206
Page 210 of 574
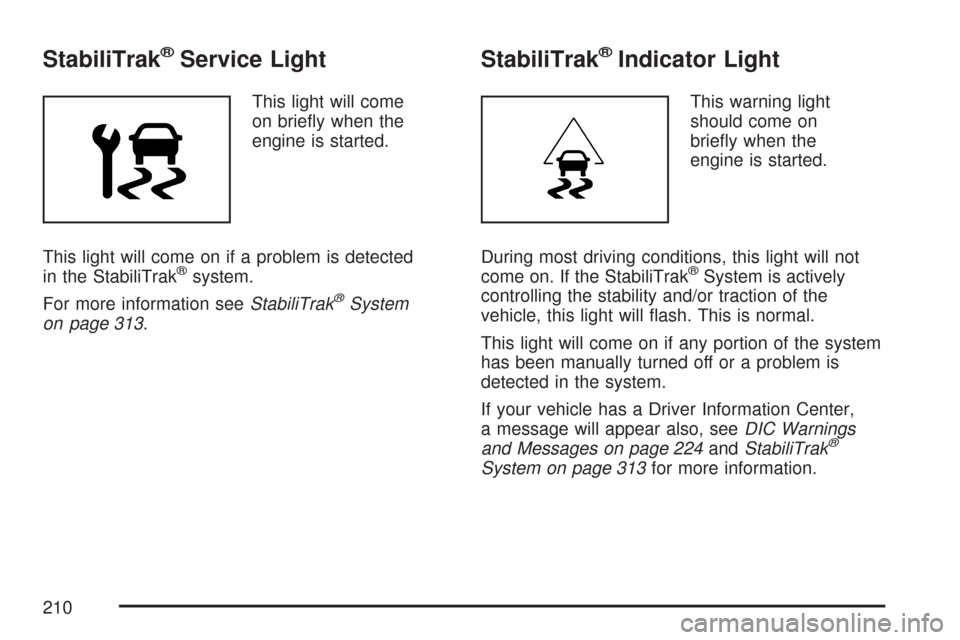
StabiliTrak®Service Light
This light will come
on brie�y when the
engine is started.
This light will come on if a problem is detected
in the StabiliTrak
®system.
For more information seeStabiliTrak
®System
on page 313.
StabiliTrak®Indicator Light
This warning light
should come on
brie�y when the
engine is started.
During most driving conditions, this light will not
come on. If the StabiliTrak
®System is actively
controlling the stability and/or traction of the
vehicle, this light will �ash. This is normal.
This light will come on if any portion of the system
has been manually turned off or a problem is
detected in the system.
If your vehicle has a Driver Information Center,
a message will appear also, seeDIC Warnings
and Messages on page 224andStabiliTrak
®
System on page 313for more information.
210
Page 212 of 574
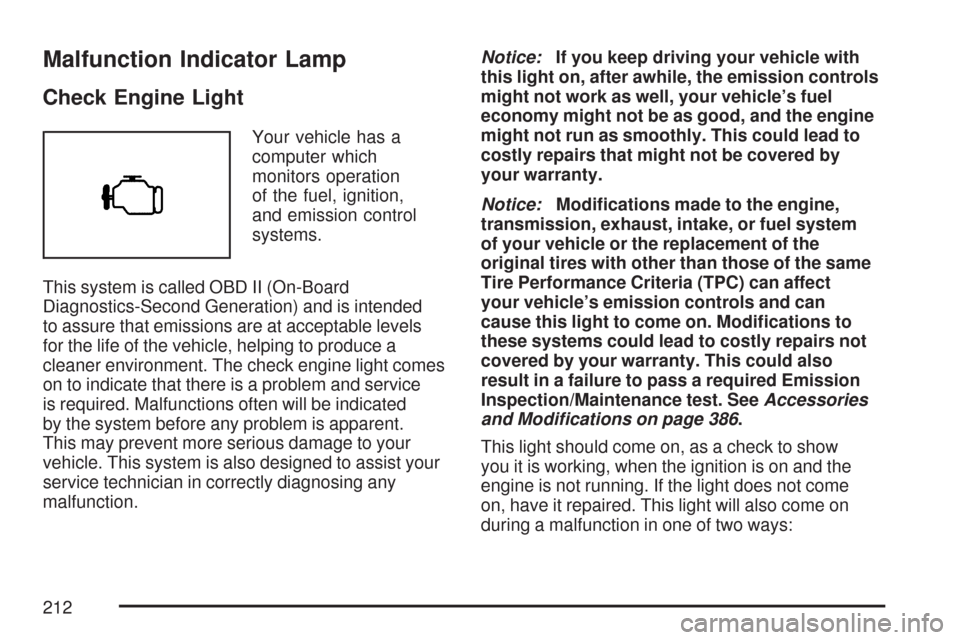
Malfunction Indicator Lamp
Check Engine Light
Your vehicle has a
computer which
monitors operation
of the fuel, ignition,
and emission control
systems.
This system is called OBD II (On-Board
Diagnostics-Second Generation) and is intended
to assure that emissions are at acceptable levels
for the life of the vehicle, helping to produce a
cleaner environment. The check engine light comes
on to indicate that there is a problem and service
is required. Malfunctions often will be indicated
by the system before any problem is apparent.
This may prevent more serious damage to your
vehicle. This system is also designed to assist your
service technician in correctly diagnosing any
malfunction.Notice:If you keep driving your vehicle with
this light on, after awhile, the emission controls
might not work as well, your vehicle’s fuel
economy might not be as good, and the engine
might not run as smoothly. This could lead to
costly repairs that might not be covered by
your warranty.
Notice:Modi�cations made to the engine,
transmission, exhaust, intake, or fuel system
of your vehicle or the replacement of the
original tires with other than those of the same
Tire Performance Criteria (TPC) can affect
your vehicle’s emission controls and can
cause this light to come on. Modi�cations to
these systems could lead to costly repairs not
covered by your warranty. This could also
result in a failure to pass a required Emission
Inspection/Maintenance test. SeeAccessories
and Modifications on page 386.
This light should come on, as a check to show
you it is working, when the ignition is on and the
engine is not running. If the light does not come
on, have it repaired. This light will also come on
during a malfunction in one of two ways:
212