light CHEVROLET TRAVERSE 2016 1.G User Guide
[x] Cancel search | Manufacturer: CHEVROLET, Model Year: 2016, Model line: TRAVERSE, Model: CHEVROLET TRAVERSE 2016 1.GPages: 392, PDF Size: 6.66 MB
Page 27 of 392
Chevrolet Traverse Owner Manual (GMNA-Localizing-U.S./Canada/Mexico-
9159264) - 2016 - crc - 8/17/15
26 In Brief
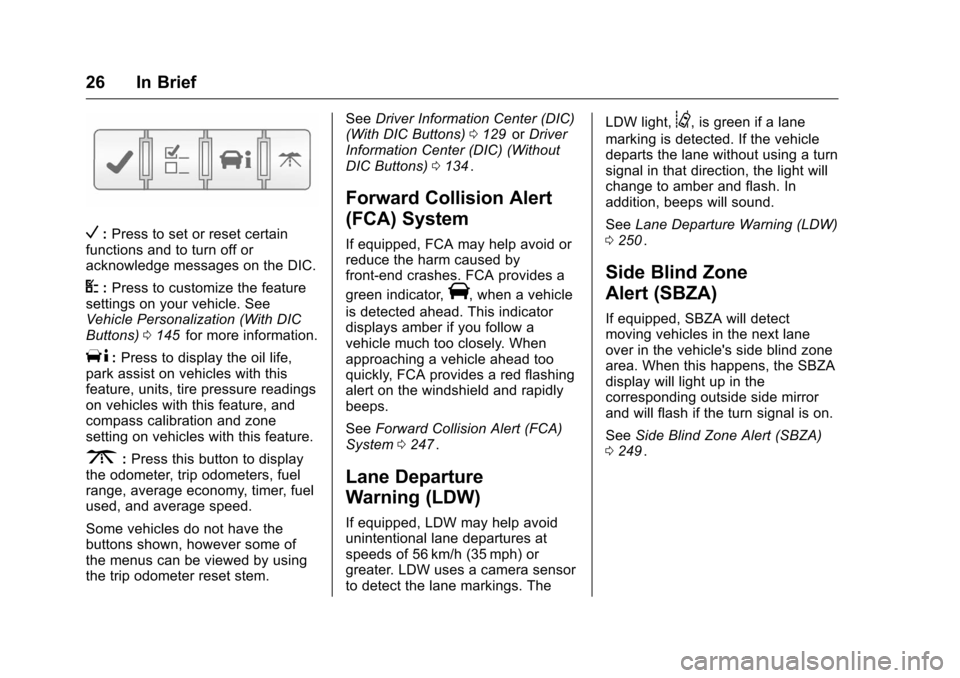
V:Press to set or reset certain
functions and to turn off or
acknowledge messages on the DIC.
U: Press to customize the feature
settings on your vehicle. See
Vehicle Personalization (With DIC
Buttons) 0145
iifor more information.
T:Press to display the oil life,
park assist on vehicles with this
feature, units, tire pressure readings
on vehicles with this feature, and
compass calibration and zone
setting on vehicles with this feature.
3: Press this button to display
the odometer, trip odometers, fuel
range, average economy, timer, fuel
used, and average speed.
Some vehicles do not have the
buttons shown, however some of
the menus can be viewed by using
the trip odometer reset stem. See
Driver Information Center (DIC)
(With DIC Buttons) 0129
iior Driver
Information Center (DIC) (Without
DIC Buttons) 0134
ii.
Forward Collision Alert
(FCA) System
If equipped, FCA may help avoid or
reduce the harm caused by
front-end crashes. FCA provides a
green indicator,
V, when a vehicle
is detected ahead. This indicator
displays amber if you follow a
vehicle much too closely. When
approaching a vehicle ahead too
quickly, FCA provides a red flashing
alert on the windshield and rapidly
beeps.
See Forward Collision Alert (FCA)
System 0247
ii.
Lane Departure
Warning (LDW)
If equipped, LDW may help avoid
unintentional lane departures at
speeds of 56 km/h (35 mph) or
greater. LDW uses a camera sensor
to detect the lane markings. The LDW light,
@, is green if a lane
marking is detected. If the vehicle
departs the lane without using a turn
signal in that direction, the light will
change to amber and flash. In
addition, beeps will sound.
See Lane Departure Warning (LDW)
0 250
ii.
Side Blind Zone
Alert (SBZA)
If equipped, SBZA will detect
moving vehicles in the next lane
over in the vehicle's side blind zone
area. When this happens, the SBZA
display will light up in the
corresponding outside side mirror
and will flash if the turn signal is on.
See Side Blind Zone Alert (SBZA)
0 249
ii.
Page 29 of 392
Chevrolet Traverse Owner Manual (GMNA-Localizing-U.S./Canada/Mexico-
9159264) - 2016 - crc - 8/17/15
28 In Brief
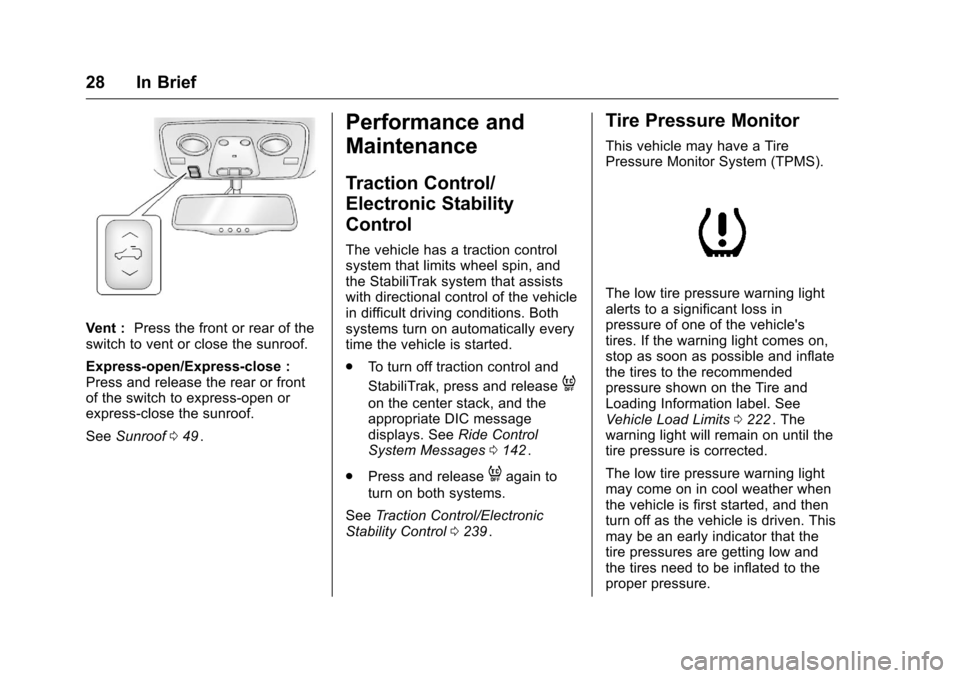
Vent :Press the front or rear of the
switch to vent or close the sunroof.
Express-open/Express-close :
Press and release the rear or front
of the switch to express-open or
express-close the sunroof.
See Sunroof 049
ii.
Performance and
Maintenance
Traction Control/
Electronic Stability
Control
The vehicle has a traction control
system that limits wheel spin, and
the StabiliTrak system that assists
with directional control of the vehicle
in difficult driving conditions. Both
systems turn on automatically every
time the vehicle is started.
.
To turn off traction control and
StabiliTrak, press and release
4
on the center stack, and the
appropriate DIC message
displays. See Ride Control
System Messages 0142
ii.
. Press and release
4again to
turn on both systems.
See Traction Control/Electronic
Stability Control 0239
ii.
Tire Pressure Monitor
This vehicle may have a Tire
Pressure Monitor System (TPMS).
The low tire pressure warning light
alerts to a significant loss in
pressure of one of the vehicle's
tires. If the warning light comes on,
stop as soon as possible and inflate
the tires to the recommended
pressure shown on the Tire and
Loading Information label. See
Vehicle Load Limits 0222
ii. The
warning light will remain on until the
tire pressure is corrected.
The low tire pressure warning light
may come on in cool weather when
the vehicle is first started, and then
turn off as the vehicle is driven. This
may be an early indicator that the
tire pressures are getting low and
the tires need to be inflated to the
proper pressure.
Page 33 of 392
Chevrolet Traverse Owner Manual (GMNA-Localizing-U.S./Canada/Mexico-
9159264) - 2016 - crc - 8/17/15
32 Keys, Doors, and Windows
{Warning
If the key is unintentionally
rotated while the vehicle is
running, the ignition could be
moved out of the RUN position.
This could be caused by heavy
items hanging from the key ring,
or by large or long items attached
to the key ring that could be
contacted by the driver or
steering wheel. If the ignition
moves out of the RUN position,
the engine will shut off, braking
and steering power assist may be(Continued)
Warning (Continued)
impacted, and airbags may not
deploy. To reduce the risk of
unintentional rotation of the
ignition key, do not change the
way the ignition key and Remote
Keyless Entry (RKE) transmitter,
if equipped, are connected to the
provided key rings.
The ignition key, key rings, and RKE
transmitter, if equipped, are
designed to work together. As a
system, it reduces the risk of
unintentionally moving the key out
of the RUN position. If replacements
or additions are required, see your
dealer. Limit added items to a few
essential keys or small, light items
no larger than an RKE transmitter.
Interference from radio-frequency
identification (RFID) tags may
prevent the key from starting the
vehicle. Keep RFID tags away from
the key when starting the vehicle.
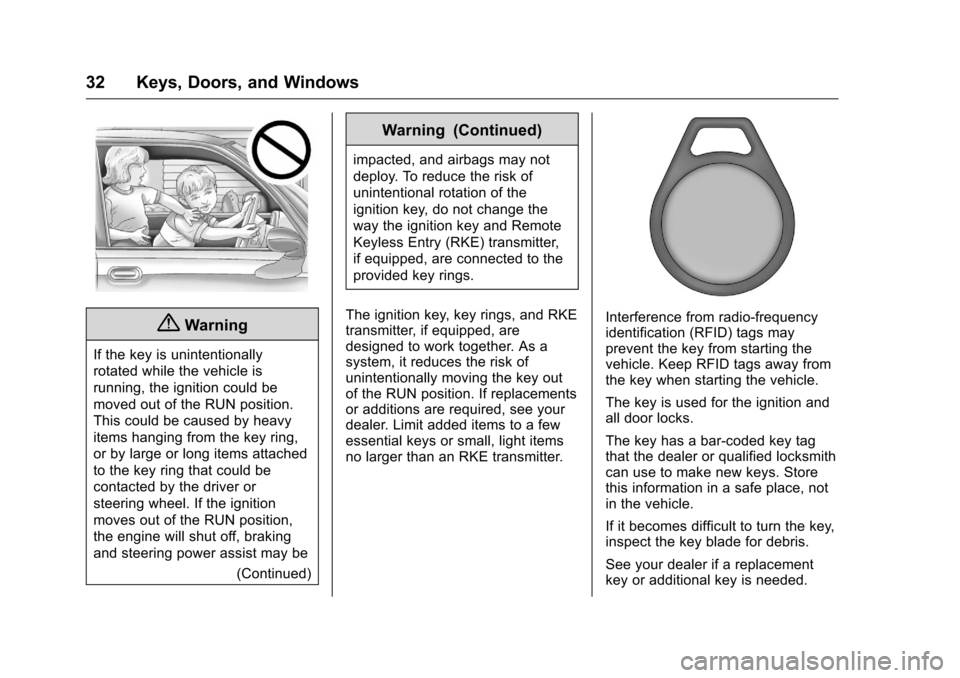
The key is used for the ignition and
all door locks.
The key has a bar-coded key tag
that the dealer or qualified locksmith
can use to make new keys. Store
this information in a safe place, not
in the vehicle.
If it becomes difficult to turn the key,
inspect the key blade for debris.
See your dealer if a replacement
key or additional key is needed.
Page 36 of 392
Chevrolet Traverse Owner Manual (GMNA-Localizing-U.S./Canada/Mexico-
9159264) - 2016 - crc - 8/17/15
Keys, Doors, and Windows 35
transmitter. Do not insert
the tool too far. Stop as
soon as resistance is felt.
. Twist the tool until the
transmitter is separated.
2. Remove the old battery. Do not use a metal object.
3. Insert the new battery, positive side facing down. Replace with
a CR2032 or equivalent
battery.
4. Snap the transmitter back together.
Remote Vehicle Start
This vehicle may have a remote
starting feature that starts the
engine from outside of the vehicle.
/(Remote Start) : This button is
on the RKE transmitter if the vehicle
has remote start.
Laws in some communities may
restrict the use of remote starters.
For example, some laws may
require a person using the remote
start to have the vehicle in view when doing so. Check local
regulations for any requirements on
remote starting of vehicles.
Do not use the remote start feature
if the vehicle is low on fuel. The
vehicle could run out of fuel.
If the vehicle has the remote start
feature, the RKE transmitter range
may be less while the vehicle is
running.
Other conditions can affect the
performance of the transmitter. See
Remote Keyless Entry (RKE)
System
033
ii.
Starting the Engine Using
Remote Start
To start the vehicle:
1. Press and release
Qon the
RKE transmitter.
2. Immediately after completing Step 1, press and hold
/until
the parking lamps flash. If the
vehicle's lights cannot be seen,
press and hold
/for at least
four seconds. When the vehicle starts, the parking
lamps will turn on and remain on as
long as the engine is running. The
doors will be locked and the climate
control system will operate
automatically if the vehicle has the
automatic system, or at the same
setting as when the vehicle was last
turned off.
If the vehicle has an automatic
climate control system and heated
seats, the heated seats turn on
during colder outside temperatures
and shut off when the key is turned
to ON/RUN. See
Heated and
Cooled Front Seats 057
ii.
The rear window defogger and
heated mirrors, if the vehicle has
them, turn on during colder outside
temperatures and turn off when the
key is turned to ON/RUN.
After entering the vehicle during a
remote start, insert and turn the key
to the ON/RUN position to drive the
vehicle.
If the vehicle is left running it
automatically shuts off after
10 minutes unless a time extension
has been done.
Page 43 of 392
Chevrolet Traverse Owner Manual (GMNA-Localizing-U.S./Canada/Mexico-
9159264) - 2016 - crc - 8/17/15
42 Keys, Doors, and Windows
Vehicle Security
This vehicle has theft-deterrent
features; however, they do not make
the vehicle impossible to steal.
Vehicle Alarm System
On vehicles with an anti-theft alarm
system, to activate the system:
.Press
Qon the Remote Keyless
Entry (RKE) transmitter or the
power door lock switch when
any door is open.
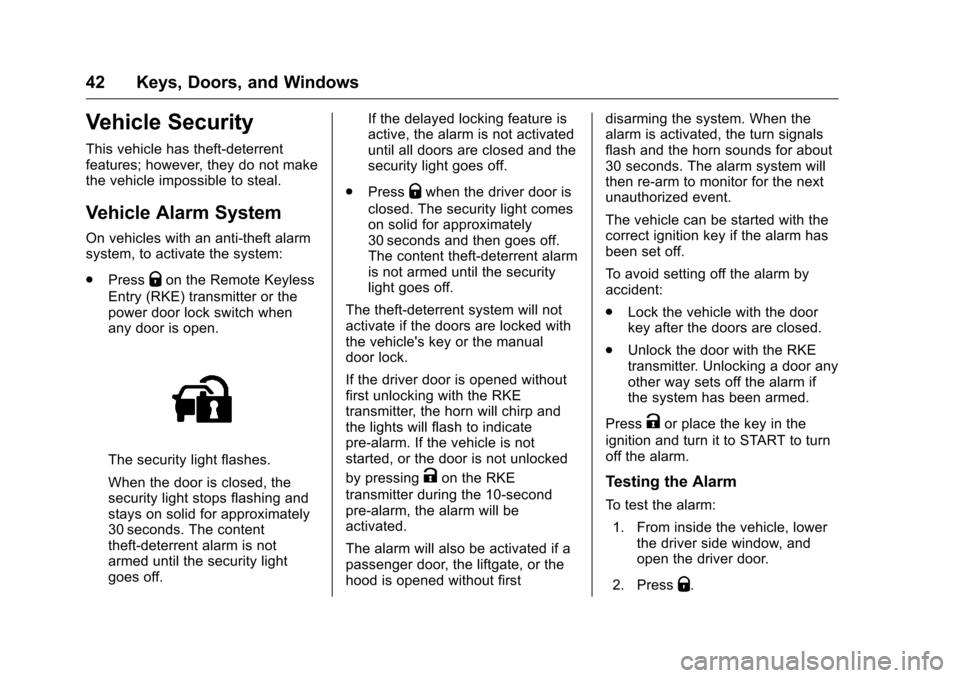
The security light flashes.
When the door is closed, the
security light stops flashing and
stays on solid for approximately
30 seconds. The content
theft-deterrent alarm is not
armed until the security light
goes off. If the delayed locking feature is
active, the alarm is not activated
until all doors are closed and the
security light goes off.
. Press
Qwhen the driver door is
closed. The security light comes
on solid for approximately
30 seconds and then goes off.
The content theft-deterrent alarm
is not armed until the security
light goes off.
The theft-deterrent system will not
activate if the doors are locked with
the vehicle's key or the manual
door lock.
If the driver door is opened without
first unlocking with the RKE
transmitter, the horn will chirp and
the lights will flash to indicate
pre-alarm. If the vehicle is not
started, or the door is not unlocked
by pressing
Kon the RKE
transmitter during the 10-second
pre-alarm, the alarm will be
activated.
The alarm will also be activated if a
passenger door, the liftgate, or the
hood is opened without first disarming the system. When the
alarm is activated, the turn signals
flash and the horn sounds for about
30 seconds. The alarm system will
then re-arm to monitor for the next
unauthorized event.
The vehicle can be started with the
correct ignition key if the alarm has
been set off.
To avoid setting off the alarm by
accident:
.
Lock the vehicle with the door
key after the doors are closed.
. Unlock the door with the RKE
transmitter. Unlocking a door any
other way sets off the alarm if
the system has been armed.
Press
Kor place the key in the
ignition and turn it to START to turn
off the alarm.
Testing the Alarm
To test the alarm:
1. From inside the vehicle, lower the driver side window, and
open the driver door.
2. Press
Q.
Page 44 of 392
Chevrolet Traverse Owner Manual (GMNA-Localizing-U.S./Canada/Mexico-
9159264) - 2016 - crc - 8/17/15
Keys, Doors, and Windows 43
3. Get out of the vehicle, closethe door, and wait for the
security light to go out.
4. Reach in through the window, unlock the door with the
manual door lock, and open
the door. This should set off the
alarm.
If the alarm does not sound when it
should, but the headlamps flash,
check to see if the horn works. The
horn fuse may be blown. To replace
the fuse, see Fuses and Circuit
Breakers 0289
ii.
If the alarm does not sound or the
headlamps do not flash, see your
dealer for service.
Immobilizer
See Radio Frequency Statement
0 367ii.
Immobilizer Operation
This vehicle has PASS-Key®III+
(Personalized Automotive Security
System) theft-deterrent system.
PASS-Key III+ is a passive
theft-deterrent system. The system is automatically armed
when the key is removed from the
ignition.
The system is automatically
disarmed when the key is turned to
ON/RUN, ACC/ACCESSORY,
or START from the LOCK/OFF
position.
You do not have to manually arm or
disarm the system.
The security light comes on if there
is a problem with arming or
disarming the theft-deterrent
system.
When the PASS-Key III+ system
senses an incorrect key, the vehicle
does not start. Anyone using a
trial-and-error method to start the
vehicle will be discouraged because
of the high number of electrical key
codes.
If the engine does not start and the
security light on the instrument
panel comes on when trying to start
the vehicle, there may be a problem
with the theft-deterrent system. Turn
the ignition off and try again.
If the engine still does not start, and
the key appears to be undamaged,
try another ignition key and check
the fuses. See
Fuses and Circuit
Breakers 0289
iifor additional
information. If the engine still does
not start with the other key, the
vehicle needs service. If the vehicle
does start, the first key may be
faulty. See your dealer who can
service the PASS-Key III+ to have a
new key made. In an emergency,
contact Roadside Assistance. See
Roadside Assistance Program
0 361
ii.
It is possible for the PASS-Key III+
decoder to learn the transponder
value of a new or replacement key.
Up to 10 keys may be programmed
to the vehicle. The following
procedure is for programming
additional keys only. If all currently
programmed keys are lost or do not
operate, you must see your dealer
or a locksmith who can service
PASS-Key III+ to have keys made
and programmed to the system.
Page 45 of 392
Chevrolet Traverse Owner Manual (GMNA-Localizing-U.S./Canada/Mexico-
9159264) - 2016 - crc - 8/17/15
44 Keys, Doors, and Windows
See your dealer or a locksmith who
can service PASS-Key III+ to get a
new key blank that is cut exactly as
the ignition key that operates the
system.
To program the new additional key:1. Verify that the new key has a
1stamped on it.
2. Insert the already programmed key in the ignition and start the
engine. If the engine does not
start, see your dealer for
service.
3. After the engine has started, turn the key to LOCK/OFF, and
remove the key.
4. Insert the key to be programmed and turn it to the
ON/RUN position within
five seconds of the original key
being turned to the LOCK/OFF
position.
The security light turns off once
the key has been programmed.
5. Repeat Steps 1–4 if additional keys are to be programmed. If the PASS-Key III+ key is lost or
damaged, see your dealer or a
locksmith to have a new key made.
The SERVICE THEFT
DETERRENT SYSTEM message
displays on the Driver Information
Center (DIC) when there is a
problem with the theft-deterrent
system. See
Security Messages
0 142
iifor additional information.
Do not leave the key or device that
disarms or deactivates the
theft-deterrent system in the vehicle.
Exterior Mirrors
Convex Mirrors
{Warning
A convex mirror can make things,
like other vehicles, look farther
away than they really are. If you
cut too sharply into the right lane,
you could hit a vehicle on the
right. Check the inside mirror or
glance over your shoulder before
changing lanes.
The passenger side mirror is convex
shaped. A convex mirror's surface is
curved so more can be seen from
the driver seat.
Page 50 of 392
Chevrolet Traverse Owner Manual (GMNA-Localizing-U.S./Canada/Mexico-
9159264) - 2016 - crc - 8/17/15
Keys, Doors, and Windows 49
Rear Window Lockout
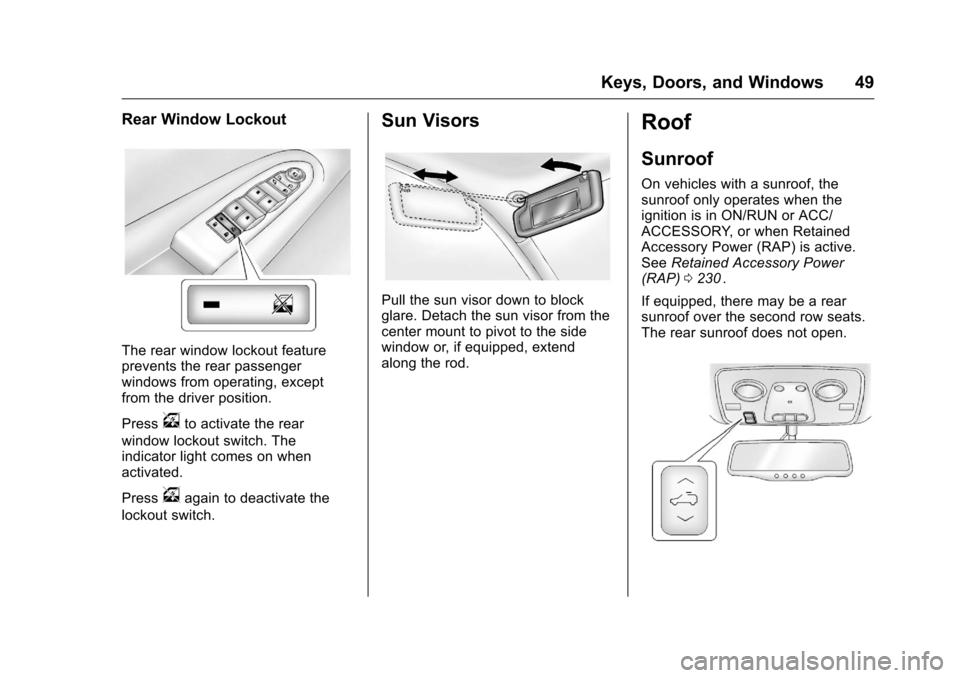
The rear window lockout feature
prevents the rear passenger
windows from operating, except
from the driver position.
Press
vto activate the rear
window lockout switch. The
indicator light comes on when
activated.
Press
vagain to deactivate the
lockout switch.
Sun Visors
Pull the sun visor down to block
glare. Detach the sun visor from the
center mount to pivot to the side
window or, if equipped, extend
along the rod.
Roof
Sunroof
On vehicles with a sunroof, the
sunroof only operates when the
ignition is in ON/RUN or ACC/
ACCESSORY, or when Retained
Accessory Power (RAP) is active.
See Retained Accessory Power
(RAP) 0230
ii.
If equipped, there may be a rear
sunroof over the second row seats.
The rear sunroof does not open.
Page 59 of 392
Chevrolet Traverse Owner Manual (GMNA-Localizing-U.S./Canada/Mexico-
9159264) - 2016 - crc - 8/17/15
58 Seats and Restraints
I(Heated Seatback) :If equipped,
press to heat the seatback only.
H(Cooled Seat) : If equipped,
press to cool the entire seat.
J(Heated Seat and Seatback) :
Press to heat the seat and
seatback.
Press the button once for the
highest setting. With each press of
the button, the seat will change to
the next lower setting, and then to
the off setting. The lights indicate
three for the highest setting and one
for the lowest.
The passenger heated seat may
take longer to heat up.
The heated and/or cooled seats are
canceled after the ignition is
turned off. Remote Start Heated Seats
When it is cold outside, the heated
seats may turn on automatically
during a remote vehicle start. The
heated seats will be canceled when
the ignition is turned on. Press the
desired heated seat button to use
the heated seats after the vehicle is
started.
The heated seat button lights will
not turn on during a remote start.
The temperature of an unoccupied
seat may be reduced.
See
Remote Vehicle Start 035
ii.
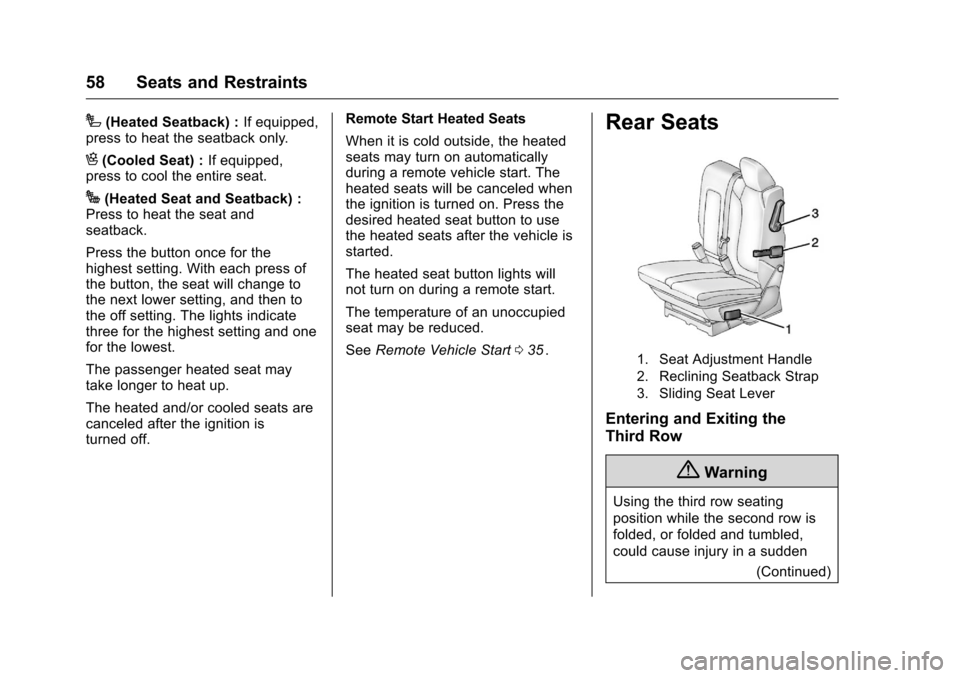
Rear Seats
1. Seat Adjustment Handle
2. Reclining Seatback Strap
3. Sliding Seat Lever
Entering and Exiting the
Third Row
{Warning
Using the third row seating
position while the second row is
folded, or folded and tumbled,
could cause injury in a sudden
(Continued)
Page 63 of 392
Chevrolet Traverse Owner Manual (GMNA-Localizing-U.S./Canada/Mexico-
9159264) - 2016 - crc - 8/17/15
62 Seats and Restraints
Warning (Continued)
sure that the safety belts are
properly routed and attached, and
are not twisted.
3. Reconnect the center safety belt mini-latch to the
mini-buckle. Do not let it twist.
4. Pull on the safety belt to be sure the mini-latch is secure.
Removing the Third Row Seats
To remove a third row seat:
1. Remove the cargo management system, if it is
installed. See Cargo
Management System 0104
ii.
2. Remove anything on or under the seat.
Caution
Folding a rear seat with the safety
belts still fastened may cause
damage to the seat or the safety
(Continued)
Caution (Continued)
belts. Always unbuckle the safety
belts and return them to their
normal stowed position before
folding a rear seat.
3. Fold the seatback down. See “Folding the Seatback” earlier
in this section.
4. Remove the rear bolts on the floor on each side of the seat.
5. Remove the seat by tilting it slightly upward, and then
pulling it out of the rear of the
vehicle in one motion.
6. Replace the bolts in the floor holes for storage.
Installing the Third Row Seats
To reinstall a third row seat:
1. Before installing the seat, the seatback must be folded
forward. See “Folding the
Seatback” earlier in this
section. The seats must be placed in
the proper locations to attach
correctly. The wider seat must
be installed on the driver side
and the narrower seat on the
passenger side. Remove the
bolts from the holes in the floor
before installing the seats.
2. Place the seat on the vehicle floor so that the front seat
hooks are on the vehicle bars.
3. Reinstall the bolts, and torque to 55 Y(41 lb ft). Pull up on
the seat to make sure it is
locked in place.
4. Raise the seatback to its upright position. Push and pull
on the seatback to make sure it
is locked into place.
5. Reconnect the center safety belt mini-latch to the
mini-buckle. Do not let it twist.