odometer CHEVROLET UPLANDER 2007 1.G Owners Manual
[x] Cancel search | Manufacturer: CHEVROLET, Model Year: 2007, Model line: UPLANDER, Model: CHEVROLET UPLANDER 2007 1.GPages: 592, PDF Size: 3.04 MB
Page 189 of 592
Instrument Panel Overview........................ 192
Hazard Warning Flashers.......................... 194
Other Warning Devices............................. 194
Horn.......................................................... 194
Tilt Wheel.................................................. 195
Turn Signal/Multifunction Lever.................. 195
Turn and Lane-Change Signals................. 196
Headlamp High/Low-Beam Changer.......... 197
Flash-to-Pass............................................ 197
Windshield Wipers..................................... 197
Windshield Washer.................................... 198
Rear Window Wiper/Washer...................... 199
Cruise Control........................................... 200
Exterior Lamps.......................................... 204
Wiper Activated Headlamps....................... 205
Headlamps on Reminder........................... 205
Daytime Running Lamps (DRL)/Automatic
Headlamp System.................................. 205
Instrument Panel Brightness...................... 206
Interior Lamps Control............................... 207
Dome Lamp.............................................. 207
Entry Lighting............................................ 208
Delayed Lighting........................................ 208
Exit Lighting.............................................. 209
Front Reading Lamps................................ 209Rear Reading Lamps................................ 209
Cargo Lamp.............................................. 210
Electric Power Management...................... 210
Battery Run-Down Protection..................... 211
Overhead Console Switchbank.................. 211
Ultrasonic Rear Parking Assist (URPA)...... 212
Accessory Power Outlet(s)........................ 214
Power Outlet 115 Volt Alternating
Current.................................................. 215
Cigarette Lighter........................................ 216
Climate Controls......................................... 217
Climate Control System............................. 217
Dual Climate Control System..................... 220
Outlet Adjustment...................................... 223
Rear Climate Control System
(Option A, Uplevel)................................ 224
Rear Climate Control System
(Option B, Uplevel)................................ 226
Passenger Compartment Air Filter............. 228
Warning Lights, Gages, and Indicators..... 230
Instrument Panel Cluster........................... 231
Speedometer and Odometer...................... 232
Trip Odometer........................................... 232
Tachometer............................................... 232
Section 3 Instrument Panel
189
Page 211 of 592
Battery Run-Down Protection
Your vehicle has a feature to help prevent you
from draining the battery, in case you accidentally
leave the interior lamps on. If you leave any
interior lamps on while the ignition is in lock or off,
they will automatically turn off after 10 minutes.
The lamps will not come back on again until
you do one of the following:
Turn the ignition to RUN or ACCESSORY
Open a closed door, or close and reopen
a door.
Turn the interior lamps on if they are in the
door or override position.
Turn the interior lamps to the door or override
position and then to on again if the interior
lamp control is in the on position.
If your vehicle has less than 15 miles (25 km) on
the odometer, the battery saver will turn off
the lamps after only three minutes.
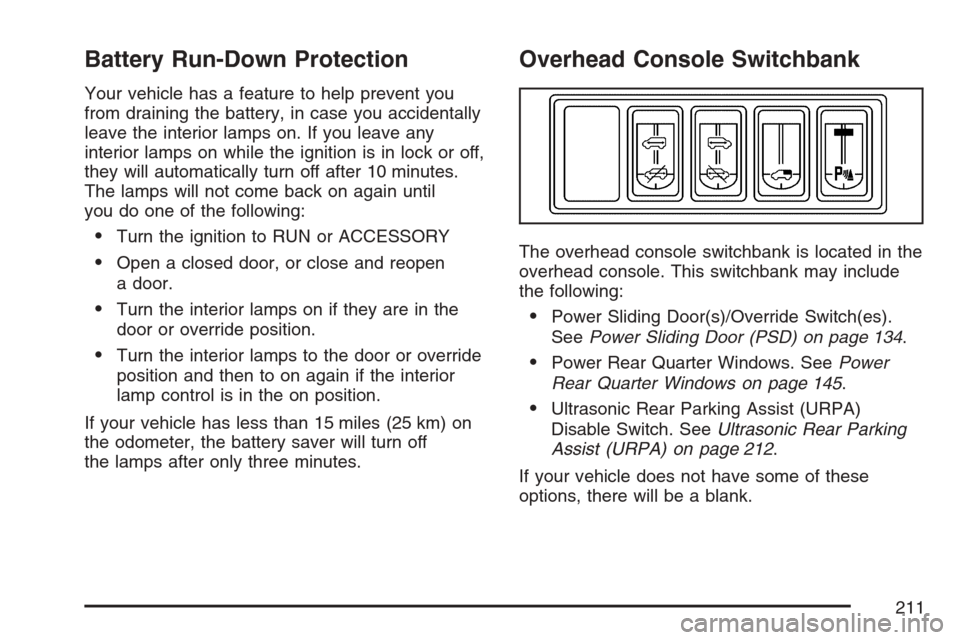
Overhead Console Switchbank
The overhead console switchbank is located in the
overhead console. This switchbank may include
the following:
Power Sliding Door(s)/Override Switch(es).
SeePower Sliding Door (PSD) on page 134.
Power Rear Quarter Windows. SeePower
Rear Quarter Windows on page 145.
Ultrasonic Rear Parking Assist (URPA)
Disable Switch. SeeUltrasonic Rear Parking
Assist (URPA) on page 212.
If your vehicle does not have some of these
options, there will be a blank.
211
Page 232 of 592
Speedometer and Odometer
Your speedometer lets you see your speed in
both miles per hour (mph) and kilometers per
hour (km/h). Your odometer shows how far your
vehicle has been driven, in either miles (used
in the United States) or kilometers (used in
Canada).
Your vehicle has a tamper-resistant odometer.
You may wonder what happens if your vehicle
needs a new odometer installed. The new one can
be set to the mileage total of the old odometer.
Trip Odometer
The trip odometer can display how far you have
driven since you last reset it.
For more information seeDIC Operation and
Displays on page 249.
Tachometer
The tachometer displays the engine speed in
revolutions per minute (rpm).
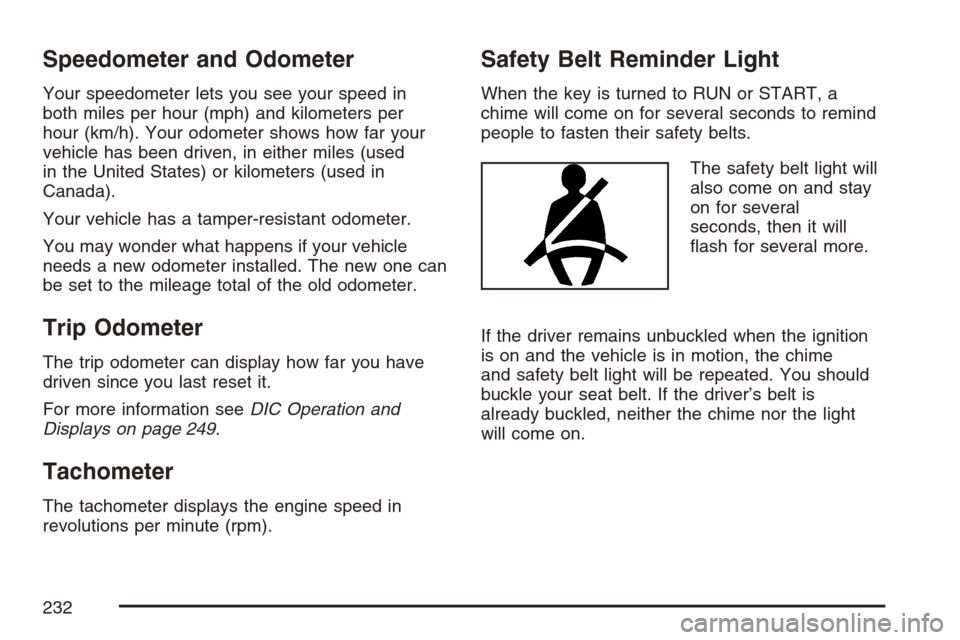
Safety Belt Reminder Light
When the key is turned to RUN or START, a
chime will come on for several seconds to remind
people to fasten their safety belts.
The safety belt light will
also come on and stay
on for several
seconds, then it will
�ash for several more.
If the driver remains unbuckled when the ignition
is on and the vehicle is in motion, the chime
and safety belt light will be repeated. You should
buckle your seat belt. If the driver’s belt is
already buckled, neither the chime nor the light
will come on.
232
Page 249 of 592
Driver Information Center (DIC)
Your vehicle has a Driver Information
Center (DIC).
All messages will appear in the DIC display
located in the instrument panel cluster, below the
tachometer. The DIC buttons are located on
the center of the instrument panel, below the
center outlets.
The DIC comes on when the ignition is on. After a
short delay, the DIC will display WELCOME
DRIVER (1 or 2) if a personalized key 1 or 2 is
used, and then the information that was last
displayed before the engine was turned off. The
driver number also corresponds to the numbers,
1 or 2, on the back of the remote keyless entry
transmitters.
The DIC displays the odometer, trip odometers,
fuel economy, trip computer, vehicle system
information, and compass display, if equipped. It
also displays warning messages if a system
problem is detected. In addition, the DIC displays
phone numbers that are called using the
OnStar
®system, if equipped. SeeOnStar®
System on page 167.If equipped, the outside air temperature
automatically appears in the bottom right corner of
the DIC display when viewing all of the information
screens, except for the oil life screens. If the
outside air temperature is at or below 37°F (3°C),
the temperature reading will toggle between
displaying the outside temperature and the word
ICE for two minutes. If there is a problem with the
system that controls the temperature display,
the letters OC (open circuit) or SC (short circuit)
will appear on the display. If this occurs, have the
vehicle serviced by your dealer.
The DIC also allows some features to be
customized or personalized, if equipped. SeeDIC
Vehicle Personalization (Uplevel Only) on
page 275for more information.
DIC Operation and Displays
The DIC has different modes which can be
accessed by pressing the DIC buttons located on
the center of the instrument panel. The buttons
are the information, set/reset, and menu buttons.
The button functions are detailed in the following
pages.
249
Page 250 of 592
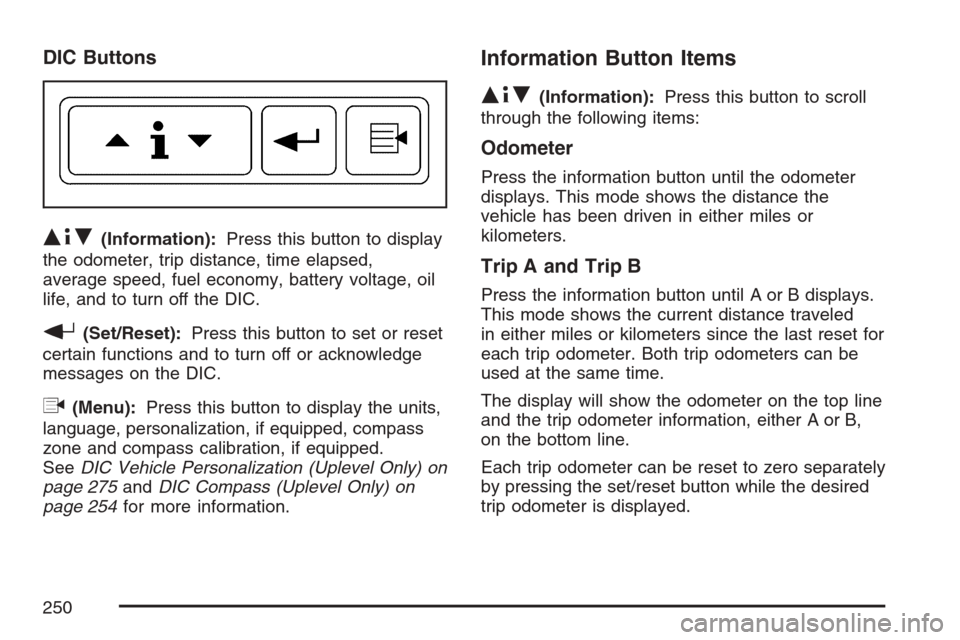
DIC Buttons
Q4R(Information):Press this button to display
the odometer, trip distance, time elapsed,
average speed, fuel economy, battery voltage, oil
life, and to turn off the DIC.
r(Set/Reset):Press this button to set or reset
certain functions and to turn off or acknowledge
messages on the DIC.
q(Menu):Press this button to display the units,
language, personalization, if equipped, compass
zone and compass calibration, if equipped.
SeeDIC Vehicle Personalization (Uplevel Only) on
page 275andDIC Compass (Uplevel Only) on
page 254for more information.
Information Button Items
Q4R
(Information):Press this button to scroll
through the following items:
Odometer
Press the information button until the odometer
displays. This mode shows the distance the
vehicle has been driven in either miles or
kilometers.
Trip A and Trip B
Press the information button until A or B displays.
This mode shows the current distance traveled
in either miles or kilometers since the last reset for
each trip odometer. Both trip odometers can be
used at the same time.
The display will show the odometer on the top line
and the trip odometer information, either A or B,
on the bottom line.
Each trip odometer can be reset to zero separately
by pressing the set/reset button while the desired
trip odometer is displayed.
250
Page 251 of 592
There is also a retroactive trip odometer function
that performs the following for each trip
odometer:
If the vehicle’s speed has exceeded 3 mph
(5 km/h) during the current ignition cycle,
this function will set the trip odometer to the
distance driven during the current ignition
cycle.
If the vehicle’s speed has not exceeded 3 mph
(5 km/h), this function will set the trip odometer
to the distance driven during the previous
ignition cycle plus the distance driven during
the current ignition cycle.
Press and hold the set/reset button for
three seconds, then release the button. The
retroactive trip odometer value will be set into the
currently displayed trip odometer.
Time Elapsed
Press the information button until TIME
ELAPSED :00 displays. This mode is like a
stopwatch, in that you can clock the time it takes
to get from one point to another. Each of the
�elds for the hours, minutes, and seconds are
two numeric digits.Once TIME ELAPSED :00 is displayed, press the
set/reset button to start the timing feature.
Press the set/reset button again to stop it. If you
will be starting and stopping your vehicle, during a
trip for instance, the TIME ELAPSED feature
will automatically start timing where it left off when
you last stopped. To reset it, press and hold
the set/reset button for approximately 1.5 seconds.
The display will return to zero.
Average Speed
Press the information button until AVERAGE
SPEED displays. This mode shows the average
speed of the vehicle in miles per hour (mph)
or kilometers per hour (km/h). This average is
calculated based on the various vehicle speed
recorded since the last reset of this value. To reset
the value, press the information button to display
AVERAGE SPEED, then press and hold the
set/reset button. The display will return to zero.
251
Page 495 of 592
Each new wheel should have the same
load-carrying capacity, diameter, width, offset and
be mounted the same way as the one it
replaces.
If you need to replace any of your wheels, wheel
bolts, or wheel nuts, replace them only with
new GM original equipment parts. This way, you
will be sure to have the right wheel, wheel
bolts, and wheel nuts for your vehicle.
{CAUTION:
Using the wrong replacement wheels,
wheel bolts, or wheel nuts on your vehicle
can be dangerous. It could affect the
braking and handling of your vehicle,
make your tires lose air and make you
lose control. You could have a collision in
which you or others could be injured.
Always use the correct wheel, wheel bolts,
and wheel nuts for replacement.Notice:The wrong wheel can also cause
problems with bearing life, brake cooling,
speedometer or odometer calibration,
headlamp aim, bumper height, vehicle ground
clearance, and tire or tire chain clearance
to the body and chassis.
SeeChanging a Flat Tire on page 500for more
information.
Used Replacement Wheels
{CAUTION:
Putting a used wheel on your vehicle is
dangerous. You cannot know how it has
been used or how far it has been driven. It
could fail suddenly and cause a crash. If
you have to replace a wheel, use a new
GM original equipment wheel.
495
Page 552 of 592
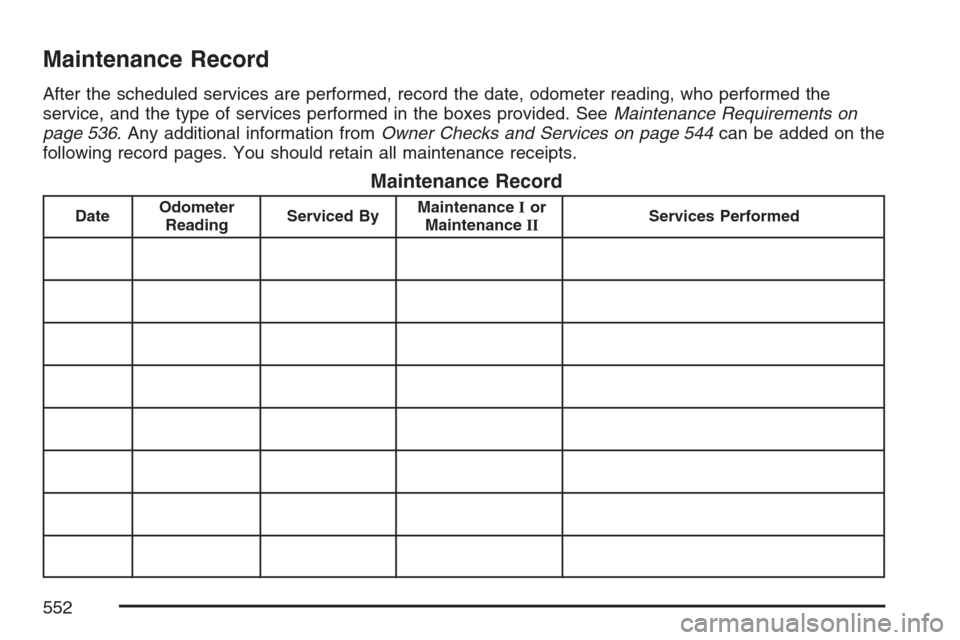
Maintenance Record
After the scheduled services are performed, record the date, odometer reading, who performed the
service, and the type of services performed in the boxes provided. SeeMaintenance Requirements on
page 536. Any additional information fromOwner Checks and Services on page 544can be added on the
following record pages. You should retain all maintenance receipts.
Maintenance Record
DateOdometer
ReadingServiced ByMaintenanceIor
MaintenanceIIServices Performed
552
Page 553 of 592
Maintenance Record (cont’d)
DateOdometer
ReadingServiced ByMaintenanceIor
MaintenanceIIServices Performed
553
Page 554 of 592
Maintenance Record (cont’d)
DateOdometer
ReadingServiced ByMaintenanceIor
MaintenanceIIServices Performed
554