language CHEVROLET UPLANDER 2009 1.G Owners Manual
[x] Cancel search | Manufacturer: CHEVROLET, Model Year: 2009, Model line: UPLANDER, Model: CHEVROLET UPLANDER 2009 1.GPages: 464, PDF Size: 2.59 MB
Page 2 of 464
GENERAL MOTORS, GM, the GM Emblem,
CHEVROLET, the CHEVROLET Emblem, and the
name UPLANDER are registered trademarks of General
Motors Corporation.
This manual includes the latest information at the time it
was printed. GM reserves the right to make changes
after that time without further notice. For vehicles
�rst sold in Canada, substitute the name “General
Motors of Canada Limited” for Chevrolet Motor Division
wherever it appears in this manual.
This manual describes features that may or may not be
on your speci�c vehicle.
Read this manual from beginning to end to learn about
the vehicle’s features and controls. Pictures, symbols,
and words work together to explain vehicle operation.
Keep this manual in the vehicle for quick reference.
Canadian Owners
A French language copy of this manual can be obtained
from your dealer/retailer or from:
Helm, Incorporated
P.O. Box 07130
Detroit, MI 48207
1-800-551-4123
helminc.com
Propriétaires Canadiens
On peut obtenir un exemplaire de ce guide en français
auprès de concessionnaire ou à l’adresse suivante:
Helm Incorporated
P.O. Box 07130
Detroit, MI 48207
1-800-551-4123
helminc.com
Index
To quickly locate information about the vehicle use the
Index in the back of the manual. It is an alphabetical
list of what is in the manual and the page number where
it can be found.
Litho in U.S.A.
Part No. 15936730 A First Printing
©2008 General Motors Corporation. All Rights Reserved.
ii
Page 204 of 464
DIC Operation and Displays
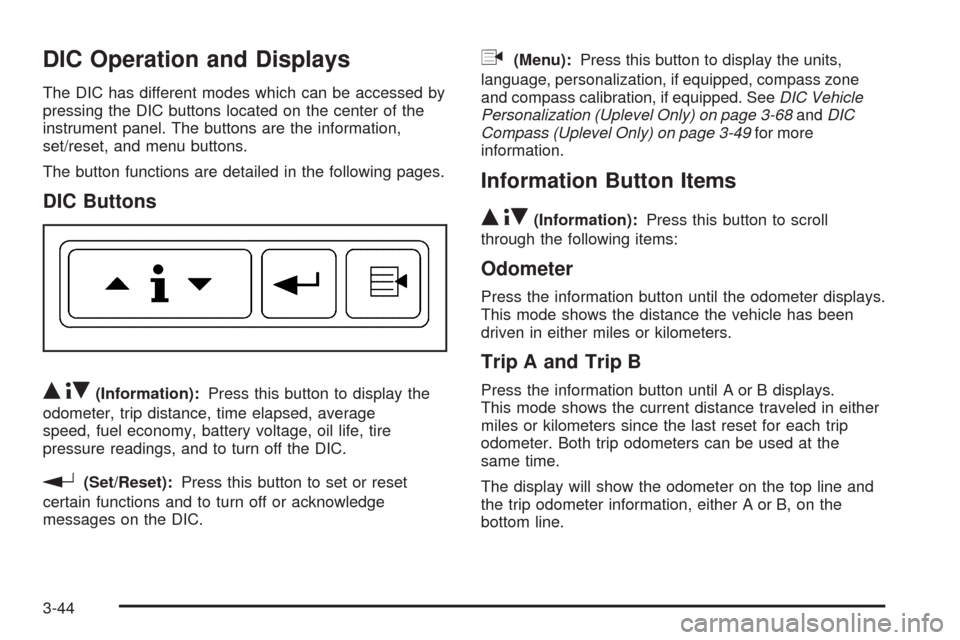
The DIC has different modes which can be accessed by
pressing the DIC buttons located on the center of the
instrument panel. The buttons are the information,
set/reset, and menu buttons.
The button functions are detailed in the following pages.
DIC Buttons
Q4R(Information):Press this button to display the
odometer, trip distance, time elapsed, average
speed, fuel economy, battery voltage, oil life, tire
pressure readings, and to turn off the DIC.
r(Set/Reset):Press this button to set or reset
certain functions and to turn off or acknowledge
messages on the DIC.
q(Menu):Press this button to display the units,
language, personalization, if equipped, compass zone
and compass calibration, if equipped. SeeDIC Vehicle
Personalization (Uplevel Only) on page 3-68andDIC
Compass (Uplevel Only) on page 3-49for more
information.
Information Button Items
Q4R
(Information):Press this button to scroll
through the following items:
Odometer
Press the information button until the odometer displays.
This mode shows the distance the vehicle has been
driven in either miles or kilometers.
Trip A and Trip B
Press the information button until A or B displays.
This mode shows the current distance traveled in either
miles or kilometers since the last reset for each trip
odometer. Both trip odometers can be used at the
same time.
The display will show the odometer on the top line and
the trip odometer information, either A or B, on the
bottom line.
3-44
Page 208 of 464
Menu Button Items
q
(Menu):Press this button to scroll through the
following items:
Units
Press the menu button until UNITS displays. This mode
allows you to select between English or Metric units
of measurement. Once in this mode, press the set/reset
button to select between ENGLISH or METRIC.
Language
Press the menu button until the language screen
displays. This mode allows you to select the language
in which the DIC messages will appear. Once in
this mode, press the set/reset button to select among
the following choices:
English
Francais (French)
Espanol (Spanish)
Personalization (Uplevel Only)
Press the menu button until PERSONAL PROGRAM
displays. Your vehicle may have personalization
capabilities that allow you to program certain features to
a preferred setting for up to two drivers.
Your vehicle may also have customization capabilities
that allow you to program certain features to one
preferred setting. Customization features can only be
programmed to one setting on the vehicle and cannot be
programmed to a preferred setting for up to two drivers.
SeeDIC Vehicle Personalization (Uplevel Only) on
page 3-68for additional information on personal
programming.
Compass Zone (Uplevel Only)
To change the compass zone through the DIC, seeDIC
Compass (Uplevel Only) on page 3-49.
Compass Calibration (Uplevel Only)
The compass can be manually calibrated. To calibrate
the compass through the DIC, seeDIC Compass
(Uplevel Only) on page 3-49.
3-48
Page 252 of 464
RDM (Random):Press to hear the tracks in random,
rather than sequential order, on one CD, one folder,
or all of the loaded CDs.
To use random, do one of the following:
Press and release until RANDOM DISC PLAY
displays, to play the tracks on a CD in random order.
Press and release until RANDOM FOLDER displays,
to play the tracks in a folder in random order.
Press and release until RANDOM ALL DISCS
displays, to play the tracks on all of the CDs that are
loaded in random order.
Press and release the RDM button until RANDOM OFF
displays, to turn off random play.
RPT (Repeat):Press to hear a track, CD, or a folder
over again.
To use repeat, do one of the following:
Press and release until REPEAT displays, to repeat
a track.
Press and release until REPEAT ONE DISC
displays, to repeat a CD.
Press and release until REPEAT FOLDER displays,
to repeat a folder.Press and release the RPT button until REPEAT OFF
displays, to turn off repeated play.
4(Information):Press to display the artist name and
album contained in the ID3 tag.
XM Radio Messages
xL (Explicit Language Channels):These
channels, or any others, can be blocked by calling
1-800-852-XMXM (9696).
Updating:The encryption code in the receiver is being
updated, and no action is required. This process
should take no longer than 30 seconds.
No Signal:The system is functioning correctly, but the
vehicle is in a location that is blocking the XM signal.
When the vehicle is moved into an open area, the signal
should return.
Loading XM:The audio system is acquiring and
processing audio and text data. No action is needed.
This message should disappear shortly.
CH Off Air:This channel is not currently in service.
Tune in to another channel.
3-92
Page 262 of 464
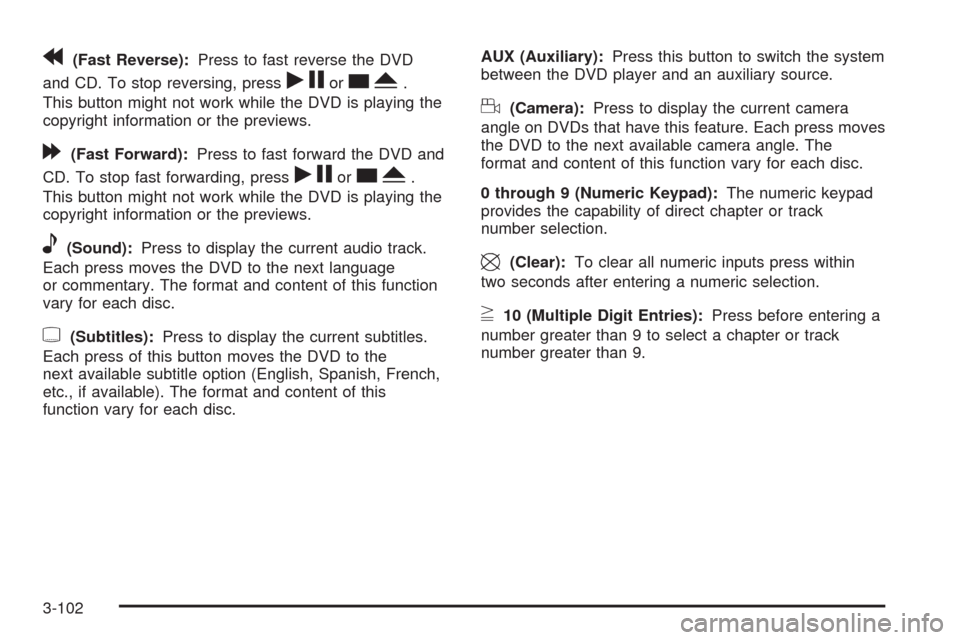
r(Fast Reverse):Press to fast reverse the DVD
and CD. To stop reversing, press
rjorcY.
This button might not work while the DVD is playing the
copyright information or the previews.
[(Fast Forward):Press to fast forward the DVD and
CD. To stop fast forwarding, press
rjorcY.
This button might not work while the DVD is playing the
copyright information or the previews.
e(Sound):Press to display the current audio track.
Each press moves the DVD to the next language
or commentary. The format and content of this function
vary for each disc.
{(Subtitles):Press to display the current subtitles.
Each press of this button moves the DVD to the
next available subtitle option (English, Spanish, French,
etc., if available). The format and content of this
function vary for each disc.AUX (Auxiliary):Press this button to switch the system
between the DVD player and an auxiliary source.
d(Camera):Press to display the current camera
angle on DVDs that have this feature. Each press moves
the DVD to the next available camera angle. The
format and content of this function vary for each disc.
0 through 9 (Numeric Keypad):The numeric keypad
provides the capability of direct chapter or track
number selection.
\(Clear):To clear all numeric inputs press within
two seconds after entering a numeric selection.
}10 (Multiple Digit Entries):Press before entering a
number greater than 9 to select a chapter or track
number greater than 9.
3-102
Page 263 of 464
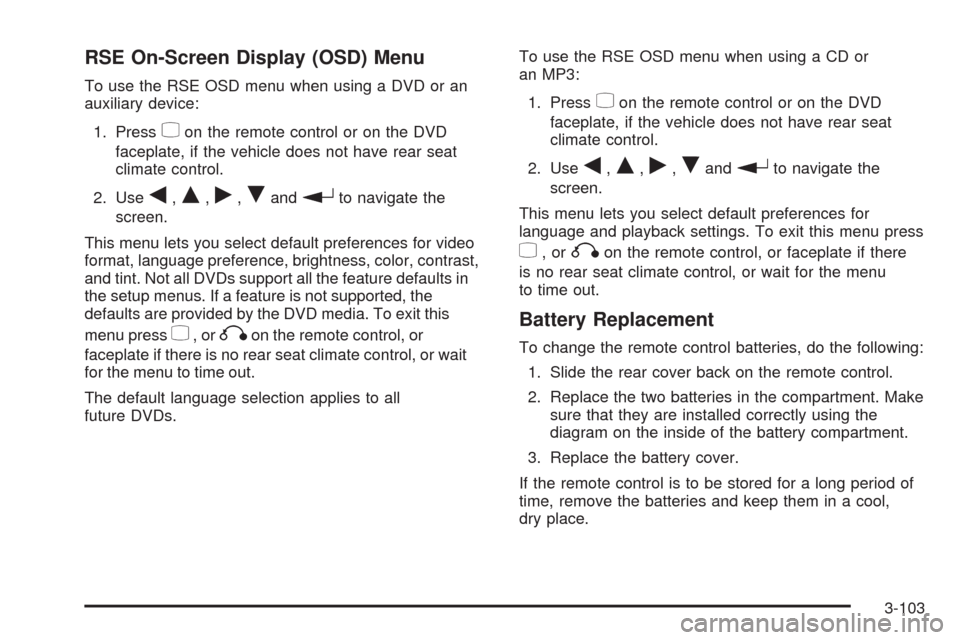
RSE On-Screen Display (OSD) Menu
To use the RSE OSD menu when using a DVD or an
auxiliary device:
1. Press
zon the remote control or on the DVD
faceplate, if the vehicle does not have rear seat
climate control.
2. Use
q,Q,r,Randrto navigate the
screen.
This menu lets you select default preferences for video
format, language preference, brightness, color, contrast,
and tint. Not all DVDs support all the feature defaults in
the setup menus. If a feature is not supported, the
defaults are provided by the DVD media. To exit this
menu press
z,orqon the remote control, or
faceplate if there is no rear seat climate control, or wait
for the menu to time out.
The default language selection applies to all
future DVDs.To use the RSE OSD menu when using a CD or
an MP3:
1. Press
zon the remote control or on the DVD
faceplate, if the vehicle does not have rear seat
climate control.
2. Use
q,Q,r,Randrto navigate the
screen.
This menu lets you select default preferences for
language and playback settings. To exit this menu press
z,orqon the remote control, or faceplate if there
is no rear seat climate control, or wait for the menu
to time out.
Battery Replacement
To change the remote control batteries, do the following:
1. Slide the rear cover back on the remote control.
2. Replace the two batteries in the compartment. Make
sure that they are installed correctly using the
diagram on the inside of the battery compartment.
3. Replace the battery cover.
If the remote control is to be stored for a long period of
time, remove the batteries and keep them in a cool,
dry place.
3-103
Page 265 of 464
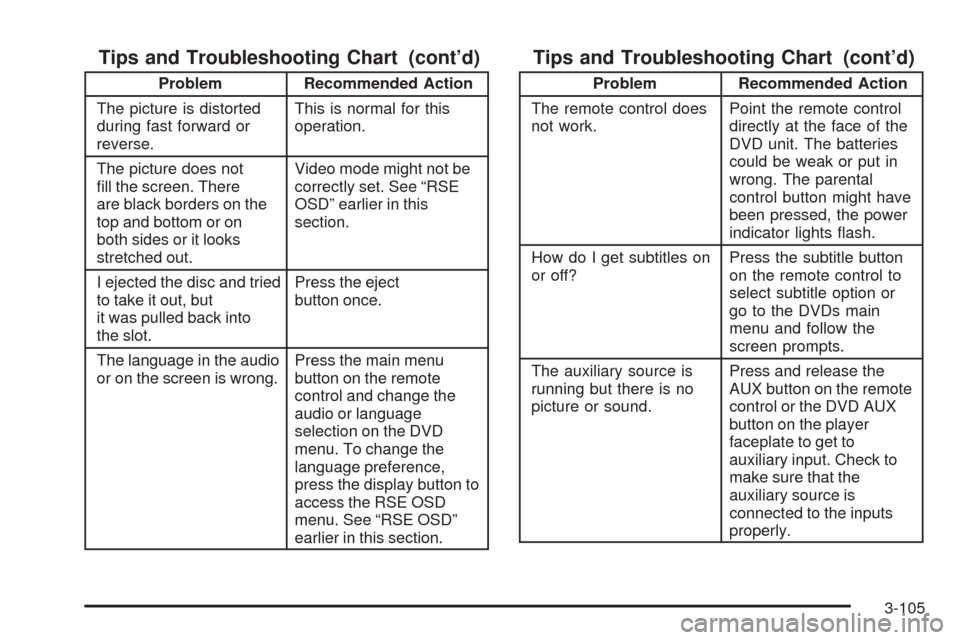
Tips and Troubleshooting Chart (cont’d)
Problem Recommended Action
The picture is distorted
during fast forward or
reverse.This is normal for this
operation.
The picture does not
�ll the screen. There
are black borders on the
top and bottom or on
both sides or it looks
stretched out.Video mode might not be
correctly set. See “RSE
OSD” earlier in this
section.
I ejected the disc and tried
to take it out, but
it was pulled back into
the slot.Press the eject
button once.
The language in the audio
or on the screen is wrong.Press the main menu
button on the remote
control and change the
audio or language
selection on the DVD
menu. To change the
language preference,
press the display button to
access the RSE OSD
menu. See “RSE OSD”
earlier in this section.
Tips and Troubleshooting Chart (cont’d)
Problem Recommended Action
The remote control does
not work.Point the remote control
directly at the face of the
DVD unit. The batteries
could be weak or put in
wrong. The parental
control button might have
been pressed, the power
indicator lights �ash.
How do I get subtitles on
or off?Press the subtitle button
on the remote control to
select subtitle option or
go to the DVDs main
menu and follow the
screen prompts.
The auxiliary source is
running but there is no
picture or sound.Press and release the
AUX button on the remote
control or the DVD AUX
button on the player
faceplate to get to
auxiliary input. Check to
make sure that the
auxiliary source is
connected to the inputs
properly.
3-105