jacking CHEVROLET VEGA 1976 1.G Owners Manual
[x] Cancel search | Manufacturer: CHEVROLET, Model Year: 1976, Model line: VEGA, Model: CHEVROLET VEGA 1976 1.GPages: 87, PDF Size: 32.36 MB
Page 49 of 87

Downloaded from www.Manualslib.com manuals search engine 4. Attach the remammg jumper Engine Coolant
cable FIRST to the negative ter
minal (black color,
"-" or "N")
of the OTHER vehicle's battery,
(regardless of which vehicle has
the discharged
battery) and
THEN to the negative terminal
of the battery in THIS
car-thus
taking advantage of the flame
arrestor feature on the battery in
THIS car, should a spark occur.
5. Start engine in the vehicle that is
providing the jump start (if it
was not running). Let run a few
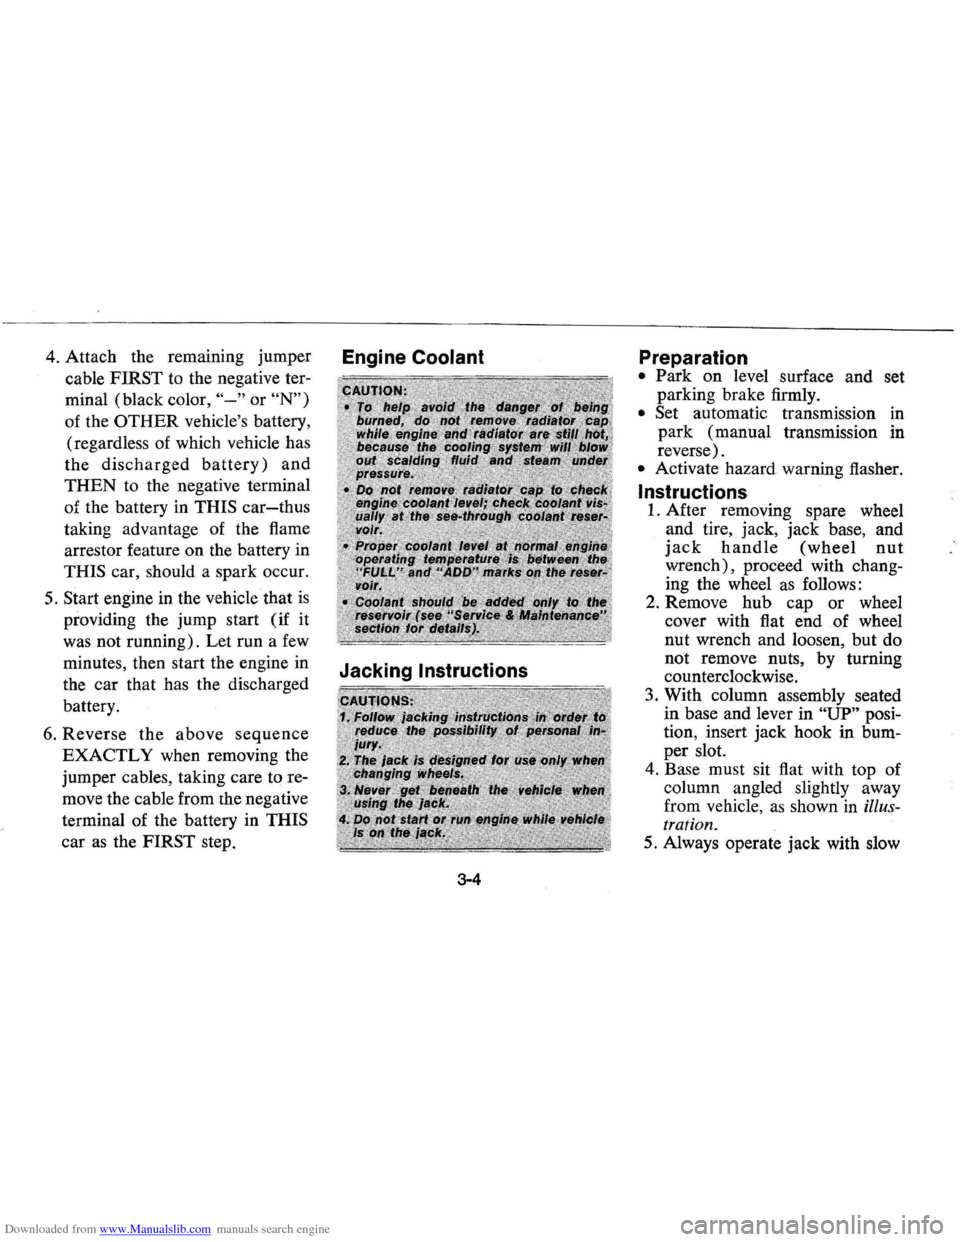
minutes, then start the engine in Jacking Instructions
the car that has the discharged
battery.
6. Reverse the above sequence
EXACTL Y when removing the
jumper cables, taking care to re
move the cable from
[he negative
terminal of the battery in THIS
car
as the FIRST step.
3-4
Preparation
• Park on level surface and set
parking brake firmly.
• Set automatic transmission in
park (manual transmission in
reverse).
• Activate hazard warning flasher.
Instructions
1. After removing spare wheel
and tire, jack, jack base, and
jack handle (wheel nut
wrench), proceed with chang
ing the wheel
as follows:
2. Remove hub cap or wheel
cover with flat end of wheel
nut wrench and loosen, but do
not remove nuts, by turning
counterclockwise.
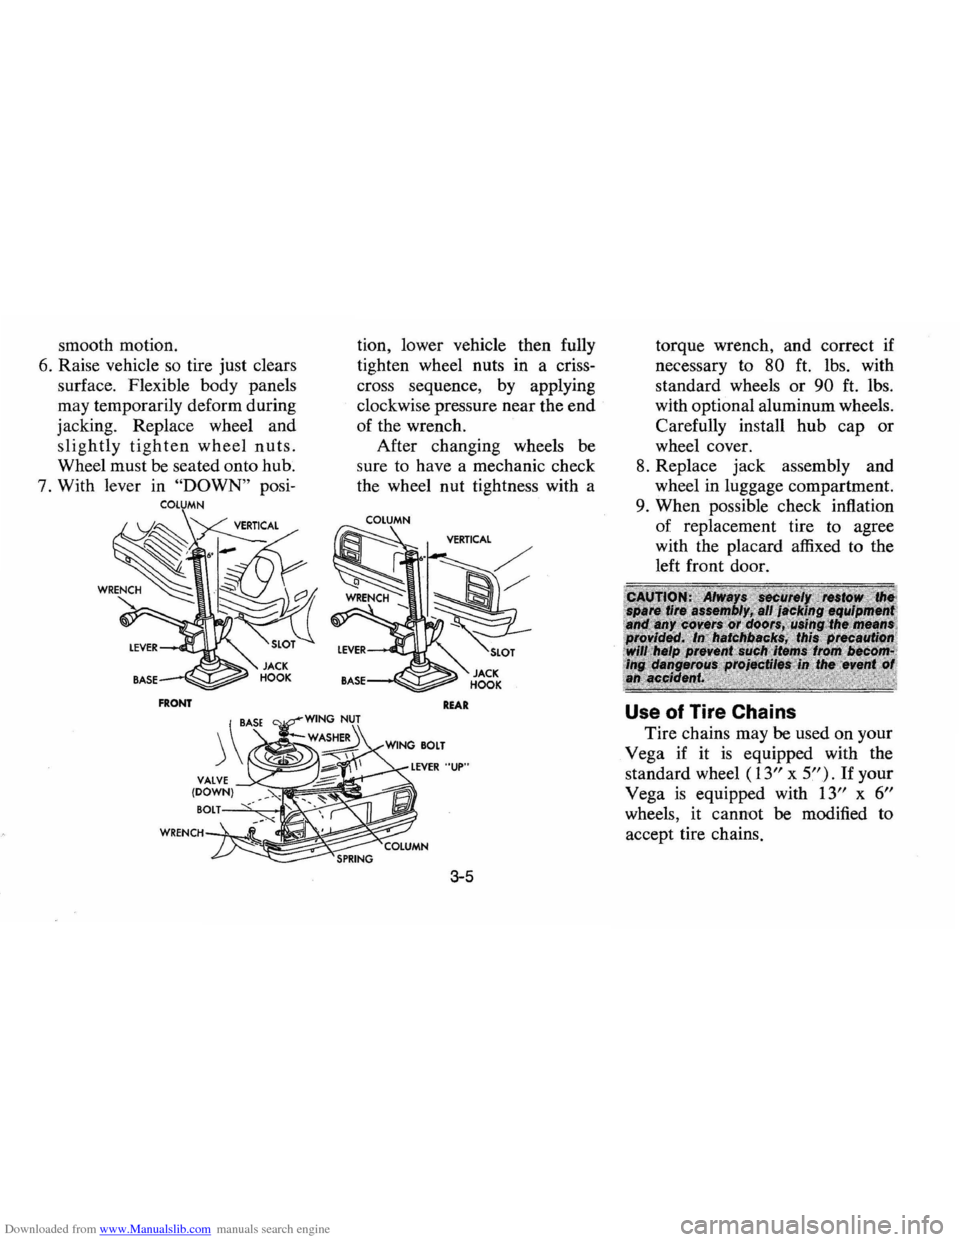
3. With column assembly seated
in base and lever in
"UP" posi
tion, insert jack hook in bum
per slot.
4. Base must sit flat with top of
column angled slightly away
from vehicle,
as shown in illus
tration.
5. Always operate jack with slow
Page 50 of 87

Downloaded from www.Manualslib.com manuals search engine smooth motion.
6. Raise vehicle so tire just clears
surface. Flexible body panels
may temporarily deform during
jacking. Replace wheel and
slightly tighten wheel nuts.
Wheel must be seated onto hub.
7. With lever in
"DOWN" posi
COLUMN
FRONT
tion, lower vehicle then fully
tighten wheel nuts in a criss
cross sequence, by applying
clockwise pressure near the
end
of the wrench.
After changing wheels
be
sure to have a mechanic check
the wheel nut tightness with a
COLUMN
REAR
3-5
torque wrench, and correct if
necessary to
80 ft. lbs. with
standard wheels
or 90 ft. lbs.
with optional aluminum wheels.
Carefully install
hub cap or
wheel cover.
8. Replace jack assembly and
wheel in luggage compartment.
9. When possible check inflation
of replacement tire to agree
with the placard affixed to the
left front door.
Use of Tire Chains
Tire chains may be used on your
Vega if it
is equipped with the
standard wheel
(13" x 5"). If your
Vega
is equipped with 13" x 6"
wheels, it cannot be modified to
accept tire chains.