seats CHEVROLET VENTURE 2002 1.G User Guide
[x] Cancel search | Manufacturer: CHEVROLET, Model Year: 2002, Model line: VENTURE, Model: CHEVROLET VENTURE 2002 1.GPages: 486, PDF Size: 3.19 MB
Page 24 of 486
1-18
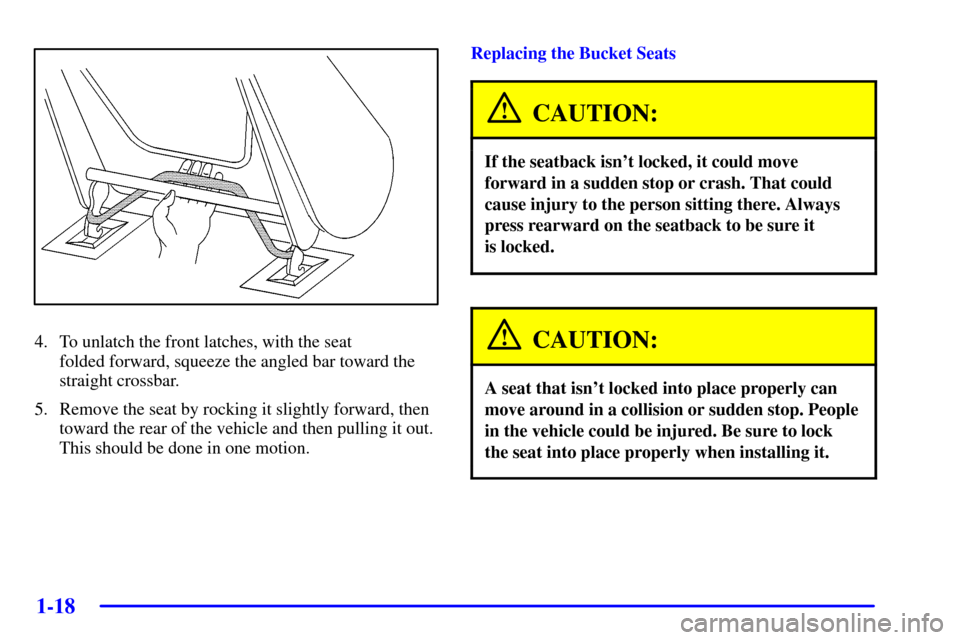
4. To unlatch the front latches, with the seat
folded forward, squeeze the angled bar toward the
straight crossbar.
5. Remove the seat by rocking it slightly forward, then
toward the rear of the vehicle and then pulling it out.
This should be done in one motion.Replacing the Bucket Seats
CAUTION:
If the seatback isn't locked, it could move
forward in a sudden stop or crash. That could
cause injury to the person sitting there. Always
press rearward on the seatback to be sure it
is locked.
CAUTION:
A seat that isn't locked into place properly can
move around in a collision or sudden stop. People
in the vehicle could be injured. Be sure to lock
the seat into place properly when installing it.
Page 25 of 486
1-19
CAUTION:
A safety belt that is improperly routed, not
properly attached, or twisted won't provide the
protection needed in a crash. The person wearing
the belt could be seriously injured. After
installing the seat, always check to be sure that
the safety belts are properly routed and attached,
and are not twisted.
Don't put the seats in so they face rearward because they
won't latch that way. If you want more storage room
behind the seat, adjust the seat by sliding it forward.
The bucket seats have seat position labels, located on the
back of the seat, showing where the seat must go.
Follow that diagram. The seat must be placed in the
proper location for the legs to attach correctly.Make sure the seat is in the full rear position before
beginning this procedure.
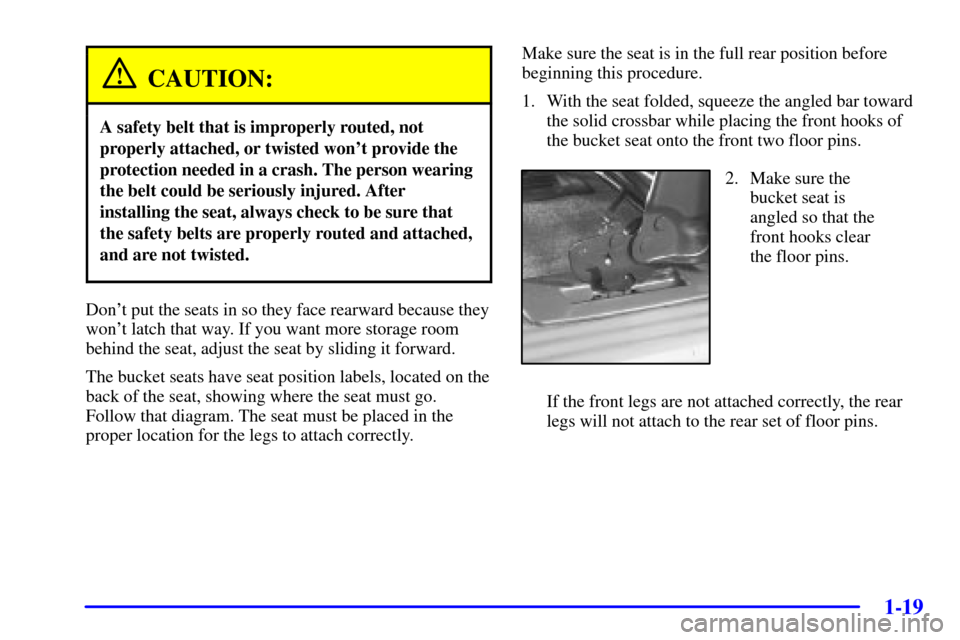
1. With the seat folded, squeeze the angled bar toward
the solid crossbar while placing the front hooks of
the bucket seat onto the front two floor pins.
2. Make sure the
bucket seat is
angled so that the
front hooks clear
the floor pins.
If the front legs are not attached correctly, the rear
legs will not attach to the rear set of floor pins.
Page 27 of 486
1-21
Captain's Chairs (If Equipped)
If your vehicle has the captain's chairs, the seatbacks
can be folded forward or reclined and the seats can
be removed.
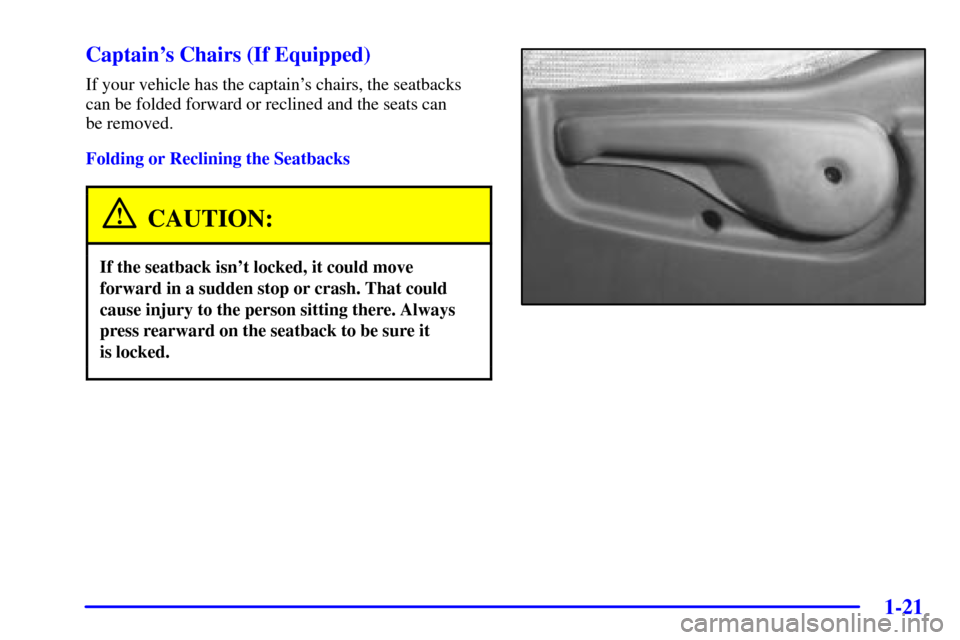
Folding or Reclining the Seatbacks
CAUTION:
If the seatback isn't locked, it could move
forward in a sudden stop or crash. That could
cause injury to the person sitting there. Always
press rearward on the seatback to be sure it
is locked.
Page 28 of 486
1-22
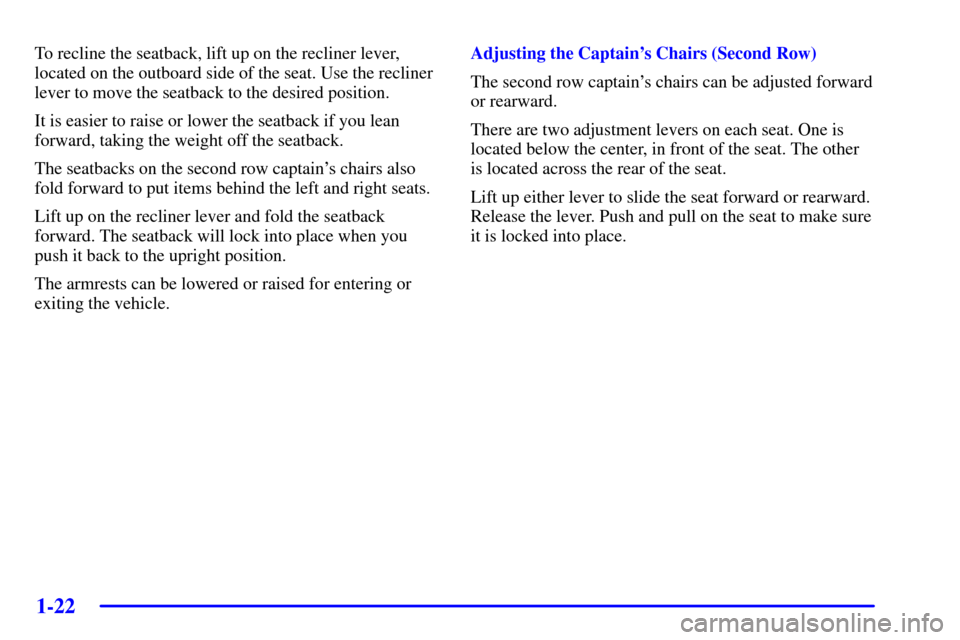
To recline the seatback, lift up on the recliner lever,
located on the outboard side of the seat. Use the recliner
lever to move the seatback to the desired position.
It is easier to raise or lower the seatback if you lean
forward, taking the weight off the seatback.
The seatbacks on the second row captain's chairs also
fold forward to put items behind the left and right seats.
Lift up on the recliner lever and fold the seatback
forward. The seatback will lock into place when you
push it back to the upright position.
The armrests can be lowered or raised for entering or
exiting the vehicle.Adjusting the Captain's Chairs (Second Row)
The second row captain's chairs can be adjusted forward
or rearward.
There are two adjustment levers on each seat. One is
located below the center, in front of the seat. The other
is located across the rear of the seat.
Lift up either lever to slide the seat forward or rearward.
Release the lever. Push and pull on the seat to make sure
it is locked into place.
Page 30 of 486
1-24
Replacing the Captain's Chairs
CAUTION:
If the seatback isn't locked, it could move
forward in a sudden stop or crash. That could
cause injury to the person sitting there. Always
press rearward on the seatback to be sure it
is locked.
CAUTION:
A seat that isn't locked into place properly can
move around in a collision or sudden stop. People
in the vehicle could be injured. Be sure to lock
the seat into place properly when installing it.
CAUTION:
A safety belt that is improperly routed, not
properly attached, or twisted won't provide the
protection needed in a crash. The person wearing
the belt could be seriously injured. After
installing the seat, always check to be sure that
the safety belts are properly routed and attached,
and are not twisted.
Don't put the seats in so they face rearward because they
won't latch that way. For the second row, if you want
more storage room behind the seat, adjust the seat by
sliding it forward.
The captain's chairs have seat position labels, located on
the back of the seat, showing where the seat must go.
Follow that diagram. The seat must be placed in the
proper location for the legs to attach correctly.
Make sure the seatbacks are in the upright position, the
seat belts are on the correct side of the chairs and the
second row captain's chairs are in the full rear position
before beginning this procedure.
Page 36 of 486
1-30
Safety Belts: They're for Everyone
This part of the manual tells you how to use safety belts
properly. It also tells you some things you should not do
with safety belts.
And it explains the air bag system.
CAUTION:
Don't let anyone ride where he or she can't wear
a safety belt properly. If you are in a crash and
you're not wearing a safety belt, your injuries
can be much worse. You can hit things inside the
vehicle or be ejected from it. You can be seriously
injured or killed. In the same crash, you might
not be if you are buckled up. Always fasten your
safety belt, and check that your passengers' belts
are fastened properly too.
CAUTION:
It is extremely dangerous to ride in a cargo area,
inside or outside of a vehicle. In a collision,
people riding in these areas are more likely to be
seriously injured or killed. Do not allow people to
ride in any area of your vehicle that is not
equipped with seats and safety belts. Be sure
everyone in your vehicle is in a seat and using a
safety belt properly.
Page 42 of 486
1-36
Driver Position
This part describes the driver's restraint system.
Lap-Shoulder Belt
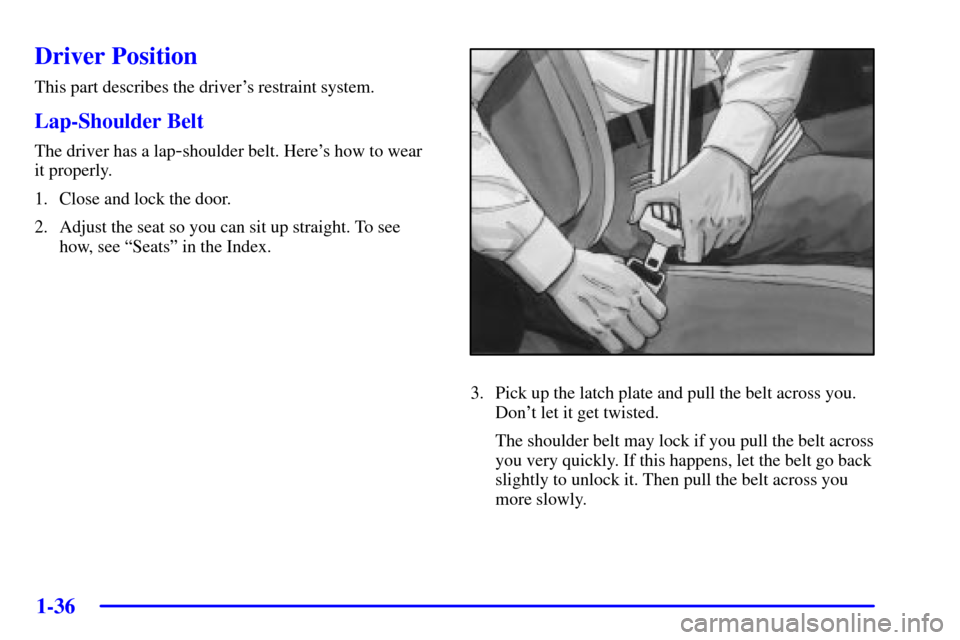
The driver has a lap-shoulder belt. Here's how to wear
it properly.
1. Close and lock the door.
2. Adjust the seat so you can sit up straight. To see
how, see ªSeatsº in the Index.
3. Pick up the latch plate and pull the belt across you.
Don't let it get twisted.
The shoulder belt may lock if you pull the belt across
you very quickly. If this happens, let the belt go back
slightly to unlock it. Then pull the belt across you
more slowly.
Page 64 of 486
1-58
Rear Safety Belt Comfort Guides for
Children and Small Adults
Your vehicle may have rear shoulder belt comfort
guides. This feature will provide added safety belt
comfort for older children who have outgrown booster
seats and for small adults. When installed on a shoulder
belt, the comfort guide better positions the belt away
from the neck and head.
If your vehicle has bucket seats in the second row, there
is one guide for each outside passenger position. If your
vehicle has a bench seat in the second row, there is one
guide for the driver's side outside passenger position. To
provide added safety belt comfort for children who have
outgrown child restraints and for smaller adults, the
comfort guides may be installed on the shoulder belts.
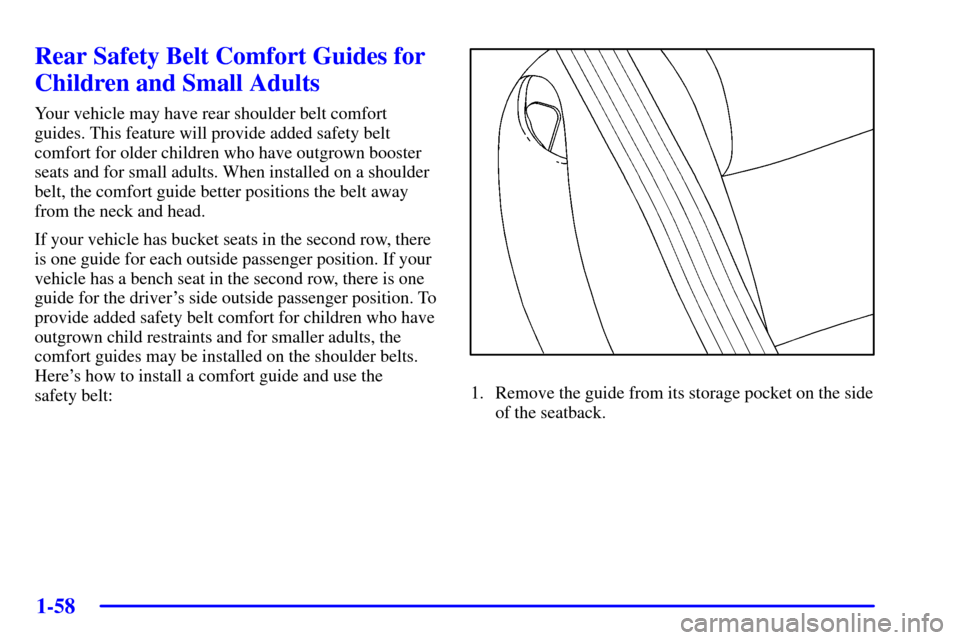
Here's how to install a comfort guide and use the
safety belt:
1. Remove the guide from its storage pocket on the side
of the seatback.
Page 68 of 486
1-62
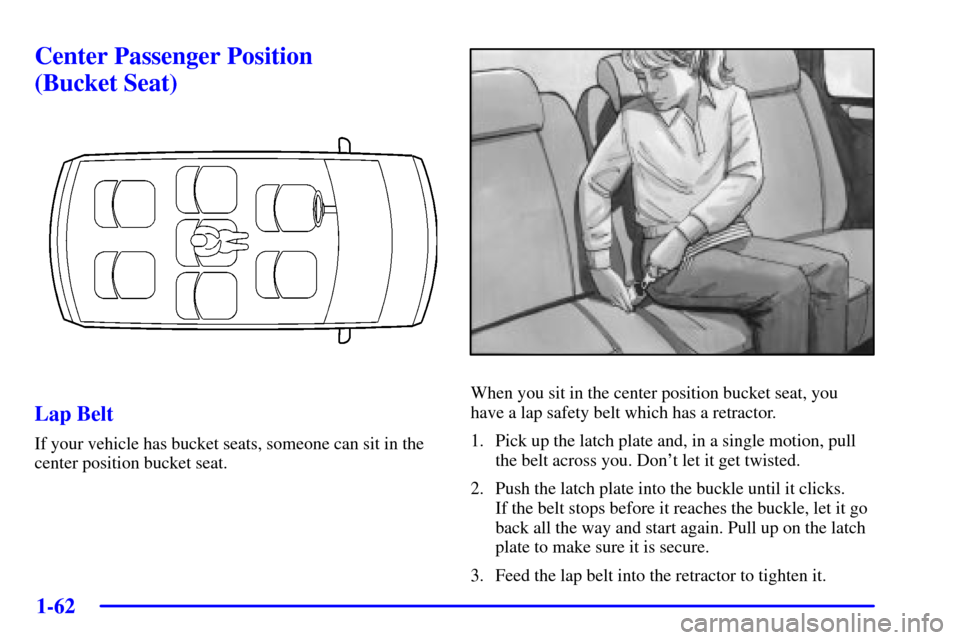
Center Passenger Position
(Bucket Seat)
Lap Belt
If your vehicle has bucket seats, someone can sit in the
center position bucket seat.
When you sit in the center position bucket seat, you
have a lap safety belt which has a retractor.
1. Pick up the latch plate and, in a single motion, pull
the belt across you. Don't let it get twisted.
2. Push the latch plate into the buckle until it clicks.
If the belt stops before it reaches the buckle, let it go
back all the way and start again. Pull up on the latch
plate to make sure it is secure.
3. Feed the lap belt into the retractor to tighten it.
Page 74 of 486
1-68
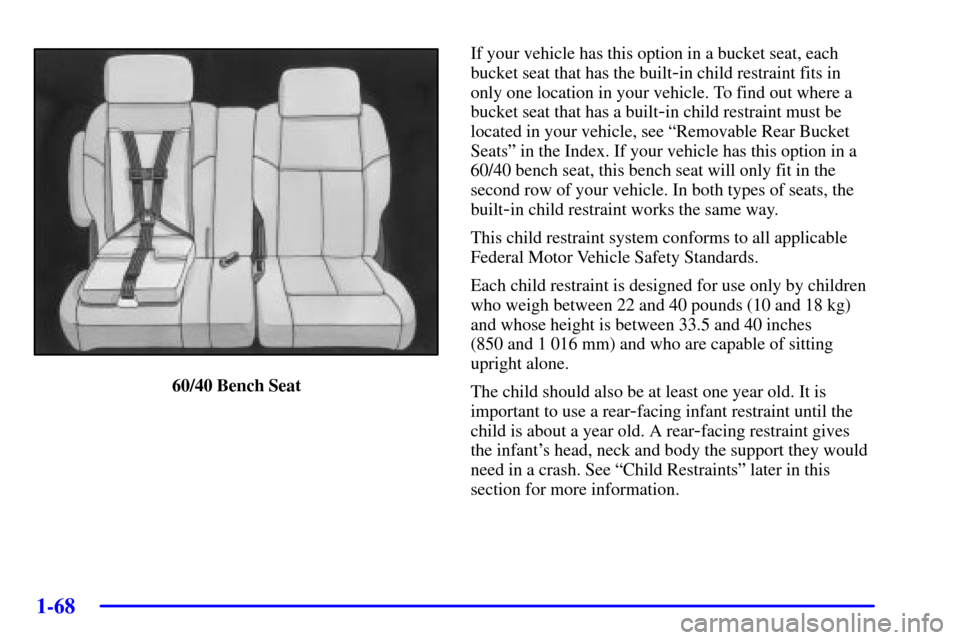
60/40 Bench SeatIf your vehicle has this option in a bucket seat, each
bucket seat that has the built
-in child restraint fits in
only one location in your vehicle. To find out where a
bucket seat that has a built
-in child restraint must be
located in your vehicle, see ªRemovable Rear Bucket
Seatsº in the Index. If your vehicle has this option in a
60/40 bench seat, this bench seat will only fit in the
second row of your vehicle. In both types of seats, the
built
-in child restraint works the same way.
This child restraint system conforms to all applicable
Federal Motor Vehicle Safety Standards.
Each child restraint is designed for use only by children
who weigh between 22 and 40 pounds (10 and 18 kg)
and whose height is between 33.5 and 40 inches
(850 and 1 016 mm) and who are capable of sitting
upright alone.
The child should also be at least one year old. It is
important to use a rear
-facing infant restraint until the
child is about a year old. A rear
-facing restraint gives
the infant's head, neck and body the support they would
need in a crash. See ªChild Restraintsº later in this
section for more information.